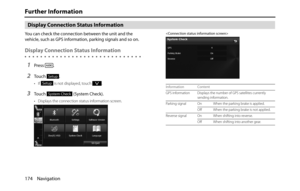
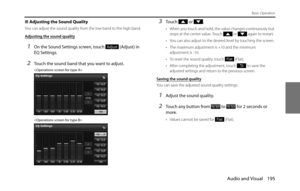
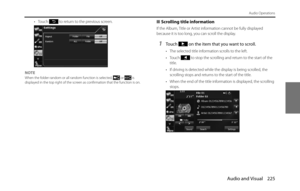
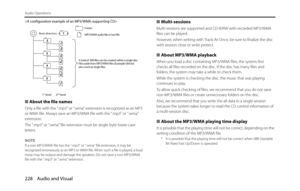
Page 17 of 334
Introduction 15
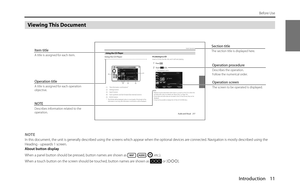
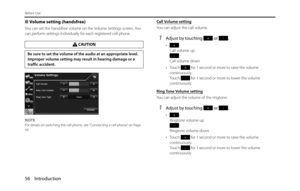
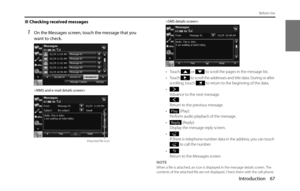
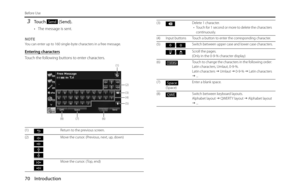
Before Use
■Turning off the audio
•Press (POWER/VOL).
NOTE
•When the audio power is turned off, on the Source screen, touch the source
to which you want to change. For details, see “Switching the Audio Source” on
Page 189.
•You cannot turn off the navigation power.
Loading and Unloading a Disc
To listen to music, insert a music CD into the slot.
■Loading a disc
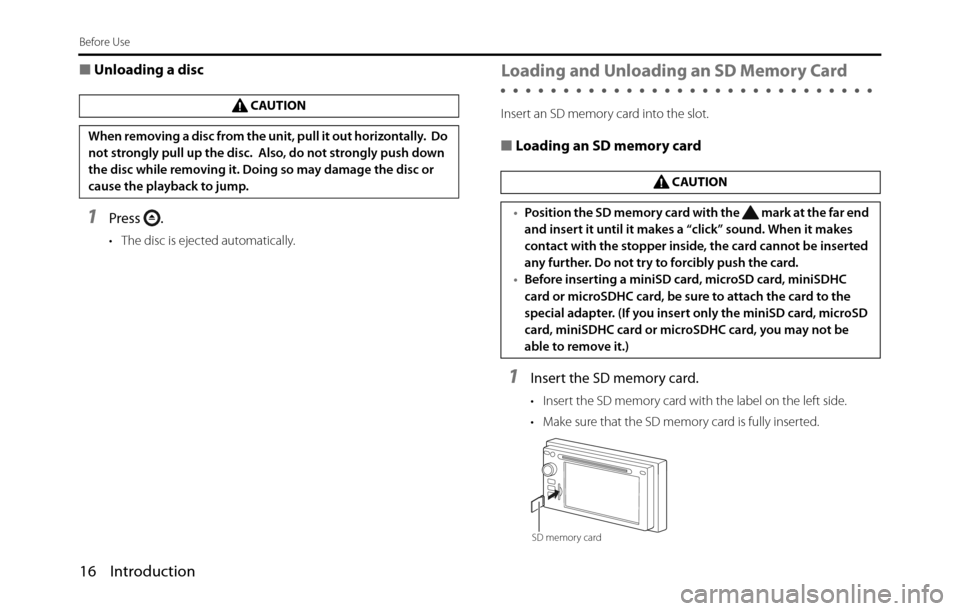
1Insert a disc into the slot.
• Hold the disc by the center hole and the edges, and insert it
with the label facing upward.
• When the disc is inserted, playback of the music CD or MP3/
WMA starts.
• For disc details, see “About Discs” on Page 186.
Disc
Page 18 of 334

16 Introduction
Before Use
■Unloading a disc
1Press .
• The disc is ejected automatically.
Loading and Unloading an SD Memory Card
Insert an SD memory card into the slot.
■Loading an SD memory card
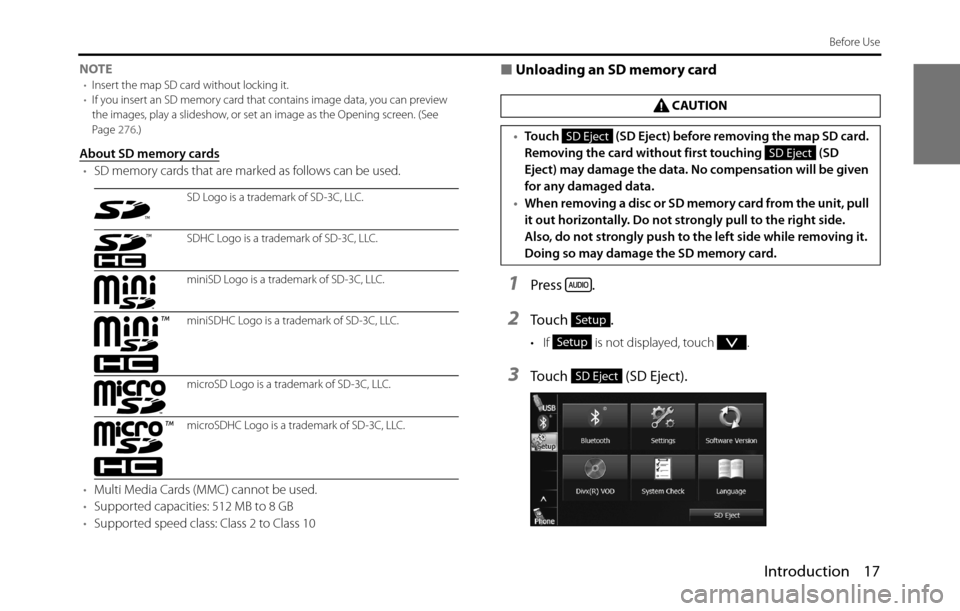
1Insert the SD memory card.
• Insert the SD memory card with the label on the left side.
• Make sure that the SD memory card is fully inserted. CAUTION
When removing a disc from the unit, pull it out horizontally. Do
not strongly pull up the disc. Also, do not strongly push down
the disc while removing it. Doing so may damage the disc or
cause the playback to jump.
CAUTION
•Position the SD memory card with the mark at the far end
and insert it until it makes a “click” sound. When it makes
contact with the stopper inside, the card cannot be inserted
any further. Do not try to forcibly push the card.
•Before inserting a miniSD card, microSD card, miniSDHC
card or microSDHC card, be sure to attach the card to the
special adapter. (If you insert only the miniSD card, microSD
card, miniSDHC card or microSDHC card, you may not be
able to remove it.)
SD memory card
Page 19 of 334

Introduction 17
Before Use
NOTE•Insert the map SD card without locking it.
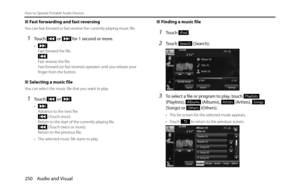
•If you insert an SD memory card that contains image data, you can preview
the images, play a slideshow, or set an image as the Opening screen. (See
Page 276.)
About SD memory cards
•SD memory cards that are marked as follows can be used.
•Multi Media Cards (MMC) cannot be used.
•Supported capacities: 512 MB to 8 GB
•Supported speed class: Class 2 to Class 10
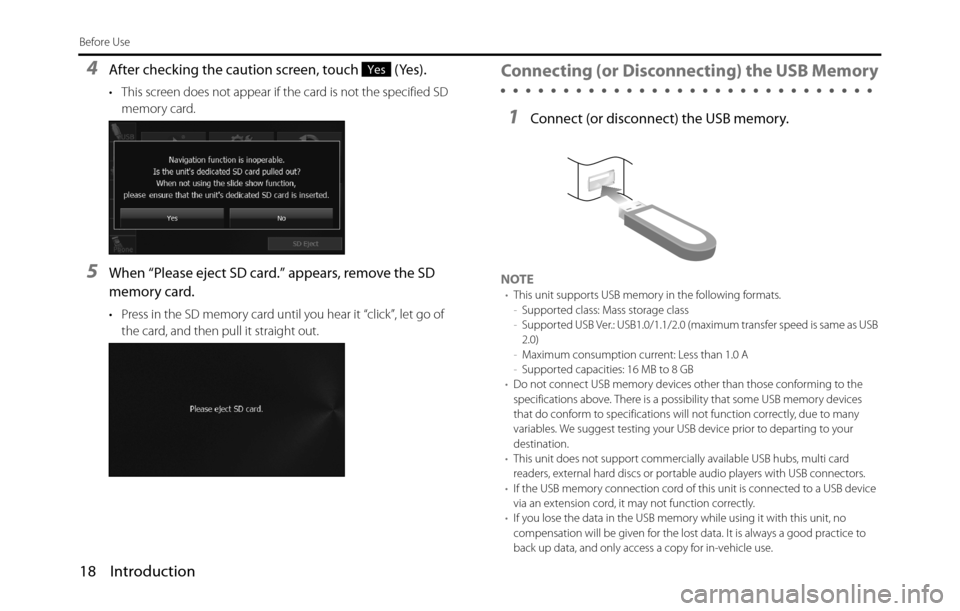
■Unloading an SD memory card
1Press .
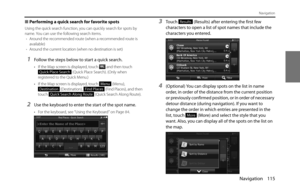
2To u c h .
• If is not displayed, touch .
3Touch (SD Eject).
SD Logo is a trademark of SD-3C, LLC.
SDHC Logo is a trademark of SD-3C, LLC.
miniSD Logo is a trademark of SD-3C, LLC.
miniSDHC Logo is a trademark of SD-3C, LLC.
microSD Logo is a trademark of SD-3C, LLC.
microSDHC Logo is a trademark of SD-3C, LLC.
CAUTION
•Touch (SD Eject) before removing the map SD card.
Removing the card without first touching (SD
Eject) may damage the data. No compensation will be given
for any damaged data.
•When removing a disc or SD memory card from the unit, pull
it out horizontally. Do not strongly pull to the right side.
Also, do not strongly push to the left side while removing it.
Doing so may damage the SD memory card.
SD Eject
SD Eject
Setup
Setup
SD Eject
Page 20 of 334

18 Introduction
Before Use
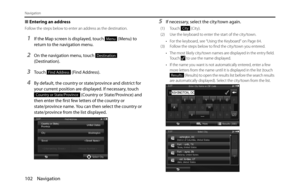
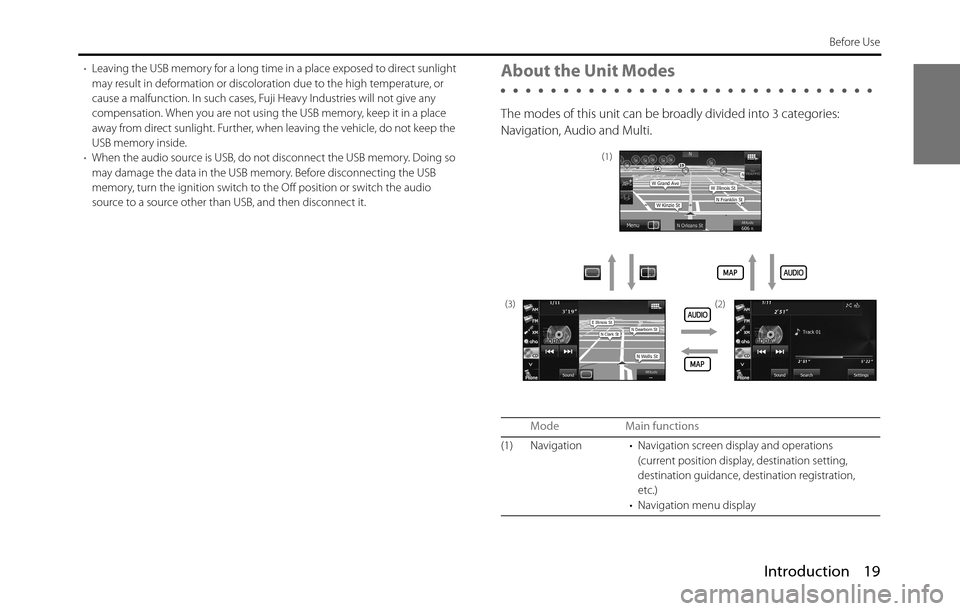
4After checking the caution screen, touch (Yes).
• This screen does not appear if the card is not the specified SD
memory card.
5When “Please eject SD card.” appears, remove the SD
memory card.
• Press in the SD memory card until you hear it “click”, let go of
the card, and then pull it straight out.
Connecting (or Disconnecting) the USB Memory
1Connect (or disconnect) the USB memory.
NOTE•This unit supports USB memory in the following formats.
-Supported class: Mass storage class
-Supported USB Ver.: USB1.0/1.1/2.0 (maximum transfer speed is same as USB
2.0)
-Maximum consumption current: Less than 1.0 A
-Supported capacities: 16 MB to 8 GB
•Do not connect USB memory devices other than those conforming to the
specifications above. There is a possibility that some USB memory devices
that do conform to specifications will not function correctly, due to many
variables. We suggest testing your USB device prior to departing to your
destination.
•This unit does not support commercially available USB hubs, multi card
readers, external hard discs or portable audio players with USB connectors.
•If the USB memory connection cord of this unit is connected to a USB device
via an extension cord, it may not function correctly.
•If you lose the data in the USB memory while using it with this unit, no
compensation will be given for the lost data. It is always a good practice to
back up data, and only access a copy for in-vehicle use.
Yes
Page 21 of 334

Introduction 19
Before Use
•Leaving the USB memory for a long time in a place exposed to direct sunlight
may result in deformation or discoloration due to the high temperature, or
cause a malfunction. In such cases, Fuji Heavy Industries will not give any
compensation. When you are not using the USB memory, keep it in a place
away from direct sunlight. Further, when leaving the vehicle, do not keep the
USB memory inside.
•When the audio source is USB, do not disconnect the USB memory. Doing so
may damage the data in the USB memory. Before disconnecting the USB
memory, turn the ignition switch to the Off position or switch the audio
source to a source other than USB, and then disconnect it.About the Unit Modes
The modes of this unit can be broadly divided into 3 categories:
Navigation, Audio and Multi.
Mode Main functions
(1) Navigation • Navigation screen display and operations
(current position display, destination setting,
destination guidance, destination registration,
etc.)
• Navigation menu display
(1)
(3) (2)
Page 22 of 334
20 Introduction
Before Use
Selecting a Mode
Press the following buttons to select the screens.
■Navigation screen
1Press .
■Audio operations screen
1Press .
(2) Audio • Receiving AM/FM/XM radio
• Aha operations
• CD, MP3/WMA player operations
• USB music/video file player operations
•AUX
• iPod operations
• Bluetooth audio operations
• Audio menu display
• Audio source selection
• Handsfree operation screen display
• Setup menu display
(3) Multi • Navigation screen and Audio operations screen
selection
• Audio source selection
• Audio source operations
• Navigation screen display and operations
(current position display, destination setting,
destination guidance, destination registration,
etc.)
* Some functions cannot be operated while driving.
Mode Main functions
Page 23 of 334
Introduction 21
Before Use
• Displayed while the audio function is operating. For the audio
operations, see “Switching the Audio Source” on Page 189.
• Displayed when the audio function is off.
■Multi screen
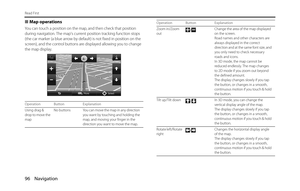
You can position the Navigation screen and Audio operations screen on
the left and right to display them at the same time.
1On the Navigation screen, touch .
• The Multi screen appears.
NOTEOn the Multi screen, touch to return to the Navigation screen.
■About the on-screen display
If a disc is loaded while the Navigation screen is displayed, an on-screen
display appears.
After a short time, the on-screen display disappears automatically.
On-screen display
Page 24 of 334

22 Introduction
Before Use
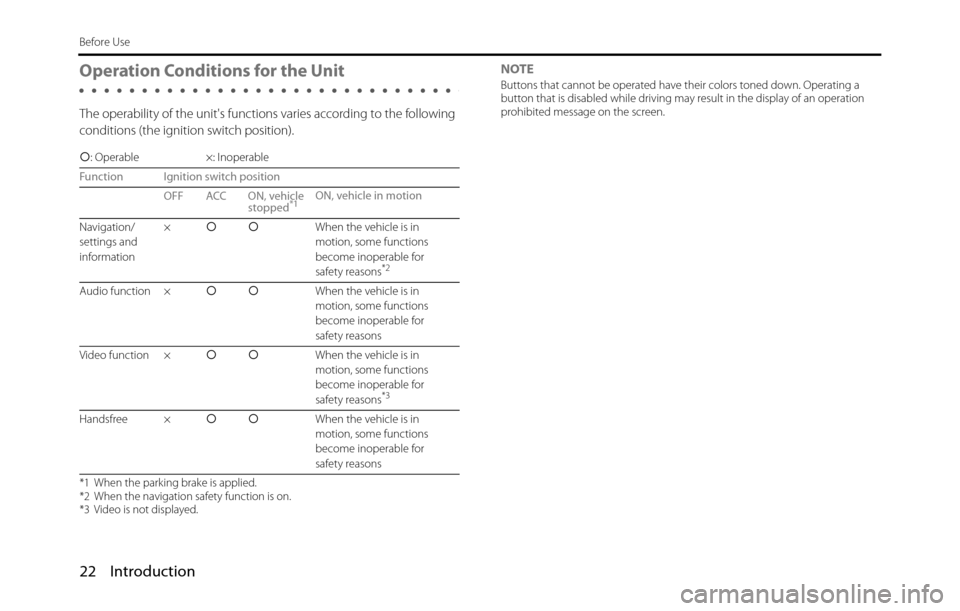
Operation Conditions for the Unit
The operability of the unit's functions varies according to the following
conditions (the ignition switch position).NOTE
Buttons that cannot be operated have their colors toned down. Operating a
button that is disabled while driving may result in the display of an operation
prohibited message on the screen.
c: Operable ×: Inoperable
Function Ignition switch position
OFF ACC ON, vehicle
stopped
*1ON, vehicle in motion
Navigation/
settings and
information× c cWhen the vehicle is in
motion, some functions
become inoperable for
safety reasons
*2
Audio function × c cWhen the vehicle is in
motion, some functions
become inoperable for
safety reasons
Video function × c cWhen the vehicle is in
motion, some functions
become inoperable for
safety reasons
*3
Handsfree × c cWhen the vehicle is in
motion, some functions
become inoperable for
safety reasons
*1 When the parking brake is applied.
*2 When the navigation safety function is on.
*3 Video is not displayed.