2016 VOLVO XC90 T8 ignition
[x] Cancel search: ignitionPage 152 of 546

||
INSTRUMENTS AND CONTROLS
* Option/accessory, for more information, see Introduction.
150
Ground lightingThe ground lighting comes on or goes off when a door is opened or closed.
Doorsill lightingThe doorsill lighting comes on or goes off when adoor is opened or closed.
Ambience lighting1. In the center display's Top view, select
SettingsMy CarLightsAmbient
Lighting
2. Choose among the following settings:
•Under
Ambient Light Intensity, choose:Off, Low or High.
•
Ambient Light Level: Reduced or Full.
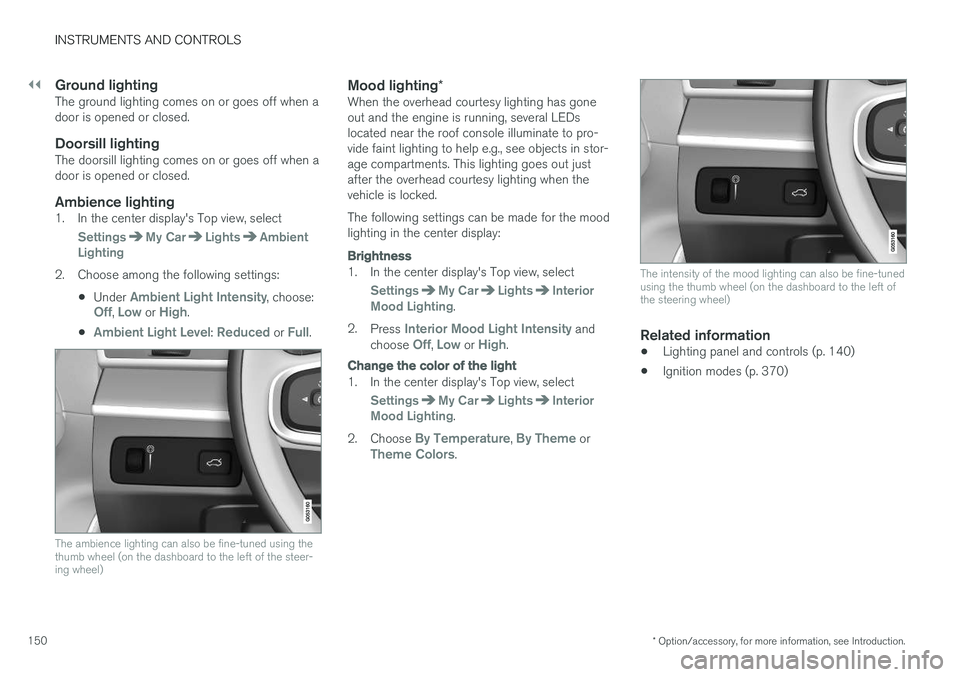
The ambience lighting can also be fine-tuned using the thumb wheel (on the dashboard to the left of the steer-ing wheel)
Mood lighting *When the overhead courtesy lighting has gone out and the engine is running, several LEDslocated near the roof console illuminate to pro-vide faint lighting to help e.g., see objects in stor-age compartments. This lighting goes out justafter the overhead courtesy lighting when thevehicle is locked. The following settings can be made for the mood lighting in the center display:
Brightness
1. In the center display's Top view, select
SettingsMy CarLightsInterior
Mood Lighting.
2. Press
Interior Mood Light Intensity and
choose Off, Low or High.
Change the color of the light
1. In the center display's Top view, select
SettingsMy CarLightsInterior
Mood Lighting.
2. Choose
By Temperature, By Theme orTheme Colors.
The intensity of the mood lighting can also be fine-tuned using the thumb wheel (on the dashboard to the left ofthe steering wheel)
Related information
• Lighting panel and controls (p. 140)
• Ignition modes (p. 370)
Page 159 of 546

INSTRUMENTS AND CONTROLS
}}
157
Continuous wipersMove the lever upward for the wipers to operate at normal speed.
NOTE
Before using the wipers, be sure that the wiper blades are not frozen onto the wind-shield and that any ice or snow on the wind-shield has been removed.
Move the lever upward to the next posi- tion for maximum wiper speed.
Related information
•Tailgate window wiper and washer (p. 159)
• Activating/deactivating the rain sensor (p. 157)
• Windshield and headlight washers (p. 158)
Activating/deactivating the rain sensor
The rain sensor monitors the amount of water on the windshield and automatically regulates wiperspeed.
Right-side steering wheel lever
Rain sensor button
Thumb wheel for adjusting sensitivity/interval wiper speed
When the rain sensor is activated, the
symbol will illuminate in the instrument panel.
Activating the rain sensorWhen activating the rain sensor, the engine must be running or the ignition must be in mode I or II.
The windshield wiper lever must also be in posi-tion 0 or in the single sweep position. Activate the rain sensor by pressing the
button. The wipers will make one sweep. If the lever is pressed down, the wipers will make additional sweeps across the windshield. Move the thumb wheel upward for increased sen- sitivity or downward for decreased sensitivity. Thewipers will make one extra sweep if the thumbwheel is moved upward.
Deactivating the rain sensor
Deactivate the rain sensor by pressing the button or by moving the lever upward to another wiper position. The rain sensor is automatically deactivated in ignition mode
0.
The rain sensor is also automatically deactivated when the wipers blades are put in the serviceposition and will reactivate when the wipers havebeen returned to the normal operating position.
CAUTION
Deactivate the rain sensor when washing the vehicle in an automatic car wash if the engine is running or if the ignition is left in mode I or
II . The symbol in the instrument panel will go
out. If the rain sensor is not deactivated, the wipers may start inadvertently in the car washand could be damaged.
Page 165 of 546

INSTRUMENTS AND CONTROLS
* Option/accessory, for more information, see Introduction.163
Power front seats*
The power front seats offer a number of adjust- ment possibilities to help maximize comfort andergonomics.
The power seats have an overload protector that
activates if a seat is blocked by any object. If this occurs, put the ignition in mode I or 0 and wait
for a short period before operating the seat again. The power seat(s) can be adjusted for a short period after unlocking the door with the remotekey without switching the ignition on. Seat adjust-ment can always be made when the engine isrunning.
Related information
• Multifunctional front seats
* (p. 165)
• Adjusting power front seats
* (p. 163)
• Using the power seat memory function
*
(p. 164)
• Manually operated front seats (p. 162)
• Turning seat heating
* on and off (p. 199)
• Turning front seat ventilation
* on and off
(p. 200)
• Easy access to and from the driver seat (p. 169)
Adjusting power front seats
*
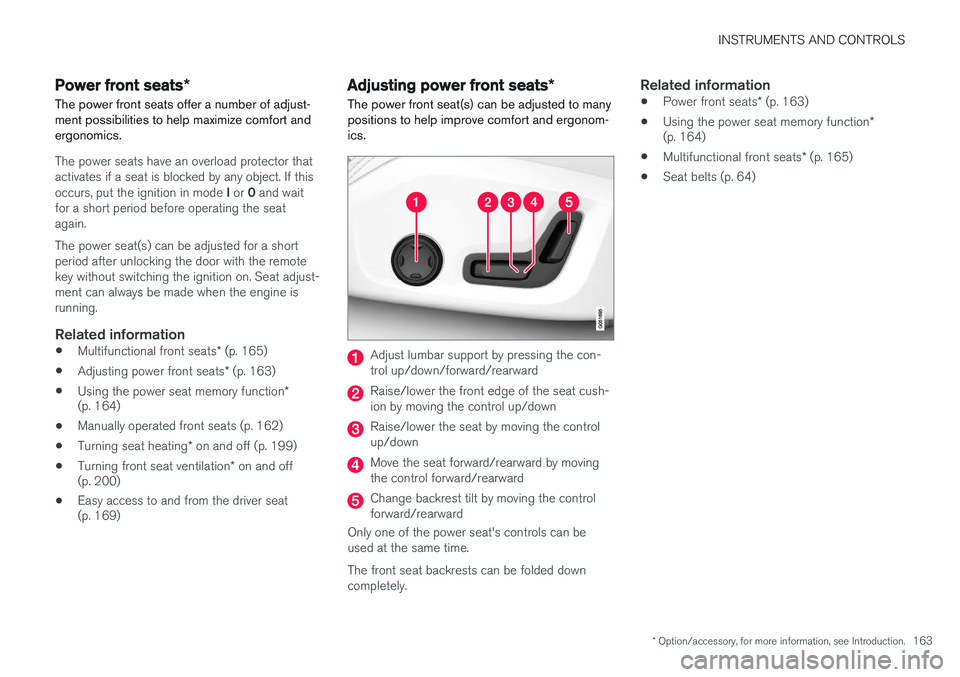
The power front seat(s) can be adjusted to many positions to help improve comfort and ergonom-ics.
Adjust lumbar support by pressing the con- trol up/down/forward/rearward
Raise/lower the front edge of the seat cush- ion by moving the control up/down
Raise/lower the seat by moving the control up/down
Move the seat forward/rearward by moving the control forward/rearward
Change backrest tilt by moving the control forward/rearward
Only one of the power seat's controls can beused at the same time. The front seat backrests can be folded down completely.
Related information
• Power front seats
* (p. 163)
• Using the power seat memory function
*
(p. 164)
• Multifunctional front seats
* (p. 165)
• Seat belts (p. 64)
Page 167 of 546

INSTRUMENTS AND CONTROLS
}}
* Option/accessory, for more information, see Introduction.165
2.
Press and release the M button. The indica-
tor light in the button will illuminate.
3. Press button 1, 2 or 3 within 3 seconds to
store the current position of the seat/ mirrors/head-up display in the selected but-ton.
> When the position has been stored in the selected button, an audible signal will sound and the indicator light in the M but-
ton will go out.
If none of the buttons (1, 2 or 3) is pressedwithin 3 seconds, the indicator light in the M but-
ton will go out and the position will not be stored.
The seat/mirrors/head-up display must be moved before a new position can be stored.
Using a stored positionA stored position can be used when one of thefront doors is opened or closed:
Front door open
–Press one of the bottons ( 1–3 ) briefly. The
seat, door mirrors and head-up display will move to the positions stored in that button.
Front door closed
–Press and hold one of the buttons ( 1–3 ) until
the seat, door mirrors and head-up display have moved to the positions stored in thatbutton. The seat, door mirrors and head-up display willstop automatically if the button is released beforethe they have reached the stored positions.
WARNING
•
Because the driver's seat can be adjusted with the ignition off, children should neverbe left unattended in the vehicle.
• Movement of the seat can be STOPPEDat any time by pressing any button on thepower seat control panel.
• Do not adjust the seat while driving. Theseat should be adjusted so that the brakepedal can be depressed fully. In addition,position the seat as far rearward as com-fort and control allow.
• The seat rails on the floor must not beobstructed in any way when the seat is inmotion.
Related information
•
Adjusting power front seats
* (p. 163)
• Power front seats
* (p. 163)
Multifunctional front seats *
In addition to the adjustment settings offered by the power seat controls, the multifunction controlprovides additional possibilities for convenienceand comfort.
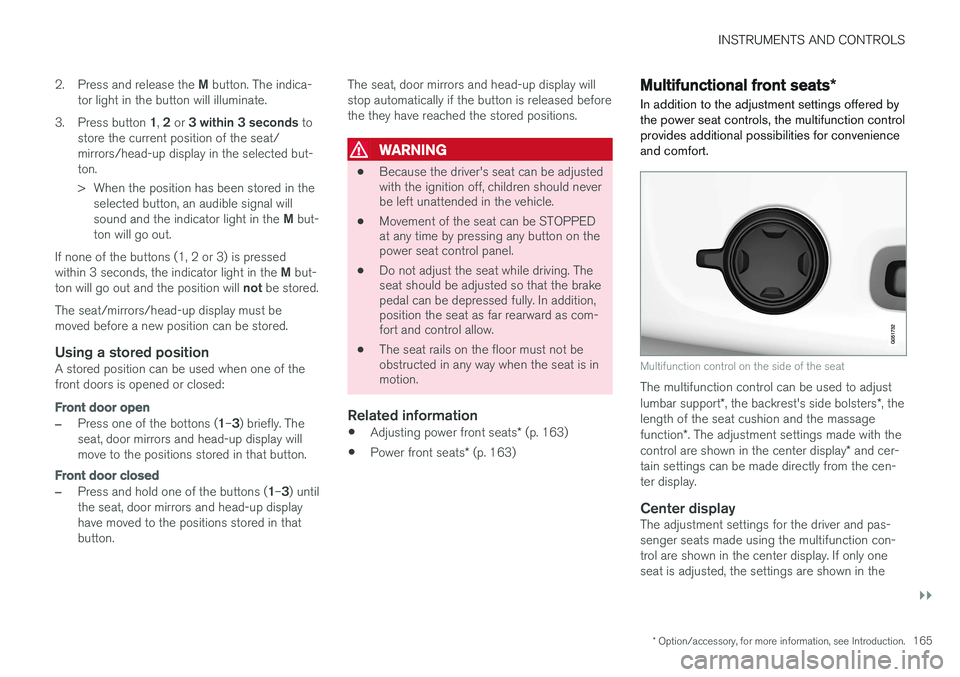
Multifunction control on the side of the seat
The multifunction control can be used to adjust lumbar support *, the backrest's side bolsters *, the
length of the seat cushion and the massagefunction *. The adjustment settings made with the
control are shown in the center display * and cer-
tain settings can be made directly from the cen- ter display.
Center displayThe adjustment settings for the driver and pas-senger seats made using the multifunction con-trol are shown in the center display. If only oneseat is adjusted, the settings are shown in the
Page 171 of 546

INSTRUMENTS AND CONTROLS
}}
* Option/accessory, for more information, see Introduction.169
Related information
•Multifunctional front seats
* (p. 165)
Rear seats
Your vehicle has three rows of seats. The sec- ond row of seats has three individual seatingpositions and the optional third row of seats hastwo individual seating positions.
Related information
• Adjusting the second row backrest tilt (p. 171)
• Adjusting the second row head restraints(p. 170)
• Folding the second row backrests (p. 172)
• Folding the third row backrests (p. 175)
• Getting into and out of the third row of seats(p. 174)
• Moving the second row seats forward/rear-ward (p. 174)
• Turning seat heating
* on and off (p. 199)
Easy access to and from the driver seat
The
Easy Ingress & Egress function can be
used to make getting into and out of the driver's seat easier.
Easy egressTo make getting out of the driver's seat easier, the seat is lowered, the side bolsters deflate andthe seat cushion retracts at the same time. The easy egress function must be activated in the center display. 1. Move the gear selector to the P position.
2. Switch off the engine.
3. Unbuckle the seat belt.
4. Open the driver's door. > The seat, side bolsters and seat cushionall move at the same time to a position that makes it easier to leave the seat.
Easy ingressThe seat remains in the easy egress positionwhen the driver leaves the vehicle. When thedriver returns to the vehicle, the seat is in a posi-tion to make sitting down easier. When the driveris seated, has buckled the seat belt and has put the ignition in at least mode 1, the seat will return
to the driver's preferred position.
Page 172 of 546

||
INSTRUMENTS AND CONTROLS
* Option/accessory, for more information, see Introduction.
170
Activating/deactivating the function1.
In the center display, select SettingsMy
Car
Seats.
2. Activate/deactivate the function by select- ing/deselecting the
Easy Ingress & Egressbox.
Related information
• Power front seats
* (p. 163)
• Ignition modes (p. 370)
Adjusting the second row head restraints
The center head restraint in the second row of seats can be adjusted to suit the height of theseat's occupant. The outboard head restraints can be folded down * for a better rear view.
Adjusting the center head restraint
Center head restraint button
The center head restraint should be adjusted up or down according to the passenger's height. Therestraint should be carefully adjusted to supportthe occupant's head. To lower the head restraint, press and hold the button (see the illustration) and push the headrestraint down carefully.
WARNING
The center rear seat head restraint should only be in its lowest position when this seat isNOT occupied. When the center position isoccupied, the head restraint should be cor-rectly adjusted to the passenger
Page 212 of 546

||
LOADING AND STORAGE
* Option/accessory, for more information, see Introduction.
210 Unlocking the glove compartment
1. This function can be deactivated from the
center display's Function or Settings view:
• Go to Function view and tap
Private
locking locked.
• Go to settings and select
My CarLocking and Unlocking Feedback.
Deselect the Private Locking box.
> A pop-up window will appear.
2. Specify the code to be used to lock the glove compartment and tap
Confirm.
> The glove compartment will be unlocked.
Using the glove compartment as a cooler *
The glove compartment can be used to cool drinks or food and the cooling feature functionswhen the climate system is active (i.e., when the ignition is in mode II or when the engine is run-
ning).
Cooling activated
Cooling deactivated
–Activate/deactivate cooling by moving the control as far as possible toward the passen-ger compartment/glove compartment.
Related information
• Passenger compartment storage spaces (p. 208)
• Locking/unlocking the tailgate (p. 244)
Tunnel console The tunnel console, located between the front seats, contains a 12-volt electrical socket, cupholders and storage spaces, etc.
Storage space
Storage space with cup holders for the driver and passenger and a 12-volt socket
Storage space and USB/AUX sockets under the armrest
Climate control panel for the rear seats
*
NOTE
One of the alarm sensors, which is sensitive to metallic objects, is located under the tunnelconsole cup holders. Avoid leaving coins,keys, etc., in the cup holders because theymay inadvertently trigger the alarm.
Page 215 of 546

LOADING AND STORAGE
}}
213
trained and qualified Volvo service techni- cian.
Failure to follow the points above could result in electrical shock and/or serious injury.Status indication
An LED (Light Emitting Diode) on the socket indicates its status:
Status indicator lightSocket statusAction
Steady green lightThe socket is providing current to a connected device.None.
Flashing orange lightThe socket's voltage converter is too hot (the connected device draws too much current, etc. or the temperature in the passenger compartment is very high).Unplug the device, let the converter cool down and plug in the device again.
The connected device draws too much current (constantly or currently) or is not functioning properly.None. The device should not be plugged into the socket.
Indicator light offThe socket has not detected a plugged in device.Be sure the device is correctly plugged into the socket.
The socket is not active.Put the vehicle's ignition in at least mode I.
The socket has been active but has been deactivated.Start the engine and/or charge the start battery.
If a problem persists, have the socket checked by a trained and qualified Volvo service technician.