2016 MERCEDES-BENZ G-CLASS SUV oil level
[x] Cancel search: oil levelPage 12 of 261

Electromagnetic compatibility
Declaratio nofconformit y................ 22
Emergenc ycall9 99 or 112 .............. 179
Emergenc ykey
Unlocking the driver' sdoor.............. 62
Emergenc ykey element
Function/note s................................ 58
Genera lnotes .................................. 58
Inserting .......................................... 59
Locking vehicl e................................ 62
Removing ......................................... 58
Emergenc yrelease
Driver's doo r.................................... 62
Emergenc yunlocking
Vehicl e............................................. 62
Engine
Displa ymessage ............................ 146
ECO start/stop function .................. 97
Engine number ............................... 250
Jump-starting ................................. 227
Running irregularly ......................... 100
Starting problems .......................... 100
Starting the engine with the key ...... 96
Stopping ........................................ 114
Tow-starting (vehicle )..................... 232
Warning lamp (engine diagnos-
tics) ............................................... 162
Engine electronics
Note s............................................. 248
Problem (fault) ............................... 100
Engine oil
Additives ........................................ 253
Checking the oi llev el ..................... 213
Checking the oi llev el using the
dipstick .......................................... 213
Checking the oi llev el using the
on-board compute r........................ 213
Displa ymessage ............................ 147
Filling capacity ............................... 253
Genera lnotes ................................ 252
Note sabout oilg rade s................... 252
Note sono illevel/consumption .... 213
Topping up ..................................... 213
Entering an address .......................... 182
Entering the town .............................. 182
Environmental protection
Returning an end-of-life vehicl e....... 20 ESP
®
(Electroni cStability Pro-
gram)
Characteristics ................................ .54
Deactivating/activating ................... 54
Display message ............................ 142
Function/note s................................ 53
Genera lnotes .................................. 53
Important safety guideline s............. 54
Trailer stabilisation .......................... 55
Warning lamp ................................. 159
ETS/4ETS (Electroni cTraction Sys-
tem) ...................................................... 54
Exhaust
see Exhaus tpipe
Exhaus tpipe
Cleaning ......................................... 219
Exterior lighting
Cleaning ......................................... 219
see Lights F
Factor ysettings ................................ 173
Fault message
see Display messages
File formats ........................................ 178
Filler cap
see Fuel fille rflap
Fire extinguisher .............................. .222
First-aid kit ......................................... 222
Fitting awheel
Fitting awheel ............................... 245
Lowering the vehicle ..................... .246
Preparing the vehicle ..................... 243
Raising the vehicle ......................... 244
Removing awheel .......................... 245
Securing the vehicle against roll-
ing away ........................................ 244
Flat tyre
Changing awheel/fitting the
spare wheel ................................... 243
Preparing the vehicle ..................... 224
Foldin gthe seat backrest (rear)
forwards/back .................................. 201
Frequencies
Mobile phone ................................. 248
Two-way radio ................................ 248 Index
9
Page 114 of 261

AdBlue
®
Genera lnotes To function properly, BlueTE
Cexhaust gas after-
treatment must be operated with the reducing
agent AdBlue ®
.
When the supply of AdBlue ®
is almost used up,
the Refill AdBlue See Owner's Manual Refill AdBlue See Owner's Manual
message is shown in the multifunction display .A
warning tonea lso sounds.
If the Refill AdBlue No start in Xkm
Refill AdBlue No start in Xkm
message is shown in the multifunction display,
you can still drive the vehicle over the distance
shown. If AdBlue ®
is not topped up, you will
subsequently be unable to startt he engine.
When you see the warning message, it is rec-
ommended that you fill the AdBlue ®
reservoir
with 10 litres of AdBlue ®
.T his ensures that the
AdBlue ®
supply will last until the next regular
service due date.
Further information about BlueTEC exhaust gas
aftertreatmen tand about AdBlue ®
can
be obtained from any Mercedes-Benz Service
Centre.
i You can also have the AdBlue ®
tank refilled
at aq ualified specialist workshop.
If the outside temperature is lower than Ò11 †,
it may be difficult to top up. If AdBlue ®
is frozen
and there is an active warning indicator, topping up may not be possible. Park the vehicle in a
warm place, e.g. in agarage, until AdBlue ®
has
become liquid again. Topping up is then possible
again. Alternatively, have the AdBlue ®
tank refil-
led at aqualified specialist workshop.
Before driving your vehicle outside Europe, have the AdBlue ®
supply checked at aqualified spe-
cialist workshop.
Further information about BlueTEC exhaust gas
aftertreatmen tand about AdBlue ®
can
be obtained from any Mercedes-Benz Service
Centre.
Important safety notes AdBlue
®
is aw ater-soluble fluid for the exhaust
ga sa ftertreatment of diese lengines. It is:
R non-toxic
R colourless and odourless
R non-flammable If you open the AdBlue
®
tank ,small amounts of
ammonia vapourm ay be released.
Ammonia vapours have apungent odoura nd are
particularly irritating to the skin, mucous mem-
branes and eyes.Y ou may experience aburning
sensation in youre yes,nose and throat. You
may also experience coughing and watery eyes.
Do not inhalea ny ammonia vapours that may be
released. Fill the AdBlue ®
tank only in well-ven-
tilated areas.
Do not swallow AdBlue ®
or let it come into con-
tact with skin, eyes or clothing. Keep AdBlue ®
awayf rom children.
If you or others come into contact with AdBlue ®
,
observe the following:
R immediately rinse AdBlue ®
off yours kin with
soap and water.
R if AdBlue ®
comes into contact with youre yes,
immediately rinse them thoroughl ywith clean
water. Seek medica lattention immediately.
R if AdBlue ®
is swallowed, immediately rinse
yourm outh out thoroughly. Drink plenty of
water. Seek medica lattention immediately.
R change immediately out of clothing that has
come into contact with AdBlue ®
.
! Only use AdBlue ®
in accordance with
ISO 22241. Do not mix any additives with
AdBlue ®
,a nd do not dilute AdBlue ®
with
water. This may destroy the BlueTEC exhaust
gas aftertreatment system.
! In order to fill the AdBlue ®
tank, the vehicle
must be parked on alevel surface. The
AdBlue ®
tank can only be filledasi ntended
with the vehicle parked on alevel surface.
Fluctuations in capacity willt hus be avoided.
Filling avehicle standing on an uneven sur-
face is not permitted. There is adanger of
overfilling, which can cause damage to Blue-
TEC exhaust gas aftertreatment components.
! Surfaces which have come into contact with
AdBlue ®
whiler efilling shouldber insed
immediately with water, or remove AdBlue ®
with amoist cloth and cold water. If AdBlue ®
has already crystallised, use asponge and
cold water to clean the area.A dBlue®
residue
crystallises after acertain amount of time and
soils the affected surfaces.
! AdBlue ®
is not afuel additive and must not
be addedtot he fuel tank. If AdBlue ®
is added Refuelling
111Driving and parking Z
Page 122 of 261
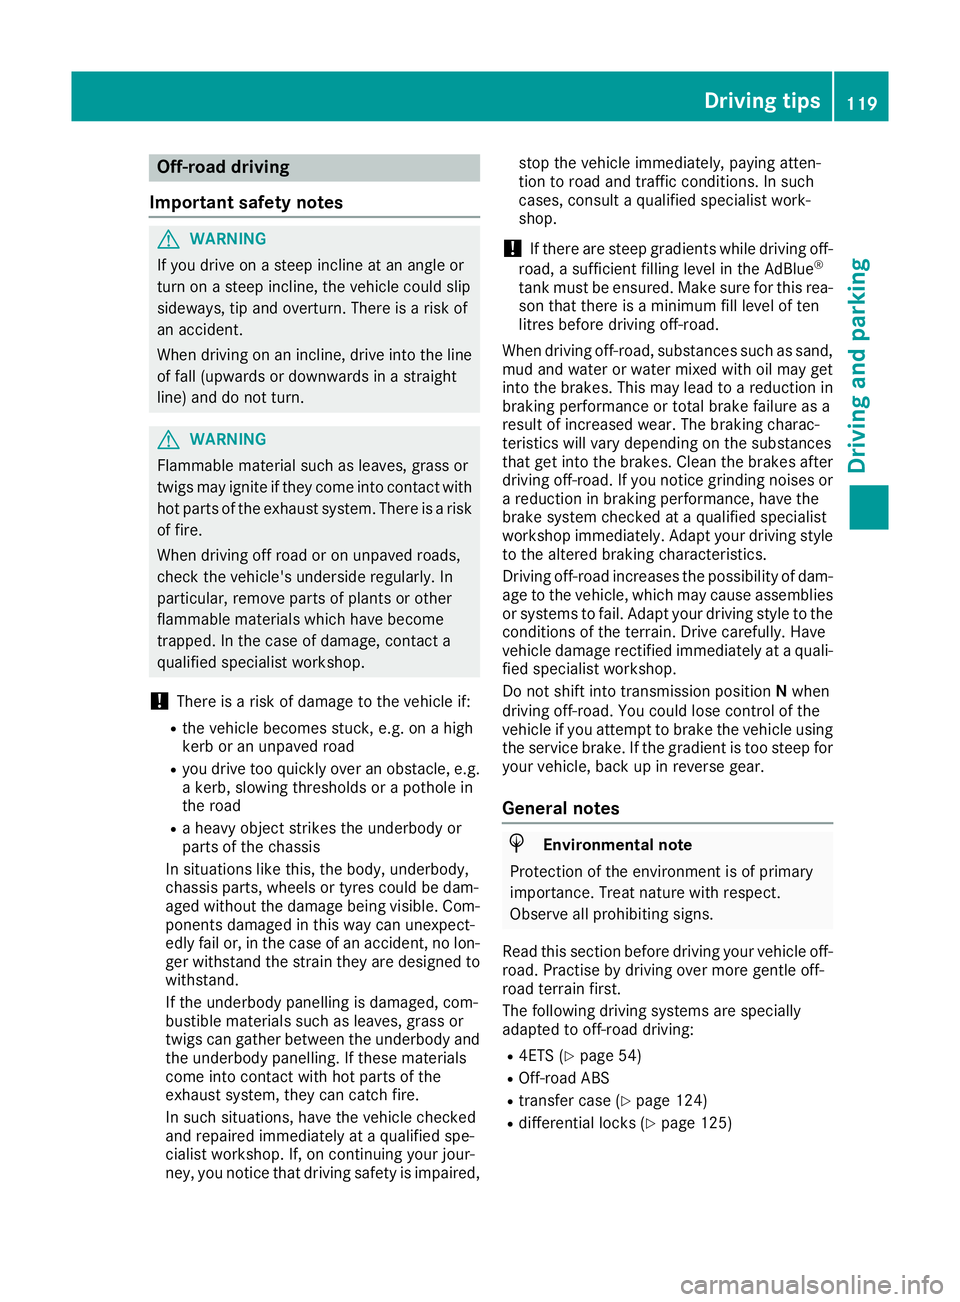
Off-road driving
Important safet ynotes G
WARNING
If you driv eonas teep incline at an angle or
turn on asteep incline, the vehicl ecoulds lip
sideways, tip and overturn. There is arisk of
an accident.
When driving on an incline, drive into the line of fall (upwards or downward sinastraight
line) and do not turn. G
WARNING
Flammable materia lsuch as leaves, grass or
twigs may ignite if they come into contact with hot parts of the exhaust system. There is arisk
of fire.
When driving off road or on unpaved roads,
check the vehicle's underside regularly. In
particular, remove parts of plants or other
flammable materials which have become
trapped. In the case of damage, contact a
qualified specialist workshop.
! There is
arisk of damage to the vehicl eif:
R the vehicl ebecome sstuck, e.g. on ahigh
kerb or an unpaved road
R you drive too quickly over an obstacle, e.g.
ak erb, slowing thresholds or apothol ein
the road
R ah eavy object strikes the underbody or
parts of the chassis
In situations like this, the body ,underbody,
chassi sparts, wheels or tyres coul dbedam-
agedw ithout the damage being visible. Com-
ponents damaged in this way can unexpect-
edlyf ail or, in the case of an accident, no lon-
ger withstand the strain they are designed to withstand.
If the underbody panelling is damaged, com-
bustible materials such as leaves, grass or
twigs can gather between the underbody and
the underbody panelling. If these materials
come into contact with hot parts of the
exhaust system, they can catch fire.
In such situations, have the vehicl echecked
and repaired immediatel yataqualified spe-
cialist workshop. If, on continuing yourj our-
ney, you notice that driving safety is impaired, stop the vehicle immediately
,paying atten-
tion to road and traffic conditions. In such
cases, consult aqualified specialist work-
shop.
! If there are steep gradients while driving off-
road, asufficient filling level in the AdBlue ®
tank must be ensured. Make sure for this rea- son that there is aminimum fill level of ten
litres before driving off-road.
When driving off-road, substances such as sand,
mud and water or water mixed with oil may get
into the brakes. This may lead to areduction in
braking performance or total brake failure as a
result of increased wear. The braking charac-
teristics will vary depending on the substances
that get into the brakes. Cleant he brakes after
driving off-road. If you notice grinding noises or ar eduction in braking performance, have the
brake system checked at aqualified specialist
workshop immediately.A dapt your driving style
to the altered braking characteristics.
Driving off-road increases the possibility of dam- age to the vehicle, which may cause assemblies
or systems to fail. Adapt your driving style to the
conditions of the terrain. Drive carefully.H ave
vehicle damage rectified immediately at aquali-
fied specialist workshop.
Do not shift into transmission position Nwhen
driving off-road. You could lose control of the
vehicle if you attempt to brake the vehicle using
the service brake. If the gradient is too steep for your vehicle, back up in reverse gear.
General notes H
Envi
ronmenta lnote
Protection of th eenvironmen tisofprimary
importance. Treat nature with respect.
Observe all prohibiting signs.
Read this sectio nbefore driving your vehicle off-
road. Practis ebydriving over mor egentle off-
road terrain first.
The following driving systems are specially
adapted to off-road driving:
R 4ETS (Y page 54)
R Off-road ABS
R transfer case (Y page 124)
R differential lock s(Ypage 125) Driving tips
119Driving and parking Z
Page 123 of 261
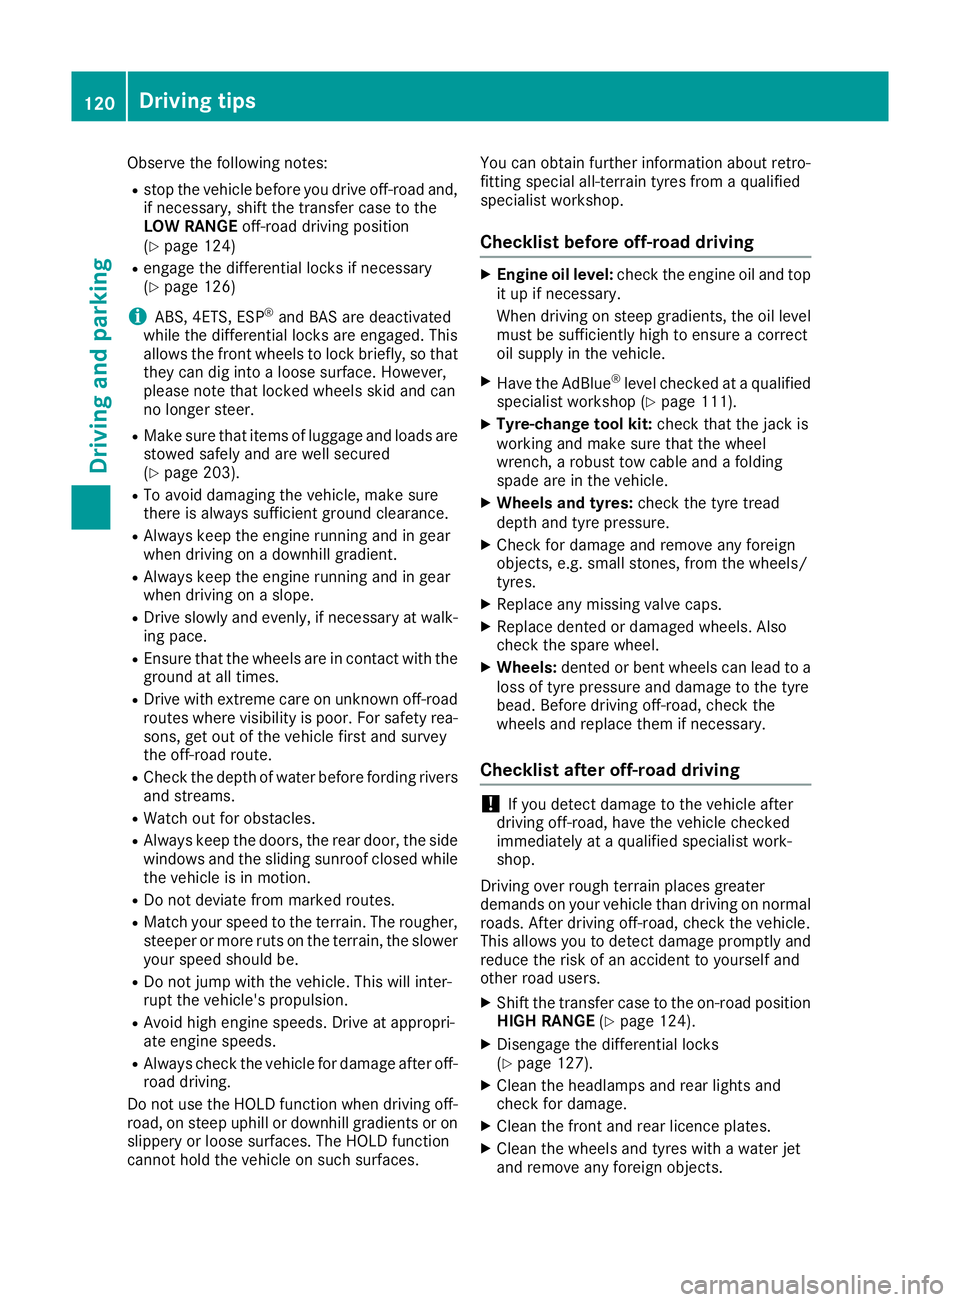
Observe the following notes:
R stop the vehicle before you drive off-road and,
if necessary, shift the transfer case to the
LOW RANGE off-road driving position
(Y page 124)
R engage the differential locks if necessary
(Y page 126)
i ABS,4
ETS, ESP ®
and BAS are deactivated
while the differential locks are engaged. This
allowst he front wheels to lock briefly, so that
they can dig into aloose surface. However,
please note that locked wheels skid and can
no longer steer.
R Make sure that items of luggage and loads are
stowed safely and are well secured
(Y page 203).
R To avoid damaging the vehicle, make sure
there is always sufficient ground clearance.
R Alwaysk eep the engine running and in gear
when driving on adownhill gradient.
R Alwaysk eep the engine running and in gear
when driving on aslope.
R Drive slowly and evenly, if necessary at walk-
ing pace.
R Ensure that the wheels are in contact with the
ground at all times.
R Drive with extreme care on unknown off-road
routes where visibility is poor. For safety rea- sons, get out of the vehicle first and survey
the off-road route.
R Check the depth of water before fording rivers
and streams.
R Watch out for obstacles.
R Alwaysk eep the doors, the rear door, the side
windows and the sliding sunroof closed while
the vehicle is in motion.
R Do not deviate from marked routes.
R Match your speed to the terrain. The rougher,
steeper or more ruts on the terrain, the slower your speed should be.
R Do not jump with the vehicle. This will inter-
rupt the vehicle's propulsion.
R Avoid high engine speeds. Drive at appropri-
ate engine speeds.
R Alwaysc heck the vehicle for damage after off-
road driving.
Do not use the HOLD function when driving off- road, on steep uphillord ownhill gradients or on
slippery or loose surfaces. The HOLD function
cannot hold the vehicle on such surfaces. You can obtain further information aboutr
etro-
fittin gspecial all-terrain tyres from aqualified
specialis tworkshop.
Checklist before off-roa ddriving X
Engine oil level: check the engine oil and top
it up if necessary.
When driving on steep gradients, the oil level must be sufficiently high to ensure acorrect
oil supply in th evehicle.
X Hav ethe AdBlue ®
level checked at aqualified
specialist workshop (Y page 111).
X Tyre-change tool kit: check that thejackis
working and mak esure that th ewheel
wrench, arobus ttow cable and afolding
spade are in th evehicle.
X Wheels and tyres: check thetyret read
dept hand tyr epressure.
X Chec kfor damage and remove any foreign
objects, e.g .small stones, fro mthewheels/
tyres.
X Replace any missing valv ecaps.
X Replace dented or damage dwheels .Also
check th espare wheel.
X Wheels: dented or ben twheels can lead to a
loss of tyr epressure and damage to th etyre
bead. Before driving off-road, check the
wheels and replac ethemifn ecessary.
Checklist after off-roa ddriving !
If you detect damage to the vehicl
eafter
driving off-road, have the vehicle checked
immediately at aqualified specialist work-
shop.
Driving over rough terrain places greater
demands on your vehicle than driving on normal
roads. After driving off-road, check the vehicle.
This allowsy ou to detect damage promptly and
reduce the risk of an accident to yourselfa nd
other road users.
X Shift the transfer case to the on-road position
HIGH RANGE (Ypage 124).
X Disengage the differential locks
(Y page 127).
X Cleant he headlamps and rear lights and
check for damage.
X Cleant he front and rear licence plates.
X Cleant he wheels and tyres with awater jet
and remove any foreign objects. 120
Drivingt
ipsDriving and parking
Page 140 of 261
X
Press the 6ora button to start dial-
ling.
or X To exit the redial memory: press the%
button. Assistance menu
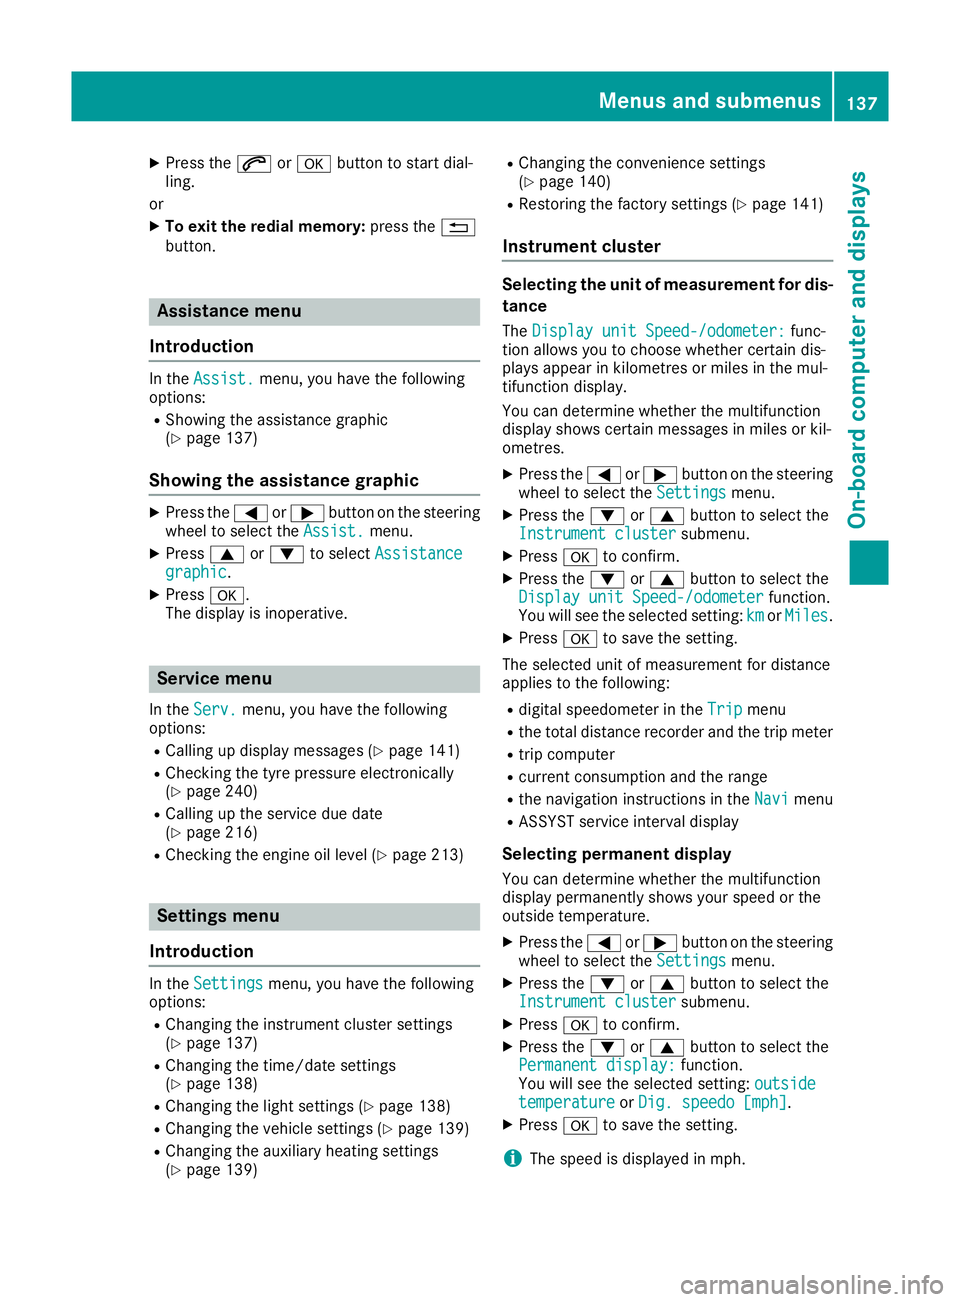
Introduction In the
Assist.
Assist. menu, you have the following
options:
R Showin gthe assistance graphic
(Y page 137)
Showing the assistanc egraphic X
Press the =or; button on the steering
wheel to select the Assist.
Assist. menu.
X Press 9or: to select Assistance
Assistance
graphic
graphic.
X Press a.
The displa yisinoperative. Service menu
In the Serv.
Serv. menu, you have the following
options:
R Calling up display messages (Y page 141)
R Checking the tyre pressure electronically
(Y page 240)
R Calling up the service due date
(Y page 216)
R Checking the engine oil level (Y page 213)Settings menu
Introduction In the
Settings
Settings menu, you have the following
options:
R Changing the instrument cluster settings
(Y page 137)
R Changing the time/date settings
(Y page 138)
R Changing the light settings (Y page 138)
R Changing the vehicle settings (Y page 139)
R Changing the auxiliary heating settings
(Y page 139) R
Changing the convenience settings
(Y pag e140)
R Restorin gthe factory settings (Y page 141)
Instrumen tcluster Selecting the uni
tofmeasurement for dis-
tance
The Display unit Speed-/odometer: Display unit Speed-/odometer: func-
tion allowsy ou to choose whether certain dis-
playsa ppear in kilometres or miles in the mul-
tifunction display.
You can determine whether the multifunction
display shows certain messages in miles or kil-
ometres.
X Press the =or; button on the steering
wheel to select the Settings Settingsmenu.
X Press the :or9 button to select the
Instrument cluster
Instrument cluster submenu.
X Press ato confirm.
X Press the :or9 button to select the
Display unit Speed-/odometer
Display unit Speed-/odometer function.
You will see the selected setting: km
kmorMiles
Miles.
X Press ato save the setting.
The selected unit of measurement for distance
applies to the following:
R digital speedometer in the Trip Tripmenu
R the total distance recorder and the trip meter
R trip computer
R current consumption and the range
R the navigation instruction sintheNavi
Navi menu
R ASSYST service interval display
Selecting permanent display You can determine whether the multifunction
displayp ermanently shows your speed or the
outside temperature.
X Press the =or; button on the steering
wheel to select the Settings
Settingsmenu.
X Press the :or9 button to select the
Instrument cluster
Instrument cluster submenu.
X Press ato confirm.
X Press the :or9 button to select the
Permanent display:
Permanent display: function.
You will see the selected setting: outside
outside
temperature
temperature orDig. speedo [mph]
Dig. speedo [mph].
X Press ato save the setting.
i The speed is displayed in mph. Menus and submenus
137On-boardcomputer and displays Z
Page 150 of 261
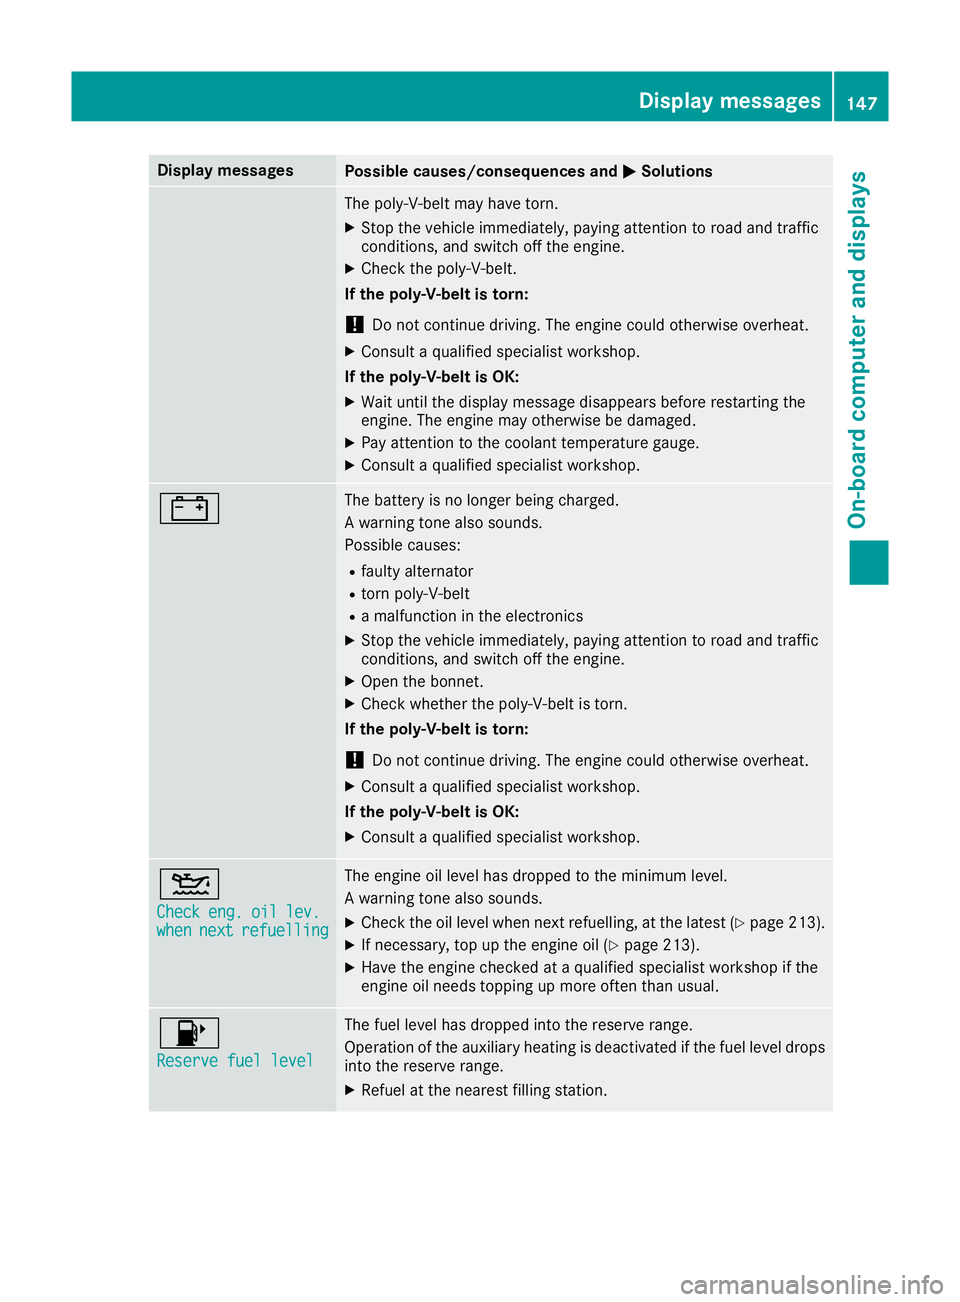
Display messages
Possible causes/consequence
sand M
MSolutions The poly-V-belt may have torn.
X Stop the vehicle immediately, paying attention to road and traffic
conditions, and switch off the engine.
X Check the poly-V-belt.
If the poly-V-belt is torn:
! Do not continue driving. The engine could otherwise overheat.
X Consult aqualified specialist workshop.
If the poly-V-belt is OK:
X Wait until the display message disappears before restarting the
engine. The engine may otherwise be damaged.
X Pay attention to the coolant temperature gauge.
X Consult aqualified specialist workshop. # The battery is no longer being charged.
Aw
arning tonea lso sounds.
Possible causes:
R faulty alternator
R torn poly-V-belt
R am alfunction in the electronics
X Stop the vehicle immediately, paying attention to road and traffic
conditions, and switch off the engine.
X Open the bonnet.
X Check whether the poly-V-belt is torn.
If the poly-V-belt is torn:
! Do not continue driving. The engine could otherwise overheat.
X Consult aqualified specialist workshop.
If the poly-V-belt is OK: X Consult aqualified specialist workshop. 4
Check Check
eng.
eng.oil
oillev.
lev.
when
when next
nextrefuelling
refuelling The engine oil level has dropped to the minimum level.
Aw
arning tonea lso sounds.
X Check the oil level when next refuelling, at the latest (Y page 213).
X If necessary, top up the engine oil (Y page 213).
X Have the engine checked at aqualified specialist workshop if the
engine oil needs topping up more often than usual. 8
Reserve fuel level Reserve fuel level The fuel level has dropped into the reserve range.
Operation of the auxiliary heating is deactivated if the fuel level drops
into the reserve range.
X Refuel at the nearest filling station. Display me
ssages
147On-board compute rand displays Z
Page 216 of 261
Note
sono illevel Depending on your drivin
gstyle ,the vehicle
consumes up to 0.8 litres of oi lper 1,000 km.
The oi lconsumption ma ybehighe rtha nt his
when the vehicl eisnew or if yo ufrequentl ydrive
at high engine speeds.
To check the oi llev el:
R park the vehicl eonalevel surface
R the engine shoul dbeswitched off for approx-
imatel yfivem inute sifthe engine is at normal
operating temperature
R if the engine is not at normal operating tem-
perature, e.g .ifthe engine wa sonlys tarted
briefly, wait approximately 30 minute sbefore
carrying out the measurement
Checking the oil level using the oil dip-
stick X
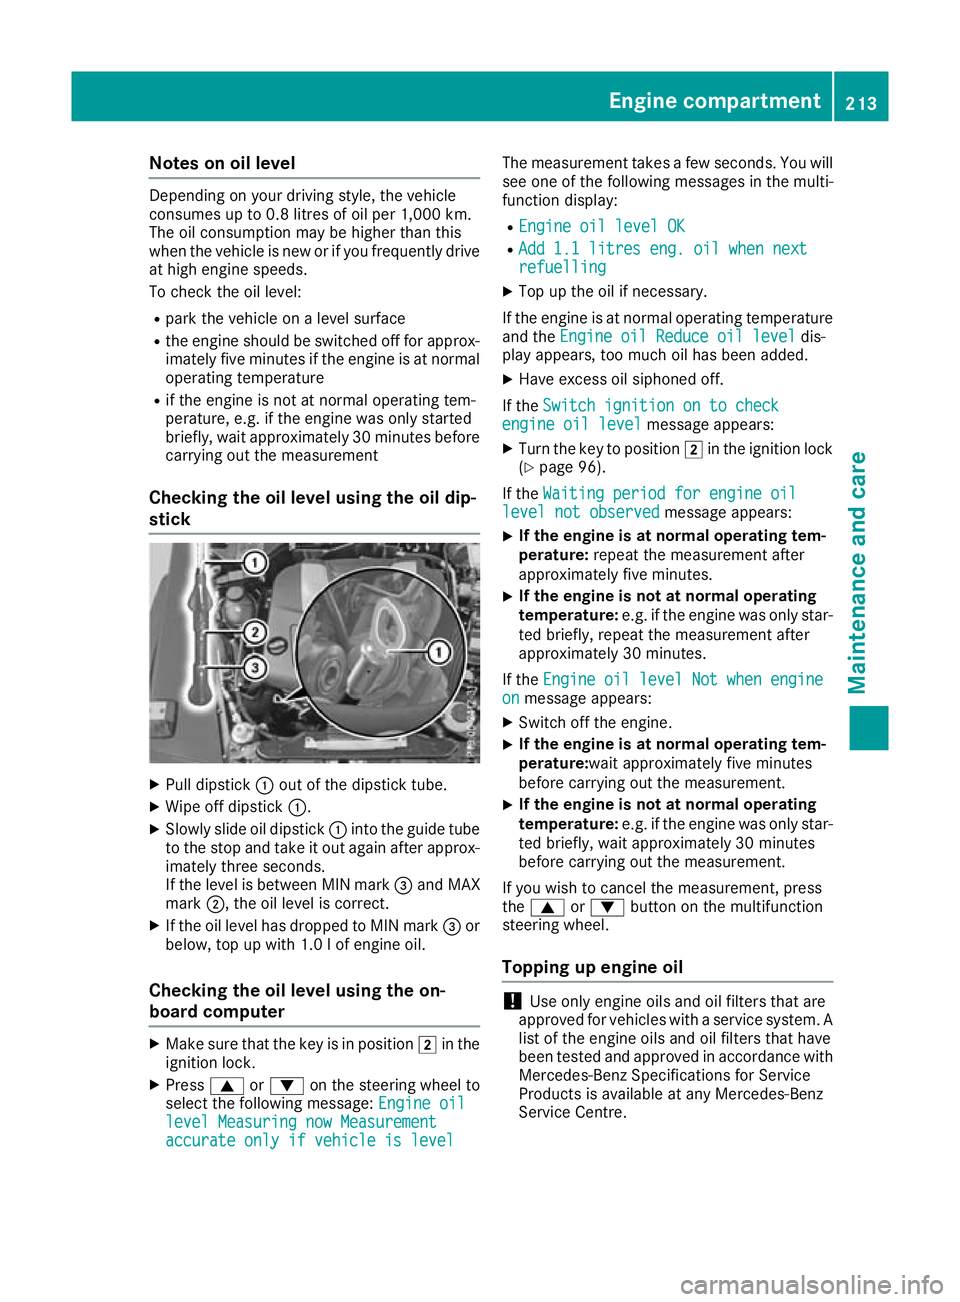
Pull dipstick :out of the dipstick tube.
X Wipe off dipstick :.
X Slowly slide oil dipstick :into the guide tube
to the stop and take it out again after approx- imately three seconds.
If the level is between MIN mark =and MAX
mark ;,the oil level is correct.
X If the oil level has dropped to MIN mark =or
below, top up with 1.0 lofe ngine oil.
Checking the oil level using the on-
board computer X
Make sure that the key is in position 2in the
ignition lock.
X Press 9or: on the steering wheel to
select the following message: Engine oil Engine oil
level Measuring now Measurement level Measuring now Measurement
accurate only if vehicle is level accurate only if vehicle is level The measurement takes
afew seconds. You will
see one of the following messages in the multi-
function display:
R Engine oil level OK Engine oil level OK
R Add 1.1 litres eng. oil when next
Add 1.1 litres eng. oil when next
refuelling refuelling
X Top up the oil if necessary.
If the engine is at normal operating temperature and the Engine oil Reduce oil level
Engine oil Reduce oil level dis-
play appears, too much oil has been added.
X Have excess oil siphoned off.
If the Switch ignition on to check
Switch ignition on to check
engine oil level
engine oil level message appears:
X Turn the key to position 2in the ignition lock
(Y page 96).
If the Waiting period for engine oil
Waiting period for engine oil
level not observed
level not observed message appears:
X If the engine is at normal operating tem-
perature:
repeat the measurement after
approximately five minutes.
X If the engine is not at normal operating
temperature:
e.g. if the engine was only star-
ted briefly, repeat the measurement after
approximately 30 minutes.
If the Engine oil level Not when engine Engine oil level Not when engine
on
on message appears:
X Switch off the engine.
X If the engine is at normal operating tem-
perature:wait approximately five minutes
before carrying out the measurement.
X If the engine is not at normal operating
temperature:
e.g. if the engine was only star-
ted briefly, wait approximately 30 minutes
before carrying out the measurement.
If you wish to cancel the measurement ,press
the 9 or: button on the multifunction
steering wheel.
Topping up engineo il !
Use only engine oils and oil filters that are
approved for vehicles with aservice system. A
list of the engine oils and oil filters that have
been tested and approved in accordance with
Mercedes-Benz Specifications for Service
Products is available at any Mercedes-Benz
Service Centre. Engine compartment
213Maintenance and care Z
Page 217 of 261
The following cause engine failure or damage
to the exhaust system:
R Use of engine oils and oil filters that have
not been expressly approved for the service
system
R Replacement of engine oil and oil filter after
the replacement interval specified by the
service system has expired
R Use of engine oil additives
! Do not add too much oil. If the oil level is
above the "max" mark on the dipstick ,too
much oil has been added. This can lead to
damage to the engine or the catalytic con-
verter .Have excess oil siphoned off. H
Environmental note
When topping up the oil, take care not to spill
any. If oil enters the soil or waterways, it is
harmful to the environment. X
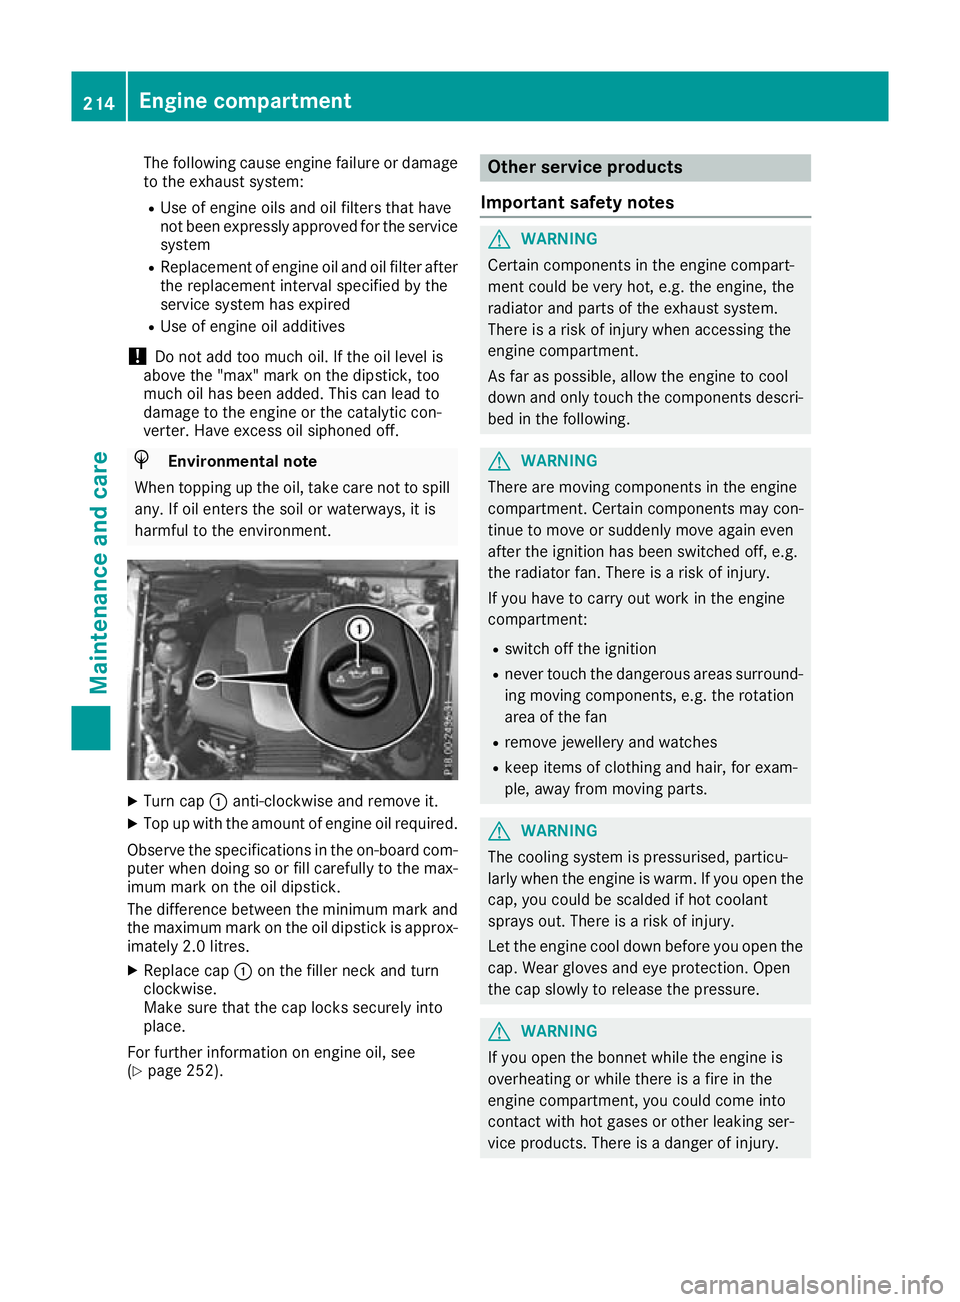
Turn cap :anti-clockwise and remove it.
X Top up with the amount of engine oil required.
Observe the specification sinthe on-board com-
puter when doing so or fill carefully to the max- imum mark on the oil dipstick.
The differenc ebetween the minimum mark and
the maximum mark on the oil dipstick is approx- imately 2.0 litres.
X Replace cap :on the filler neck and turn
clockwise.
Make sure that the cap locks securely into
place.
For further information on engine oil, see
(Y page 252). Other service products
Important safety notes G
WARNING
Certain components in the engin ecompart-
ment coul dbevery hot, e.g. the engine, the
radiator and parts of the exhaust system.
There is arisk of injury when accessing the
engine compartment.
As far as possible,a llow the engine to cool
downa nd only touch the components descri-
bed in the following. G
WARNING
There are moving components in the engine
compartment. Certain components may con-
tinue to move or suddenly move again even
after the ignitio nhas been switched off, e.g.
the radiator fan. There is arisk of injury.
If you have to carry out work in the engine
compartment:
R switch off the ignition
R never touch the dangerous area ssurround-
ing moving components, e.g. the rotation
area of the fan
R remove jewellery and watches
R keep items of clothing and hair, for exam-
ple,a wayfrom moving parts. G
WARNING
The cooling system is pressurised ,particu-
larl yw hen the engine is warm .Ifyou open the
cap, you coul dbescalded if hot coolant
sprays out. There is arisk of injury.
Let the engine cool downb efore you open the
cap. Wearg lovesand eye protection. Open
the cap slowly to release the pressure. G
WARNING
If you open the bonnet while the engine is
overheating or while there is afire in the
engine compartment, you coul dcome into
contact with hot gase sorother leaking ser-
vice products. There is adange rofinjury. 214
Engine compartmentMaintenanc
eand care