Page 49 of 232

In the Assistants menu item, the fatigue detection can be enabled/disabled
» page 139 .
Menu item
Settings
Read and observe on page 44 first.
You can change certain settings by means of the display. The current menu
item is shown in the top of the display under a line.
The following information can be selected (depending on the equipment in- stalled in the vehicle).
Language
Setting the language for the texts shown on the display.
MFD data
Switching on/off certain information of the multifunction display.
Convenience
Turn on / off or adjust the following functions.
ATA confirmSwitch on/off the audible signal indicating activation
of the anti-theft alarm system. Further information
» page 56 , Anti-theft alarm system .Central lockingSwitch on/off the central locking and automatic lock-
ing function. Further information » page 55, Individ-
ual settings .Window op.Only convenience mode for the driver window or for
all of the windows can be adjusted here. Further in-
formation » page 61, Window convenience opera-
tion .Mirror downActivate/deactivate the function for mirror lowering
on the front passenger side when in the reverse
gear a)
. Further information » page 74, Fold in pas-
senger's mirror .Mirror adjust.Activation / deactivation of the synchronous exterior
mirror function settings. Further information
» page 74 , Synchronous adjustment of the mirror .Factory settingRestore the Convenience factory setting.a)
This function is only available on vehicles with an electrically adjustable driver seat.
Lights & Vision
Turn on / off or adjust the following functions.
Coming HomeActivate/deactivate and adjust the light duration of
the COMING HOME function. Further information
» page 67 , COMING HOME / LEAVING HOME .Leaving HomeSwitch on/off and adjust the light duration of the
LEAVING HOME function. Further information
» page 67 , COMING HOME / LEAVING HOME .Dayt. r. lightActivate/deactivate the daylight driving light. Further
information » page 65, Daylight running lights (DAY
LIGHT) .Rear wiperActivate/deactivate the function of the automatic
rear window wiping. Further information » page 72,
Automatic rear window wiping .Lane ch. flashActivate/deactivate the lane ch. flash function. Fur-
ther information » page 66, “Convenience turn sig-
nal” .Travel modeActivate/deactivate the travel mode feature. Further
information » page 67, Tourist lights (Travel mode) .Factory settingRestore the factory setting for the lighting.Coasting
Enable / disable the idle position (coasting) for vehicles with automatic trans-
mission » page 124 , Driving in Neutral (Coasting) .
Time
Setting the time, the time format (24 or 12 hour) and the change of summer /
winter time.
Winter tyres
Setting of the speed and the switching on and off of the acoustic signals when
exceeding this speed. This function is, for example, used for winter tyres
where the maximum permissible speed is lower than the maximum speed of
the vehicle » page 176, Tyres and wheel rims .
As soon as the parking procedure is completed, an audible signal sounds and
the following message appears in the information display.
Winter tyres: max. speed ... km/h.Units
Setting of the units for temperature, consumption and distance travelled.
47Information system
Page 50 of 232
 .
Alt. speed dis.
Turn on / off the display of the second speedometer in mph 1)")
Assistants
Adjustment of the sound in the parking aid.
Further information » page 131, Parking assistance (ParkPilot) .
Alt. speed dis.
Turn on / off the display of the second speedometer in mph 1)
.
Further information » page 31, Display of the second speedometer .
Service
Display of the distance and the days until the next service appointment.
Further information » page 48, Service interval display .
Factory setting
Reset to factory settings of the display functions.
Compass point display
Read and observe
on page 44 first.
Applies to vehicles with factory-installed navigation system.
In the display when the ignition is on an abbreviation for the corresponding di-
rection (in relation to the current direction of travel) are displayed.
Service interval display
Introduction
This chapter contains information on the following subjects:
Prompt in the MAXI DOT display
48
Prompt in the segment display
48
Resetting the service interval display
49
The service interval display shows the time and mileage to the next service
event.
The service due date is automatically displayed on the display and this infor-
mation can be displayed manually if necessary.
The information regarding the service intervals can be found in the service
schedule.
Prompt in the MAXI DOT display
Oil change service
If an oil change service is due, the following message appears Oil service in … kmor … days.
As soon as the service interval date has been reached, the message
Oil servicenow!
appears once the ignition has been switched on!
Inspection
If an inspection is due, the following message appears:
Inspection in … km or …days.
As soon as the service interval date has been reached, the message
Inspectionnow!
appears once the ignition has been switched on!
Displaying the distance and days until the next service interval
You can view the remaining distance and days until the next service appoint- ment at any time when the ignition is switched on by going to the
Service
menu
item » page 47 , Menu item
Settings
or from the
Vehicle status
in the main menu of
the Maxi DOTdisplay. » page 44, Main menu .
The following message is displayed for 10 seconds.
Oil service … km / … daysInspection … km / … days
Prompt in the segment display
Fig. 32
Segment display: Example of a
message
1)
For models with the speedometer in mph, the second speedometer is displayed in km/h.
48Using the system
Page 51 of 232

Differenti")
Explanation of graphic » Fig. 32
Service due
Differentiating between types of service
Days remaining until the next service interval
Kilometres remaining until the next service interval 1)
Differentiating between types of service
The service type is determined by the number in position A
» Fig. 32 .
Oil change service
Inspection
Service due
If a service becomes due, then the following information is displayed for about
10 seconds » Fig. 32.
▶ The number 1 or 2 is displayed in position
A
.
▶ The symbol and the number of days remaining until the next service inter-
val are displayed in position
B
.
▶ The symbol and the number of kilometres remaining until the next service
interval are displayed in position
C
.
As soon as the due date for the service has been reached, the flashing icon
and the message
OIL
or
INSPEC_
appear in the display for about 20 seconds after
the ignition has been switched on.
Display the days and distance until the next service interval
You can press button
3
» Fig. 22 on page 28 repeatedly to display the remain-
ing distance and time to until the next service whenever the ignition is switch-
ed on.
Information on the oil change service is displayed at first, followed by informa-
tion on the inspection when button
3
is pressed again.
▶ The number 1 or 2 is displayed in position
A
.
▶ The symbol and the number of days remaining until the next service inter-
val are displayed in position
B
.
▶ The symbol and the number of kilometres remaining until the next service
interval are displayed in position
C
.
ABCResetting the service interval display
We recommend that the display reset is completed by a specialist garage.
We recommend that you do not reset the service interval display yourself. In-
correctly setting the service interval display could cause problems to the vehi-
cle.
Variable service interval
For vehicles with variable service intervals, after resetting the oil change serv-
ice display, the values of a new service interval are displayed, which are based
on the previous operating conditions of the vehicle.
These values are then continuously matched according to the actual operating
conditions of the vehicle.
SmartGate
Introduction
Fig. 33
ŠKODA websites
This chapter contains information on the following subjects:
Connection to SmartGate using Wi-Fi
50
Connection to SmartGate using Wi-Fi Direct
50
SmartGate web interface
51
Password/PIN code change
51
SmartGate is a system that transmits certain driving data (such as fuel con-
sumption, speed or similar) via Wi-Fi and Wi-Fi Direct.
The ŠKODA compatible communications device (e.g. phone, tablet, notebook)
offer the possibility to further transmit the received data.
1)
The kilometres remaining until the next service interval are displayed instead of the odometer.
49Information system
Page 52 of 232

More information on available applications, a list of compatible communication
devices and on SmartGate, can be found on the ŠKODA website » Fig. 33.
http://www.skoda-auto.comWARNING■ The general binding country-specific regulations for operating communi-
cation devices in the vehicle must be observed.■
Never leave a communication device in the deployment area of an airbag,
on a seat, on the dash panel or any another area, from which it can be
thrown during a sudden braking manoeuvre, an accident or a collision - risk
of injury!
■
Never connect or disconnect a communication device while driving - risk
of accident!
CAUTION
■ To increase the access security to the transmitted vehicle data, once the
ŠKODA application has been started, you are requested to change the pass-
word/PIN code if the default password/PIN code has not yet been changed
» page 51 , Password/PIN code change . It is not possible to start the ŠKODA
application without changing it.■
ŠKODA accepts no responsibility for any problems caused by incompatibility
or improper functioning of the communication devices.
Note
The ŠKODA applications, support communications devices with the Android
operating system version 4.x.x and later and iOS 7.x.x and higher.
Connection to SmartGate using Wi-Fi
Read and observe
and on page 50 first.
Connecting to an Android communication device
›
Switch on the ignition.
›
Switch on the Wi-Fi on the communication device to be connected.
›
Start the SmartGate application using the communication device to be con-
nected.
›
Then follow the instructions in the manual, which are included in the
SmartGate application.
With SmartGate, a maximum of four communication devices can be connected
simultaneously using Wi-Fi, with as many launched ŠKODA applications as re-
quired.
Connecting to an iOS communication device›
Switch on the ignition.
›
Switch on the Wi-Fi on the communication device to be connected.
›
Allow the communication device to be connected to search for available Wi-
Fi networks (see the Owner's Manual for the communication device to be
connected).
›
In the menu of the detected networks select “SmartGate_...” 1)
or “DIRECT
SmartGate_...” 1)
.
›
Enter the password » page 51.
With SmartGate, a maximum of four communication devices can be connected
simultaneously using Wi-Fi. In these communication devices, up to four ŠKODA
applications can be started simultaneously.
Disconnection
The connection can be switched off in one of the following ways.
›
Switch off the ignition for longer than 5 seconds (for vehicles with a starter
button, switch off the engine and open the driver's door).
›
End the connection in the SmartGate application.
›
Switch off the Wi-Fi on the connected communication device.
Automatic connection
If the communication device once had a connection with SmartGate, then the
connection is automatically restored under the following conditions.
The ignition is switched on.
The Wi-Fi on the communication device to be connected is switched on.
The communication device to be connected stores the password required
for the connection check.
Connection to SmartGate using Wi-Fi Direct
Read and observe
and on page 50 first.
This type of connection is intended for communication devices running theAndroid operating system.
1)
The last 6 characters of the VIN vehicle identification number of your vehicle are displayed at position
....
50Using the system
Page 53 of 232

Connection set-up›Switch on the ignition.›
Start the SmartGate application using the communication device to be con-
nected.
›
Then follow the instructions in the manual, which are included in the
SmartGate application.
With SmartGate, a maximum of two communication devices can be connected
simultaneously using Wi-Fi Direct, with as many launched ŠKODA applications
as required.
If you want to connect to SmartGate in another vehicle, you must first end the
existing connection to the SmartGate application and then re-establish the
connection.
Disconnection
The connection can be switched off in one of the following ways.
›
Switch off the ignition for longer than 5 seconds (for vehicles with a starter
button, switch off the engine and open the driver's door).
›
End the connection in the SmartGate application.
›
Switch off the Wi-Fi on the connected communication device.
Automatic connection
If the communication device once had a connection with SmartGate, then the
connection is automatically restored after the ignition is started.
SmartGate web interface
Read and observe
and on page 50 first.
SmartGate parameters can be set in the SmartGate web interface.
The following address must be entered via Wi-Fi in the web browser of the
connected communication device.
HTTP://192.168.123.1
The setting changes are only effective after pressing the “Save” button and
then the “Reboot” button.
Password/PIN code change
Read and observe
and on page 50 first.
The password for the Wi-Fi connection preset by the factory is the completevehicle identification number (upper case); the PIN code for the Wi-Fi Direct
connection preset by the factory is the last 6 digits of the vehicle identification
number.
After changing the password/PIN, the connection to SmartGate must be re-es-
tablished on the communication device to be connected using the new pass-
word or new PIN code.
If the password/PIN code is still set to the preset factory password/PIN code,
you are requested to change the password/PIN code after starting the ŠKODA
application. Without changing the password/PIN code, you are unable to use
the application.
Changing the password for the Wi-Fi connection
›
Open the SmartGate web interface.
›
In the menu item “WPA/WPA2 key:” Enter the new password (8 to 63 alpha-
numeric characters and special characters, small and capital letters).
›
Confirm the password change by tapping on the “Save” interface.
›
Restart SmartGate by tapping on the “Reboot” 1)
interface.
Changing the PIN code for the Wi-Fi Direct connection
›
Open the SmartGate web interface.
›
In the menu item “Wi-Fi Direct PIN:” Enter the new PIN code (6 digits).
›
Confirm the PIN code change by tapping on the “Save” interface.
›
Restart SmartGate by tapping on the “Reboot” 1)
interface.
Note
If you have forgotten your password for the connection to SmartGate,
SmartGate must be reset to factory settings in a specialised workshop.1)
If the “Reboot” interface is not displayed, you must manually restore the web browser display.
51Information system
Page 54 of 232

Unlocking and opening
Unlocking and locking
Introduction
This chapter contains information on the following subjects:
Unlock / lock using key and lock
53
Unlocking / locking with the remote control key
53
Unlocking / locking - KESSY
53
Locking / unlocking the vehicle with the central locking button
54
Safe securing system
54
Individual settings
55
Opening/closing a door
55
Child safety lock
56
Malfunctions
56
Your car is equipped with a central locking system.
The central locking system allows you to lock and unlock all doors, the fuel fill-
er flap and boot lid at the same time. The functions of the central locking sys-
tem can be individually adjusted » page 55.
After unlocking, depending on vehicle equipment and setting the following is
valid for the central locking. ▶ The turn signal lights flash twice as confirmation that the vehicle has been
unlocked.
▶ An double audible signal sounds additionally on vehicles which are fitted
with the anti-theft alarm system.
▶ The doors, the boot lid and the fuel filler flap are unlocked.
▶ The interior light comes on.
▶ The SafeLock system is switched off.
▶ The indicator light in the driver door stops flashing.
▶ The anti-theft alarm system is deactivated.
After locking, depending on vehicle equipment and setting the following is
valid for the central locking.
▶ The turn signal lights flash once as confirmation that the vehicle has been
locked.
▶ An audible signal sounds additionally on vehicles which are fitted with the
anti-theft alarm system.
▶ The doors, the boot lid and the fuel filler flap are locked.
▶
The interior lamp goes out.
▶ The SafeLock system is switched on.
▶ The indicator light in the driver door begins flashing.
▶ The anti-theft alarm system is activated.
If the doors or the boot lid remain open after the vehicle has been locked, the
turn signal lights do not flash until they have been closed.
Protection against unintended vehicle unlocking
If you unlock the vehicle and do not open a door or the boot lid within the next
30 seconds, the vehicle will lock again automatically and the SafeLock system
or anti-theft alarm system will be switched on.WARNING■ Never leave the key in the vehicle when you exit the vehicle. Unauthor-
ized persons, such as children, for example, could lock the car, turn on the
ignition or start the engine - there is a danger of injury and accidents!■
When leaving the vehicle, never leave people who are not completely in-
dependent, such as children, unattended in the vehicle. These individuals
might not be able to exit the vehicle by themselves or to help themselves.
Can be fatal at very high or very low temperatures!
CAUTION
■ Each key contains electronic components; therefore it must be protected
against moisture and severe shocks.■
Keep the groove of the keys absolutely clean. Impurities (textile fibres, dust,
etc.) have a negative effect on the functionality of the locking cylinder and ig-
nition lock.
■
If the driver's door has been opened, the vehicle cannot be locked.
52Using the system
Page 55 of 232

Unlock / lock using key and lockFig. 34
Left side of the vehicle: Turning
the key for unlocking and locking
the vehicle
Read and observe and on page 52 first.
The key allows you to unlock and lock the vehicle via the lock cylinder in the
driver's door.
Unlocking/locking the vehicle with the key » Fig. 34
Unlocking the vehicle
Locking the vehicle
Unlocking / locking with the remote control key
Fig. 35
Remote control key
Read and observe and on page 52 first.
Function and description of the key » Fig. 35
Unlocking the vehicle
Locking the vehicle
Unlocking / locking the boot lid
Button for the extension / retraction of the key
AWarning light for the battery charge status
If the red warning light does not flash when you press a button on the key,
the battery is discharged.
Unlocking / locking the boot lid
By pressing briefly the symbol button
the boot lid unlocks.
Press and hold the symbol button
to release the lid (partially opened).
If the boot lid is unlocked or released with the symbol button
on the key,
then the boot lid is automatically locked after closing. You can set a lock delay
» page 58 .
CAUTION
■
The operation of the remote control may temporarily be affected by signal in-
terference from transmitters close to the car and which operate in the same
frequency range.■
The operating range of the remote control key is approx. 30 m. But this range
of the remote control can be reduced if the batteries are weak.
■
The battery must be replaced if the central locking does react to the remote
control at less than around 3 metres away » page 193.
Note
The remote control will only operate when the vehicle is within sight.
Unlocking / locking - KESSY
Fig. 36
The front door handle
Read and observe
and on page 52 first.
The KESSY system (Key less Entry Start Exit System) enables unlocking and
locking of the vehicle without actively using the remote control key » Fig. 36.
B53Unlocking and opening
Page 56 of 232

The sensors for unlocking or locking are located in the handle of the front
door.
Unlocking
Locking
When unlocking or locking the vehicle, the key must be at a maximum distance
of approximately 1.5 m from the front door handle.
Locking
On vehicles fitted with automatic gearbox, the selector lever must be moved
into the position P before unlocking.
The vehicle cannot be locked from the outside if the ignition has not been
turned off.
After locking the vehicle, it is not possible to unlock it within the next 2 sec-
onds by touching the door handle. This can be used to check whether the vehi-
cle is locked.
Protection against inadvertently locking the key in the vehicle
If one of the doors is closed after locking the vehicle and the key with which
the vehicle was locked remains in the passenger compartment, the vehicle is
automatically unlocked. After unlocking the vehicle again, the turn-signal
lights flash four times. If no door is opened within 45 seconds, the vehicle is
automatically locked again.
If the boot lid is closed after locking the vehicle and the key with which the
vehicle was locked remains in the luggage compartment, the lid is unlocked
(partially opened). The turn-signal lights flash four times as an indication that
the boot lid has been unlocked again. The luggage compartment lid remains
released (partially open).
The following message is shown in the information cluster display.Key in vehicle.KEY IN VEHICLE
CAUTION
■ Some types of gloves can affect the unlocking or locking device in the door
handle.■
After leaving the car there is no automatic locking.
Locking / unlocking the vehicle with the central locking buttonFig. 37
Central locking button
Read and observe and on page 52 first.
When the vehicle has not been locked from the outside and no door is open
the rocker button » Fig. 37can be used to unlock or lock the vehicle.
Unlocking/locking » Fig. 37
Locking
Unlocking
If the icon in the button is lit, the vehicle is locked.
If the icon in the button is not lit, the vehicle is not locked.
The central locking system also operates if the ignition is switched off.
The following applies after locking. ▶ Opening the doors and the boot lid from the outside is not possible.
▶ The doors can be unlocked and opened from the inside by a single pull on the
opening lever of the respective door.
WARNINGDoors locked from the inside make it difficult for rescuers to get into the
vehicle in an emergency – risk to life!
Safe securing system
Read and observe
and on page 52 first.
As soon as the vehicle has been locked from the outside, the Safelock system
prevents the doors from being opened from the inside.
54Using the system
 1
1 2
2 3
3 4
4 5
5 6
6 7
7 8
8 9
9 10
10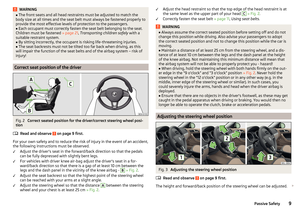 11
11 12
12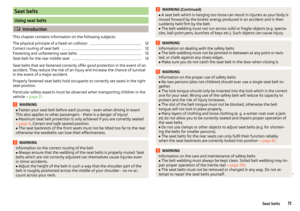 13
13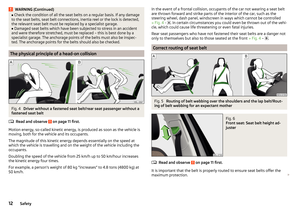 14
14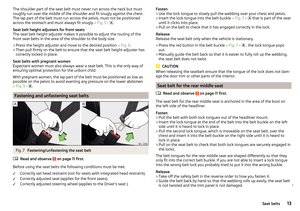 15
15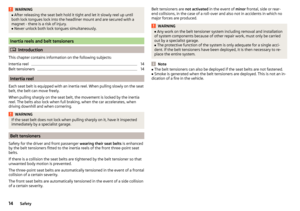 16
16 17
17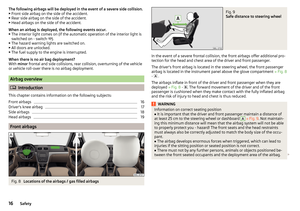 18
18 19
19 20
20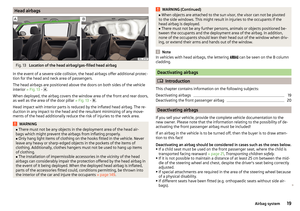 21
21 22
22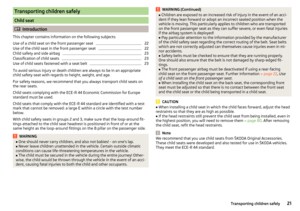 23
23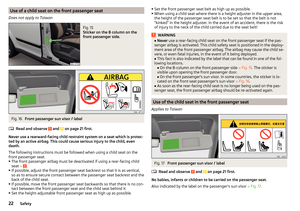 24
24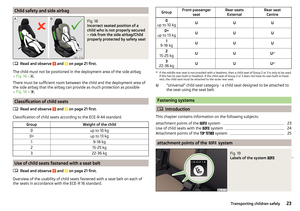 25
25 26
26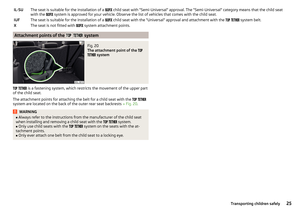 27
27 28
28 29
29 30
30 31
31 32
32 33
33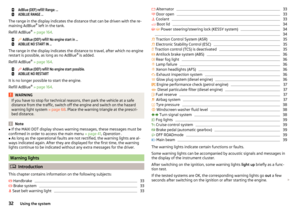 34
34 35
35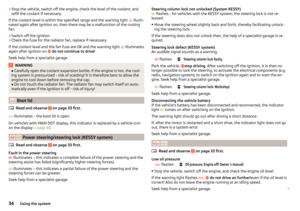 36
36 37
37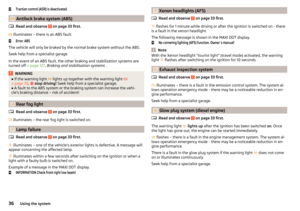 38
38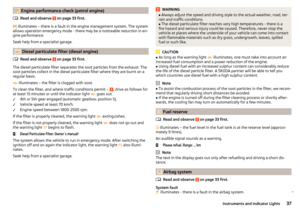 39
39 40
40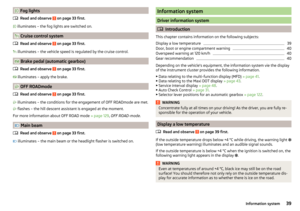 41
41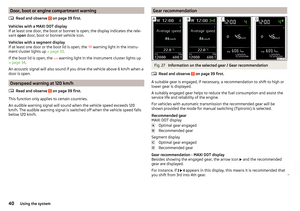 42
42 43
43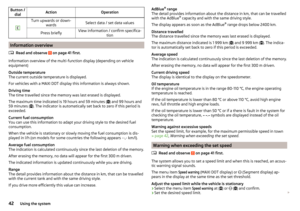 44
44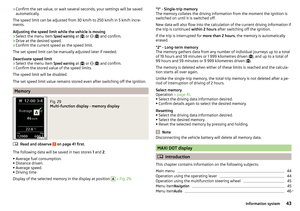 45
45 46
46 47
47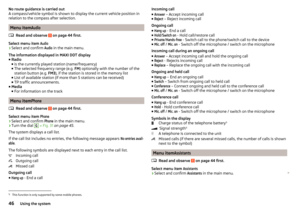 48
48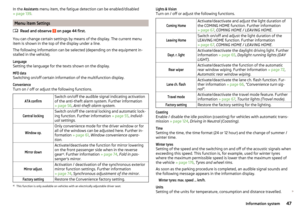 49
49 50
50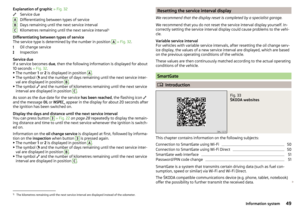 51
51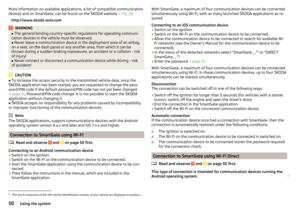 52
52 53
53 54
54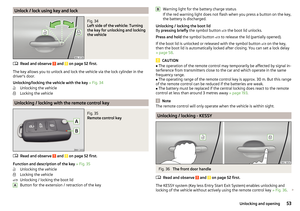 55
55 56
56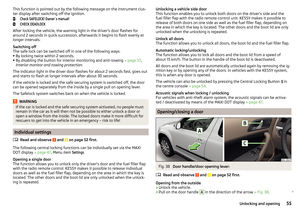 57
57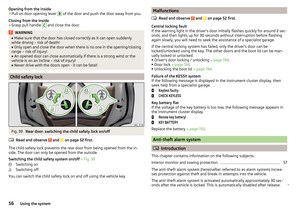 58
58 59
59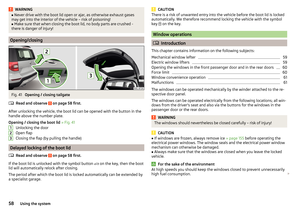 60
60 61
61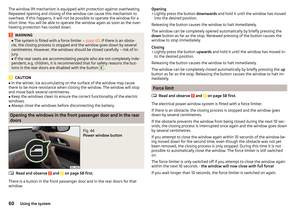 62
62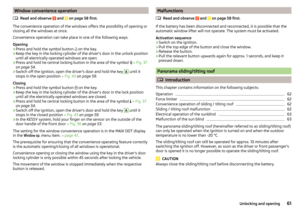 63
63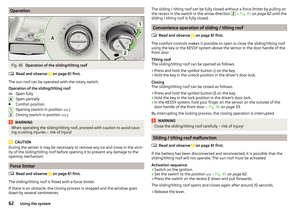 64
64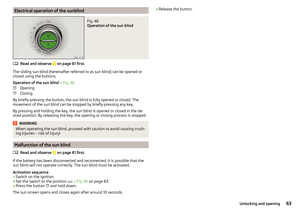 65
65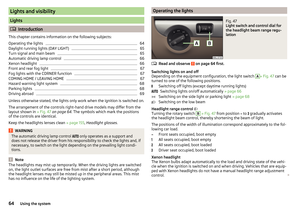 66
66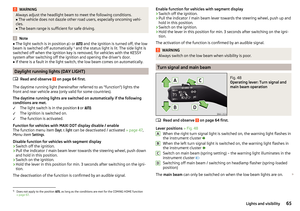 67
67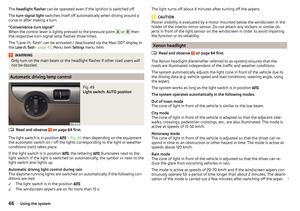 68
68 69
69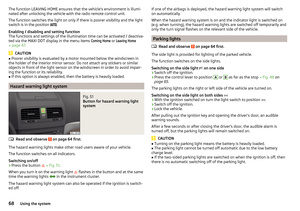 70
70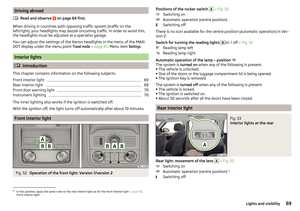 71
71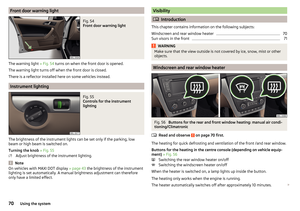 72
72 73
73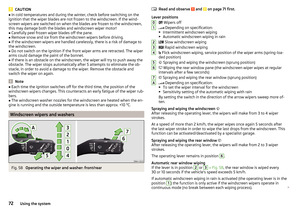 74
74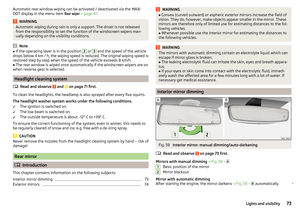 75
75 76
76 77
77 78
78 79
79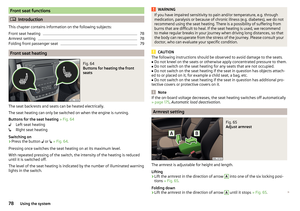 80
80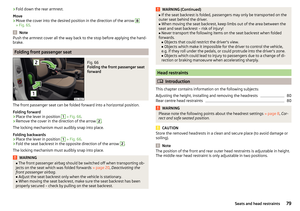 81
81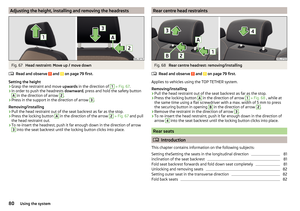 82
82 83
83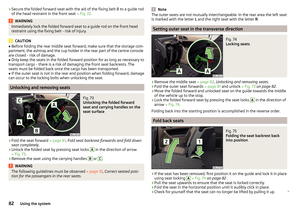 84
84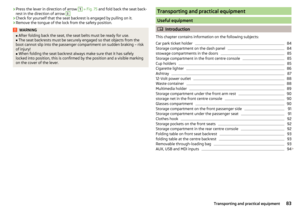 85
85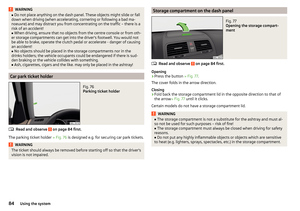 86
86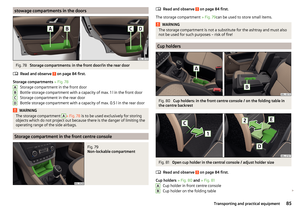 87
87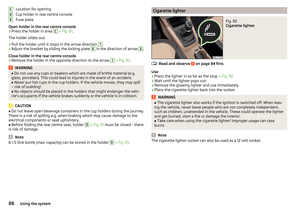 88
88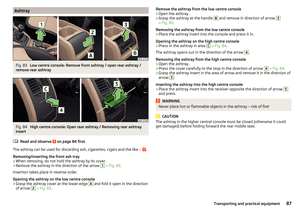 89
89 90
90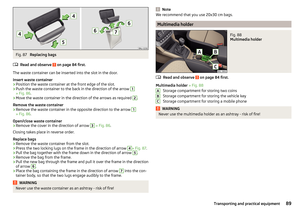 91
91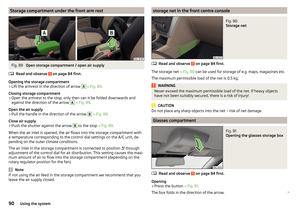 92
92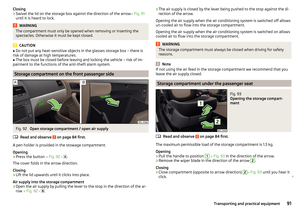 93
93 94
94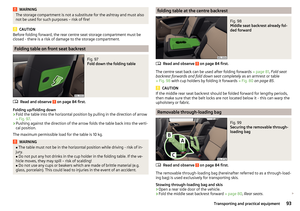 95
95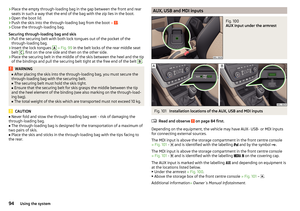 96
96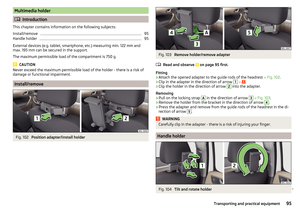 97
97 98
98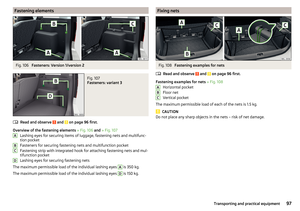 99
99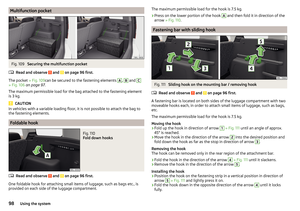 100
100 101
101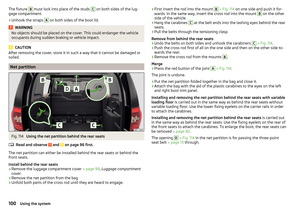 102
102 103
103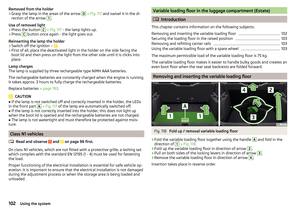 104
104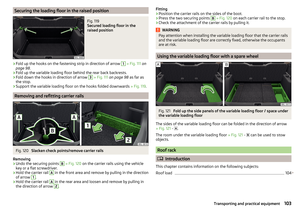 105
105 106
106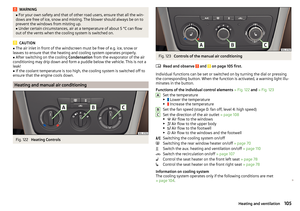 107
107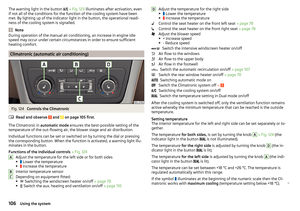 108
108 109
109 110
110 111
111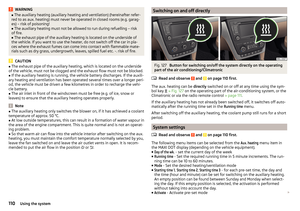 112
112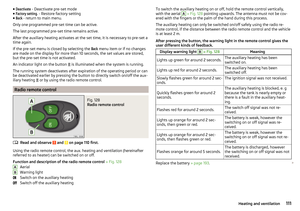 113
113 114
114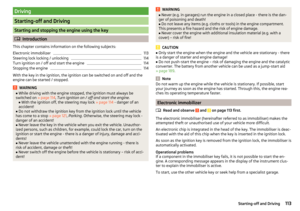 115
115 116
116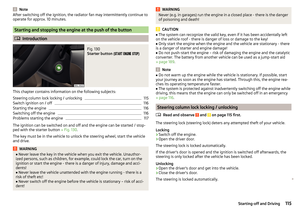 117
117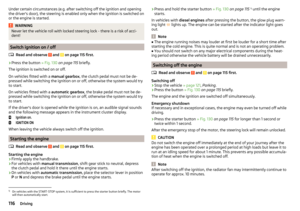 118
118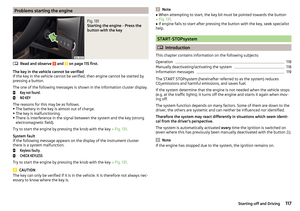 119
119 120
120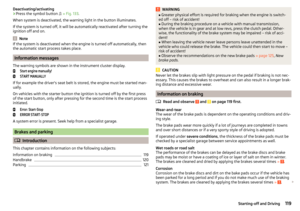 121
121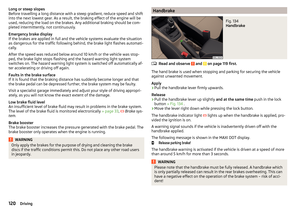 122
122 123
123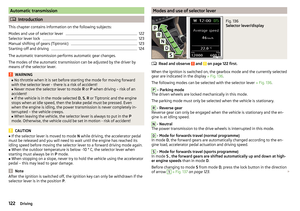 124
124 125
125 126
126 127
127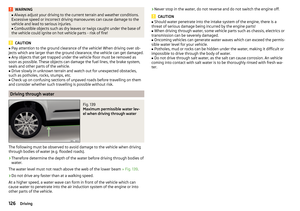 128
128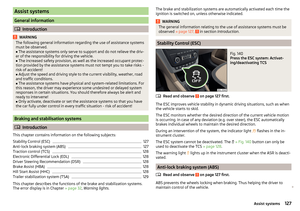 129
129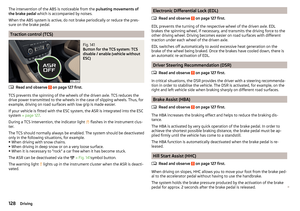 130
130 131
131 132
132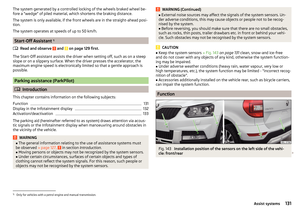 133
133 134
134 135
135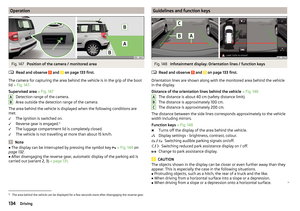 136
136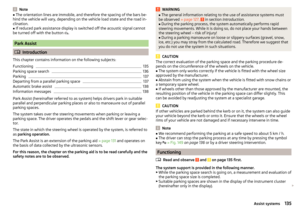 137
137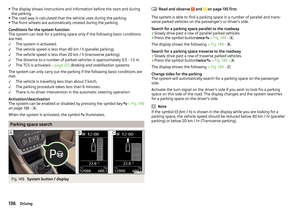 138
138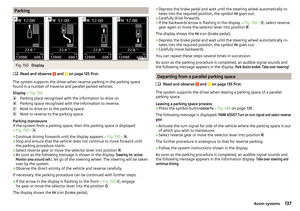 139
139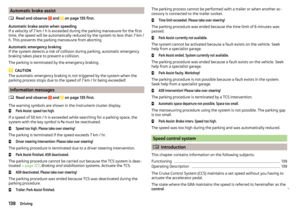 140
140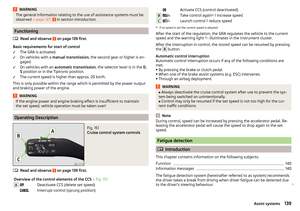 141
141 142
142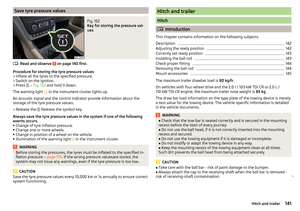 143
143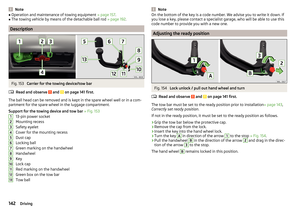 144
144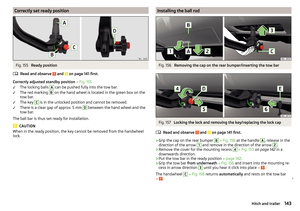 145
145 146
146 147
147 148
148 149
149 150
150 151
151 152
152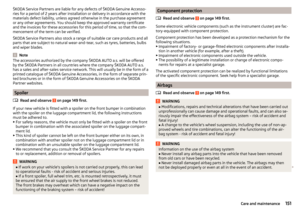 153
153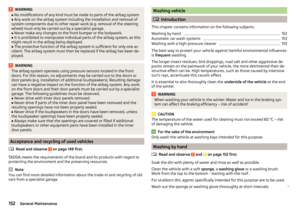 154
154 155
155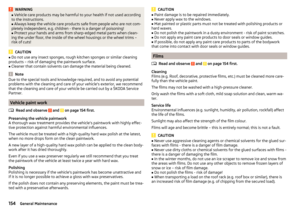 156
156 157
157 158
158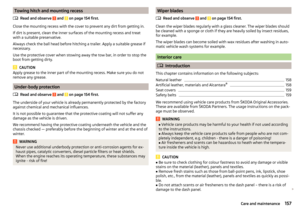 159
159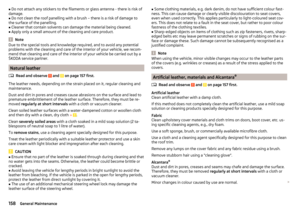 160
160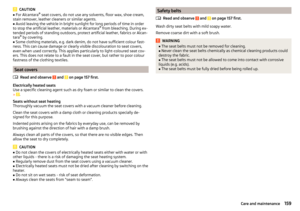 161
161 162
162 163
163 164
164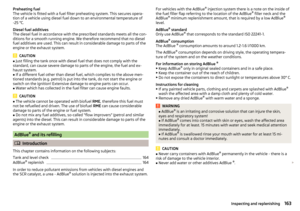 165
165 166
166 167
167 168
168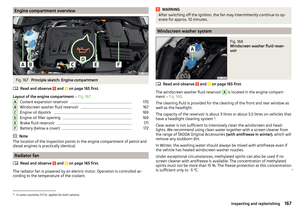 169
169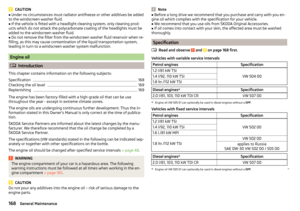 170
170 171
171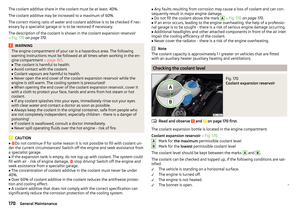 172
172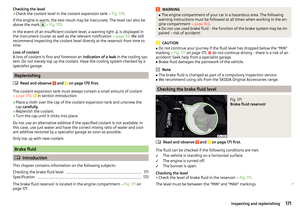 173
173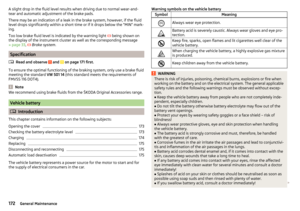 174
174 175
175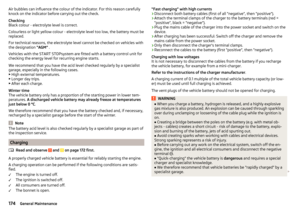 176
176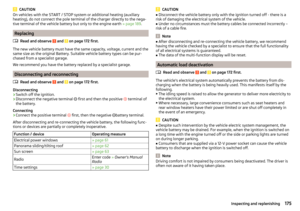 177
177 178
178 179
179 180
180 181
181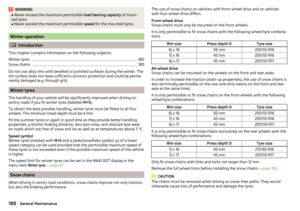 182
182 183
183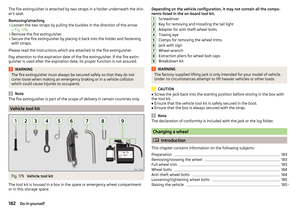 184
184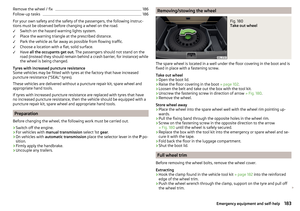 185
185 186
186 187
187 188
188 189
189 190
190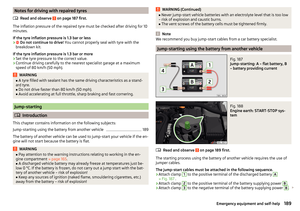 191
191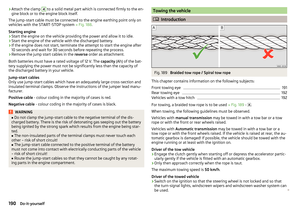 192
192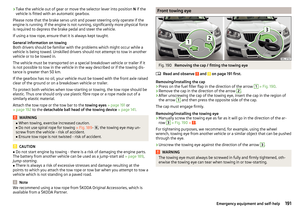 193
193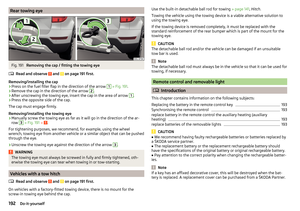 194
194 195
195 196
196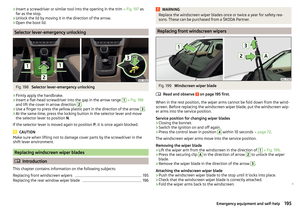 197
197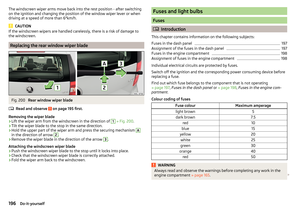 198
198 199
199 200
200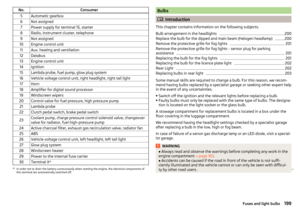 201
201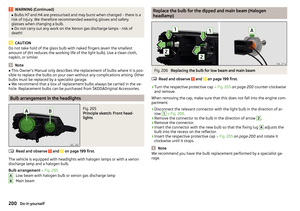 202
202 203
203 204
204 205
205 206
206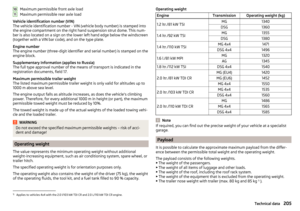 207
207 208
208 209
209 210
210 211
211 212
212 213
213 214
214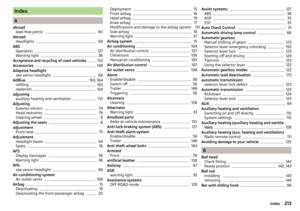 215
215 216
216 217
217 218
218 219
219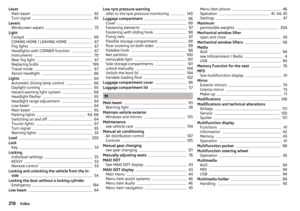 220
220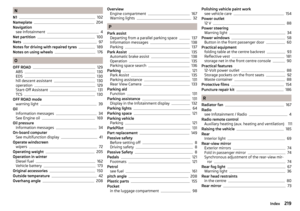 221
221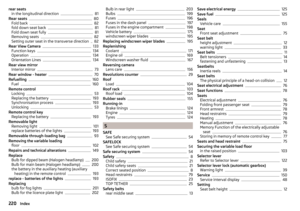 222
222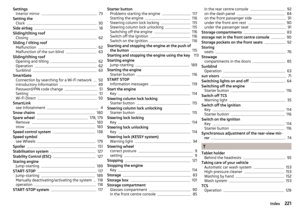 223
223 224
224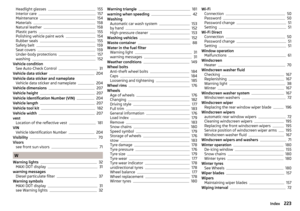 225
225 226
226 227
227 228
228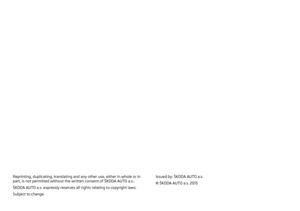 229
229 230
230 231
231