Page 113 of 164
Super Console
For vehicles equipped with the Super Console, the spare tire winch assembly drive nut is
located beneath the console.
1. Pull the lower drawer out from the rear of the floor console.
2. Open the front drawer to expose the storage compartment.
Drawer Location
1—LowerDrawer2—FrontDrawerLiner3—FrontDrawer
Storage Compartment Location
WHAT TO DO IN EMERGENCIES
111
Page 114 of 164
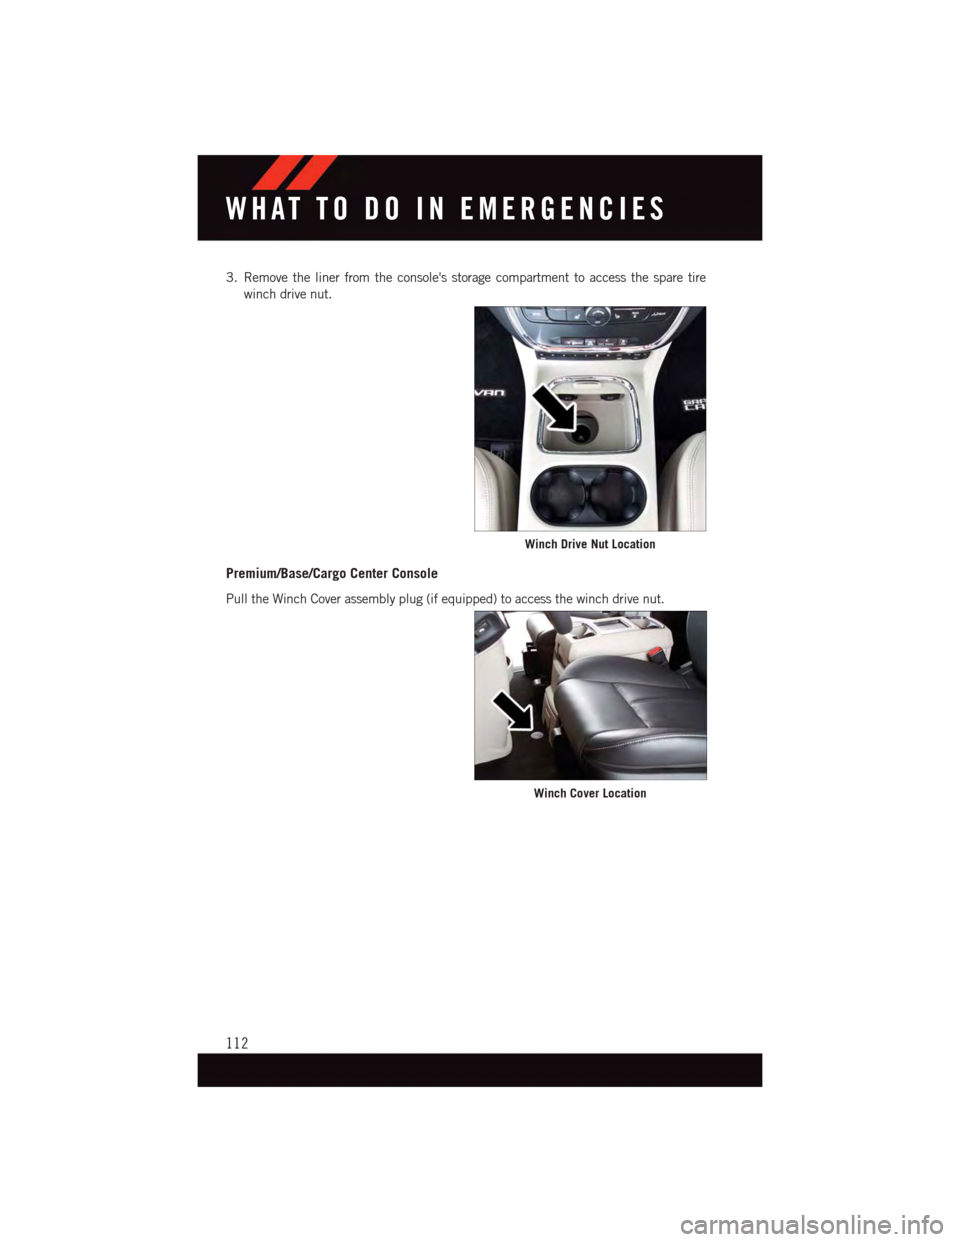
3. Remove the liner from the console's storage compartment to access the spare tire
winch drive nut.
Premium/Base/Cargo Center Console
Pull the Winch Cover assembly plug (if equipped) to access the winch drive nut.
Winch Drive Nut Location
Winch Cover Location
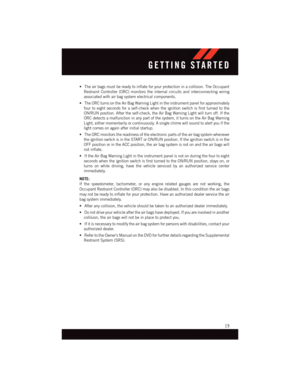
WHAT TO DO IN EMERGENCIES
112
Page 115 of 164
Spare Tire Tools
The tool pouch contains three pieces and can be assembled into a spare tire hook; to
remove the compact spare tire/cover assembly from under the vehicle, or a Winch
T- h a n d l e ; t o r a i s e / l o w e r t h e c o m p a c t s p a r e t i r e / c o v e r a s s e m b l y.
Assembled T-handle
A—SpareTireHook/T-handleB—Extension1C—Extension2
Assembling The Spare Tire Hook
A—SpareTireHook/T-handleB—Extension1C—Extension2
WHAT TO DO IN EMERGENCIES
113
Page 116 of 164
Spare Tire Removal Instructions
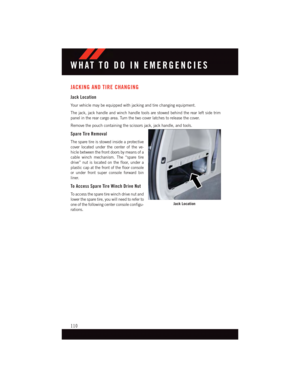
The spare tire is located under the vehicle beneath the center console area.
1. Assemble the spare tire tools into a
T- h a n d l e a n d p l a c e t h e s q u a r e e n d o v e r
the spare tire winch drive nut.
2. Rotate the nut to the left until the winch mechanism stops turning freely. This will
allow enough slack in the cable to allow you to pull the spare tire out from underneath
the vehicle.
3. Assemble the winch handle extensions
to form the spare tire hook, and pull the
spare tire from under the vehicle.
NOTE:
If either front tire is flat it may be necessary
to jack up the vehicle to remove the com-
pact spare tire/cover assembly from under
the vehicle.
Spare Tire Carrier
Spare Tire And Hook
1—SpareTire2—SpareTireHook
WHAT TO DO IN EMERGENCIES
114
Page 117 of 164
4. Stand the tire/cover assembly upright and remove the wheel spacer by squeezing the
winch retaining tabs together. Push the retainer through the spare tire to release it from
the wheel.
Preparations For Jacking
1. Park the vehicle on a firm, level surface. Avoid ice or slippery areas.
2. Turn on the Hazard Warning flasher.
3. Set the parking brake.
4. Place the shift lever into PARK.
5. Turn OFF the ignition.
NOTE:
Passengers should not remain in the vehicle
when the vehicle is being jacked.
•Blockboththefrontandrearofthe
wheel diagonally opposite the jacking po-
sition. For example, if changing the right
front tire, block the left rear wheel.
Wheel Spacer
Wheel Blocked
WHAT TO DO IN EMERGENCIES
115
Page 118 of 164
Jacking Instructions
1. Loosen (but do not remove) the wheel
lug nuts by turning them to the left one
turn while the wheel is still on the
ground.
2. There are two jack engagement locations on each side of the vehicle body. These
locations are on the sill flange of the vehicle body.
Warning Label
Jack Engagement Locations
WHAT TO DO IN EMERGENCIES
116
Page 119 of 164

Rear jack locations are between a pair of down-facing tabs on the sill flange of the
vehicle side body.
Front jack location is on the sill flange of the vehicle body and is located 6 in
(150 mm) from door edge.
NOTE:
In some situations the jack may need to be
placed on its side in order to be pushed
under the vehicle. Return the jack to its
correct orientation once it is under the ve-
hicle.
3. Place the wrench on the jack screw and
turn to the right until the jack head is
properly engaged in the described loca-
tion.Do not raise the vehicle until you
are sure the jack is securely engaged.
4. Raise the vehicle by turning the jack
screw to the right, using the swivel wrench. Raise the vehicle only until the tire just
clears the surface and enough clearance is obtained to install the spare tire. Minimum
tire lift provides maximum stability.
5. Remove the wheel lug nuts, for vehicles with wheel covers, remove the cover from the
wheel by hand. Do not pry the wheel cover off. Then pull the wheel off the hub.
Rear Jacking Location Engaged
Front Jacking Location Engaged
WHAT TO DO IN EMERGENCIES
117
Page 120 of 164

6. Install the compact spare tire. Lightly tighten the lug nuts.
NOTE:
•Donotinstallthewheelcoveronthe
compact spare.
•Donotuseahammerorforcetoinstall
the wheel covers.
7. Lower the vehicle by turning the jack
screw to the left.
8. Finish tightening the lug nuts. Push
down on the wrench while at the end of
the handle for increased leverage.
Ti g h t e n t h e l u g n u t s i n a s t a r p a t t e r n
until each nut has been tightened twice. The correct wheel nut tightness is 100 ft lbs
(135 N·m). If in doubt about the correct tightness, have them checked with a torque
wrench by your authorized dealer or at a service station.
9. Lower the jack to its fully-closed position.
10. Place the deflated (flat) tire and compact spare tire cover assembly in the rear cargo
area.Do not stow the deflated tire in the spare tire location.Have the full-sized tire
repaired or replaced, as soon as possible.
11. Stow the cable and wheel spacer before driving the vehicle. Reassemble the winch
handle extensions to form a “T” and fit the winch T-handle over the drive nut. Rotate
the nut to the right until the winch mechanism clicks at least three times.
NOTE:
Refer to the “Spare Tire Tools” section for instructions on assembling the T-handle.
12. Stow the jack, jack handle and winch handle tools back in the stowage compartment.
13. Check the compact spare tire pressure as soon as possible. Correct the tire pressure,
as required.
Securing The Spare Tire
1. Assemble the winch handle extensions to form a T-handle and fit the winch T-handle
over the drive nut. Rotate the nut to the left until the winch mechanism stops turning
freely. This will allow enough slack in the cable to allow you to pull the wheel spacer out
from under the vehicle.
2. Assemble the winch handle extensions to form the spare tire hook, and pull the wheel
spacer from under the vehicle.
Installing Compact Spare
WHAT TO DO IN EMERGENCIES
118