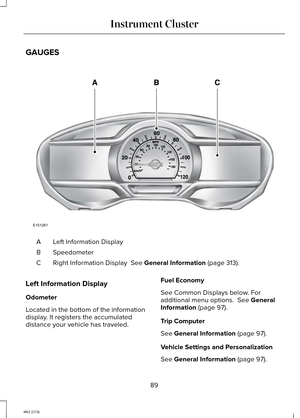
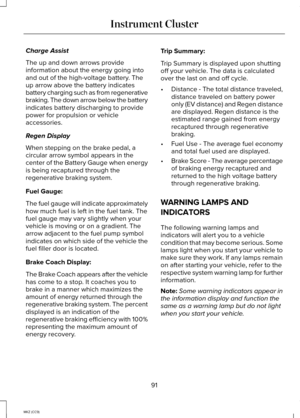
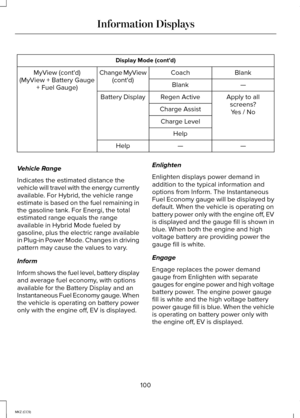
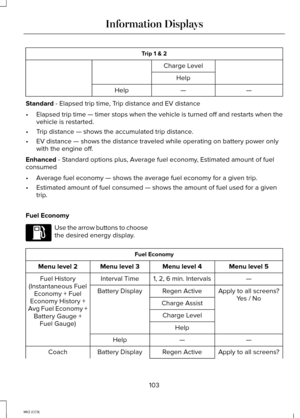
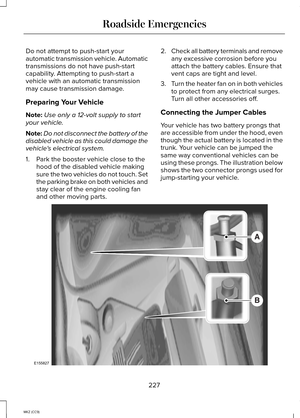
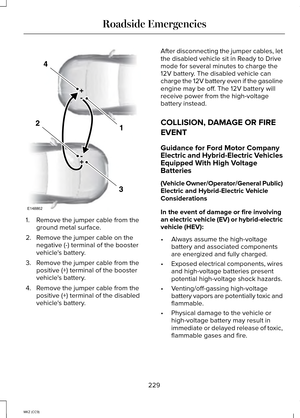
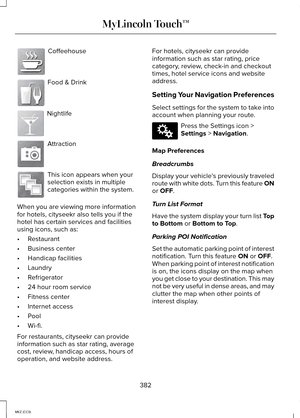
Page 169 of 445

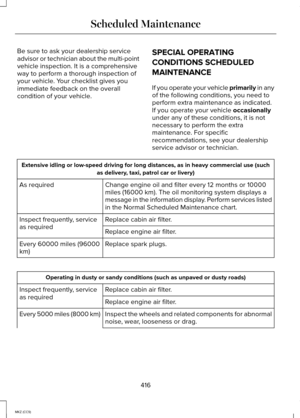
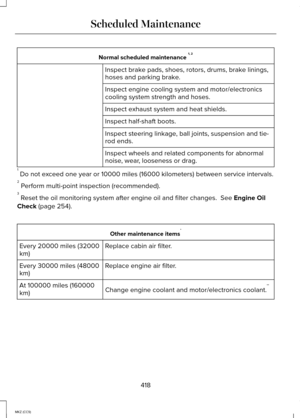
GENERAL INFORMATION
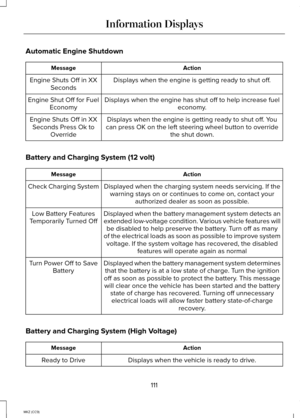
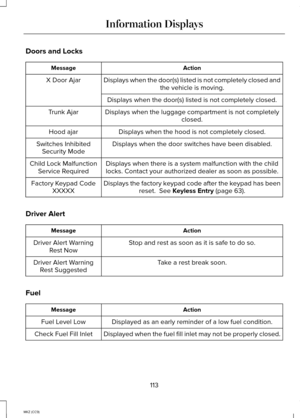
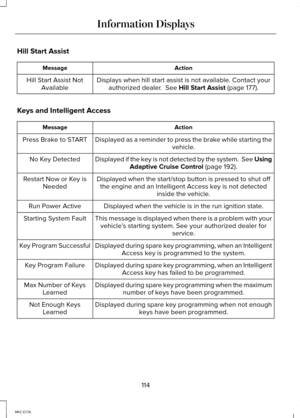
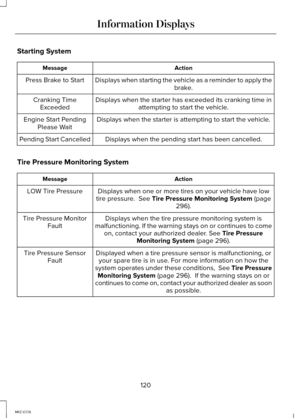
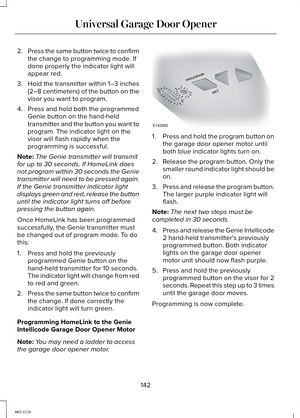
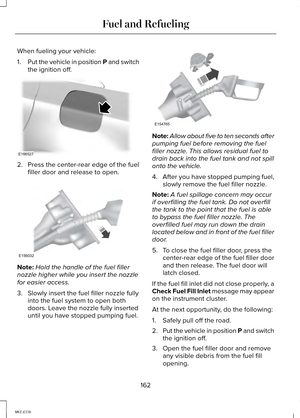
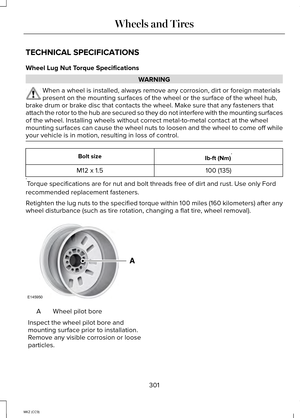
WARNING
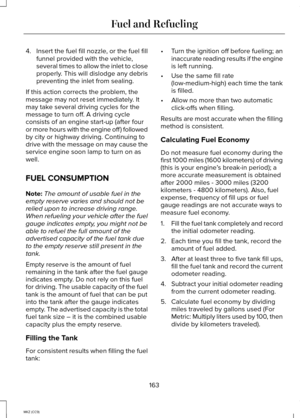
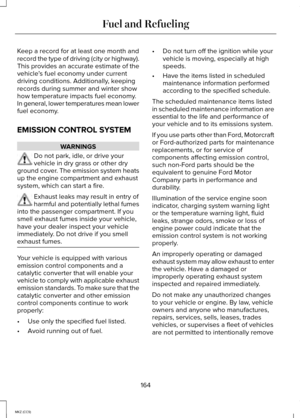
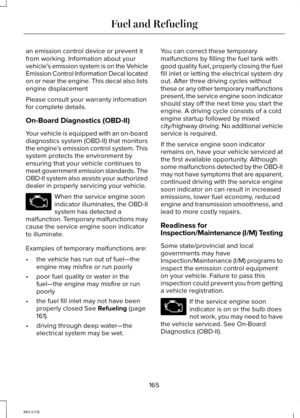
Have the battery pack serviced only
by an authorized electric vehicle
technician. Improper handling can result
in personal injury or death. Note:
The high-voltage battery does not
require regular service maintenance.
Your vehicle consists of various
high-voltage components and wiring. All
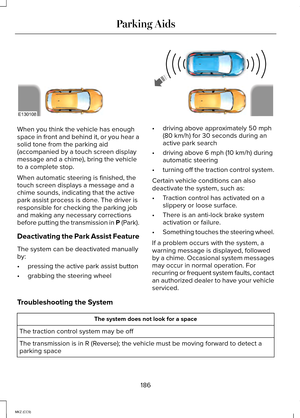
of the high-voltage power flows through
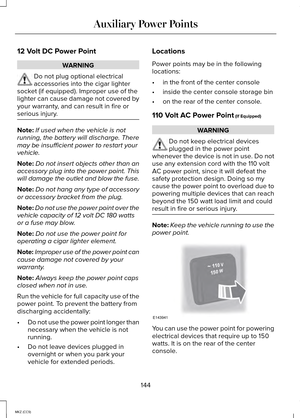
specific wiring assemblies labeled as such
or covered with a solid orange convolute,
or orange striped tape, or both. Do not
come in contact with these components.
The high-voltage battery system is a
high-voltage, lithium-ion battery system.
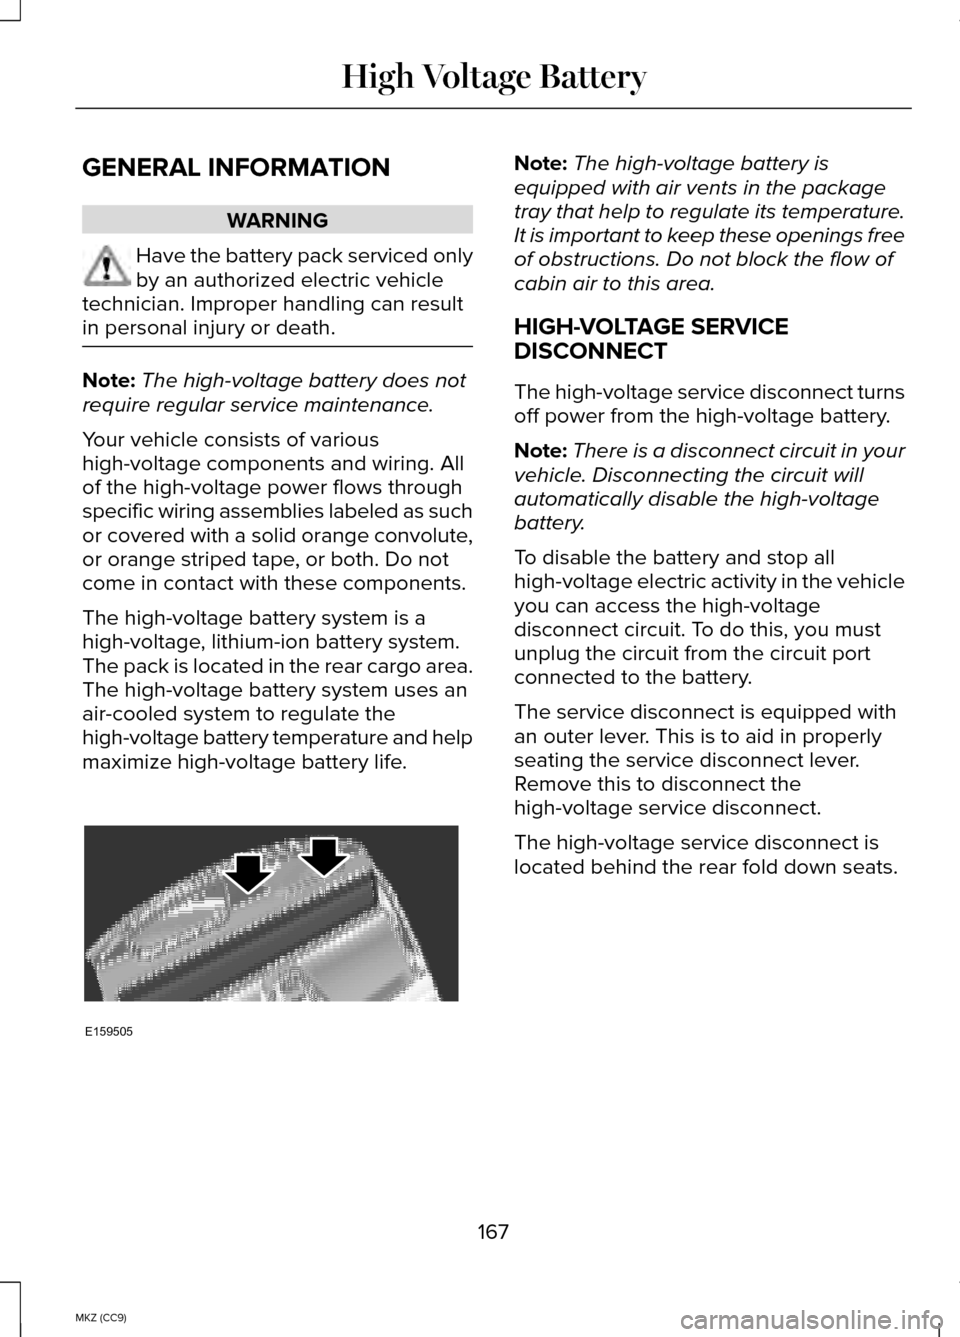
The pack is located in the rear cargo area.
The high-voltage battery system uses an
air-cooled system to regulate the
high-voltage battery temperature and help
maximize high-voltage battery life. Note:
The high-voltage battery is
equipped with air vents in the package
tray that help to regulate its temperature.
It is important to keep these openings free
of obstructions. Do not block the flow of
cabin air to this area.
HIGH-VOLTAGE SERVICE
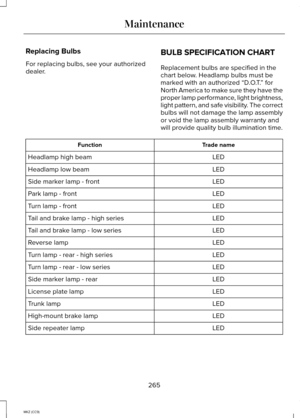
DISCONNECT
The high-voltage service disconnect turns
off power from the high-voltage battery.
Note: There is a disconnect circuit in your
vehicle. Disconnecting the circuit will
automatically disable the high-voltage
battery.
To disable the battery and stop all
high-voltage electric activity in the vehicle
you can access the high-voltage
disconnect circuit. To do this, you must
unplug the circuit from the circuit port
connected to the battery.
The service disconnect is equipped with
an outer lever. This is to aid in properly
seating the service disconnect lever.
Remove this to disconnect the
high-voltage service disconnect.
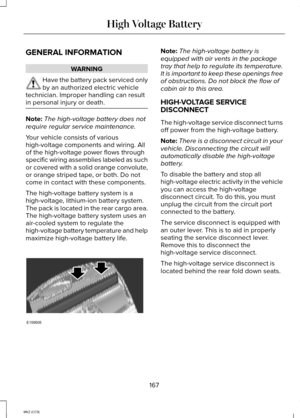
The high-voltage service disconnect is
located behind the rear fold down seats.
167
MKZ (CC9) High Voltage BatteryE159505
Page 170 of 445
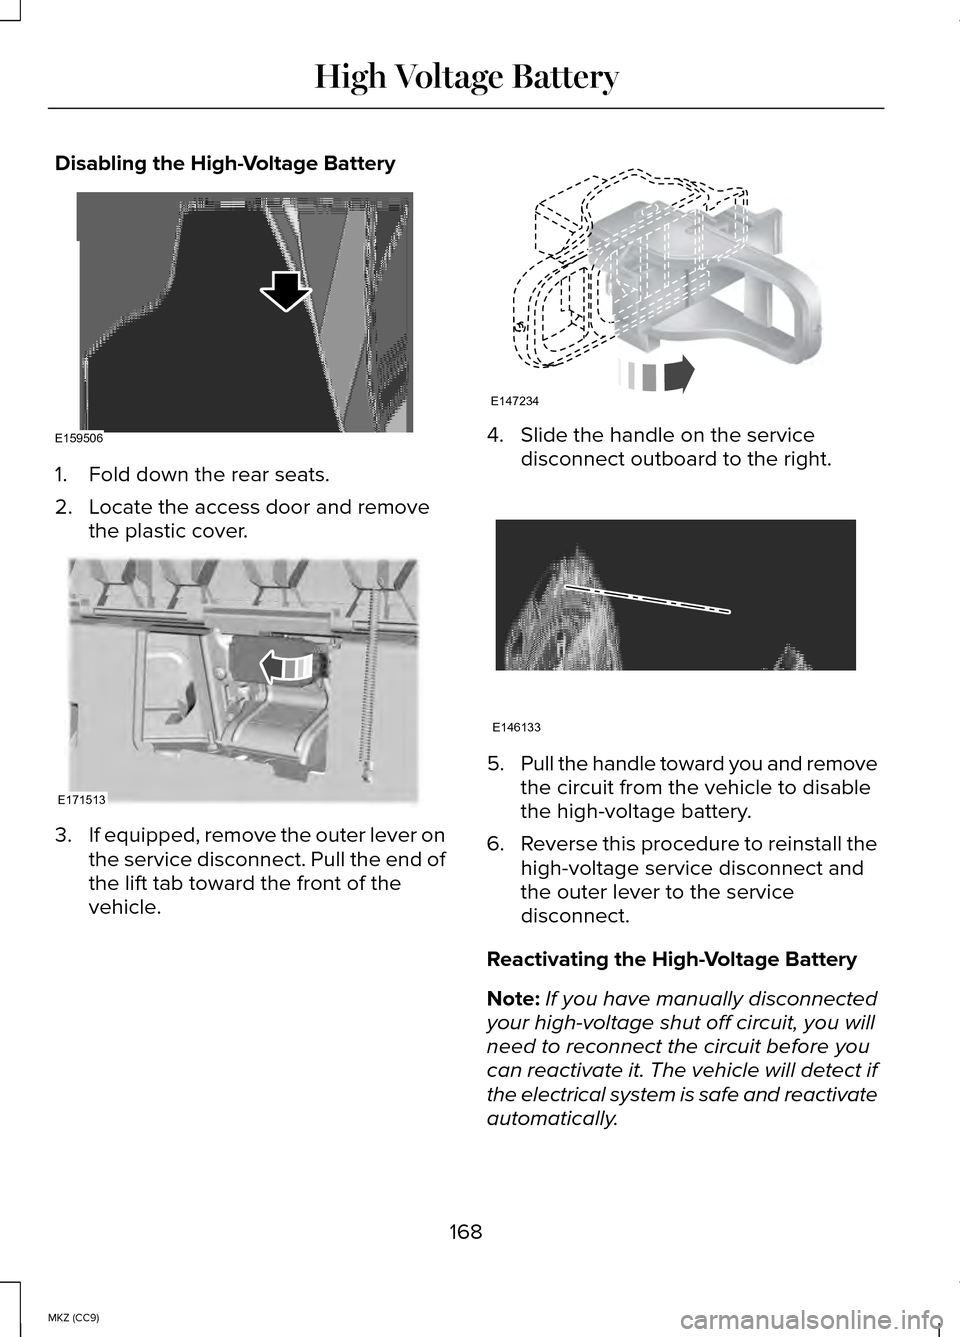
Disabling the High-Voltage Battery
1. Fold down the rear seats.
2. Locate the access door and remove
the plastic cover. 3.
If equipped, remove the outer lever on
the service disconnect. Pull the end of
the lift tab toward the front of the
vehicle. 4. Slide the handle on the service
disconnect outboard to the right. 5.
Pull the handle toward you and remove
the circuit from the vehicle to disable
the high-voltage battery.
6. Reverse this procedure to reinstall the
high-voltage service disconnect and
the outer lever to the service
disconnect.
Reactivating the High-Voltage Battery
Note: If you have manually disconnected
your high-voltage shut off circuit, you will
need to reconnect the circuit before you
can reactivate it. The vehicle will detect if
the electrical system is safe and reactivate
automatically.
168
MKZ (CC9) High Voltage BatteryE159506 E171513 E147234 E146133
Page 171 of 445

HIGH VOLTAGE BATTERY CUT-
OFF SWITCH
The high-voltage shut off operation shuts
off power from the high-voltage battery
after a collision, or if your vehicle receives
a substantial physical jolt.
To reactivate the vehicle after either event
perform the following steps:
1. Turn the ignition off.
2. Turn the ignition on.
3. If the vehicle is not powered after this
sequence, repeat steps 1 and 2.
For vehicles equipped with a push button
start system:
1. Press the START/STOP button to turn
ignition off.
2. Press the brake pedal and press the START/STOP button.
3. Remove your foot from the brake pedal
and press the
START/STOP button
(ignition off ).
4. Press the
START/STOP button again
to re-enable the vehicle.
Note: After completing this process the
vehicle will detect if the electrical system
is safe and reactivate. Once your vehicle
determines the electrical system safe you
can start your vehicle as you would
normally by pressing the brake in
combination with the START/STOP button.
Note: In the event the vehicle does not
reactivate after the second key cycle,
contact an authorized dealer.
169
MKZ (CC9) High Voltage Battery
Page 172 of 445

AUTOMATIC TRANSMISSION
WARNINGS
Always set the parking brake fully
and make sure the vehicle is in P
(Park). Turn the ignition off whenever you
leave your vehicle. Do not apply the brake pedal and
accelerator pedal simultaneously.
Applying both pedals simultaneously for
more than three seconds will limit engine
rpm, which may result in difficulty
maintaining speed in traffic and could lead
to serious injury. Push Button Shift Transmission
Your vehicle is equipped with an electronic
transmission. The shift buttons are located
on the instrument panel, next to the
MyLincoln Touch
™ system. The gears are
selected by pressing and releasing the
PRNDL
buttons. Every time a gear is selected, the selected
button will light up. You will also see the
gear selected appear in the instrument
cluster. Understanding the Positions of your
Electronic Transmission
Note:
Always come to a complete stop
before putting your vehicle into and out
of
P (Park).
Putting your vehicle in gear:
1. Fully press down the brake pedal.
2. Press and release the button on the instrument panel of the gear you want
to select.
3. The gear shift button you select will illuminate and the instrument cluster
will show the selected gear.
4. Release the brake pedal and your transmission will remain in the selected
gear.
Note: If the driver attempts to leave the
vehicle while it is in gear, the vehicle will
automatically shift into
P (Park). Seatbelt
and door monitors determine the driver's
intent and makes the shift for you. During
this time a
Transmission not in Park
message will appear in the display screen,
prompting the driver to make the shift. To
put the vehicle in gear with the door open
perform steps 1-4. See the
Automatic
Return to Park section in this chapter for
more information on this feature.
170
MKZ (CC9) TransmissionP
RN
D
L
E146131 E152628
Page 173 of 445

Note:
To put your vehicle in gear with the
door open, perform steps 1-4. See the
Automatic Return to Park section in this
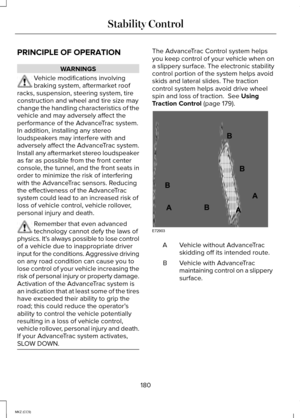
chapter for more information on this
feature.
P (Park)
This position locks the transmission and
prevents the front wheels from turning.
Always come to a complete stop before
putting your vehicle into and out of
P
(Park). An audible chime will sound when
P
(Park) is manually selected.
When the ignition is turned off, the vehicle
will automatically shift into
P (Park). If the
ignition is turned off while the vehicle is
moving, it will first shift into N (Neutral) until
a slow enough speed is reached. The
vehicle will then shift into
P (Park)
automatically.
Automatic Return to Park
Note: This feature will not operate when
the vehicle is in Stay in Neutral mode or
neutral tow.
Your vehicle has a safety feature that will
automatically shift your vehicle into
P
(Park) when any of the following
circumstances are met:
• Turn the ignition off
• Open the driver's door with your seat
belt unlatched
• Unlatching your seatbelt while the
driver's door is open
If you turn the ignition off while your
vehicle is moving, your vehicle will first
shift into N (Neutral) until it slows down
enough to shift into P (Park) automatically. Note:
If you have waited an extended
period of time, (2-15 minutes) before
starting your vehicle, unlatching your
safety belt will cause this feature to
activate, even with the driver's door
closed.
Note: This feature may not work properly
if the door ajar switch is malfunctioning. If
your door ajar indicator does not
illuminate when you open the driver’ s door
or the indicator illuminates with the driver’ s
door closed. See your authorized dealer.
R (Reverse)
With the transmission in
R (Reverse), the
vehicle will move backward. Always come
to a complete stop before shifting into and
out of
R (Reverse).
N (Neutral)
Press the N button to put the vehicle in N
(Neutral). In neutral, the vehicle can be
started and is free to roll. Hold the brake
pedal down while in this position.
Stay in Neutral mode
Stay in Neutral mode allows the vehicle to
stay in
N (Neutral) when you exit the
vehicle. The vehicle must be stationary to
enter this mode.
To enter Stay in Neutral mode:
1. Press the
N (Neutral) button on the
shifter assembly.
2. The message Select N Again to Enter
Stay in Neutral mode
will appear in
the information display screen.
3. Press the
N (Neutral) button again to
enter Stay in Neutral mode.
171
MKZ (CC9) Transmission
Page 174 of 445

The message Stay in Neutral mode
engaged will appear in the instrument
cluster when the vehicle has entered Stay
in Neutral mode.
Note: During this mode the
N button will
flash continuously and the instrument
cluster will display
N as the selected gear.
Exiting Stay in Neutral mode
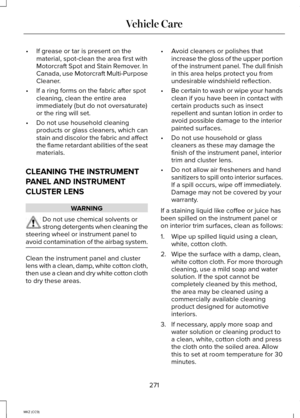
To disable Stay in Neutral mode put the
vehicle in another gear. See the
Putting
the Vehicle in Gear section for instructions
on how to do this.
Entering a Carwash
Note: Always put the vehicle in Stay in
Neutral mode when entering an automatic
car wash. Failure to do this could result in
vehicle damage that may not be covered
by warranty.
D (Drive)
The normal driving position for the best
fuel economy.
D (Drive) with Grade Assist The grade assist button is
located on the instrument panel
next the MyLincoln Touch
™
system. Press the grade assist button to
activate and deactivate grade assist. Grade assist:
•
Provides additional grade braking with
a combination of engine motoring and
high-voltage battery charging to help
maintain vehicle speed when
descending a grade.
• As the vehicle determines the amount
of engine motoring and high-voltage
battery charging, you may notice the
engine speed increasing and
decreasing to help maintain your
vehicle speed when descending a
grade. The grade assist lamp will
appear in the instrument cluster
when grade assist is turned on.
L (Low)
• Provides maximum engine braking.
• The transmission may be put into
L
(Low) at any vehicle speed.
Brake-Shift Interlock Override WARNINGS
Do not drive your vehicle until you
verify that the brake lamps are
working. When doing this procedure, you will
be taking the vehicle out of park
which means the vehicle can roll freely.
To avoid unwanted vehicle movement,
always fully set the parking brake prior to
doing this procedure. Use wheel chocks
if appropriate. If the parking brake is fully released,
but the brake warning lamp remains
illuminated, the brakes may not be working
properly. See your authorized dealer. 172
MKZ (CC9) TransmissionE144523 E144523
Page 175 of 445

Note:
See your authorized dealer as soon
as possible if this procedure is used.
Note: For some markets this feature will
be disabled.
Note: This feature will only function if your
12-volt battery has power.
Use the brake-shift interlock override
procedure to put the vehicle in gear in the
event of an electrical malfunction or if your
vehicle has a dead battery. The brake shift
interlock override button is located inside
of the center console, below media inputs.
You will need a tool (for example a
screwdriver or similar tool) to access the
button.
1. Apply the parking brake and turn the ignition off before performing this
procedure. 2. Locate the brake shifter interlock
access slot. The slot is located below
the media hub, in the front of the
center console storage bin and it is not
labeled
Note: Make sure that you correctly identify
the access hole as not to damage the
media hub. 3.
Using a tool, press and hold the brake
shift interlock switch. When the
instrument panel buttons flash, the
vehicle is in override mode.
4. With the override switch still held, press the N (Neutral button) for towing,
or the desired gear to shift from Park.
5. Release the override button.
6. The vehicle will remain in Stay in Neutral mode for wrecker towing
purposes or can be shifted to the
desired gear and driven (if the vehicle
can be driven).
7. Release the parking brake.
If Your Vehicle Gets Stuck In Mud or
Snow
Note: Do not rock the vehicle if the engine
is not at normal operating temperature or
damage to the transmission may occur.
Note: Do not rock the vehicle for more
than a minute or damage to the
transmission and tires may occur, or the
engine may overheat.
If your vehicle gets stuck in mud or snow,
it may be rocked out by shifting between
forward and reverse gears, stopping
between shifts in a steady pattern. Press
lightly on the accelerator in each gear.
173
MKZ (CC9) TransmissionE152215
Page 176 of 445

GENERAL INFORMATION
Note:
Occasional brake noise is normal.
If a metal-to-metal, continuous grinding or
continuous squeal sound is present, the
brake linings may be worn-out. Have the
system checked by an authorized dealer.
If the vehicle has continuous vibration or
shudder in the steering wheel while
braking, have it checked by an authorized
dealer.
Note: Brake dust may accumulate on the
wheels, even under normal driving
conditions. Some dust is inevitable as the
brakes wear and does not contribute to
brake noise. See Cleaning the Alloy
Wheels (page 272). See
Warning Lamps and
Indicators (page 91).
Wet brakes result in reduced braking
efficiency. Gently press the brake pedal a
few times when driving from a car wash
or standing water to dry the brakes.
Brake Over Accelerator
In the event the accelerator pedal
becomes stuck or entrapped, apply steady
and firm pressure to the brake pedal to
slow the vehicle and reduce engine power.
If you experience this condition, apply the
brakes and bring your vehicle to a safe
stop. Move the transmission selector lever
to position
P, switch the engine off and
apply the parking brake. Inspect the
accelerator pedal for any interference. If
none are found and the condition persists,
have your vehicle towed to the nearest
authorized dealer. Brake Assist
Brake assist detects when you brake
heavily by measuring the rate at which you
press the brake pedal. It provides
maximum braking efficiency as long as you
press the pedal. Brake assist can reduce
stopping distances in critical situations.
Anti-lock Brake System
This system helps you maintain steering
control during emergency stops by
keeping the brakes from locking.
This lamp momentarily
illuminates when you turn the
ignition on. If the light does not
illuminate during start up, remains on or
flashes, the anti-lock braking system may
be disabled. Have the system checked by
an authorized dealer. If the system is disabled, normal
braking is still effective. If the
brake warning lamp illuminates
when you release the parking brake, have
your system checked by an authorized
dealer.
Regenerative Braking System
This feature is used to simulate the engine
braking of an internal combustion engine
and assist the standard brake system while
recovering some of the energy of motion
and storing it in the battery to improve fuel
economy. The standard brake system is
designed to fully stop the car if
regenerative braking is not available.
During regenerative braking, the motor is
174
MKZ (CC9) BrakesE144522 E144522