Page 33 of 156

HEADLIGHT SWITCH AND HALO LIGHT SWITCH
Automatic Headlights/Parking
Lights/Headlights
• Rotate the headlight switch, located onthe instrument panel to the left of the
steering wheel, to the first detent for park-
ing lights
and to the second detent
for headlights
.
• With the parking lights or low beam head- lights on, push the headlight switch once
for fog lights.
• Rotate the headlight switch to AUTO for Automatic Headlights.
• When set to AUTO, the system automati- cally turns the headlights on or off based
on ambient light levels.
Instrument Panel Dimmer
• Rotate the dimmer control to the extremebottom position to fully dim the instru-
ment panel lights and prevent the interior
lights from illuminating when a door is
opened.
• Rotate the dimmer control up to increase the brightness of the instrument panel when the parking lights or headlights are on.
• Rotate the dimmer control up to the next detent position to fully brighten the odometer and radio when the parking lights or headlights are on.
• Rotate the dimmer control up to the last detent position to turn on the interior lighting.
Overhead (Halo) Light
• To activate the Halo lights, rotate the Halo switch control upward or downward to increase or decrease the lighting.
Headlight Switch/Halo Light Switch
1—Auto
2 — Push Fog Light
3 — Rotate Halo Light Dimmer Control
4 — Rotate Dimmer Control
5 — Rotate Headlight Switch
OPERATING YOUR VEHICLE
31
Page 34 of 156

SPEED CONTROL
The Speed Control switches are located on the steering wheel.
Cruise ON/OFF
• Push the ON/OFF button to activate theSpeed Control.
CRUISE
will appear on the instrument
cluster to indicate the Speed Control is on.
• Push the ON/OFF button a second time to turn the system off.
SET
• With the Speed Control on, push and re-lease the SET – button to set a desired
speed.
Accel/Decel
To Increase Speed
• When the Electronic Speed Control is set,you can increase speed by pushing the
RES +button.
The speed increment shown is dependant
on the chosen speed unit of U.S. (mph) or Metric (km/h):
U.S. Speed (mph)
• Pressing the RES +button once will result i n a 1 mph increase in set speed. Each
subsequent tap of the button results in an increase of 1 mph.
• If the button is continually pressed, the set speed will continue to increase until the button is released, then the new set speed will be established.
Metric Speed (km/h)
• Pressing the RES +button once will result i n a 2 km/h increase in set speed. Each
subsequent tap of the button results in an increase of 2 km/h.
• If the button is continually pressed, the set speed will continue to increase until the button is released, then the new set speed will be established.
Speed Control Switches
1 — Push On/Off
2 — Push Resume/Accel
3 — Push Set/Decel
4 — Push Cancel
OPERATING YOUR VEHICLE
32
Page 35 of 156

To Decrease Speed
• When the Electronic Speed Control is set, you can decrease speed by pushing the SET-
button.
The speed decrement shown is dependant on the chosen speed unit of U.S. (mph) or Metric
(km/h):
U.S. Speed (mph)
• Pressing the SET -button once will result i n a 1 mph decrease in set speed. Each
subsequent tap of the button results in a decrease of 1 mph.
• If the button is continually pressed, the set speed will continue to decrease until the button is released, then the new set speed will be established.
Metric Speed (km/h)
• Pressing the SET -button once will result i n a 2 km/h decrease in set speed. Each
subsequent tap of the button results in a decrease of 2 km/h.
• If the button is continually pressed, the set speed will continue to decrease until the button is released, then the new set speed will be established.
Resume
• To resume a previously selected set speed in memory, push the RES + button andrelease.
Cancel
• Push the CANCEL button, or apply the brakes to cancel the set speed and maintain theset speed memory.
• Push the ON/OFF button to turn the system off and erase the set speed memory.
WARNING!
• Leaving the Electronic Speed Control system on when not in use is dangerous. You could accidentally set the system or cause it to go faster than you want. You could
lose control and have a collision. Always leave the Electronic Speed Control system
off when you are not using it.
• Electronic Speed Control can be dangerous where the system cannot maintain a constant speed. Your vehicle could go too fast for the conditions, and you could lose
control. A collision could be the result. Do not use Electronic Speed Control in heavy
traffic or on roads that are winding, icy, snow-covered or slippery.
OPERATING YOUR VEHICLE
33
Page 36 of 156

ELECTRONIC RANGE SELECTION (ERS)
• Electronic Range Select (ERS) allows youto limit the highest available transmis-
sion gear, and can be activated during any
driving condition. When towing a trailer or
operating the vehicle in off-road condi-
tions, using ERS shift control will help you
maximize both performance and engine
braking.
• To shift from DRIVE mode to ERS mode, move the shift lever to the left (-) once.
The current gear will be maintained as the
top gear. To disable ERS, simply press and
hold the shift lever to the right (+) until “D”
is displayed in the instrument cluster
odometer.
• Switching between ERS and DRIVE mode can be done at any vehicle speed.
• Refer to your Owner's Manual on the DVD for further details.
FUEL ECONOMY (ECON) MODE
•The Fuel Economy (ECON) mode can im-
prove the vehicle’s overall fuel economy
during normal driving conditions.
• Press the ECON switch in the center stack of the instrument panel and a green light
will indicate the ECON mode is engaged.
• When the ECON Mode is engaged, the vehicle control systems will be able to
change the following:• The transmission will upshift sooner
and downshift later.
• The transmission will skip select gears during shifts to allow the engine to
operate at lower speeds.
• The torque converter clutch may en- gage sooner (lower engine rpm’s) and remain on longer.
• The engine idle speed will be lower.
• The overall driving performance will be more conservative.
OPERATING YOUR VEHICLE
34
Page 37 of 156
MANUAL CLIMATE CONTROLS
Air Recirculation
• Use Recirculation for maximum A/C operation.
• For window defogging, turn the Recirculation button off.
• Recirculation is allowed in floor mode.
• Recirculation is allowed in defrost/floor (mix modes) for approximately five minutes.
Heated Mirrors
The mirrors are heated to melt frost or ice. This feature is activated whenever you turn on
the rear window defroster.
Rear Window Defroster
• Pressing the rear window defroster button will turn on the defroster for approximately10 minutes. An indicator in the button will illuminate when the rear window defroster is
on. For an additional 10 minutes of operation, press the button a second time.
OPERATING YOUR VEHICLE
35
Page 38 of 156
THREE ZONE MANUAL CLIMATE CONTROLS
Air Recirculation
• Use Recirculation for maximum A/C operation.
• For window defogging, turn the Recirculation button off.
• Recirculation is allowed in floor mode.
• Recirculation is allowed in defrost/floor (mix modes) for approximately five minutes.
Heated Mirrors
The mirrors are heated to melt frost or ice. This feature is activated whenever you turn on
the rear window defroster.
Rear Window Defroster
• Pressing the rear window defroster button will turn on the defroster for approximately10 minutes. An indicator in the button will illuminate when the rear window defroster is
on. For an additional 10 minutes of operation, press the button a second time.
OPERATING YOUR VEHICLE
36
Page 39 of 156
Activating Rear Passenger Climate Controls
• Rotate the rear blower control, located on the main climate control in the instrumentpanel to the “REAR” position. This enables the rear passenger climate controls located in
the headliner above the second row seats.
THREE ZONE AUTOMATIC TEMPERATURE CONTROLS (ATC)
Automatic Operation
• Push the AUTO mode button to activate the ATC system.
• Select the desired temperature by pressing the temperature control buttons for thedriver or passenger.
• The system will maintain the set temperature automatically.
OPERATING YOUR VEHICLE
37
Page 40 of 156

Air Conditioning (A/C)
• If the air conditioning button is pressed while in AUTO mode, the system will exit AUTOmode and stay in A/C. The mode and blower will go to the previous user setting.
SYNC Temperature Button
• Push the SYNC button once to control driver and passenger temperatures simultane-ously. Push the SYNC button a second time to control the temperatures individually.
Air Recirculation
• Use Recirculation for maximum A/C operation.
• For window defogging, turn the Recirculation button off.
• If the Recirculation button is pressed when the system is in Defrost mode the Recircu-lation LED indicator will flash three times to indicate Recirculation mode is not allowed.
Heated Mirrors
The mirrors are heated to melt frost or ice. This feature is activated whenever you turn on
the rear window defroster.
Rear Window Defroster
• Pressing the rear window defroster button will turn on the defroster for approximately10 minutes. An indicator in the button will illuminate when the rear window defroster is
on. For an additional 10 minutes of operation, press the button a second time.
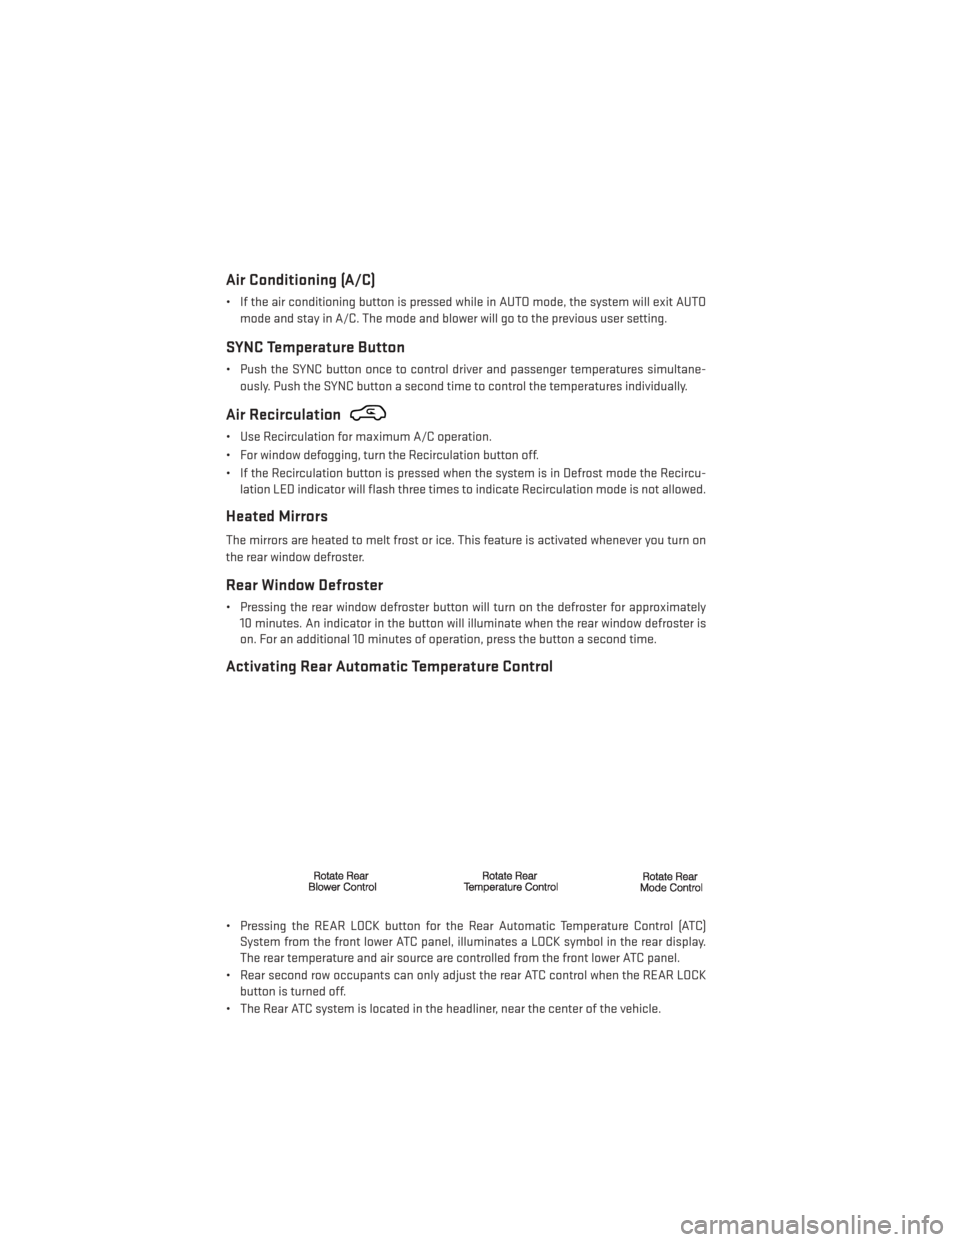
Activating Rear Automatic Temperature Control
• Pressing the REAR LOCK button for the Rear Automatic Temperature Control (ATC)System from the front lower ATC panel, illuminates a LOCK symbol in the rear display.
The rear temperature and air source are controlled from the front lower ATC panel.
• Rear second row occupants can only adjust the rear ATC control when the REAR LOCK button is turned off.
• The Rear ATC system is located in the headliner, near the center of the vehicle.
OPERATING YOUR VEHICLE
38