2014 DODGE GRAND CARAVAN transmission
[x] Cancel search: transmissionPage 30 of 156

ENGINE BREAK-IN RECOMMENDATIONS
A long break-in period is not required for the engine and drivetrain (transmission and axle)
in your vehicle.
Drive moderately during the first 300 miles (500 km). After the initial 60 miles (100 km),
speeds up to 50 or 55 mph (80 or 90 km/h) are desirable.
While cruising, brief full-throttle acceleration within the limits of local traffic laws contrib-
utes to a good break-in. Wide-open throttle acceleration in low gear can be detrimental and
should be avoided.
The engine oil installed in the engine at the factory is a high-quality energy conserving type
lubricant. Oil changes should be consistent with anticipated climate conditions under
which vehicle operations will occur. For the recommended viscosity and quality grades,
refer to “Maintaining Your Vehicle.”
NOTE:
A new engine may consume some oil during its first few thousand miles (kilometers) of
operation. This should be considered a normal part of the break-in and not interpreted as an
indication of an engine problem or malfunction.
CAUTION!
Never use Non-Detergent Oil or Straight Mineral Oil in the engine or damage may result.
OPERATING YOUR VEHICLE
28
Page 36 of 156

ELECTRONIC RANGE SELECTION (ERS)
• Electronic Range Select (ERS) allows youto limit the highest available transmis-
sion gear, and can be activated during any
driving condition. When towing a trailer or
operating the vehicle in off-road condi-
tions, using ERS shift control will help you
maximize both performance and engine
braking.
• To shift from DRIVE mode to ERS mode, move the shift lever to the left (-) once.
The current gear will be maintained as the
top gear. To disable ERS, simply press and
hold the shift lever to the right (+) until “D”
is displayed in the instrument cluster
odometer.
• Switching between ERS and DRIVE mode can be done at any vehicle speed.
• Refer to your Owner's Manual on the DVD for further details.
FUEL ECONOMY (ECON) MODE
•The Fuel Economy (ECON) mode can im-
prove the vehicle’s overall fuel economy
during normal driving conditions.
• Press the ECON switch in the center stack of the instrument panel and a green light
will indicate the ECON mode is engaged.
• When the ECON Mode is engaged, the vehicle control systems will be able to
change the following:• The transmission will upshift sooner
and downshift later.
• The transmission will skip select gears during shifts to allow the engine to
operate at lower speeds.
• The torque converter clutch may en- gage sooner (lower engine rpm’s) and remain on longer.
• The engine idle speed will be lower.
• The overall driving performance will be more conservative.
OPERATING YOUR VEHICLE
34
Page 87 of 156

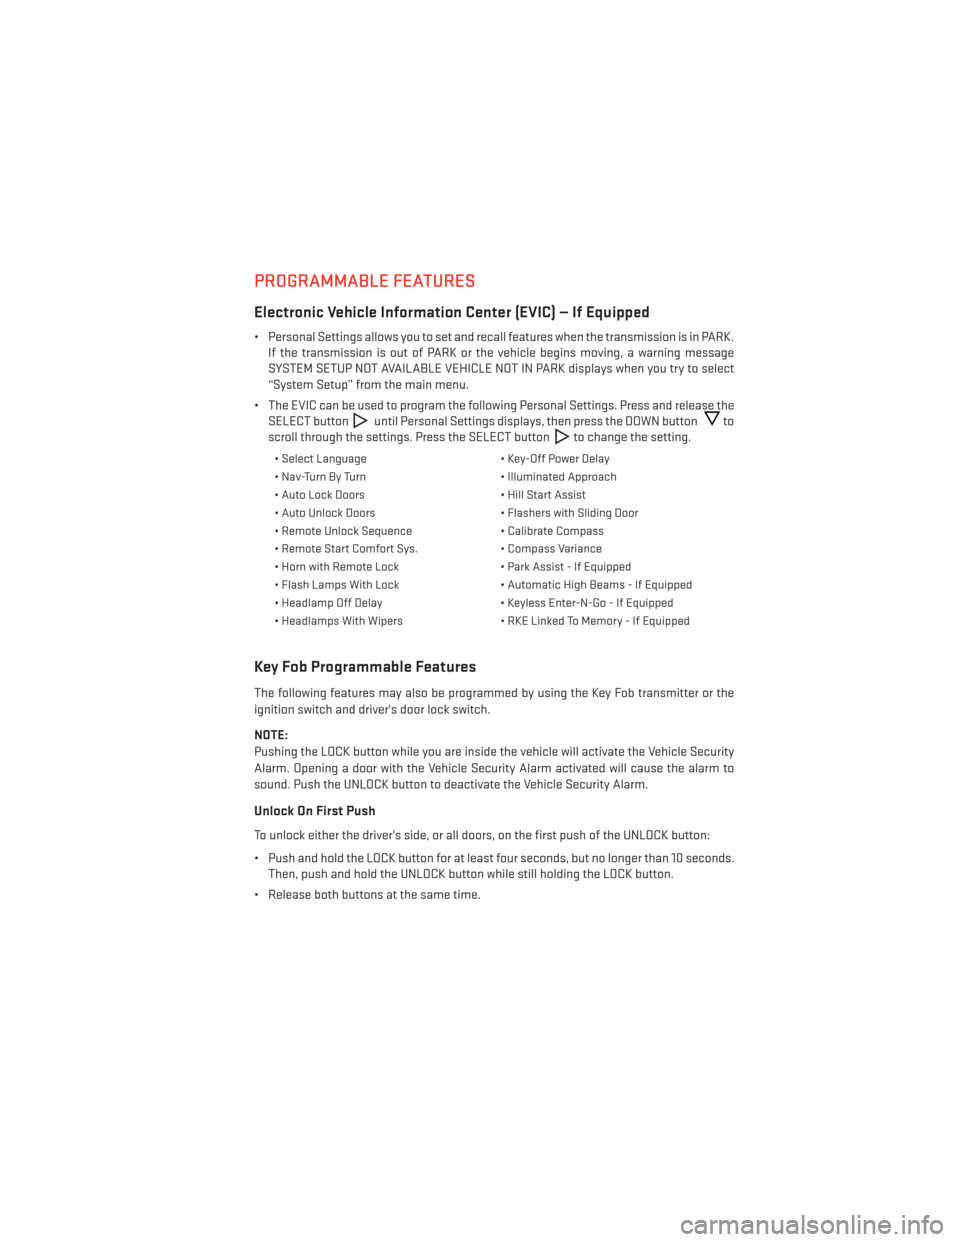
PROGRAMMABLE FEATURES
Electronic Vehicle Information Center (EVIC) — If Equipped
• Personal Settings allows you to set and recall features when the transmission is in PARK.If the transmission is out of PARK or the vehicle begins moving, a warning message
SYSTEM SETUP NOT AVAILABLE VEHICLE NOT IN PARK displays when you try to select
“System Setup” from the main menu.
• The EVIC can be used to program the following Personal Settings. Press and release the SELECT button
until Personal Settings displays, then press the DOWN buttonto
scroll through the settings. Press the SELECT button
to change the setting.
• Select Language • Key-Off Power Delay
• Nav-Turn By Turn • Illuminated Approach
• Auto Lock Doors • Hill Start Assist
• Auto Unlock Doors • Flashers with Sliding Door
• Remote Unlock Sequence • Calibrate Compass
• Remote Start Comfort Sys. • Compass Variance
• Horn with Remote Lock • Park Assist - If Equipped
• Flash Lamps With Lock • Automatic High Beams - If Equipped
• Headlamp Off Delay • Keyless Enter-N-Go - If Equipped
• Headlamps With Wipers • RKE Linked To Memory - If Equipped
Key Fob Programmable Features
The following features may also be programmed by using the Key Fob transmitter or the
ignition switch and driver's door lock switch.
NOTE:
Pushing the LOCK button while you are inside the vehicle will activate the Vehicle Security
Alarm. Opening a door with the Vehicle Security Alarm activated will cause the alarm to
sound. Push the UNLOCK button to deactivate the Vehicle Security Alarm.
Unlock On First Push
To unlock either the driver's side, or all doors, on the first push of the UNLOCK button:
• Push and hold the LOCK button for at least four seconds, but no longer than 10 seconds.
Then, push and hold the UNLOCK button while still holding the LOCK button.
• Release both buttons at the same time.
ELECTRONICS
85
Page 88 of 156

Auto Unlock Doors On Exit
To have all of the vehicle doors unlock when any door is opened:
• Enter your vehicle and close all the doors, and fasten your seat belt.
• Cycle the ignition switch between the LOCK and ON position four times, ending in theLOCK position (do not start the engine).
• Push the power door UNLOCK switch to unlock the doors. A single chime will indicate that programming is complete.
Sound Horn With Lock
To turn the horn chirp on or off when the doors are locked:
• Push the LOCK button and PANIC button at the same time for at least four seconds, butno longer than 10 seconds.
• Release both buttons at the same time.
Flashing Lights With Lock
The turn signal lights flash when the doors are locked, which can be turned on or off. To turn
this feature on or off:
• Push and hold the UNLOCK button and the LOCK button at the same time for at least four seconds, but no longer than 10 seconds.
• Release both buttons at the same time.
UNIVERSAL GARAGE DOOR OPENER (HomeLink®)
•HomeLink® replaces up to three hand-held transmitters that operate devices such as
garage door openers, motorized gates, lighting or home security systems. The HomeLink®
unit is powered by your vehicles 12 Volt battery.
• The HomeLink® buttons that are located in the overhead console or sunvisor designate the three different HomeLink® channels.
• The HomeLink® indicator is located above the center button.
Before You Begin Programming
HomeLink®
Ensure that your vehicle is parked outside of
the garage before you begin programming.
For efficient programming and accurate
transmission of the radio-frequency signal,
it is recommended that a new battery be
placed in the hand-held transmitter of the
device that is being programmed to the
HomeLink® system.
ELECTRONICS
86
Page 95 of 156

TRAILER TOWING WEIGHTS (MAXIMUM TRAILER WEIGHT
RATINGS)
Engine/
Transmission GCWR (Gross
Combined Wt. Rating) Frontal Area Max. GTW
(Gross Trailer Wt.) Max. Tongue Wt.
3.6L/Automatic 8,750 lbs
(3,969 kg) 40 sq ft
(3.72sqm) Up to 2 persons
& Luggage3,600 lbs
(1,633 kg) * 360 lbs (163 kg)
8,750 lbs
(3,969 kg) 40 sq ft
(3.72sqm) 3 to 5 persons &
Luggage
3,350 lbs
(1,519 kg) * 335 lbs (152 kg)
8,750 lbs
(3,969 kg) 40 sq ft
(3.72sqm) 6 to 7 persons &
Luggage
3,000 lbs
(1,360 kg) * 300 lbs (136 kg)
* For vehicles equipped with Fold-in-Floor seating, the Gross Trailer Weight must be reduced by 100 lbs (45 kg). Refer to local laws for maximum trailer towing speeds.
NOTE: The trailer tongue weight must be considered as part of the combined weight of occupants and cargo, and should never exceed the weight referenced on the Tire and Loading Information placard.
RECREATIONAL TOWING (BEHIND MOTORHOME, ETC.)
Towing Condition Wheels OFF the Ground All Models
Flat Tow NONE
NOT ALLOWED
Dolly Tow Front
OK
Rear NOT ALLOWED
On Trailer ALLOK
UTILITY
93
Page 96 of 156

Recreational Towing — All Models
• Recreational towing is allowed ONLY if the front wheels are OFF the ground. This may beaccomplished using a tow dolly or vehicle trailer. If using a tow dolly, follow this proce-
dure:
1. Properly secure the dolly to the tow vehicle, following the dolly manufacturer's instructions.
2. Drive the front wheels onto the tow dolly.
3. Firmly apply the parking brake. Place the transmission in PARK.
4. Properly secure the front wheels to the dolly, following the dolly manufacturer's instructions.
5. Release the parking brake.
CAUTION!
• DO NOT flat tow this vehicle. Damage to the drivetrain will result.
• Towing this vehicle in violation of the above requirements can cause severe trans- mission damage. Damage from improper towing is not covered under the New
Vehicle Limited Warranty.
UTILITY
94
Page 99 of 156

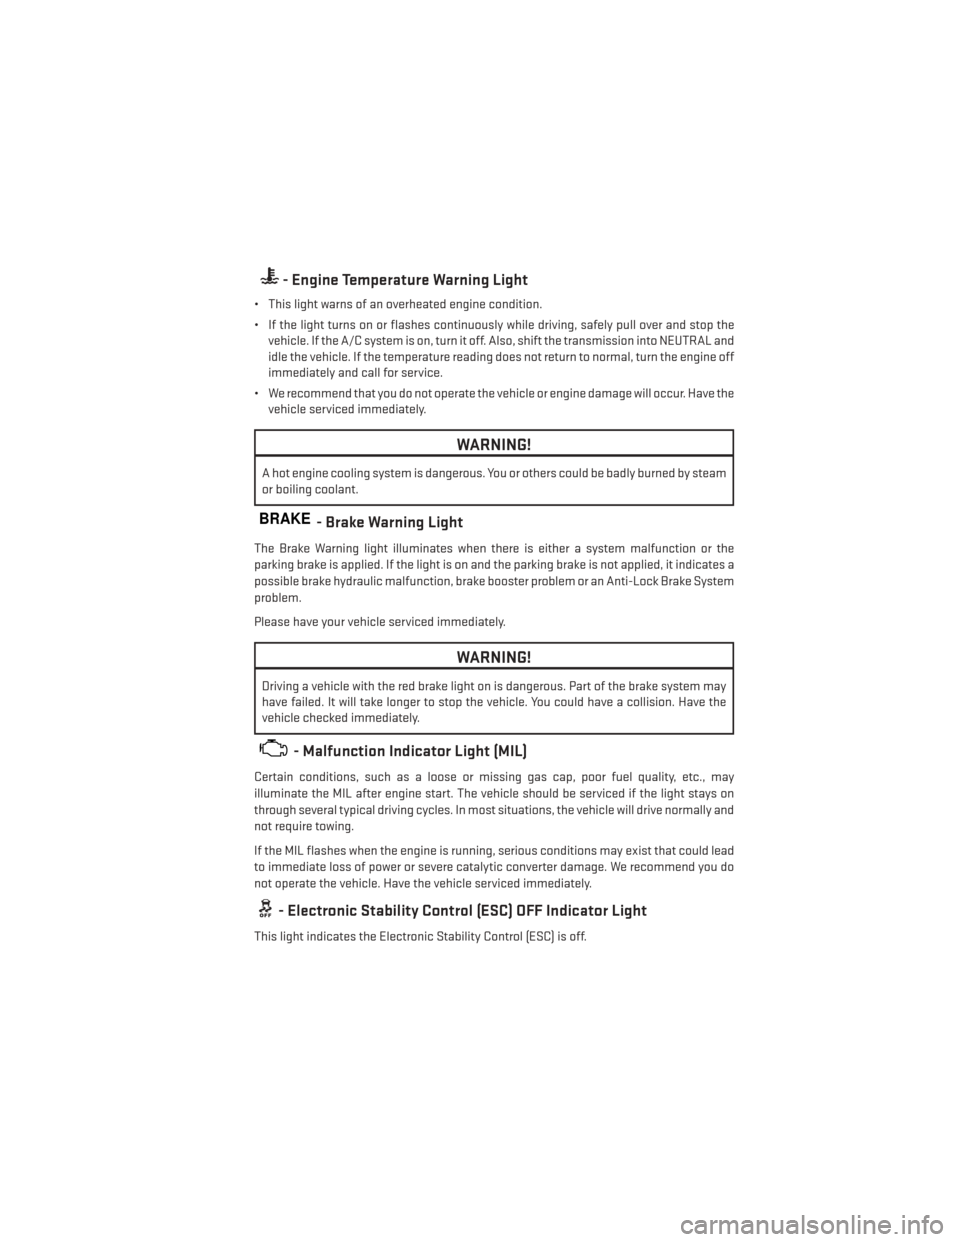
- Engine Temperature Warning Light
• This light warns of an overheated engine condition.
• If the light turns on or flashes continuously while driving, safely pull over and stop thevehicle. If the A/C system is on, turn it off. Also, shift the transmission into NEUTRAL and
idle the vehicle. If the temperature reading does not return to normal, turn the engine off
immediately and call for service.
• We recommend that you do not operate the vehicle or engine damage will occur. Have the vehicle serviced immediately.
WARNING!
A hot engine cooling system is dangerous. You or others could be badly burned by steam
or boiling coolant.
BRAKE- Brake Warning Light
The Brake Warning light illuminates when there is either a system malfunction or the
parking brake is applied. If the light is on and the parking brake is not applied, it indicates a
possible brake hydraulic malfunction, brake booster problem or an Anti-Lock Brake System
problem.
Please have your vehicle serviced immediately.
WARNING!
Driving a vehicle with the red brake light on is dangerous. Part of the brake system may
have failed. It will take longer to stop the vehicle. You could have a collision. Have the
vehicle checked immediately.
- Malfunction Indicator Light (MIL)
Certain conditions, such as a loose or missing gas cap, poor fuel quality, etc., may
illuminate the MIL after engine start. The vehicle should be serviced if the light stays on
through several typical driving cycles. In most situations, the vehicle will drive normally and
not require towing.
If the MIL flashes when the engine is running, serious conditions may exist that could lead
to immediate loss of power or severe catalytic converter damage. We recommend you do
not operate the vehicle. Have the vehicle serviced immediately.
- Electronic Stability Control (ESC) OFF Indicator Light
This light indicates the Electronic Stability Control (ESC) is off.
WHAT TO DO IN EMERGENCIES
97
Page 101 of 156

“CHANGE OIL” MESSAGE
• If a “Change Oil” message appears and a single chime sounds, it is time for your nextrequired oil change.
Resetting The Light After Servicing
Vehicles Equipped With Keyless Enter-N-Go™
• Without pressing the brake pedal, push the ENGINE START/STOP button and cycle theignition to the ON/RUN position (do not start the engine.)
• Fully depress the accelerator pedal, slowly, three times within 10 seconds.
• Without pressing the brake pedal, push the ENGINE START/STOP button once to return the ignition to the OFF/LOCK position.
Vehicles Not Equipped With Keyless Enter-N-Go™
• Turn the ignition switch to the ON/RUN position (do not start the engine.)
• Fully depress the accelerator pedal, slowly, three times within 10 seconds.
• Turn the ignition switch to the OFF/LOCK position.
NOTE:
If the indicator message illuminates when you start the vehicle, the oil change indicator
system did not reset. If necessary, repeat this procedure.
IF YOUR ENGINE OVERHEATS
In any of the following situations, you can reduce the potential for overheating by taking the
appropriate action:
• On the highways — slow down.
• In city traffic — while stopped, shift the transmission to NEUTRAL, but do not increase engine idle speed.
NOTE:
There are steps that you can take to slow down an impending overheat condition:
• If your air conditioner (A/C) is on, turn it off. The A/C system adds heat to the engine cooling system and turning the A/C off can help remove this heat.
• You can also turn the temperature control to maximum heat, the mode control to floor and the blower control to high. This allows the heater core to act as a supplement to the
radiator and aids in removing heat from the engine cooling system.
WHAT TO DO IN EMERGENCIES
99