2014 DODGE GRAND CARAVAN horn
[x] Cancel search: hornPage 10 of 156

KEY FOB
Locking And Unlocking The Doors
And Liftgate
Lock The Doors And Liftgate
• Press and release the LOCK button on theRKE transmitter to lock all doors and lift-
gate. The turn signal lights will flash and
the horn will chirp to acknowledge the
signal.
Unlock The Doors And Liftgate
• Press and release the UNLOCK button on the RKE transmitter once to unlock the
driver’s door, or twice within five seconds
to unlock all doors and liftgate. The turn
signal lights will flash to acknowledge the
unlock signal. The illuminated entry sys-
tem will also turn on.
All doors can be programmed to unlock on
the first push of the UNLOCK button. Refer to
“Programmable Features” in the “Electron-
ics” section of this guide.
Panic Alarm
• Press the PANIC button once to turn the panic alarm on.
• Wait approximately three seconds and press the button a second time to turn the panic alarm off.
Power Liftgate
• Press the LIFTGATE button twice within five seconds to power open/close the PowerLiftgate. If the button is pressed twice again while the liftgate is being power closed, the
liftgate will reverse to the full open position.
Power Sliding Doors
• Press the LEFT or RIGHT Power Sliding Door button twice within five seconds to poweropen/close the Power Sliding Door. If the button is pressed twice again while the door is
being power closed, the door will reverse to the full open position.
Key Fob
1 — Left Power Sliding Door
2 — Liftgate
3—Lock
4 — Unlock
5 — Remote Start
6 — Right Power Sliding Door
7 — Emergency Key
GETTING STARTED
8
Page 12 of 156

VEHICLE SECURITY ALARM
To Arm:
• Lock the door using either the power door lock switch (one door must be open) or theLOCK button on the Remote Keyless Entry (RKE) transmitter (doors can be open or
closed), and close all doors.
NOTE:
The Vehicle Security Alarm will not arm if you lock the doors with the manual door lock
plungers.
The Vehicle Security Light in the instrument cluster will flash for 16 seconds. This shows
that the Vehicle Security Alarm is arming. During this period, if a door is opened, the ignition
is cycled to ON/RUN, or the power door locks are unlocked in any manner, the Vehicle
Security Alarm will automatically disarm.
NOTE:
Once armed, the Vehicle Security Alarm disables the unlock switch on the driver door trim
panel and passenger door trim panel.
To Disarm The System:
• Push the Key Fob UNLOCK button or cycle the ignition to the ON/RUN position.
The Vehicle Security Alarm is designed to protect your vehicle; however, you can create
conditions where the Vehicle Security Alarm will give you a false alarm. If one of the
previously described arming sequences has occurred, the Vehicle Security Alarm will arm
regardless of whether you are in the vehicle or not. If you remain in the vehicle and open a
door, the alarm will sound. If this occurs, disarm the Vehicle Security Alarm.
If the Vehicle Security Alarm is armed and the battery becomes disconnected the Vehicle
Security Alarm will remain armed when the battery is reconnected. The exterior lights will
flash, and the horn will sound. If this occurs, disarm the Vehicle Security Alarm.
SEAT BELT
Be sure everyone in your vehicle is in a seat and using a seat belt properly.
• Position the lap belt across your thighs, below your abdomen. To remove slack in the lap portion, pull up a bit on the shoulder belt. To loosen the lap belt if it is too tight, tilt the
latch plate and pull on the lap belt. A snug belt reduces the risk of sliding under the belt
in a collision.
• Position the shoulder belt on your chest so that it is comfortable and not resting on your neck. The retractor will withdraw any slack in the belt.
A shoulder belt placed behind you will not protect you from injury during a collision. You are
more likely to hit your head in a collision if you do not wear your shoulder belt. The lap and
shoulder belt are meant to be used together.
GETTING STARTED
10
Page 87 of 156

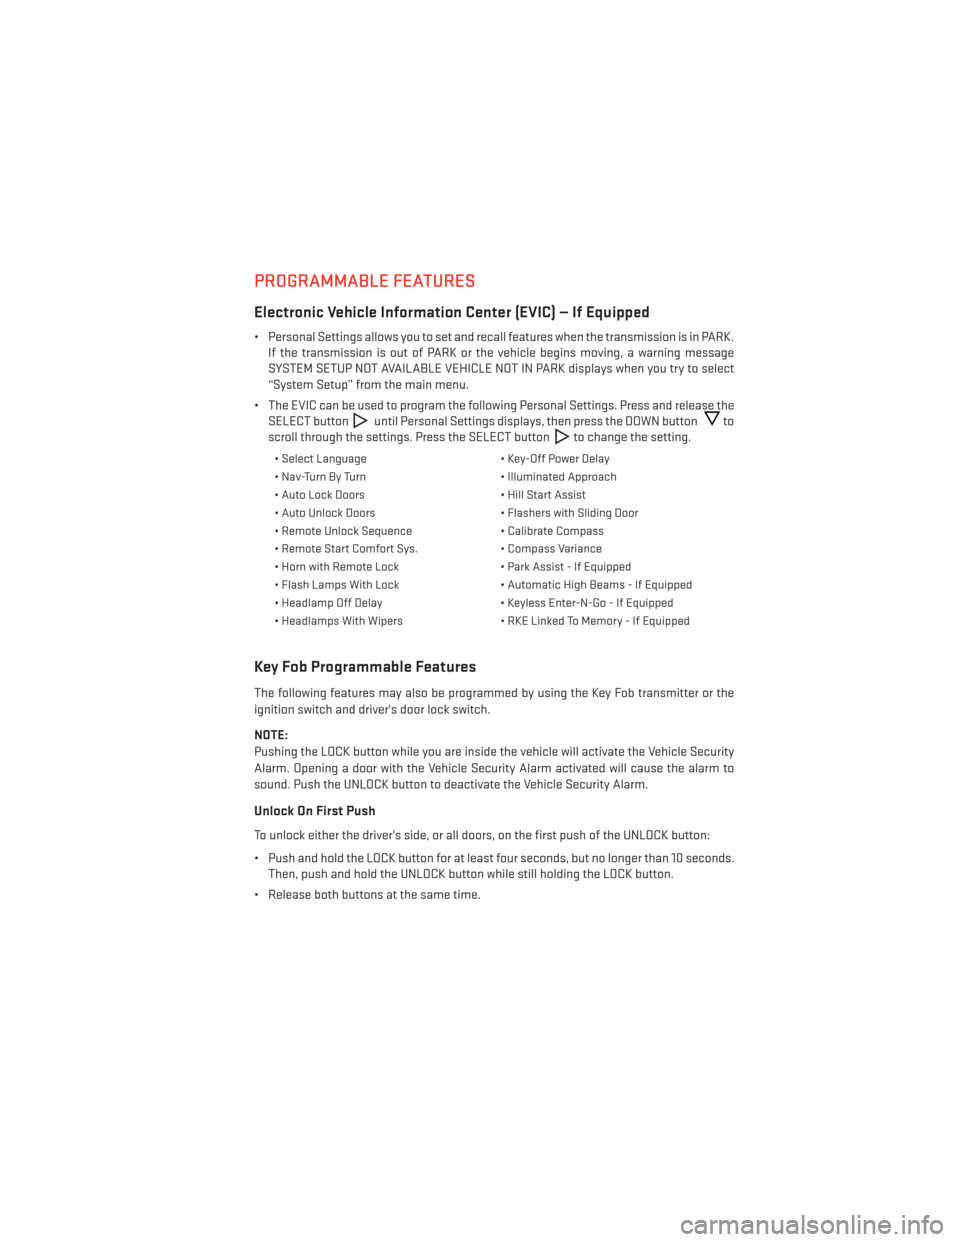
PROGRAMMABLE FEATURES
Electronic Vehicle Information Center (EVIC) — If Equipped
• Personal Settings allows you to set and recall features when the transmission is in PARK.If the transmission is out of PARK or the vehicle begins moving, a warning message
SYSTEM SETUP NOT AVAILABLE VEHICLE NOT IN PARK displays when you try to select
“System Setup” from the main menu.
• The EVIC can be used to program the following Personal Settings. Press and release the SELECT button
until Personal Settings displays, then press the DOWN buttonto
scroll through the settings. Press the SELECT button
to change the setting.
• Select Language • Key-Off Power Delay
• Nav-Turn By Turn • Illuminated Approach
• Auto Lock Doors • Hill Start Assist
• Auto Unlock Doors • Flashers with Sliding Door
• Remote Unlock Sequence • Calibrate Compass
• Remote Start Comfort Sys. • Compass Variance
• Horn with Remote Lock • Park Assist - If Equipped
• Flash Lamps With Lock • Automatic High Beams - If Equipped
• Headlamp Off Delay • Keyless Enter-N-Go - If Equipped
• Headlamps With Wipers • RKE Linked To Memory - If Equipped
Key Fob Programmable Features
The following features may also be programmed by using the Key Fob transmitter or the
ignition switch and driver's door lock switch.
NOTE:
Pushing the LOCK button while you are inside the vehicle will activate the Vehicle Security
Alarm. Opening a door with the Vehicle Security Alarm activated will cause the alarm to
sound. Push the UNLOCK button to deactivate the Vehicle Security Alarm.
Unlock On First Push
To unlock either the driver's side, or all doors, on the first push of the UNLOCK button:
• Push and hold the LOCK button for at least four seconds, but no longer than 10 seconds.
Then, push and hold the UNLOCK button while still holding the LOCK button.
• Release both buttons at the same time.
ELECTRONICS
85
Page 88 of 156

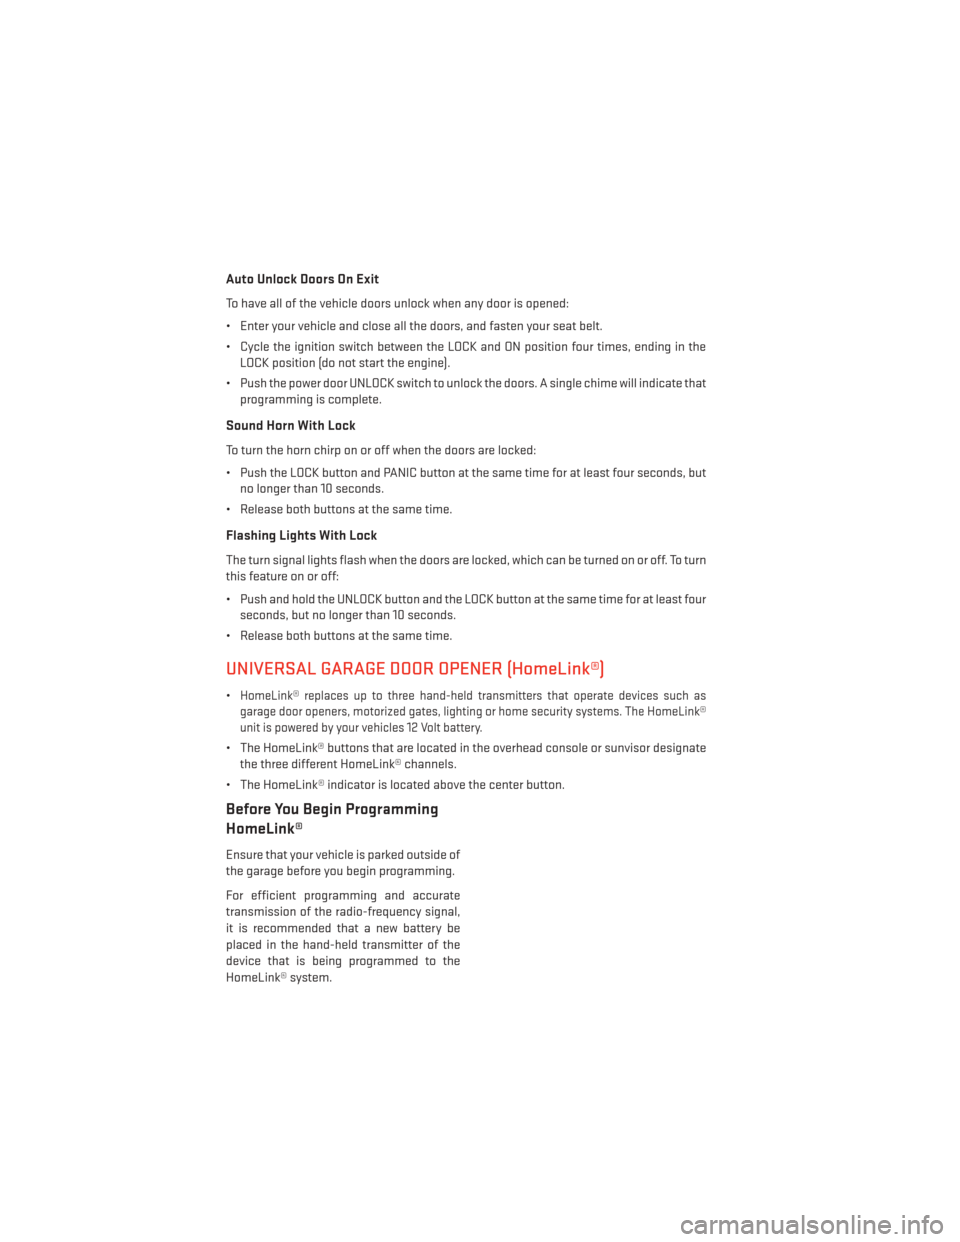
Auto Unlock Doors On Exit
To have all of the vehicle doors unlock when any door is opened:
• Enter your vehicle and close all the doors, and fasten your seat belt.
• Cycle the ignition switch between the LOCK and ON position four times, ending in theLOCK position (do not start the engine).
• Push the power door UNLOCK switch to unlock the doors. A single chime will indicate that programming is complete.
Sound Horn With Lock
To turn the horn chirp on or off when the doors are locked:
• Push the LOCK button and PANIC button at the same time for at least four seconds, butno longer than 10 seconds.
• Release both buttons at the same time.
Flashing Lights With Lock
The turn signal lights flash when the doors are locked, which can be turned on or off. To turn
this feature on or off:
• Push and hold the UNLOCK button and the LOCK button at the same time for at least four seconds, but no longer than 10 seconds.
• Release both buttons at the same time.
UNIVERSAL GARAGE DOOR OPENER (HomeLink®)
•HomeLink® replaces up to three hand-held transmitters that operate devices such as
garage door openers, motorized gates, lighting or home security systems. The HomeLink®
unit is powered by your vehicles 12 Volt battery.
• The HomeLink® buttons that are located in the overhead console or sunvisor designate the three different HomeLink® channels.
• The HomeLink® indicator is located above the center button.
Before You Begin Programming
HomeLink®
Ensure that your vehicle is parked outside of
the garage before you begin programming.
For efficient programming and accurate
transmission of the radio-frequency signal,
it is recommended that a new battery be
placed in the hand-held transmitter of the
device that is being programmed to the
HomeLink® system.
ELECTRONICS
86
Page 137 of 156

Cavity Cartridge Fuse Mini-FuseDescription
M6 — 20 Amp Yellow Power Outlet #1 (ACC), Rain Sensor,
Cigar Lighter (Instrument Panel or with Console Rear)
M7 — 20 Amp Yellow Power Outlet #2 (BATT/ACC
SELECT) – Center Seat or with Console Rear
M8 — 20 Amp Yellow Front Heated Seat – If Equipped
M9 — 20 Amp Yellow Rear Heated Seat – If Equipped
M10 — 15 Amp Blue Ignition Off Draw — Video System,
Satellite Radio, DVD, Hands-Free Module, Universal Garage Door
Opener, Vanity Lamp, Streaming Video Module – If Equipped
M11 — 10 Amp Red Climate Control System
M12 — 30 Amp Green Amplifier/Radio
M13 — 20 Amp Yellow Instrument Cluster, SIREN, Clock
Module, Multi-Function Control Switch – If Equipped
M14 — 20 Amp Yellow Trailer Tow – If Equipped
M15 — 20 Amp Yellow Rear View Mirror, Instrument
Cluster, Multi-Function Control
Switch, Tire Pressure Monitor, Glow Plug Module – If Equipped
M16 — 10 Amp Red Airbag Module/Occupant
Classification Module
M17 — 15 Amp Blue Left Tail/License/Park Lamp,
Running Lamps
M18 — 15 Amp Blue Right Tail/Park/Run Lamp
M19 — 25 Amp Natural Powertrain
M20 — 15 Amp Blue Instrument Cluster Interior Light,
Switch Bank, Steering Column
Module, Switch Steering Wheel
M21 — 20 Amp Yellow Powertrain
M22 — 10 Amp Red Horn
M23 — 10 Amp Red Horn
M24 — 25 Amp Natural Rear Wiper
M25 — 20 Amp Yellow Fuel Pump, Diesel Lift Pump –
If Equipped
M26 — 10 Amp Red Power Mirror Switch, Driver Window
Switch
M27 — 10 Amp Red Wireless Control Module, Keyless
Entry Module
M28 — 10 Amp Red Powertrain, Transmission Control
Module
MAINTAINING YOUR VEHICLE
135