Page 225 of 373

You will see one of the following display mes-
sages in the multifunction display:
R Please
Please enter enterPIN
PIN: the mobile phone has
been placed in the mobile phone bracket
but the PIN has not been entered.
When you enter your PIN via the mobile
phone, LINGUATRONIC, the audio system
or COMAND Online, the mobile phone
searches for a network.
R Telephone ready Telephone ready or the name of the net-
work provider: the mobile phone has found a network and is ready to receive.
R Telephone No service
Telephone No service: there is no net-
work available or the mobile phone is
searching for a network.
i You can obtain further information about
suitable mobile phones and connecting
mobile phones via Bluetooth ®
:
R from any Mercedes-Benz Service Centre
R on the Internet at http://
www.mercedes-benz.com/connect
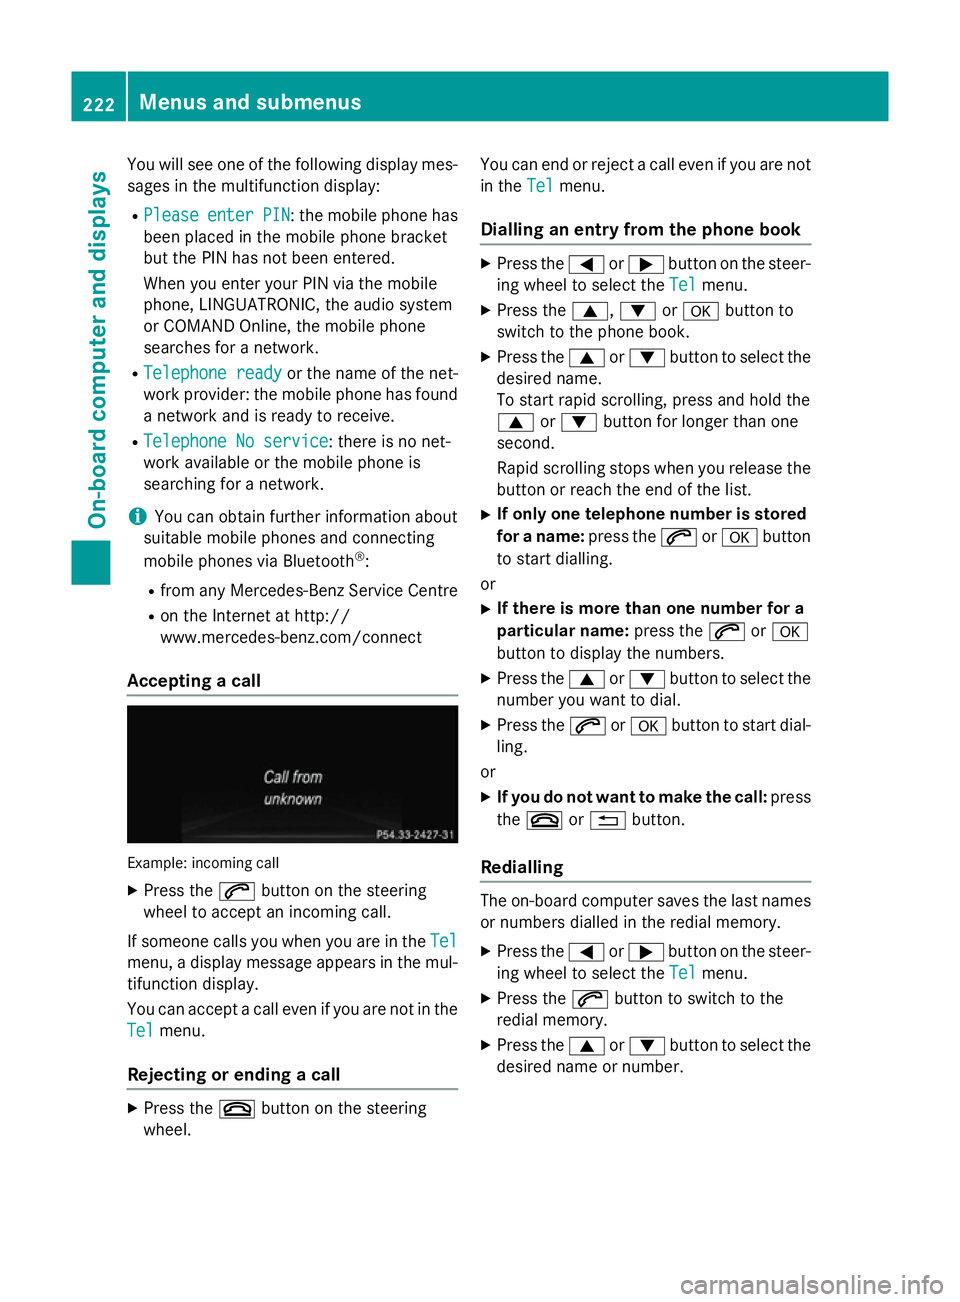
Accepting a call Example: incoming call
X Press the 6button on the steering
wheel to accept an incoming call.
If someone calls you when you are in the Tel Tel
menu, a display message appears in the mul- tifunction display.
You can accept a call even if you are not in the
Tel Tel menu.
Rejecting or ending a call X
Press the ~button on the steering
wheel. You can end or reject a call even if you are not
in the Tel Telmenu.
Dialling an entry from the phone book X
Press the =or; button on the steer-
ing wheel to select the Tel Telmenu.
X Press the 9,:ora button to
switch to the phone book.
X Press the 9or: button to select the
desired name.
To start rapid scrolling, press and hold the
9 or: button for longer than one
second.
Rapid scrolling stops when you release the button or reach the end of the list.
X If only one telephone number is stored
for a name: press the6ora button
to start dialling.
or
X If there is more than one number for a
particular name: press the6ora
button to display the numbers.
X Press the 9or: button to select the
number you want to dial.
X Press the 6ora button to start dial-
ling.
or
X If you do not want to make the call: press
the ~ or% button.
Redialling The on-board computer saves the last names
or numbers dialled in the redial memory.
X Press the =or; button on the steer-
ing wheel to select the Tel Telmenu.
X Press the 6button to switch to the
redial memory.
X Press the 9or: button to select the
desired name or number. 222
Menus and submenusOn-board computer and displays
Page 226 of 373

X
Press the 6ora button to start dial-
ling.
or
X If you do not want to make the call: press
the ~ or% button. Assistance menu
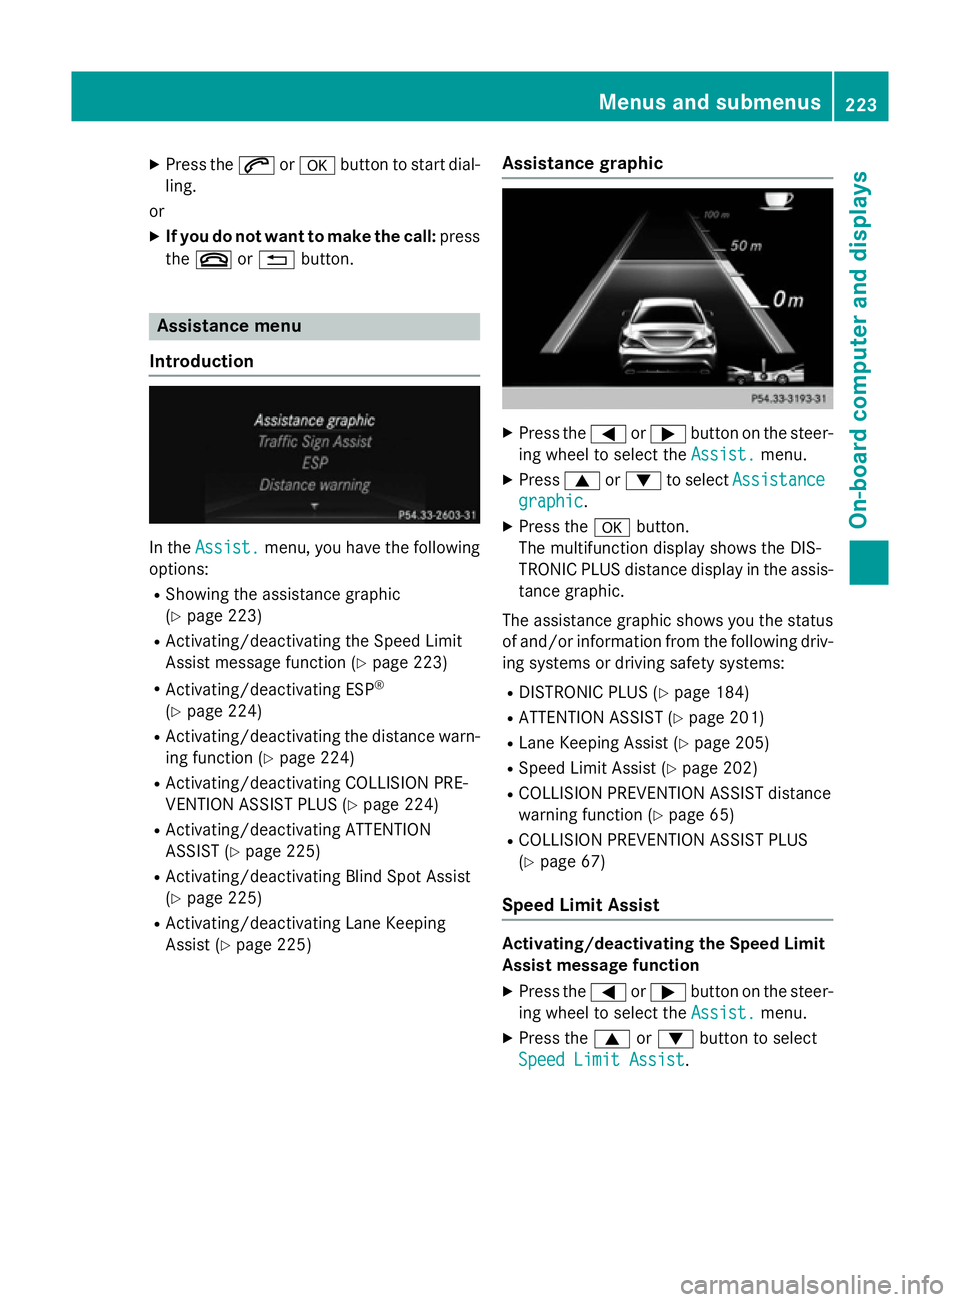
Introduction In the
Assist.
Assist. menu, you have the following
options:
R Showing the assistance graphic
(Y page 223)
R Activating/deactivating the Speed Limit
Assist message function (Y page 223)
R Activating/deactivating ESP ®
(Y page 224)
R Activating/deactivating the distance warn-
ing function (Y page 224)
R Activating/deactivating COLLISION PRE-
VENTION ASSIST PLUS (Y page 224)
R Activating/deactivating ATTENTION
ASSIST (Y page 225)
R Activating/deactivating Blind Spot Assist
(Y page 225)
R Activating/deactivating Lane Keeping
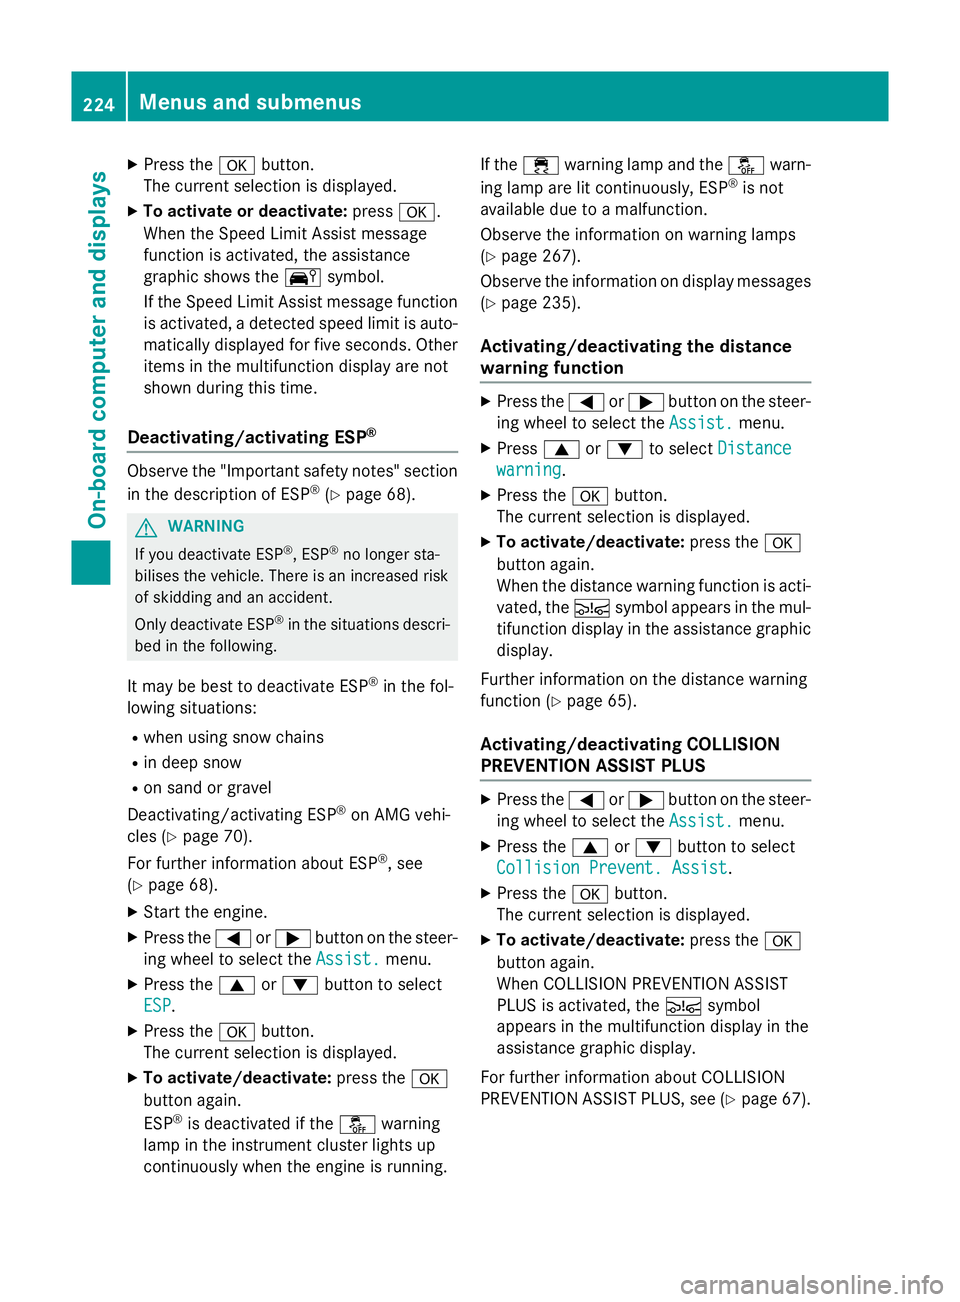
Assist (Y page 225) Assistance graphic X
Press the =or; button on the steer-
ing wheel to select the Assist. Assist.menu.
X Press 9or: to select Assistance
Assistance
graphic
graphic.
X Press the abutton.
The multifunction display shows the DIS-
TRONIC PLUS distance display in the assis- tance graphic.
The assistance graphic shows you the status
of and/or information from the following driv- ing systems or driving safety systems:
R DISTRONIC PLUS (Y page 184)
R ATTENTION ASSIST (Y page 201)
R Lane Keeping Assist (Y page 205)
R Speed Limit Assist (Y page 202)
R COLLISION PREVENTION ASSIST distance
warning function (Y page 65)
R COLLISION PREVENTION ASSIST PLUS
(Y page 67)
Speed Limit Assist Activating/deactivating the Speed Limit
Assist message function
X Press the =or; button on the steer-
ing wheel to select the Assist. Assist.menu.
X Press the 9or: button to select
Speed Limit Assist
Speed Limit Assist. Menus and submenus
223On-board computer and displays Z
Page 227 of 373

X
Press the abutton.
The current selection is displayed.
X To activate or deactivate: pressa.
When the Speed Limit Assist message
function is activated, the assistance
graphic shows the Äsymbol.
If the Speed Limit Assist message function is activated, a detected speed limit is auto-
matically displayed for five seconds. Other items in the multifunction display are not
shown during this time.
Deactivating/activating ESP ®Observe the "Important safety notes" section
in the description of ESP ®
(Y page 68). G
WARNING
If you deactivate ESP ®
, ESP ®
no longer sta-
bilises the vehicle. There is an increased risk
of skidding and an accident.
Only deactivate ESP ®
in the situations descri-
bed in the following.
It may be best to deactivate ESP ®
in the fol-
lowing situations:
R when using snow chains
R in deep snow
R on sand or gravel
Deactivating/activating ESP ®
on AMG vehi-
cles (Y page 70).
For further information about ESP ®
, see
(Y page 68).
X Start the engine.
X Press the =or; button on the steer-
ing wheel to select the Assist.
Assist. menu.
X Press the 9or: button to select
ESP ESP.
X Press the abutton.
The current selection is displayed.
X To activate/deactivate: press thea
button again.
ESP ®
is deactivated if the åwarning
lamp in the instrument cluster lights up
continuously when the engine is running. If the
÷ warning lamp and the åwarn-
ing lamp are lit continuously, ESP ®
is not
available due to a malfunction.
Observe the information on warning lamps
(Y page 267).
Observe the information on display messages
(Y page 235).
Activating/deactivating the distance
warning function X
Press the =or; button on the steer-
ing wheel to select the Assist. Assist.menu.
X Press 9or: to select Distance
Distance
warning
warning.
X Press the abutton.
The current selection is displayed.
X To activate/deactivate: press thea
button again.
When the distance warning function is acti-
vated, the Äsymbol appears in the mul-
tifunction display in the assistance graphic display.
Further information on the distance warning
function (Y page 65).
Activating/deactivating COLLISION
PREVENTION ASSIST PLUS X
Press the =or; button on the steer-
ing wheel to select the Assist. Assist.menu.
X Press the 9or: button to select
Collision Prevent. Assist
Collision Prevent. Assist.
X Press the abutton.
The current selection is displayed.
X To activate/deactivate: press thea
button again.
When COLLISION PREVENTION ASSIST
PLUS is activated, the Äsymbol
appears in the multifunction display in the
assistance graphic display.
For further information about COLLISION
PREVENTION ASSIST PLUS, see (Y page 67).224
Menus and submenusOn-board computer and displays
Page 228 of 373

Activating/deactivating ATTENTION
ASSIST X
Press the =or; button on the steer-
ing wheel to select the Assist.
Assist. menu.
X Press the 9or: button to select
ATTENTION ASSIST
ATTENTION ASSIST .
X Press the abutton.
The current selection is displayed.
X To activate/deactivate: press thea
button again.
When ATTENTION ASSIST is activated, the
À symbol appears in the assistance
graphic in the multifunction display.
For further information about ATTENTION
ASSIST, see (Y page 201).
Activating/deactivating Blind Spot
Assist X
Press the =or; button on the steer-
ing wheel to select the Assist. Assist.menu.
X Press the 9or: button to select
Blind Spot Assist
Blind Spot Assist .
X Press the abutton.
The current selection is displayed.
X To activate/deactivate: press thea
button again.
For further information about Blind Spot
Assist, see (Y page 203).
When the Blind Spot Assist Sensors Blind Spot Assist Sensors
deactivated
deactivated message is shown, the radar
sensors are deactivated.
X Switch on the radar sensor system
(Y page 229).
Activating/deactivating Lane Keeping
Assist X
Press the =or; button on the steer-
ing wheel to select the Assist. Assist.menu.
X Press the 9or: button to select
Lane Keeping Assist
Lane Keeping Assist .
X Press the abutton.
The current selection is displayed.
X Press ato confirm. X
Press the :or9 button to set Off
Off ,
Standard
Standard orAdaptive
Adaptive.
X Press the abutton to save the setting.
When Lane Keeping Assist is activated, the
multifunction display shows the lane mark-
ings as bright lines in the assistance
graphic.
For further information about Lane Keeping
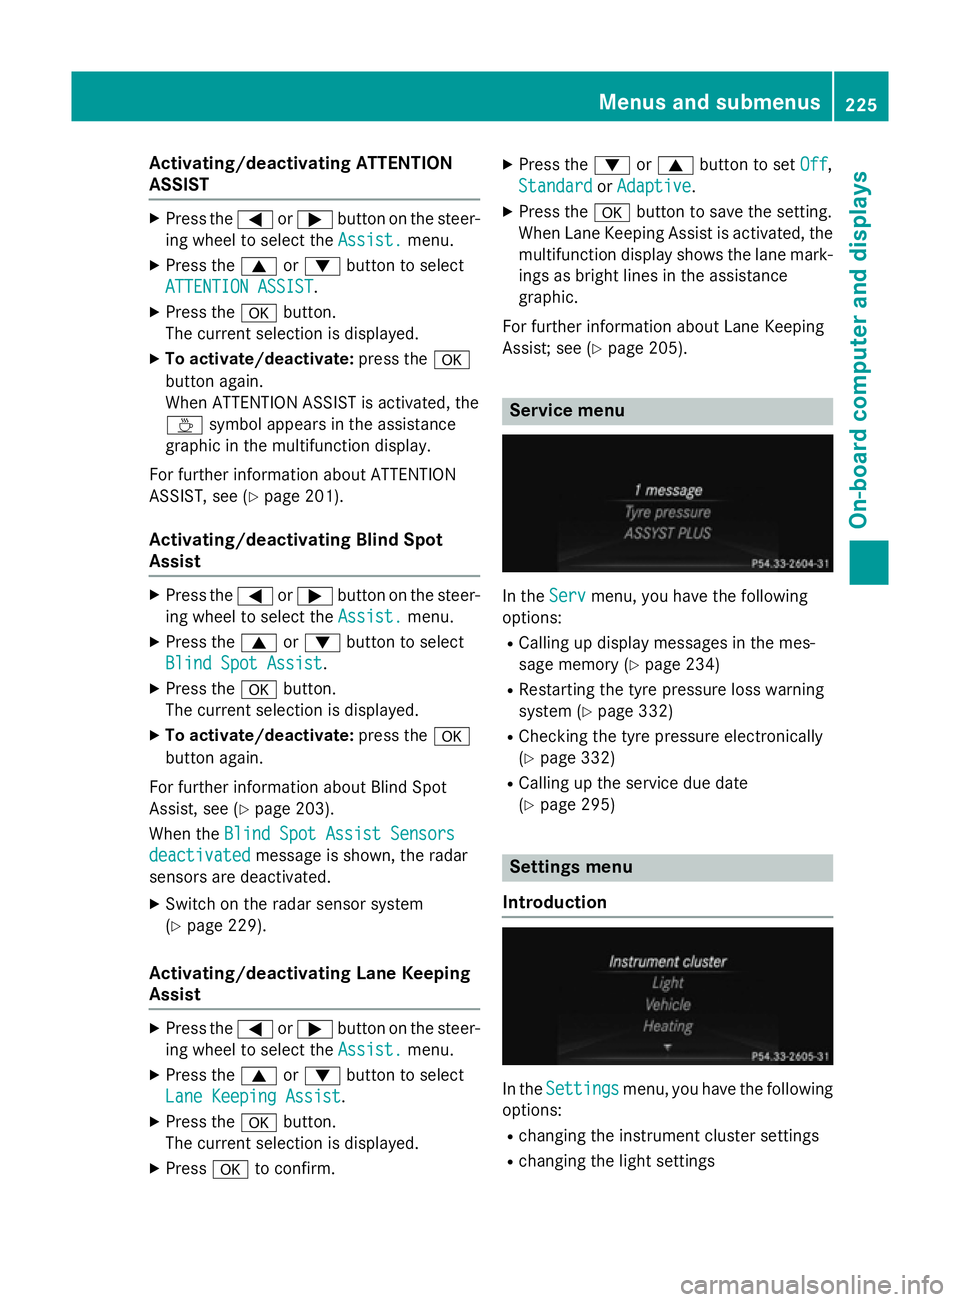
Assist; see (Y page 205). Service menu
In the
Serv Servmenu, you have the following
options:
R Calling up display messages in the mes-
sage memory (Y page 234)
R Restarting the tyre pressure loss warning
system (Y page 332)
R Checking the tyre pressure electronically
(Y page 332)
R Calling up the service due date
(Y page 295) Settings menu
Introduction In the
Settings Settings menu, you have the following
options:
R changing the instrument cluster settings
R changing the light settings Menus and sub
menus
225On-board computer and displays Z
Page 229 of 373

R
changing the vehicle settings
R changing the auxiliary heating settings
(Y page 229)
R changing the convenience settings
R restoring the factory settings
Instrument cluster Selecting the unit of measurement for dis-
tance
You can determine whether the multifunction
display shows some messages in miles or kil- ometres.
X Press the =or; button on the steer-
ing wheel to select the Settings Settingsmenu.
X Press the :or9 button to select the
Instrument cluster
Instrument cluster submenu.
X Press ato confirm.
X Press the :or9 button to select the
Display unit Speed-/odometer
Display unit Speed-/odometer func-
tion.
You will see the selected setting: km kmor
miles
miles.
X Press the abutton to save the setting.
The selected unit of measurement for dis-
tance applies to:
R the digital speedometer in the Trip Tripmenu
R the total distance recorder and the trip
meter
R the trip computer
R the current consumption and the range
R navigation instructions in the Navi
Navi menu
R cruise control
R SPEEDTRONIC
R DISTRONIC PLUS
R ASSYST PLUS service interval display
Switching the additional speedometer
on/off
The Dig. speedometer [mph]
Dig. speedometer [mph] orDig. Dig.
speedometer [km/h]
speedometer [km/h] function (vehicles for
the United Kingdom) allows you to choose
whether the multifunction display in the sta- tus area always shows the speed in
mph
mph or in
km/h
km/h instead of the outside temperature.
X Press the =or; button on the steer-
ing wheel to select the Settings
Settingsmenu.
X Press the :or9 button to select the
Instrument cluster
Instrument cluster submenu.
X Press ato confirm.
X Press the :or9 button to select the
Dig. speedometer [mph]
Dig. speedometer [mph] orDig.
Dig.
speedometer [km/h]
speedometer [km/h] (United Kingdom)
function.
You will see the selected setting: on onoroff
off.
X Press the abutton to save the setting.
Selecting the permanent display function You can determine whether the multifunction
display permanently shows your speed or the
outside temperature.
X Press the =or; button on the steer-
ing wheel to select the Settings
Settingsmenu.
X Press the :or9 button to select the
Instrument cluster
Instrument cluster submenu.
X Press ato confirm.
X Press the :or9 button to select the
Permanent display
Permanent display function.
You will see the selected setting outside
outside
temperature
temperature orDig. speedometer
Dig. speedometer
[mph]
[mph]/Dig. speedometer [km/h] Dig. speedometer [km/h] (vehi-
cles for the United Kingdom).
X Press the abutton to save the setting.
i The speed is displayed in mph or in km/h
(United Kingdom).
Lights Switching the daytime driving lights
on/off
The
Daytime driving lights Daytime driving lights function can
only be switched on with the engine turned
off.
X Press the =or; button on the steer-
ing wheel to select the Settings Settingsmenu.
X Press the :or9 button to select the
Lights
Lights submenu. 226
Menus and submenusOn-board computer and displays
Page 230 of 373

X
Press ato confirm.
X Press the :or9 button to select the
Daytime driving lights
Daytime driving lights function.
If the Daytime driving lights
Daytime driving lights function
has been switched on, the cone of light and
the W symbol in the multifunction dis-
play are shown in orange.
X Press the abutton to save the setting.
Further information on daytime driving lights
(Y page 111).
Switching the Intelligent Light System
on/off
X Press the =or; button on the steer-
ing wheel to select the Settings
Settings menu.
X Press the :or9 button to select the
Lights Lights submenu.
X Press ato confirm.
X Press the :or9 button to select the
Intell. Light System
Intell. Light System function.
If the Intell.
Intell. Light
LightSystem
System function has
been switched on, the cone of light and the
L symbol in the multifunction display
are shown in orange.
X Press the abutton to save the setting.
When you activate the Intell.
Intell. Light
LightSys‐
Sys‐
tem
tem, you activate the following functions:
R Motorway mode
R Active light function
R Cornering light function
R Extended range foglamps
If you set the dipped-beam headlamps for
driving on the right/left, the multifunction
display shows the Intell. Intell.Light
LightSystem:
System:
system inoperative Inactive for
left-side traffic
left-side traffic orIntell. Light
Intell. Light
System:
System: System
Systeminoperative
inoperative Inactive
Inactive
for right-side traffic
for right-side traffic display message
instead of the Intell.
Intell.Light
LightSys.
Sys.function
in the Lights
Lights submenu (Y page 227).
Further information on the Intelligent Light
System (Y page 114). Setting the dipped-beam headlamps for
driving on the left/right
X Press the =or; button on the steer-
ing wheel to select the Settings
Settings menu.
X Press the :or9 button to select the
Lights Lights submenu.
X Press ato confirm.
X Press the :or9 button to select the
Dipped beams Setting for:
Dipped beams Setting for: function.
You will see the selected setting: Right-
Right-
side traffic
side traffic orLeft-side traffic
Left-side traffic.
X Press the abutton to save the setting.
If you change the setting, conversion does
not take place until the next time the vehi-
cle is stationary.
This function is only available on vehicles with
the Intelligent Light System.
You can use this function to switch between
symmetrical and asymmetrical dipped beam
(Y page 110).
If you set the dipped-beam headlamps for
driving on the right/left, then motorway
mode and the extended range foglamps are
unavailable.
You can also have the dipped-beam head-
lamps set for driving on the right/left at a
qualified specialist workshop, e.g. a
Mercedes-Benz Service Centre.
Setting the brightness of the ambient
lighting
X Press the =or; button on the steer-
ing wheel to select the Settings
Settings menu.
X Press the :or9 button to select the
Lights Lights submenu.
X Press ato confirm.
X Press the :or9 button to select the
Amb. light +/-
Amb. light +/- function.
You will see the selected setting.
X Change the setting with a.
X Press the :or9 button to adjust the
brightness to a level from Off
Off toLevel 5
Level 5
(bright).
X Press the aor% button to save the
setting. Menus and submenus
227On-board computer and displays Z
Page 231 of 373

Activating/deactivating the surround
lighting and exterior lighting delayed
switch-off
If you have activated the Surround light‐ Surround light‐
ing
ing function and the light switch is set to
Ã, the following functions are activated
when it is dark:
R surround lighting: the exterior lighting
remains lit for 40 seconds after unlocking
with the key. If you start the engine, the
surround lighting is switched off and auto-
matic headlamp mode is activated
(Y page 111).
R exterior lighting delayed switch-off: the
exterior lighting remains lit for 60 seconds
after the engine is switched off. If you close all the doors and the boot lid, the exterior
lighting goes off after 15 seconds.
X Press the =or; button on the steer-
ing wheel to select the Settings
Settings menu.
X Press the :or9 button to select the
Lights Lights submenu.
X Press ato confirm.
X Press the :or9 button to select the
Surround lighting
Surround lighting function.
When the Surround lighting
Surround lighting function is
activated, the light cone and the area
around the vehicle are displayed in orange
in the multifunction display.
X Press the abutton to save the setting.
Deactivating delayed switch-off of the exte-
rior lighting temporarily:
X Before leaving the vehicle, turn the key to
position 0in the ignition lock.
X Turn the key to position 2in the ignition
lock.
The exterior lighting delayed switch-off is
deactivated.
Delayed switch-off of the exterior lighting is
reactivated the next time you start the
engine.
i Depending on your vehicle's equipment,
when the surround lighting and delayed switch-off exterior lighting are on, the fol-
lowing light up:
R side lamps
R foglamps
R dipped-beam headlamps
R daytime driving lights
R surround lighting in the exterior mirrors
Activating/deactivating the interior light-
ing delayed switch-off
If you activate the Lighting delayed sw.-
Lighting delayed sw.-
off off function, the interior lighting remains on
for 20 seconds after you remove the key from the ignition lock.
X Press the =or; button on the steer-
ing wheel to select the Settings
Settingsmenu.
X Press the :or9 button to select the
Lights
Lights submenu.
X Press ato confirm.
X Press the :or9 button to select the
Lighting delayed sw.-off
Lighting delayed sw.-off function.
If the Lighting delayed sw.-off
Lighting delayed sw.-off func-
tion has been switched on, the vehicle inte-
rior is displayed in orange in the multifunc- tion display.
X Press the abutton to save the setting.
Vehicle Setting permanent SPEEDTRONIC
You can set permanent SPEEDTRONIC using
the
Limit
Limit speed speed(winter
(winter tyres)
tyres)function.
X Press the =or; button on the steer-
ing wheel to select the Settings
Settingsmenu.
X Press the :or9 button to select the
Vehicle Vehicle submenu.
X Press ato confirm.
X Press :or9 to select the Limit Limit
speed (winter tyres)
speed (winter tyres) function.
You will see the current setting.
X Press ato confirm.
X Press the :or9 button to adjust
permanent SPEEDTRONIC in increments of
ten (240 km/h 240 km/h to160 km/h
160 km/h). The Off
Offset- 228
Menus and submenusOn-board computer and displays
Page 232 of 373

ting switches permanent SPEEDTRONIC
off.
X Press the abutton to store the entry.
For further information on permanent SPEED-
TRONIC (Y page 177).
Switching the automatic locking feature
on/off X Press the =or; button on the steer-
ing wheel to select the Settings Settingsmenu.
X Press the :or9 button to select the
Vehicle
Vehicle submenu.
X Press ato confirm.
X Press the :or9 button to select the
Automatic door locks
Automatic door locks function.
When the Automatic door locks
Automatic door locks func-
tion is activated, the vehicle doors are dis-
played in orange in the multifunction dis-
play.
X Press the abutton to save the setting.
If you activate the Automatic door locks
Automatic door locks
function, the vehicle is centrally locked above
a speed of approximately 15 km/h.
For further information on the automatic lock- ing feature, see (Y page 85).
Activating/deactivating the acoustic
locking confirmation
If you switch on the Acoustic AcousticLock
Lockfunction,
an acoustic signal sounds when you lock the
vehicle.
X Press the =or; button on the steer-
ing wheel to select the Settings Settingsmenu.
X Press the :or9 button to select the
Vehicle
Vehicle submenu.
X Press ato confirm.
X Press the :or9 button to select the
Acoustic Lock
Acoustic Lock function.
If the Acoustic
Acoustic Lock
Lockfunction is activated,
the & symbol in the multifunction dis-
play lights up orange.
X Press the abutton to save the setting. Activating/deactivating the radar sensor
system
X Press the =or; button on the steer-
ing wheel to select the Settings Settingsmenu.
X Press the :or9 button to select the
Vehicle
Vehicle submenu.
X Press ato confirm.
X Press the 9or: button to select
Radar sensor (See Owner's Man.)
Radar sensor (See Owner's Man.).
You will see the selected setting: on onoroff
off .
X Press the abutton to save the setting.
If the radar sensor system is switched off,
Blind Spot Assist is deactivated (Y page 203).
Heating Auxiliary heating departure time
G
WARNING
When the auxiliary heating is switched on,
parts of the vehicle can become very hot.
Flammable materials such as leaves, grass or twigs may ignite if they come into contact
with:
R hot parts of the exhaust system
R the exhaust gas itself
There is a risk of fire.
When the auxiliary heating is switched on,
make sure that:
R no flammable materials come into contact
with hot vehicle components
R the exhaust gas can escape from the
exhaust pipe unhindered
R the exhaust gas does not come into contact
with flammable materials.
! Operating the auxiliary heating/ventila-
tion draws on the vehicle battery. After you
have heated or ventilated the vehicle a
maximum of two times, drive for a longer
distance.
Only vehicles with auxiliary heating
(Y page 138) have this function. Menus and submenus
229On-board computer and displays Z