Page 13 of 336

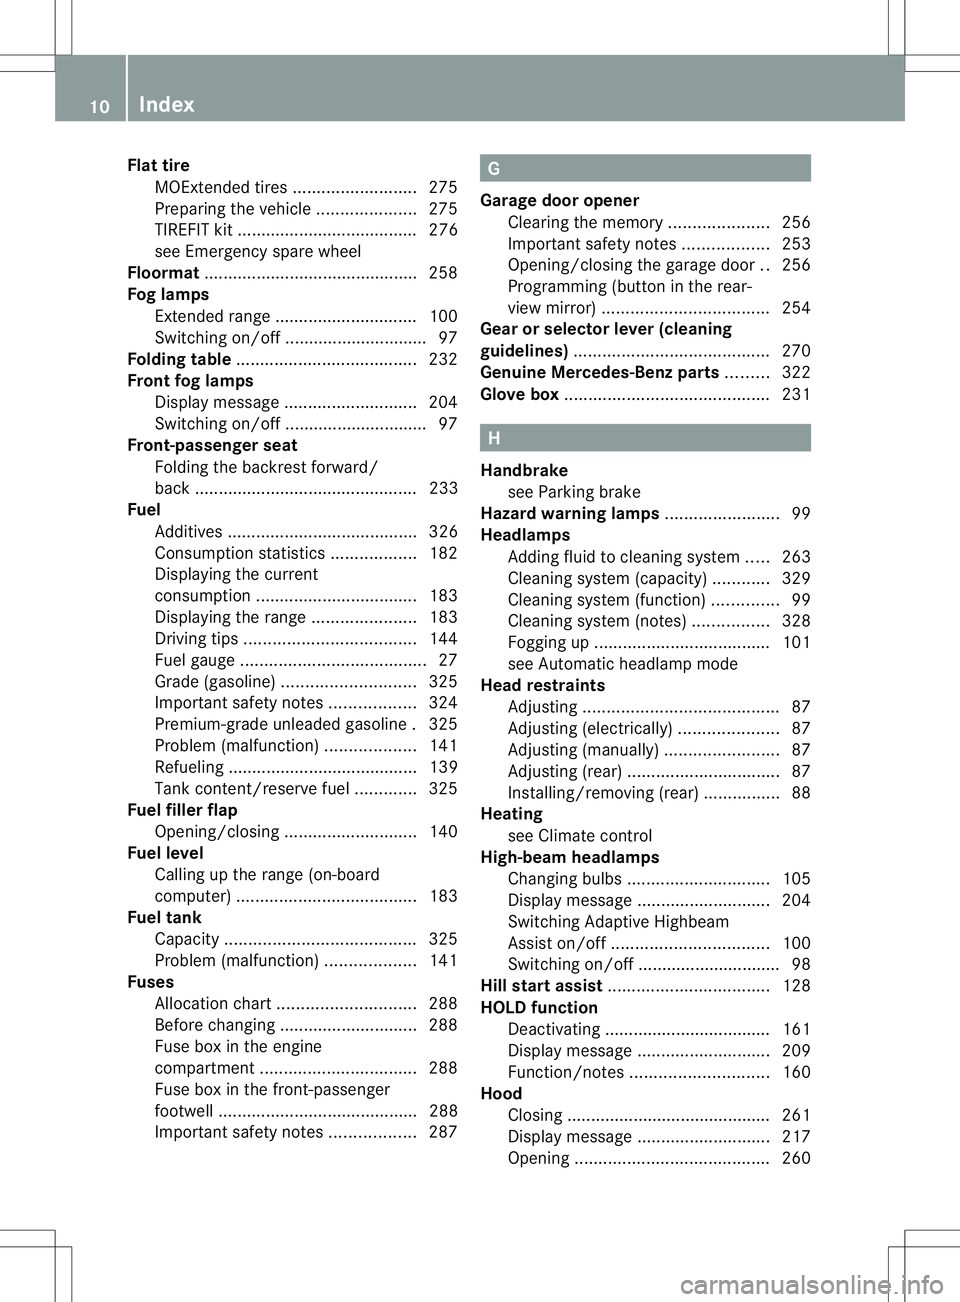
Flat tire
MOExtended tires ..........................275
Preparing the vehicle .....................275
TIREFIT kit ...................................... 276
see Emergency spare wheel
Floormat ............................................ .258
Fog lamps Extended range .............................. 100
Switching on/off .............................. 97
Folding table ...................................... 232
Front fog lamps Display message ............................ 204
Switching on/off .............................. 97
Front-passenger seat
Folding the backrestf orward/
back ............................................... 233
Fuel
Additives ........................................ 326
Consumption statistics ..................182
Displaying the current
consumption .................................. 183
Displaying the range ......................183
Driving tips .................................... 144
Fuel gauge ....................................... 27
Grade (gasoline) ............................ 325
Important safety notes ..................324
Premium-grade unleaded gasoline .325
Problem (malfunction) ...................141
Refueling ........................................ 139
Tank content/reserve fuel .............325
Fuel filler flap
Opening/closing ............................ 140
Fuel level
Calling up the range (on-board
computer) ...................................... 183
Fuel tank
Capacity ........................................ 325
Problem (malfunction) ...................141
Fuses
Allocation chart ............................. 288
Before changing ............................. 288
Fuse box in the engine
compartment ................................. 288
Fuse box in the front-passenger
footwell .......................................... 288
Important safety notes ..................287 G
Garage door opener Clearing the memory .....................256
Important safety notes ..................253
Opening/closing the garage door ..256
Programming (button in the rear-
view mirror) ................................... 254
Gear or selector lever (cleaning
guidelines) ......................................... 270
Genuine Mercedes-Benz parts .........322
Glove box ........................................... 231 H
Handbrake see Parking brake
Hazard warning lamps ........................99
Headlamps Adding fluid to cleaning system .....263
Cleaning system (capacity )............ 329
Cleaning system (function) ..............99
Cleaning system (notes) ................328
Fogging up ..................................... 101
see Automatic headlamp mode
Head restraints
Adjusting ......................................... 87
Adjusting (electrically). ....................87
Adjusting (manually). .......................87
Adjusting (rear) ................................ 87
Installing/removing (rear) ................88
Heating
see Climate control
High-beam headlamps
Changing bulbs .............................. 105
Display message ............................ 204
Switching Adaptive Highbeam
Assist on/off ................................. 100
Switching on/off .............................. 98
Hill start assist .................................. 128
HOLD function Deactivating ................................... 161
Display message ............................ 209
Function/notes ............................. 160
Hood
Closing .......................................... .261
Display message ............................ 217
Opening ......................................... 26010
Index
Page 291 of 336

Before changing a fuse
X Secure the vehicle against rolling away
(Y page 141).
X Switch off all electrical consumers.
X Turn the SmartKey to position 0in the
ignition lock and remove it (Y page 127).
All indicator lamps in the instrument cluster
must be off.
The fuses are located in various fuse boxes:
R Fuse bo xinthe engine compartmentont he
left-hand side of the vehicle, when viewed
in the direction of travel
R Fuse box in the front-passenger footwell
The fuse allocation chart is on the fuse box in
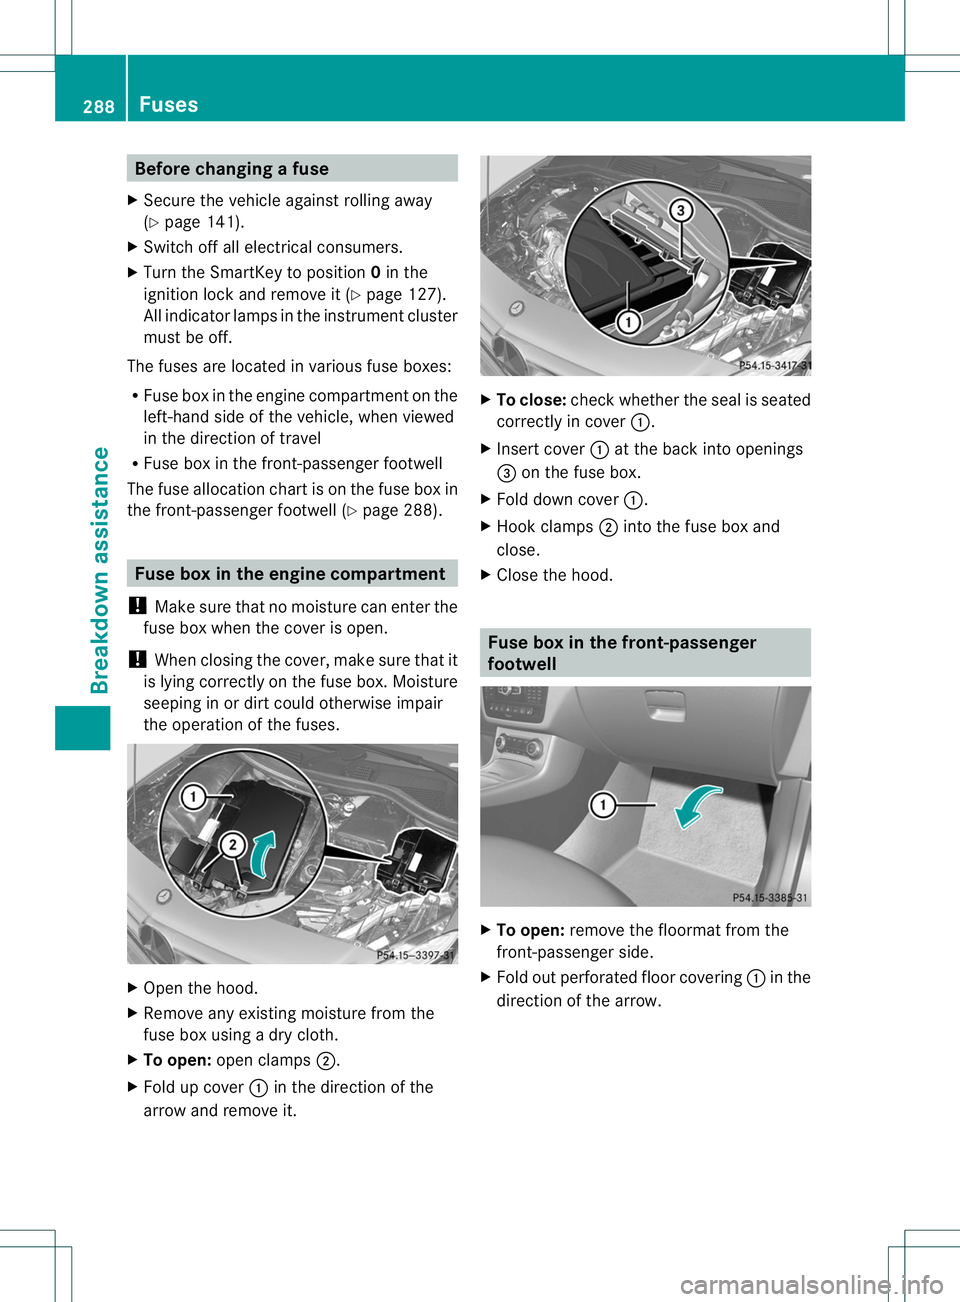
the front-passenger footwell (Y page 288).Fuse box in the engine compartment
! Make sure that no moisture can enter the
fuse box when the cover is open.
! When closing the cover, make sure that it
is lying correctly on the fuse box. Moisture
seeping in or dirt could otherwise impair
the operation of the fuses. X
Open the hood.
X Remove any existing moisture from the
fuse box using a dry cloth.
X To open: open clamps ;.
X Fold up cover :in the direction of the
arrow and remove it. X
To close: check whether the seal is seated
correctly in cover :.
X Insert cover :at the back into openings
= on the fuse box.
X Fold down cover :.
X Hook clamps ;into the fuse box and
close.
X Close the hood. Fuse box in the front-passenger
footwell
X
To open: remove the floormat from the
front-passenger side.
X Fold out perforated floor covering :in the
direction of the arrow. 288
FusesBreakdown assistance
Page 292 of 336
X
To release cover =, press retaining
clamp ;.
X Fold out cover =in the direction of the
arrow to the catch.
X Remove cover =forwards.
i Fuse allocation chart ?is located on the
lower right-hand side of cover =.
X To close: insert cover =on the left-hand
side of the fuse box into the retainer.
Cover =engages in the retainers.
X Fold down cover =until clamps ;lock
audibly.
X Fold back perforated floor covering :. Fuses
289Breakdown assistance Z