2013 MERCEDES-BENZ B-CLASS SPORTS key
[x] Cancel search: keyPage 183 of 336
Operating the on-board computer
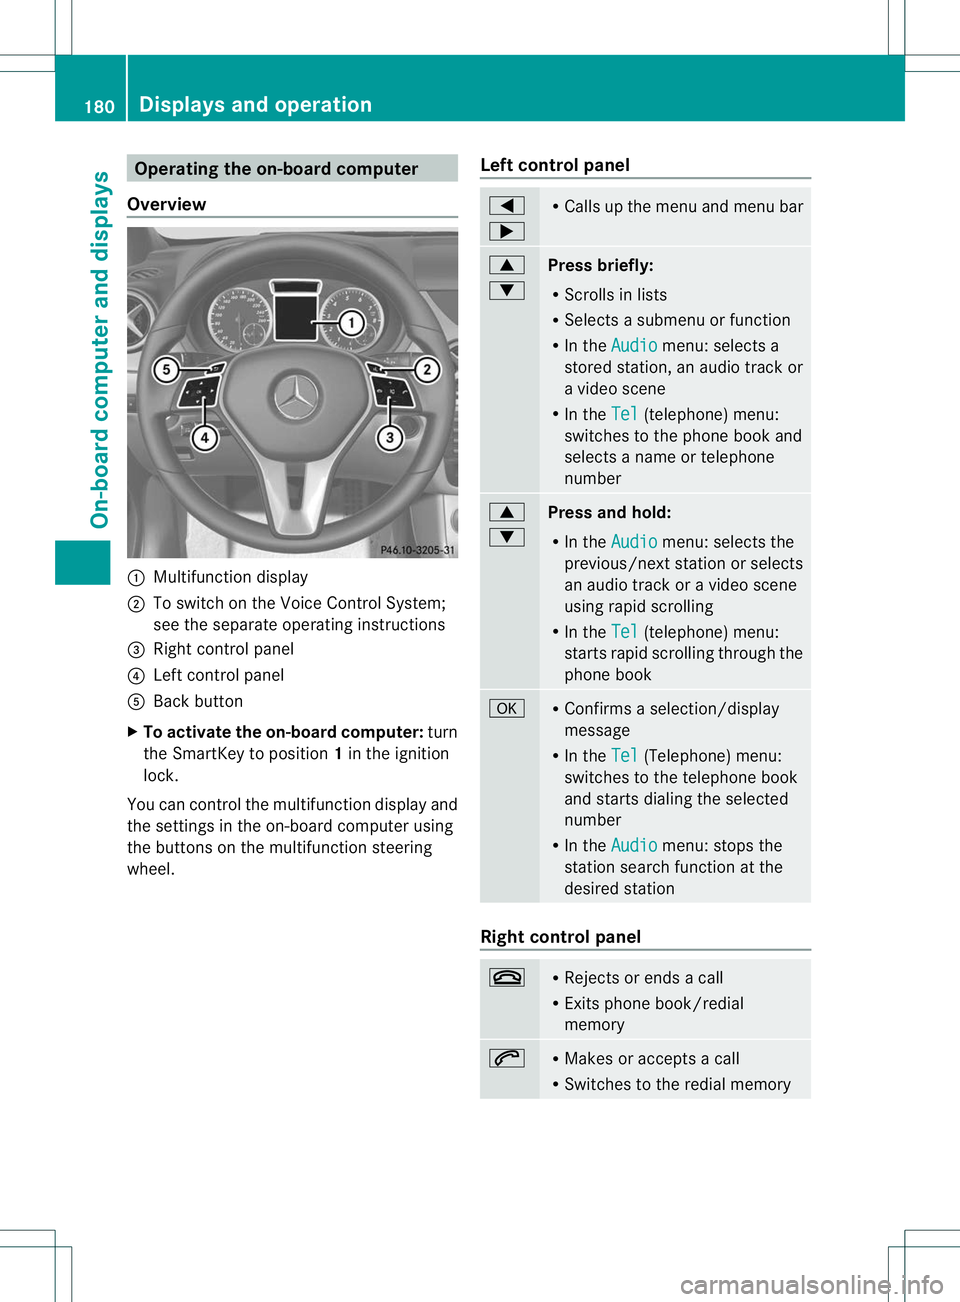
Overview :
Multifunction display
; To switch on the Voice Control System;
see the separate operating instructions
= Right control panel
? Left control panel
A Back button
X To activate the on-board computer: turn
the SmartKey to position 1in the ignition
lock.
You can control the multifunction display and
the settings in the on-board computer using
the buttons on the multifunction steering
wheel. Left control panel =
; R
Calls up the menu and menu bar 9
:
Press briefly:
R
Scrolls in lists
R Selects a submenu or function
R In the Audio menu: selects a
stored station, an audio trackor
a video scene
R In the Tel (telephone) menu:
switches to the phone book and
selects a name or telephone
number 9
:
Press and hold:
R
In the Audio menu: selects the
previous/next statio norselects
an audio trac koravideo scene
using rapid scrolling
R In the Tel (telephone) menu:
starts rapid scrolling through the
phone book a R
Confirms a selection/display
message
R In the Tel (Telephone) menu:
switches to the telephone book
and starts dialing the selected
number
R In the Audio menu: stops the
station search function at the
desired station Right control panel
~ R
Rejects or ends a call
R Exits phone book/redial
memory 6 R
Makes or accepts a call
R Switches to the redial memory 180
Displays and operationOn-board computer and displays
Page 193 of 336
![MERCEDES-BENZ B-CLASS SPORTS 2013 Owners Manual X
Press the :or9 button to select the
Speedometer [mph]: function.
You will see the selected setting: On or
Off .
X Press the abutton to save the setting.
i Speed is displayed in mph.
The Speedometer MERCEDES-BENZ B-CLASS SPORTS 2013 Owners Manual X
Press the :or9 button to select the
Speedometer [mph]: function.
You will see the selected setting: On or
Off .
X Press the abutton to save the setting.
i Speed is displayed in mph.
The Speedometer](/manual-img/4/58079/w960_58079-192.png)
X
Press the :or9 button to select the
Speedometer [mph]: function.
You will see the selected setting: On or
Off .
X Press the abutton to save the setting.
i Speed is displayed in mph.
The Speedometer [mph] function allows you
to choose whether the status area in the
multifunction display always shows the speed
in mph instead of the outside temperature.
Selecting the permanent display function
You can determine whether the multifunction
display permanently shows your speed or the
outside temperature.
X Press the =or; button on the
steering wheel to select the Sett. menu.
X Press the :or9 button to select the
Instr. Cluster submenu.
X Press ato confirm.
X Press the :or9 button to select the
Permanent Display: function.
You will see the selected setting OutsideTemperature or
Speedometer [km/h] (USA)/Speedometer [mph] (Canada).
X Press the abutton to save the setting.
i The speed is shown in km/h( USA)/mph
(Canada).
Lights Switching the daytime running lamps on/
off
The
Daytime Running Lights: function
can only be set when the engine is switched
off.
X Press the =or; button on the
steering wheel to select the Sett. menu.
X Press the :or9 button to select the
Lights submenu.
X Press ato confirm. X
Press the :or9 button to select the
Daytime Running Lights function.
You will see the selected setting: Enabled or
Disabled .
X Press the abutton to save the setting.
Further information on daytime running
lamps (Y page 97).
Switching Adaptive Highbeam Assisto n/
off
X Press the =or; button on the
steering wheel to select the Sett. menu.
X Press the :or9 button to select the
Lights submenu.
X Press ato confirm.
X Press the :or9 button to select the
Adaptive Highbeam Assist: function.
You will see the selected setting: Enabled or
Disabled .
X Press the abutton to save the setting.
For further information about Adaptive
Highbeam Assist, see (Y page 100).
Activating/deactivating surround
lighting and exterior lighting delayed
switch-off
If you have activated the Locator Lighting: function and the light switch is set
to Ã, the following function sare activated
when it is dark:
R surround lighting: the exterior lighting
remains lit for 40 seconds after unlocking
with the SmartKey. If you start the engine,
the surround lighting is switched off and
automatic headlamp mode is activated
(Y page 97).
R exterio rlighting delayed switch-off: the
exterior lighting remains lit for
60 seconds aftert he engine is switched off.
If you close all the doors and the tailgate,
the exterior lighting goes off after
15 seconds. 190
Menus and submenusOn-board computer and displays
Page 194 of 336
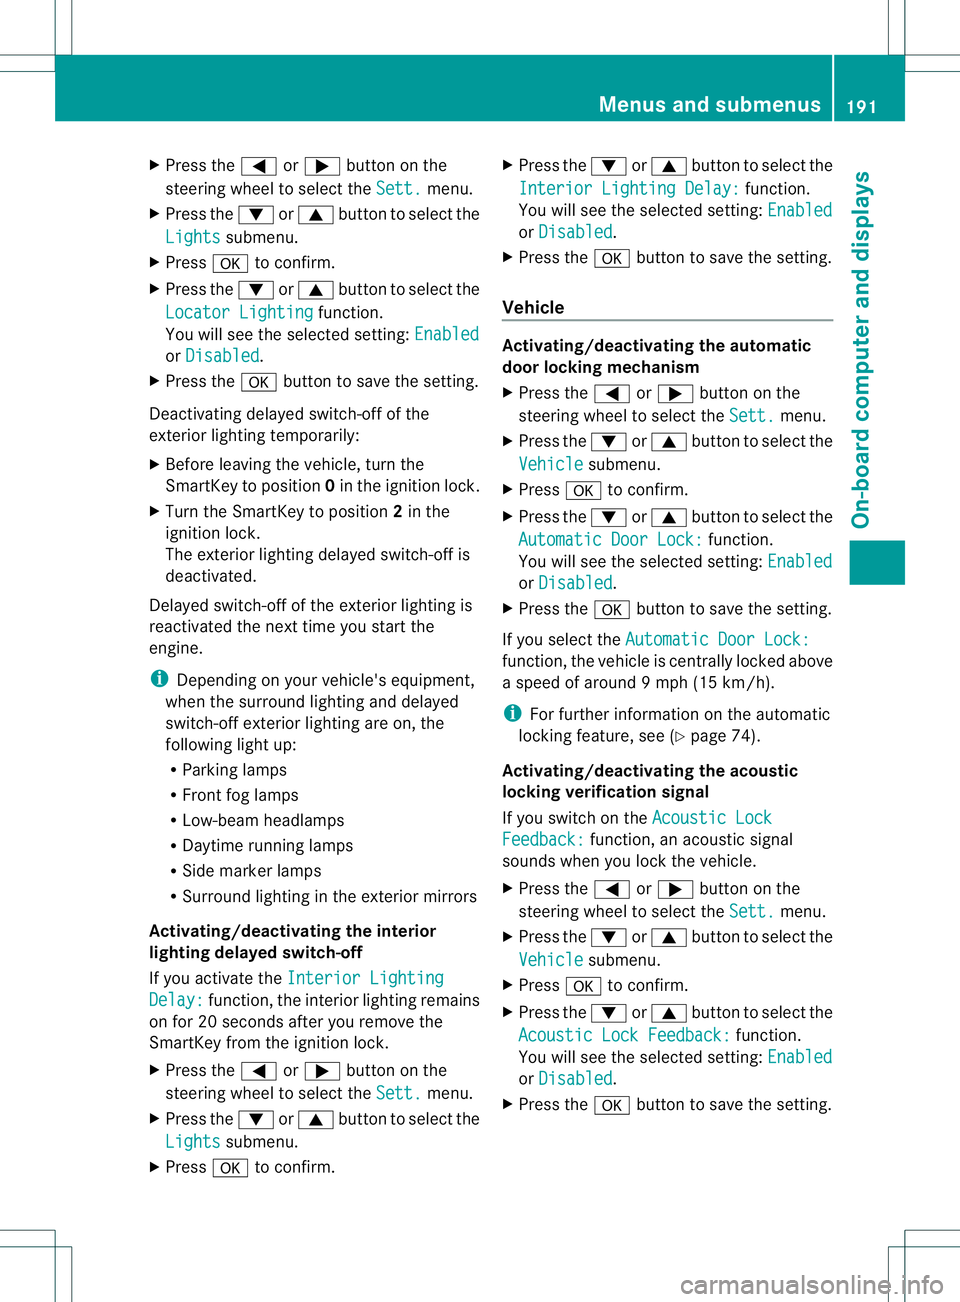
X
Press the =or; button on the
steering wheel to select the Sett. menu.
X Press the :or9 button to select the
Lights submenu.
X Press ato confirm.
X Press the :or9 button to select the
Locator Lighting function.
You will see the selected setting: Enabledor
Disabled .
X Press the abutton to save the setting.
Deactivating delayed switch-off of the
exterior lighting temporarily:
X Before leaving the vehicle, turn the
SmartKey to position 0in the ignition lock.
X Turn the SmartKey to position 2in the
ignition lock.
The exterior lighting delayed switch-off is
deactivated.
Delayed switch-off of the exterior lighting is
reactivated the next time you start the
engine.
i Depending on your vehicle's equipment,
when the surround lighting and delayed
switch-off exterior lighting are on, the
following light up:
R Parking lamps
R Front fog lamps
R Low-beam headlamps
R Daytime running lamps
R Side marker lamps
R Surround lighting in the exterior mirrors
Activating/deactivating the interior
lighting delayed switch-off
If you activate the Interior Lighting Delay: function, the interior lighting remains
on for 20 seconds after you remove the
SmartKey from the ignition lock.
X Press the =or; button on the
steering wheel to select the Sett. menu.
X Press the :or9 button to select the
Lights submenu.
X Press ato confirm. X
Press the :or9 button to select the
Interior Lighting Delay: function.
You will see the selected setting: Enabled or
Disabled .
X Press the abutton to save the setting.
Vehicle Activating/deactivating the automatic
door locking mechanism
X
Press the =or; button on the
steering wheel to select the Sett. menu.
X Press the :or9 button to select the
Vehicle submenu.
X Press ato confirm.
X Press the :or9 button to select the
Automatic Door Lock: function.
You will see the selected setting: Enabled or
Disabled .
X Press the abutton to save the setting.
If you select the Automatic Door Lock: function, the vehicle is centrally locked above
a speed of around 9 mph (15 km/h).
i
For further information on the automatic
locking feature, see (Y page 74).
Activating/deactivating the acoustic
locking verification signal
If you switch on the Acoustic Lock Feedback: function, an acoustic signal
sounds when you lock the vehicle.
X Press the =or; button on the
steering wheel to select the Sett. menu.
X Press the :or9 button to select the
Vehicle submenu.
X Press ato confirm.
X Press the :or9 button to select the
Acoustic Lock Feedback: function.
You will see the selected setting: Enabled or
Disabled .
X Press the abutton to save the setting. Menus and submenus
191On-board computer and displays Z
Page 202 of 336
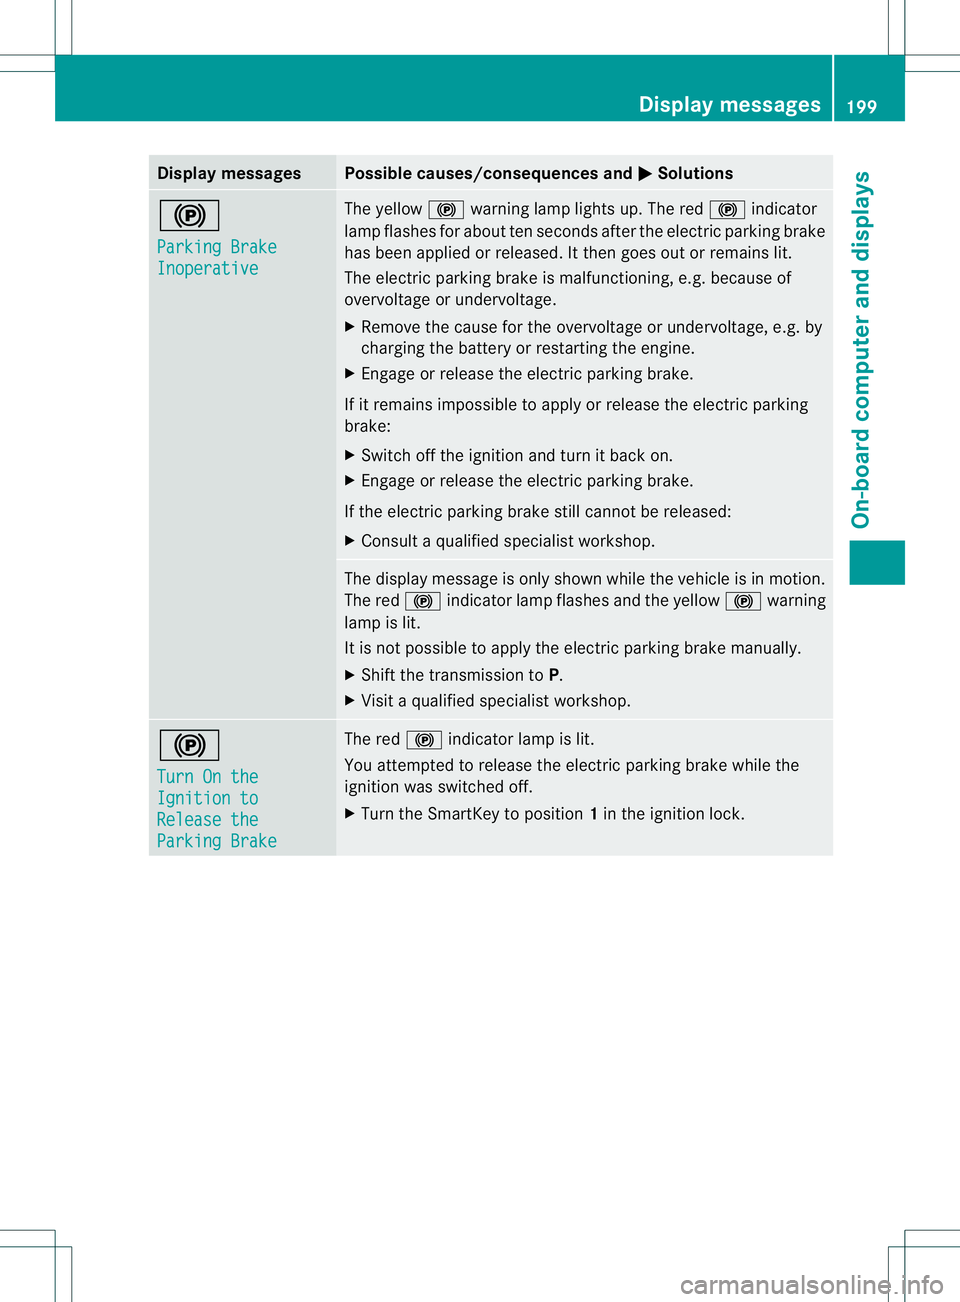
Display messages Possible causes/consequences and
M Solutions
!
Parking Brake
Inoperative The yellow
!warning lamp lights up. The red !indicator
lamp flashes fo rabout ten seconds after the electric parking brake
has been applied or released. It then goes out or remains lit.
The electric parking brake is malfunctioning, e.g. because of
overvoltage or undervoltage.
X Remove the cause for the overvoltage or undervoltage, e.g. by
charging the battery or restarting the engine.
X Engage or release the electric parking brake.
If it remains impossible to apply or release the electric parking
brake:
X Switch off the ignition and turn it back on.
X Engage or release the electric parking brake.
If the electric parking brake still cannot be released:
X Consult a qualified specialist workshop. The display message is only shown while the vehicle is in motion.
The red
!indicator lamp flashes and the yellow !warning
lamp is lit.
It is not possible to apply the electric parking brake manually.
X Shift the transmission to P.
X Visit a qualified specialist workshop. !
Turn On the
Ignition to
Release the
Parking Brake The red
!indicator lamp is lit.
You attempted to release the electric parking brake while the
ignition was switched off.
X Turn the SmartKey to position 1in the ignition lock. Display messages
199On-board computer and displays Z
Page 221 of 336
Display messages Possible causes/consequences and
M Solutions
Wiper
Malfunctioning The windshield wipers are malfunctioning.
X
Visit a qualified specialist workshop. Hazard Warning
Flashers
Malfunctioning The hazard warning lamps are faulty.
X
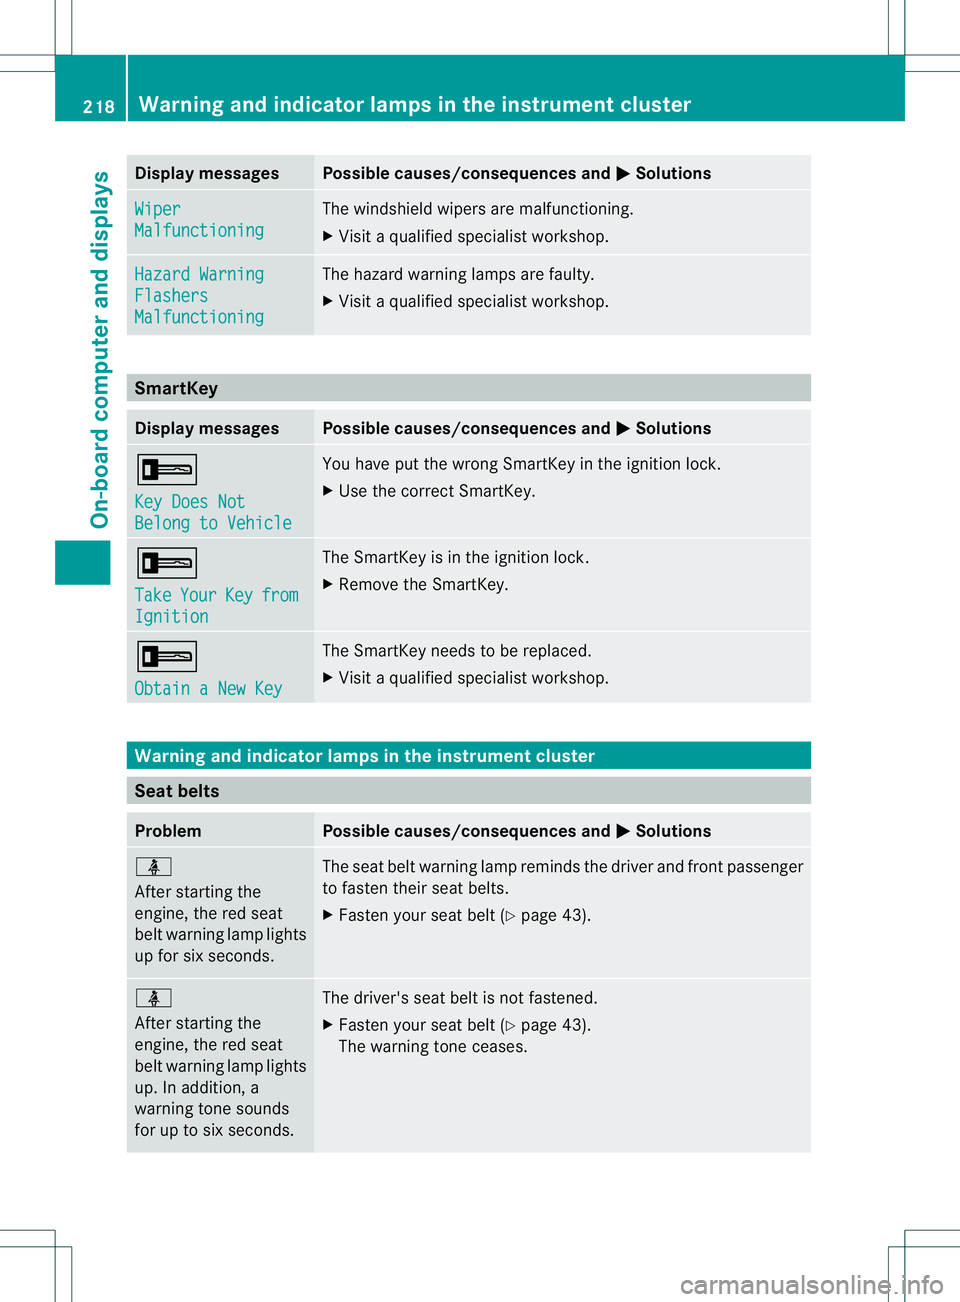
Visit a qualified specialist workshop. SmartKey
Display messages Possible causes/consequences and
M Solutions
+
Key Does Not
Belong to Vehicle You have put the wrong SmartKey in the ignition lock.
X
Use the correct SmartKey. +
Take
Your Key from
Ignition The SmartKey is in the ignition lock.
X
Remove the SmartKey. +
Obtain a New Key The SmartKey needs to be replaced.
X
Visit a qualified specialist workshop. Warning and indicator lamps in the instrument cluster
Sea
tbelts Problem Possible causes/consequences and
M Solutions
ü
After starting the
engine, the red seat
belt warning lamp lights
up for six seconds.
The seat belt warning lamp reminds the driver and fron
tpassenger
to fasten their seat belts.
X Faste nyour seat belt (Y page 43). ü
After starting the
engine, the red seat
belt warning lamp lights
up. In addition, a
warning tone sounds
for up to six seconds.
The driver's seat belt is not fastened.
X
Fasten your seat belt (Y page 43).
The warning tone ceases. 218
Warning and indicator lamps in the instrument clusterOn-board computer and displays
Page 246 of 336
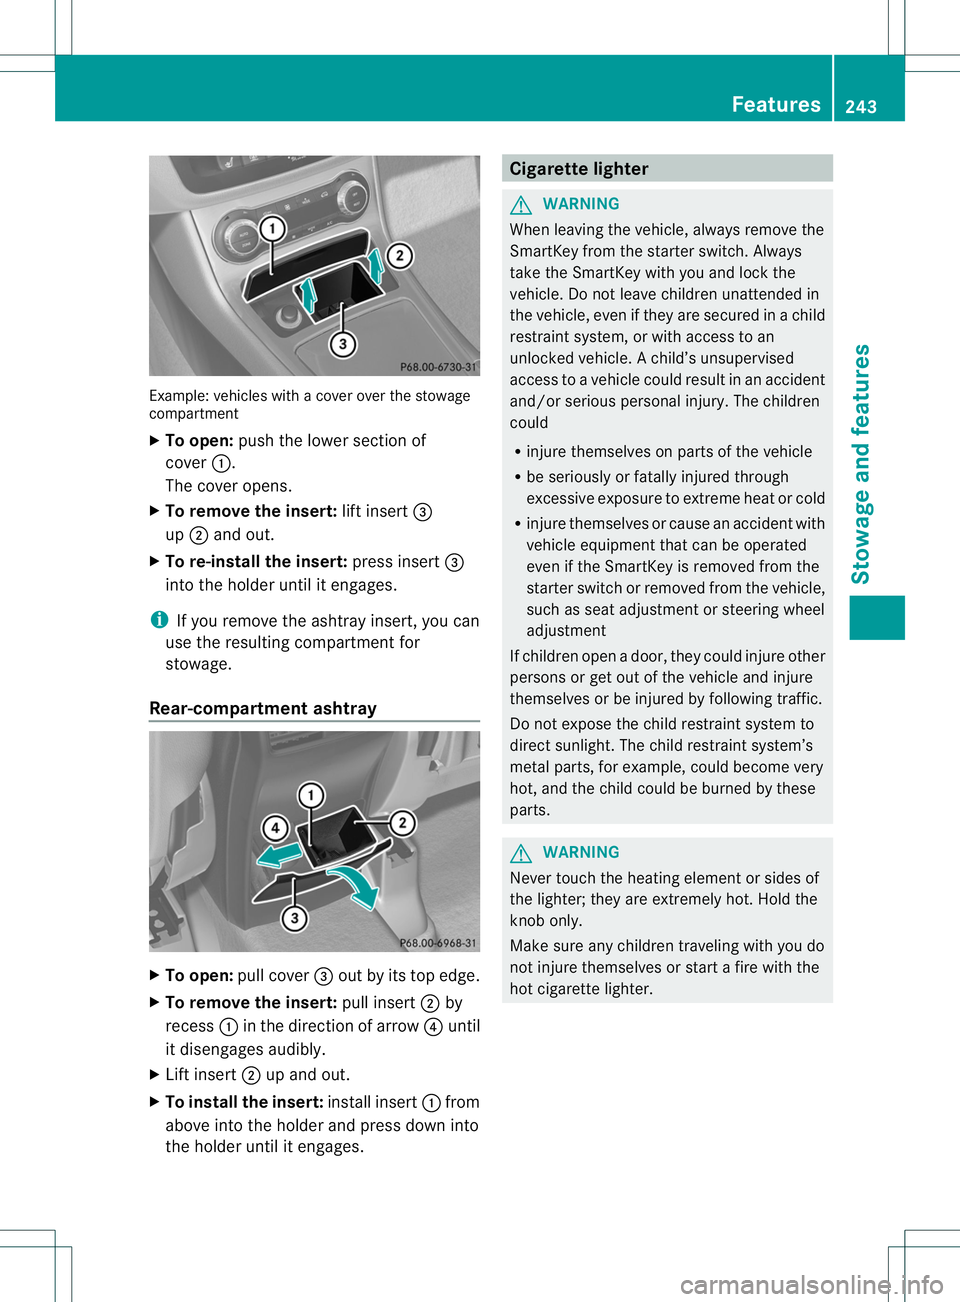
Example: vehicles with a cove
rover the stowage
compartment
X To open: push the lower section of
cover :.
The cover opens.
X To remove the insert: lift insert=
up ; and out.
X To re-install the insert: press insert=
into the holder until it engages.
i If you remove the ashtray insert, you can
use the resulting compartment for
stowage.
Rear-compartment ashtray X
To open: pull cover =out by its top edge.
X To remove the insert: pull insert;by
recess :in the directio nofarrow?until
it disengages audibly.
X Lift insert ;up and out.
X To install the insert: install insert:from
above into the holder and press downi nto
the holde runtil it engages. Cigarette lighter
G
WARNING
Whe nleaving the vehicle, always remove the
SmartKey from the starter switch. Always
take the SmartKey with you and lock the
vehicle. Do not leave children unattended in
the vehicle, even if they are secured in a child
restraint system, or with access to an
unlocked vehicle. Achild’s unsupervised
access to a vehicle could result in an accident
and/or serious personal injury. The children
could
R injure themselves on parts of the vehicle
R be seriously or fatally injured through
excessive exposure to extreme heat or cold
R injure themselves or cause an accident with
vehicle equipment that can be operated
even if the SmartKey is removed from the
starter switch or removed from the vehicle,
such as seat adjustment or steering wheel
adjustment
If children open a door, they could injure other
persons or get out of the vehicle and injure
themselves or be injured by following traffic.
Do not expose the child restraint system to
direct sunlight. The child restraint system’s
metal parts, for example, could become very
hot, and the child could be burned by these
parts. G
WARNING
Never touch the heating element or sides of
the lighter; they are extremely hot. Hold the
knob only.
Make sure any children traveling with you do
not injure themselves or start a fire with the
hot cigarette lighter. Features
243Stowage and features Z
Page 247 of 336
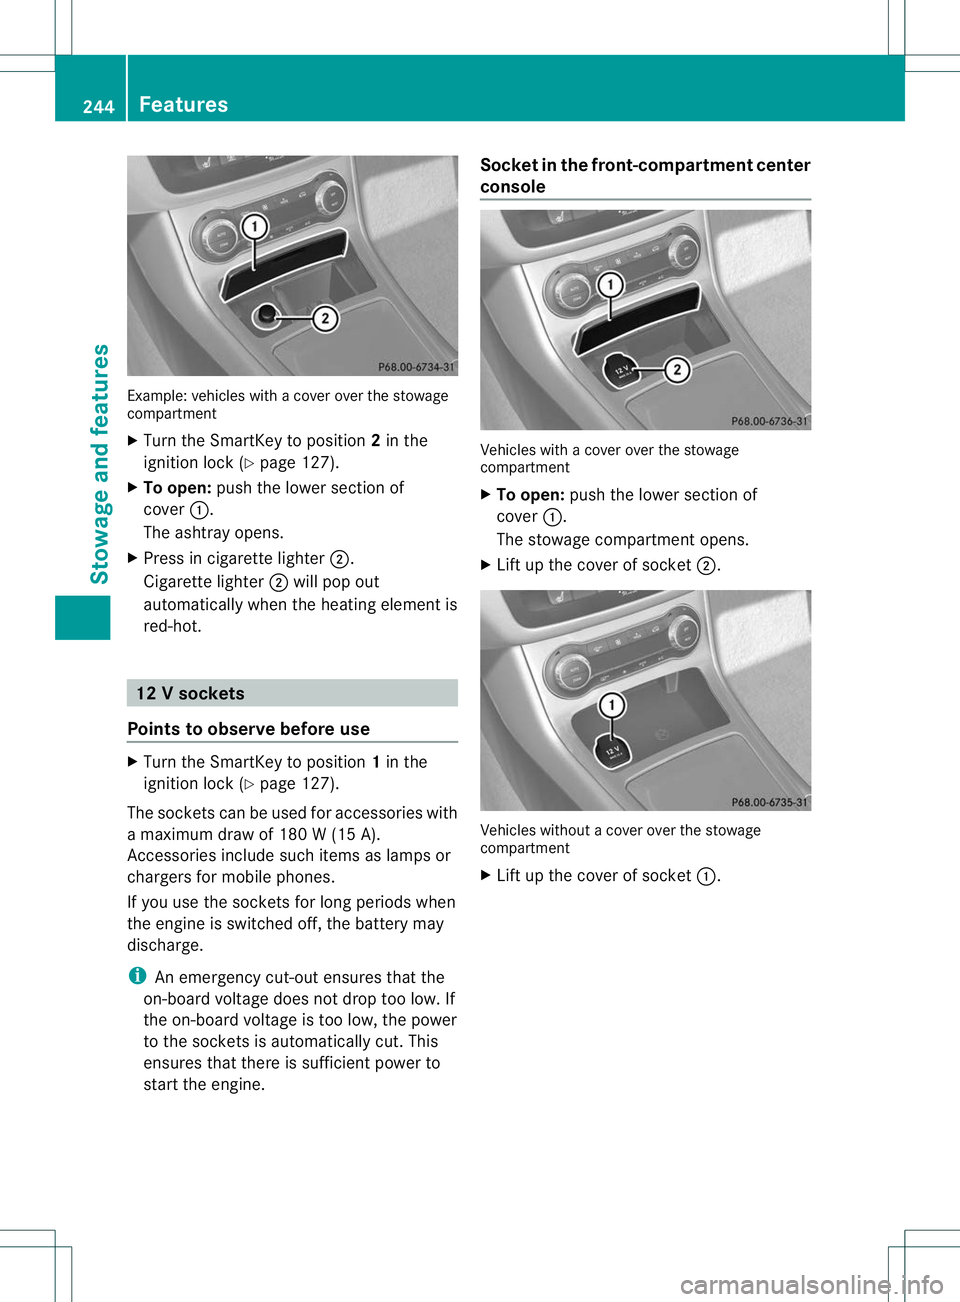
Example: vehicles with a cove
rover the stowage
compartment
X Turn the SmartKey to position 2in the
ignitio nlock (Y page 127).
X To open: push the lower section of
cover :.
The ashtray opens.
X Press in cigarette lighter ;.
Cigarette lighter ;will pop out
automatically when the heating element is
red-hot. 12
Vsockets
Points to observe before use X
Turn the SmartKey to position 1in the
ignitio nlock (Y page 127).
The sockets can be used for accessories with
a maximum draw of 180 W (15 A).
Accessories include such items as lamps or
chargers for mobile phones.
If you use the sockets for long periods when
the engine is switched off, the battery may
discharge.
i An emergency cut-out ensures that the
on-board voltage does not drop too low. If
the on-board voltage is too low, the power
to the sockets is automatically cut. This
ensures that there is sufficient power to
start the engine. Socket in the front-compartment center
console
Vehicles with a cover over the stowage
compartment
X
To open: push the lower section of
cover :.
The stowage compartment opens.
X Lift up the cover of socket ;. Vehicles without a cover over the stowage
compartment
X
Lift up the cover of socket :.244
FeaturesStowage and features
Page 253 of 336
Search
&Send General notes
i
To use "Search &Send", your vehicle
must be equipped with mbrace and a
navigation system. You must also have an
mbrace service subscription.
"Search & Send" is a destination entry
service. Adestination address which is found
on Google Maps ®
can be transferred via
mbrace directly to your vehicle's navigation
system.
Specifying and sending the destination
address
X Go to the website http://
www.maps.google.com and enter a
destination address into the entry field.
X To send the destination address to the
e-mail address of your mbrace
account: click on the corresponding
button.
i Example:
If you select 'Send to vehicle' and then
'Mercedes-Benz', the destination address
will be sent to your vehicle.
X When the "Send" dialog window appears:
In the relevant field, enter the e-mail
address which you specified when
activating your mbrace account.
X Click "Send".
i Information on specific commands such
as "Address entry" or "Sending" can be
found on the website.
Calling up destination addresses
X Switch on the ignition.
The destination address is loaded into the
vehicle's navigation system. Ad
isplay message appears, asking
whether navigation should be started.
X Select Yes by sliding
XVYand turning
cVd the COMAND controller and press
W to confirm.
The system calculates the route and
subsequently starts the routeg uidance
with the address entered.
i If you select No , the address can be stored
in the address book.
i If you have sent more than one
destination address, each individual
destination must be confirmed separately.
i Destination addresses are loaded in the
same order as the order in which they were
sent. If you have multiple Mercedes-Benz
vehicles with mbrace and active mbrace
accounts:
if multiple vehicles are registered under the
same e-mail address, the destination will
be sen tto all the vehicles.
Vehicle remote opening You can use the vehicle remote opening if you
have unintentionally locked your vehicle and
a replacement SmartKey is not available. The
vehicle can be opened by the Mercedes-Benz
Customer Assistance Center.
The vehicle can be immediately opened
remotely within four days of the ignition being
turned off. After this time, the remote opening
may be delayed by 15 to 60 minutes. After
30 days the vehicle can no longer be opened
remotely.
X
Contact the following service hotlines:
R
USA: Mercedes-Benz Customer
Assistance Center at 250
FeaturesStowage and features