Page 142 of 415
142
3. ROUTE GUIDANCE
IS300h/250_Navi_EE
3. EDITING ROUTE
1Press the “MENU” button on the
Remote Touch.
2Select “Nav”.
3Select “Menu”.
4Select “Route”.
Page 148 of 415
148
IS300h/250_Navi_EE
4. MY MEMORY
1. MY MEMORY SETTINGS
1Press the “MENU” button on the
Remote Touch.
2Select “Nav”.
3Select “Menu”.
4Select “My memory”.
Points or areas on the map screen can
be registered.
The registered points can be used on
the “Destination” screen. (P.114)
Registered areas to avoid, will be
avoided when the system searches
for a route.
Page 168 of 415
168
IS300h/250_Navi_EE
5. SETUP
1. NAVIGATION SETTINGS
1Press the “MENU” button on the
Remote Touch.
2Select “Setup”.
3Select “Navigation”.
4Select the items to be set.
Page 173 of 415
173
5. SETUP
3
NAVIGATION SYSTEM
IS300h/250_Navi_EE
2. TRAFFIC AND PARKING SETTINGS
1Press the “MENU” button on the
Remote Touch.
2Select “Setup”.
3Select “Info”.
4Select “Traffic” or “Parking”.
5Select the items to be set.
Settings are available for displaying
traffic information icons, receivable
traffic stations, parking information
icons etc.
Page 185 of 415
185
6. TIPS FOR THE NAVIGATION SYSTEM
3
NAVIGATION SYSTEM
IS300h/250_Navi_EE
2. MAP DATABASE VERSION AND COVERED
AREA
1Press the “MENU” button on the
Remote Touch.
2Select “Setup”.
3Select “Navigation”.
MAP DATA
Coverage areas and legal informa-
tion can be displayed.
Page 189 of 415

4
189
1
3
5
6
7
8
4
2
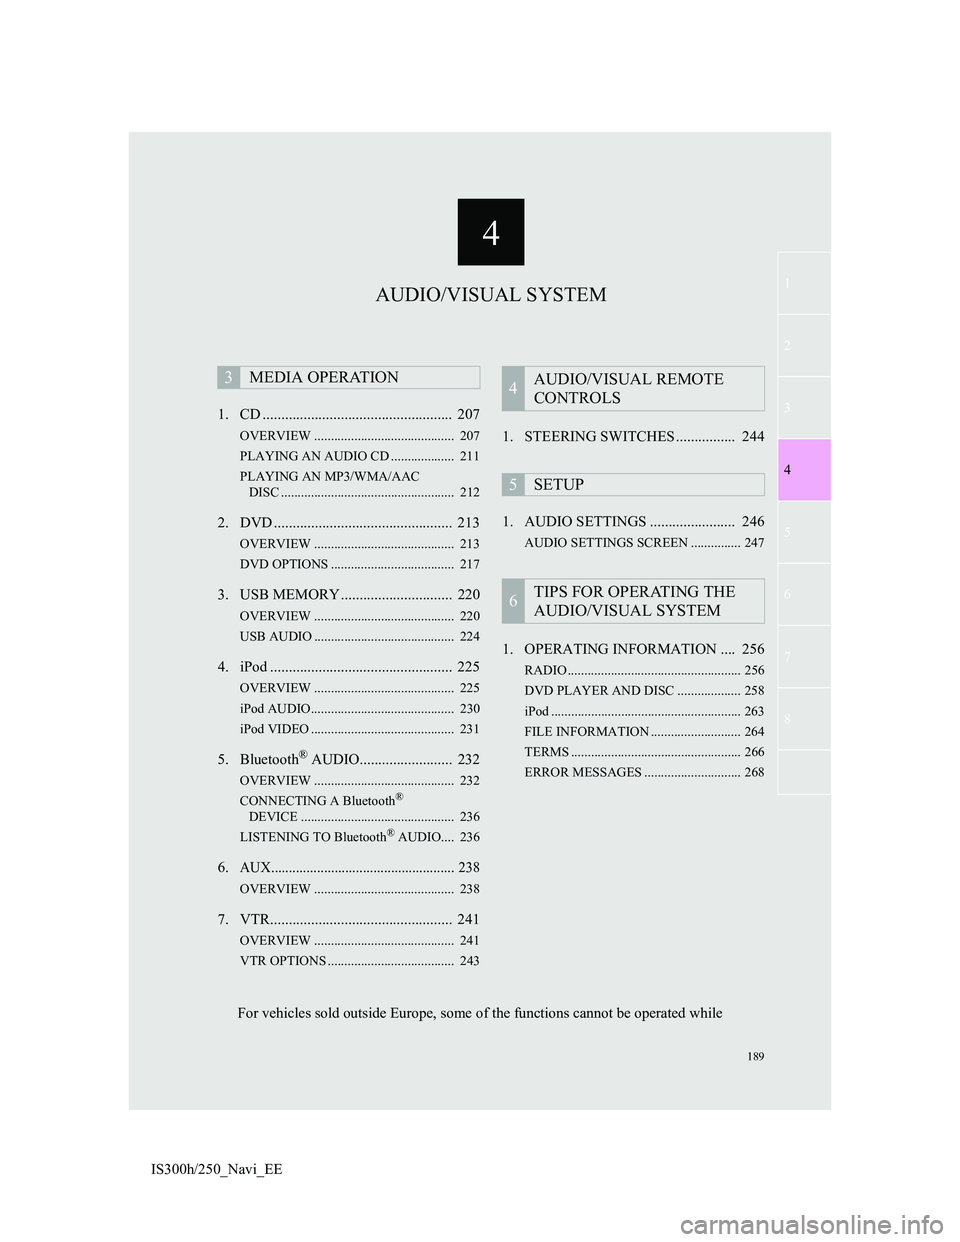
IS300h/250_Navi_EE1. CD ................................................... 207
OVERVIEW .......................................... 207
PLAYING AN AUDIO CD ................... 211
PLAYING AN MP3/WMA/AAC
DISC .................................................... 212
2. DVD ................................................ 213
OVERVIEW .......................................... 213
DVD OPTIONS ..................................... 217
3. USB MEMORY .............................. 220
OVERVIEW .......................................... 220
USB AUDIO .......................................... 224
4. iPod ................................................. 225
OVERVIEW .......................................... 225
iPod AUDIO........................................... 230
iPod VIDEO ........................................... 231
5. Bluetooth® AUDIO......................... 232
OVERVIEW .......................................... 232
CONNECTING A Bluetooth®
DEVICE .............................................. 236
LISTENING TO Bluetooth
® AUDIO.... 236
6.AUX.................................................... 238
OVERVIEW .......................................... 238
7. VTR................................................. 241
OVERVIEW .......................................... 241
VTR OPTIONS ...................................... 243
1. STEERING SWITCHES ................ 244
1. AUDIO SETTINGS ....................... 246
AUDIO SETTINGS SCREEN ............... 247
1. OPERATING INFORMATION .... 256
RADIO .................................................... 256
DVD PLAYER AND DISC ................... 258
iPod ......................................................... 263
FILE INFORMATION ........................... 264
TERMS ................................................... 266
ERROR MESSAGES ............................. 268
3MEDIA OPERATION4AUDIO/VISUAL REMOTE
CONTROLS
5SETUP
6TIPS FOR OPERATING THE
AUDIO/VISUAL SYSTEM
AUDIO/VISUAL SYSTEM
For vehicles sold outside Europe, some of the functions cannot be operated while
Page 190 of 415
190
IS300h/250_Navi_EE
1. BASIC OPERATION
1. QUICK REFERENCE
CONTROL SCREEN Operations such as selecting a preset station and adjusting the sound balance
are carried out on the screen.
Using the instrument panel
Press the “RADIO” or “MEDIA” button to display the audio/visual screen.
Using the Remote Touch
Press the “MENU” button on the Remote Touch, then select “Audio” to display
the audio/visual screen.
Page 193 of 415
193
1. BASIC OPERATION
4
AUDIO/VIDEO SYSTEM
IS300h/250_Navi_EE
Using the instrument panel
1Each time the “RADIO” or “ME-
DIA” button is pressed, the audio
control mode changes.
“RADIO” button: To display the radio
operation screen.
“MEDIA” button: To display the exter-
nal media operation screen.
Using the Remote Touch
1Press the “MENU” button on the
Remote Touch.
2Select “Audio”.
3Select “Source”.
4Select the desired source.
SELECTING AN AUDIO
SOURCE
INFORMATION
Dimmed screen buttons cannot be
operated.