Page 356 of 415
354
2. SETUP
IS300h/250_Navi_EE
2. CONTACT SETTINGS
1Press the “MENU” button on the
Remote Touch.
2Select “Setup”.
3Select “Telephone”.
4Select “Contacts”.
5Select the desired item to be set.
No.FunctionPage
Select to transfer con-
tacts from the connected
telephone to the system
and to add/edit/delete
contacts.
355
Select to add or delete
contacts to the favourites
list. 362
Select to clear contacts
from the call history. 366
INFORMATION
Depending on the type of telephone,
certain functions may not be avail-
able.
Contact data is managed inde-
pendently for every registered tele-
phone. When one telephone is
connected, another telephone’s regis-
tered data cannot be read.
Page 380 of 415
377
1. CONNECTED SERVICES
IS300h/250_Navi_EE
8
CONNECTED SERVICES
2. SETTINGS REQUIRED FOR USING THE SERVICE
1Press the “MENU” button on the
Remote Touch.
2Select “Setup”.
3Select “Navigation”.
4Select “Connected service”.
5Check that navigation identification
is displayed.
OBTAINING LEXUS
PORTAL SITE ACCOUNT
Before using connected services, it is
necessary to first access Lexus portal
site (www.my.lexus.eu
) via a person-
al computer etc. and create an ac-
count. “Navigation identification” is
required to obtain an account. Check
the identification before accessing
Lexus portal site.
CHECKING NAVIGATION
IDENTIFICATION
Page 382 of 415
379
1. CONNECTED SERVICES
IS300h/250_Navi_EE
8
CONNECTED SERVICES
3. ONLINE SEARCH
1Press the “MENU” button on the
Remote Touch.
2Select “Nav”.
3Select “Menu”.
4Select “Destination”.
5Select “Online search”.
ONLINE SEARCH
New establishments or establish-
ments that are not registered in the
navigation system can be set as a
destination.
In order to perform an online search,
the system must already be connect-
ed to the internet. (P.378)
Page 392 of 415
389
1. CONNECTED SERVICES
IS300h/250_Navi_EE
8
CONNECTED SERVICES
5. Street View
1Press the “MENU” button on the
Remote Touch.
2Select “Info”.
3Select “Street View”.
4Select the desired item to search for
a point.The Street View of the desired loca-
tion can be viewed. In order to per-
form Street View, the system must
already be connected to the internet.
(P.378)
No.Function
Select to set a Street View loca-
tion by address or location.
Select to set a Street View loca-
tion by a previously selected des-
tination. (P.123)
Select to set a Street View loca-
tion by using the current position.
Select to set a Street View loca-
tion by using the last displayed
map.
Select to set a Street View loca-
tion by using a current destina-
tion.
Select to change pages.
Page 394 of 415
391
1. CONNECTED SERVICES
IS300h/250_Navi_EE
8
CONNECTED SERVICES
6. Panoramio
1Press the “MENU” button on the
Remote Touch.
2Select “Info”.
3Select “Panoramio”.
4Select the desired item to search for
a point.
5Scroll the map to the desired point
(P.101) and select .
Users’ pictures on a map, comments
and other information can be viewed.
In order to perform Panoramio, the
system must already be connected to
the internet. (P.378)
No.Function
Select to set a location by ad-
dress. (P.118)
Select to set a location by using
the current position.
Select to set a location by using
the last displayed map.
Select to set a location by using a
current destination.
Select to change pages.
Page 396 of 415
393
IS300h/250_Navi_EE
8
CONNECTED SERVICES
2. SETUP
1. CONNECTED SERVICE SETTINGS
1Press the “MENU” button on the
Remote Touch.
2Select “Setup”.
3Select “Navigation”.
4Select “Connected service”.
5Select the items to be set.
6Select “Save”.
The following detailed connected
service settings can be set.
Page 407 of 415

404
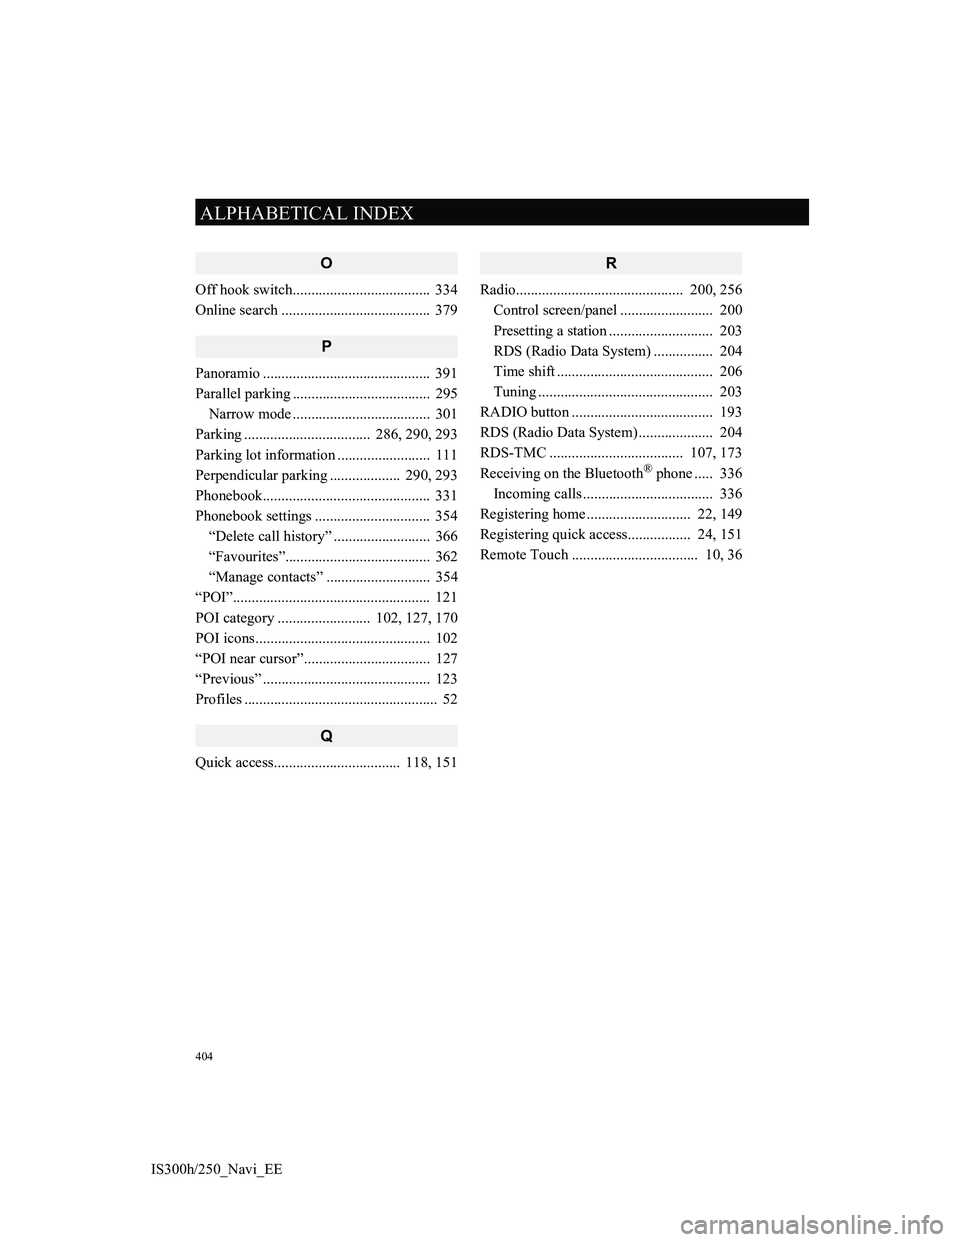
ALPHABETICAL INDEX
IS300h/250_Navi_EE
O
Off hook switch..................................... 334
Online search ........................................ 379
P
Panoramio ............................................. 391
Parallel parking ..................................... 295
Narrow mode ..................................... 301
Parking .................................. 286, 290, 293
Parking lot information ......................... 111
Perpendicular parking ................... 290, 293
Phonebook............................................. 331
Phonebook settings ............................... 354
“Delete call history” .......................... 366
“Favourites”....................................... 362
“Manage contacts” ............................ 354
“POI”..................................................... 121
POI category ......................... 102, 127, 170
POI icons............................................... 102
“POI near cursor”.................................. 127
“Previous” ............................................. 123
Profiles .................................................... 52
Q
Quick access.................................. 118, 151
R
Radio............................................. 200, 256
Control screen/panel ......................... 200
Presetting a station ............................ 203
RDS (Radio Data System) ................ 204
Time shift .......................................... 206
Tuning ............................................... 203
RADIO button ...................................... 193
RDS (Radio Data System) .................... 204
RDS-TMC .................................... 107, 173
Receiving on the Bluetooth
® phone ..... 336
Incoming calls ................................... 336
Registering home ............................ 22, 149
Registering quick access................. 24, 151
Remote Touch .................................. 10, 36