Page 200 of 415
200
IS300h/250_Navi_EE
2. RADIO OPERATION
1. AM/FM/DAB RADIO
CONTROL SCREEN
OVERVIEW
The radio operation screen can be reached by the following methods:
Using the instrument panel
Press the “RADIO” button to display the audio control screen.
Using the Remote Touch
Press the “MENU” button on the Remote Touch, then select “Audio” to display
the audio control screen.
Page 202 of 415

202
2. RADIO OPERATION
IS300h/250_Navi_EE
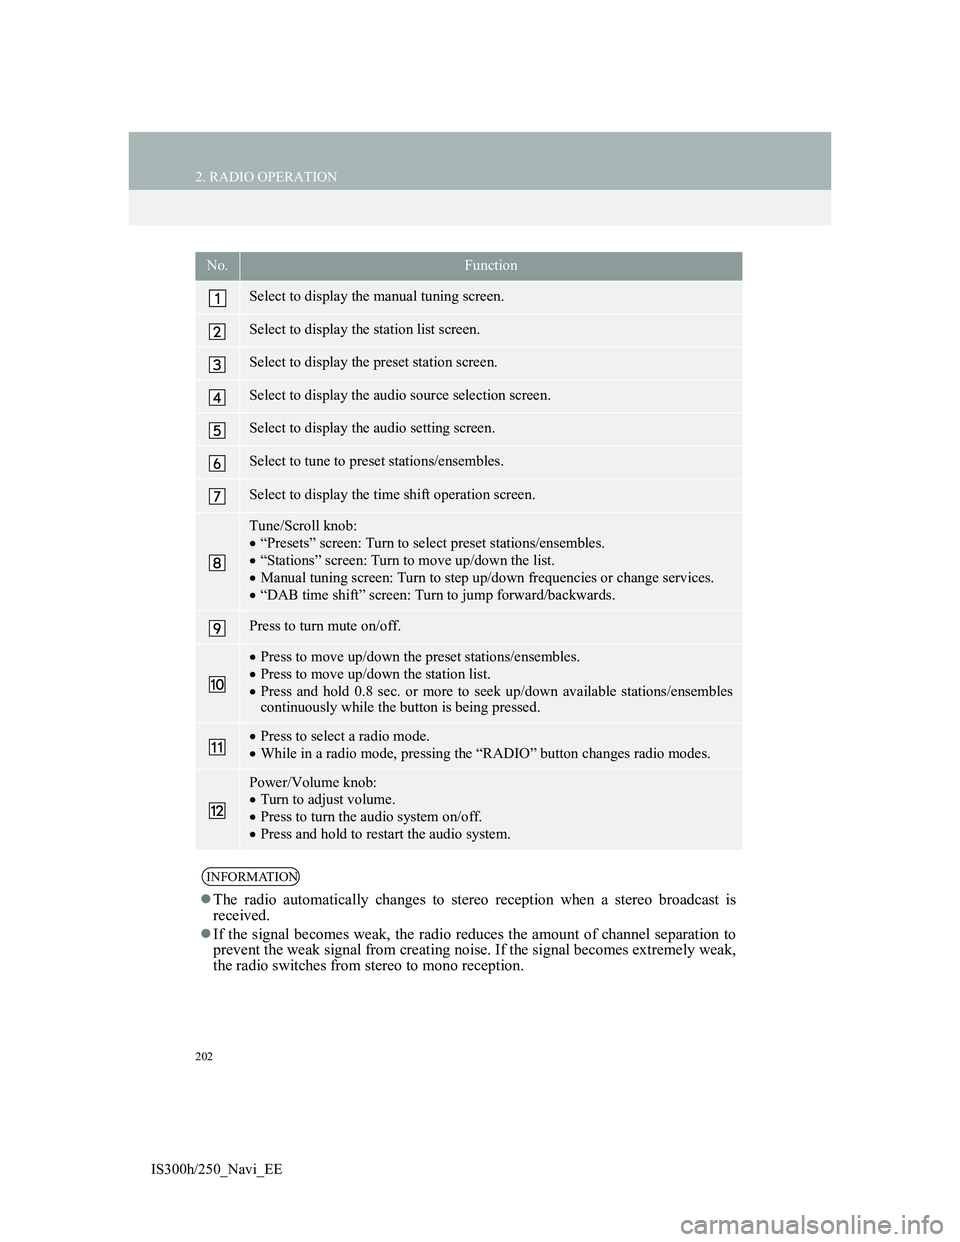
No.Function
Select to display the manual tuning screen.
Select to display the station list screen.
Select to display the preset station screen.
Select to display the audio source selection screen.
Select to display the audio setting screen.
Select to tune to preset stations/ensembles.
Select to display the time shift operation screen.
Tune/Scroll knob:
“Presets” screen: Turn to select preset stations/ensembles.
“Stations” screen: Turn to move up/down the list.
Manual tuning screen: Turn to step up/down frequencies or change services.
“DAB time shift” screen: Turn to jump forward/backwards.
Press to turn mute on/off.
Press to move up/down the preset stations/ensembles.
Press to move up/down the station list.
Press and hold 0.8 sec. or more to seek up/down available stations/ensembles
continuously while the button is being pressed.
Press to select a radio mode.
While in a radio mode, pressing the “RADIO” button changes radio modes.
Power/Volume knob:
Turn to adjust volume.
Press to turn the audio system on/off.
Press and hold to restart the audio system.
INFORMATION
The radio automatically changes to stereo reception when a stereo broadcast is
received.
If the signal becomes weak, the radio reduces the amount of channel separation to
prevent the weak signal from creating noise. If the signal becomes extremely weak,
the radio switches from stereo to mono reception.
Page 205 of 415
205
2. RADIO OPERATION
4
AUDIO/VIDEO SYSTEM
IS300h/250_Navi_EE
1A pop-up message is displayed on
the screen when the radio seeks out a
TP station.
2Select “Continue”.
TRAFFIC ANNOUNCEMENT
VOLUME FUNCTIONTA (TRAFFIC
ANNOUNCEMENT)
FUNCTION
The tuner will automatically seek a
station that regularly broadcasts traf-
fic information and the station broad-
casts when the traffic information
program starts.
INFORMATION
When TA is set to “On” (P.248),
the radio will begin seeking a TP sta-
tion.
When the program ends, the initial
operation resumes.
The volume level when receiving the
traffic announcement is memorized.
Page 207 of 415
207
IS300h/250_Navi_EE
4
AUDIO/VIDEO SYSTEM
3. MEDIA OPERATION
1. CD
CONTROL SCREEN
OVERVIEW
The CD operation screen can be reached by the following methods:
Inserting a disc (P.194)
Using the instrument panel
Press the “MEDIA” button to display the audio control screen.
Using the Remote Touch
Press the “MENU” button on the Remote Touch, then select “Audio” to display
the audio control screen.
Audio CD
MP3/WMA/AAC disc
Page 209 of 415

209
3. MEDIA OPERATION
4
AUDIO/VIDEO SYSTEM
IS300h/250_Navi_EE
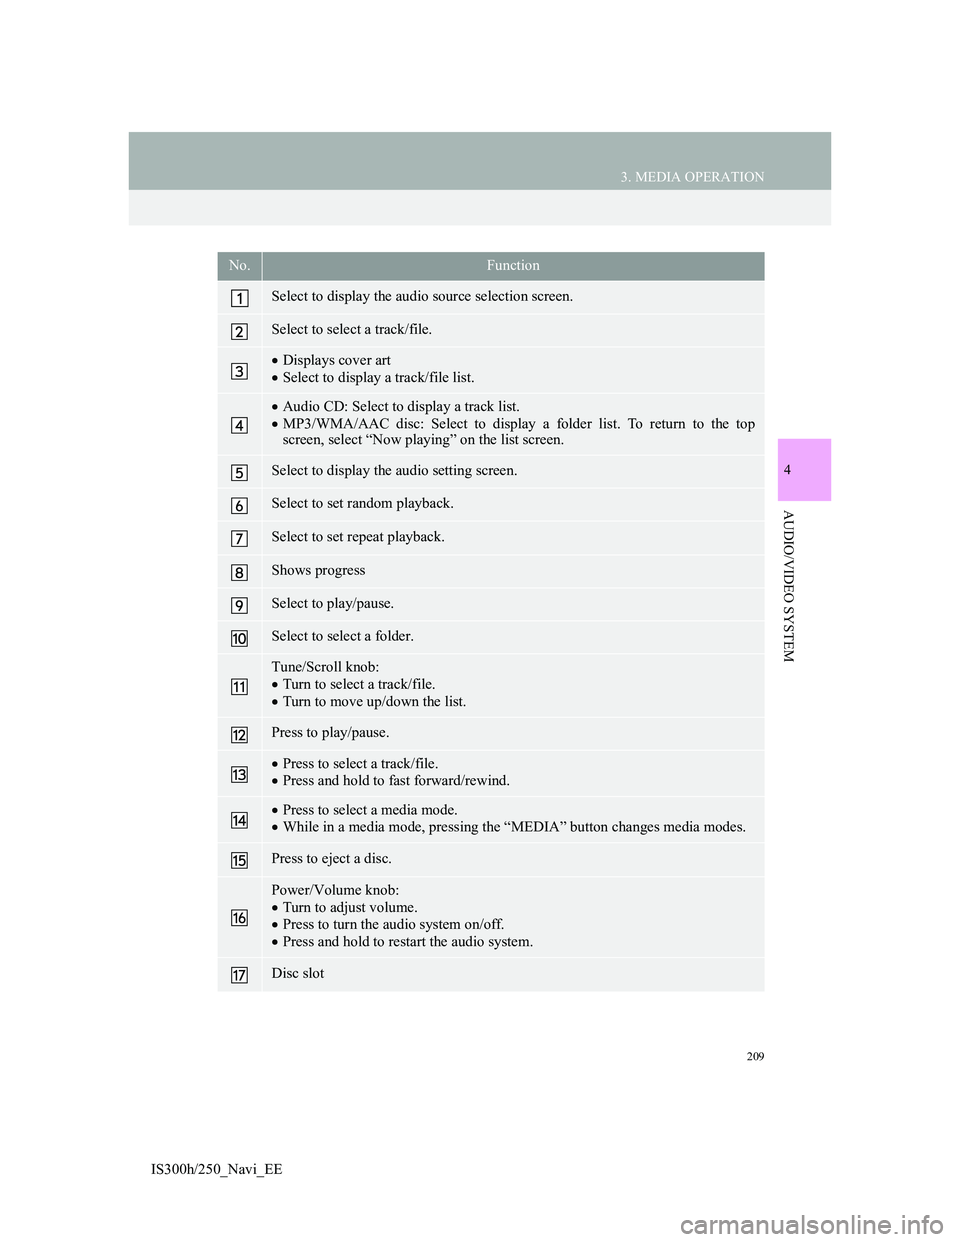
No.Function
Select to display the audio source selection screen.
Select to select a track/file.
Displays cover art
Select to display a track/file list.
Audio CD: Select to display a track list.
MP3/WMA/AAC disc: Select to display a folder list. To return to the top
screen, select “Now playing” on the list screen.
Select to display the audio setting screen.
Select to set random playback.
Select to set repeat playback.
Shows progress
Select to play/pause.
Select to select a folder.
Tune/Scroll knob:
Turn to select a track/file.
Turn to move up/down the list.
Press to play/pause.
Press to select a track/file.
Press and hold to fast forward/rewind.
Press to select a media mode.
While in a media mode, pressing the “MEDIA” button changes media modes.
Press to eject a disc.
Power/Volume knob:
Turn to adjust volume.
Press to turn the audio system on/off.
Press and hold to restart the audio system.
Disc slot
Page 210 of 415
210
3. MEDIA OPERATION
IS300h/250_Navi_EE
INFORMATION
If a disc contains CD-DA files and MP3/WMA/AAC files, only the CD-DA files
can be played back.
If a CD-TEXT disc is inserted, the title of the disc and track will be displayed. Up
to 32 characters can be displayed.
If the disc contains no CD-TEXT, only the track number would be displayed on the
screen.
Page 213 of 415
213
3. MEDIA OPERATION
IS300h/250_Navi_EE
4
AUDIO/VIDEO SYSTEM
2. DVD
For safety reasons, the DVD video discs can only be viewed when the follow-
ing conditions are met:
(a) The vehicle is completely stopped.
(b) The engine switch is in ACCESSORY or IGNITION ON
mode.
(c) The parking brake is applied.
While driving in DVD video mode, only the DVD’s audio can be heard.
The playback condition of some DVD discs may be determined by the DVD
software producer. This DVD player plays a disc as the software producer in-
tended. As such, some functions may not work properly. Be sure to read the
instruction manual that comes with the individual DVD disc. (P.258)
OVERVIEW
The DVD operation screen can be reached by the following methods:
Inserting a disc (P.194)
Using the instrument panel
Press the “MEDIA” button to display the audio control screen.
Using the Remote Touch
Press the “MENU” button on the Remote Touch, then select “Audio” to display
the audio control screen.
Page 215 of 415
215
3. MEDIA OPERATION
4
AUDIO/VIDEO SYSTEM
IS300h/250_Navi_EE
No.Function
Select to display the audio source selection screen.
Select to display the password input screen.
Select to display the menu screen.
Select to display the option screen. (P.217)
Select to display the DVD setting screen.
Shows progress
During playback: Select to fast forward.
During a pause: Select to slow forward.
Select to play/pause.
Select to stop the video screen.
Select to rewind.
Select to display the menu control key.
Select to display full screen video.
Tune/Scroll knob:
Turn to select a chapter.
Press to play/pause.
Press to select a chapter.
Press and hold to fast forward/rewind.
Press to select a media mode.
While in a media mode, pressing the “MEDIA” button changes media modes.
Press to eject a disc.
Power/Volume knob:
Turn to adjust volume.
Press to turn the audio system on/off.
Press and hold to restart the audio system.
Disc slot