2012 MERCEDES-BENZ SL ROADSTER window
[x] Cancel search: windowPage 468 of 637
selection window for the radio display is
active.
or
X Press the EorF button.
The needle jumps to the left or right.
X To make a selection in the station list:
select Radio
Radio by sliding VÆand turning
cVd the COMAND controller and press W
to confirm.
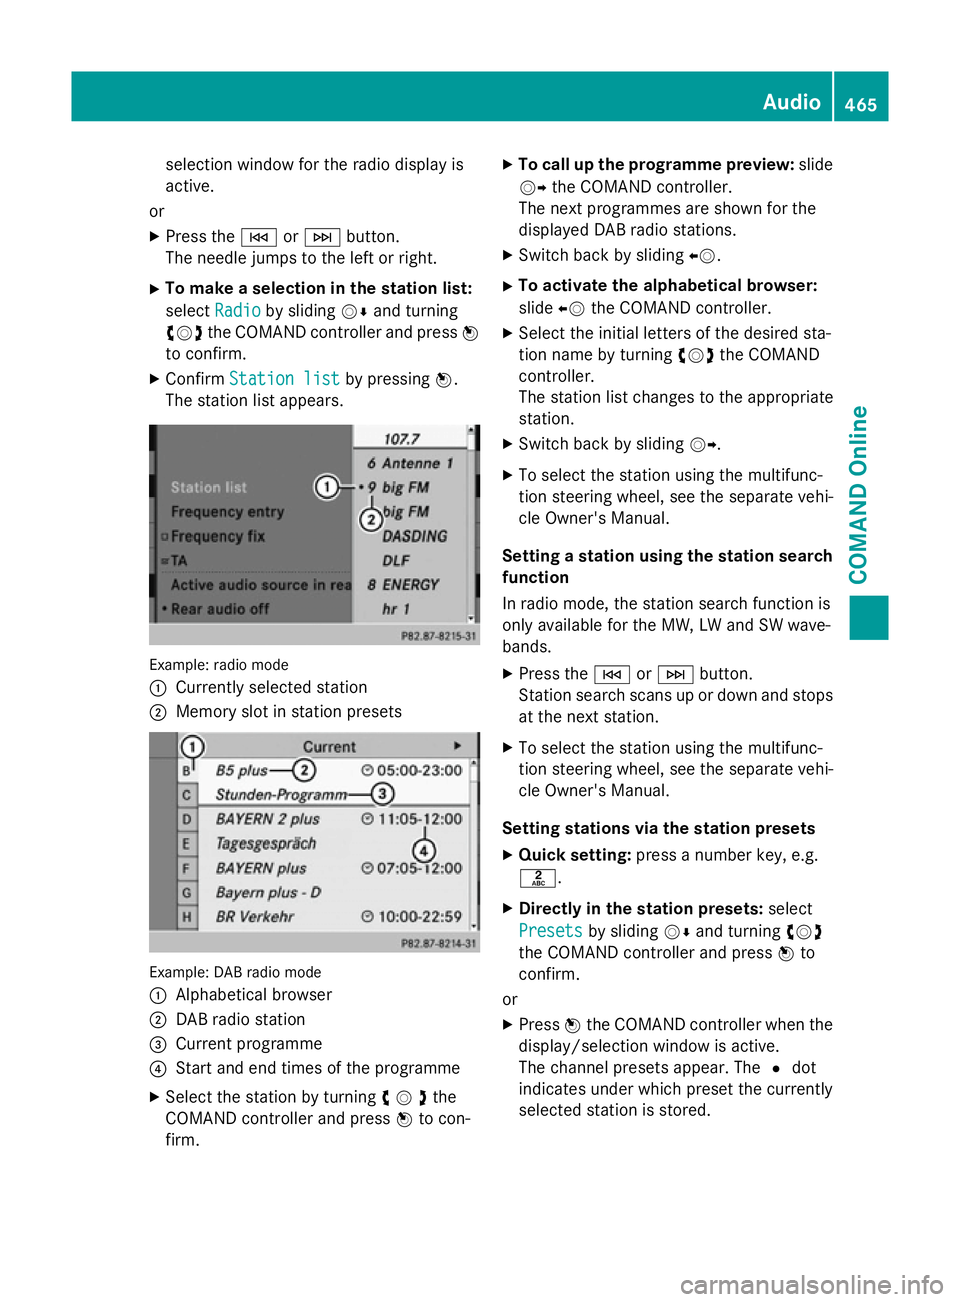
X Confirm Station list Station list by pressingW.
The station list appears. Example: radio mode
:
Currently selected station
; Memory slot in station presets Example: DAB radio mode
:
Alphabetical browser
; DAB radio station
= Current programme
? Start and end times of the programme
X Select the station by turning cVdthe
COMAND controller and press Wto con-
firm. X
To call up the programme preview: slide
VY the COMAND controller.
The next programmes are shown for the
displayed DAB radio stations.
X Switch back by sliding XV.
X To activate the alphabetical browser:
slide XVthe COMAND controller.
X Select the initial letters of the desired sta-
tion name by turning cVdthe COMAND
controller.
The station list changes to the appropriate
station.
X Switch back by sliding VY.
X To select the station using the multifunc-
tion steering wheel, see the separate vehi-
cle Owner's Manual.
Setting a station using the station search function
In radio mode, the station search function is
only available for the MW, LW and SW wave-
bands.
X Press the EorF button.
Station search scans up or down and stops
at the next station.
X To select the station using the multifunc-
tion steering wheel, see the separate vehi-
cle Owner's Manual.
Setting stations via the station presets X Quick setting: press a number key, e.g.
l.
X Directly in the station presets: select
Presets
Presets by sliding VÆand turning cVd
the COMAND controller and press Wto
confirm.
or X Press Wthe COMAND controller when the
display/selection window is active.
The channel presets appear. The #dot
indicates under which preset the currently
selected station is stored. Audio
465COMAND Online Z
Page 469 of 637
X
Select a station by turning cVdand press
W to confirm.
or X Press a number key, such as l.
X To select the station using the multifunc-
tion steering wheel, see the separate vehi-
cle Owner's Manual.
Setting stations by entering the fre-
quency manually
This function is available in radio mode.
X Option 1: press thelbutton.
X Option 2: selectRadio
Radio in the radio display
by sliding VÆand turning cVdthe
COMAND controller and press Wto con-
firm.
X Select Frequency entry
Frequency entry and pressWto
confirm.
Irrespective of the option chosen, an input
menu will appear.
X Enter a frequency using the number keys.
COMAND Online sets the frequency
entered. Waveband Frequency
FM (VHF) 87.5 – 108.0 MHz
MW (medium wave) 531 – 1620 kHz
SW (short wave) 5800 – 6250 kHz
LW (long wave) 153 – 282 kHz
i
You can only enter currently permitted
numbers.
i If you enter a frequency in the MW, SW or
LW wavebands that is outside the fre-
quency range, COMAND Online sets the
next lower frequency. Storing a station Storing stations manually
There are 10 presets available for each wave-
band as well as for DAB radio mode.
X Quick save: press and hold a number key,
e.g. l, until you hear a tone.
The station is stored.
X Directly in the station presets: pressW
the COMAND controller when the display/
selection window is active.
or
X Select Presets Presets by sliding VÆand turning
cVd the COMAND controller and press W
to confirm.
In both cases, the station presets appear.
The #dot indicates under which preset
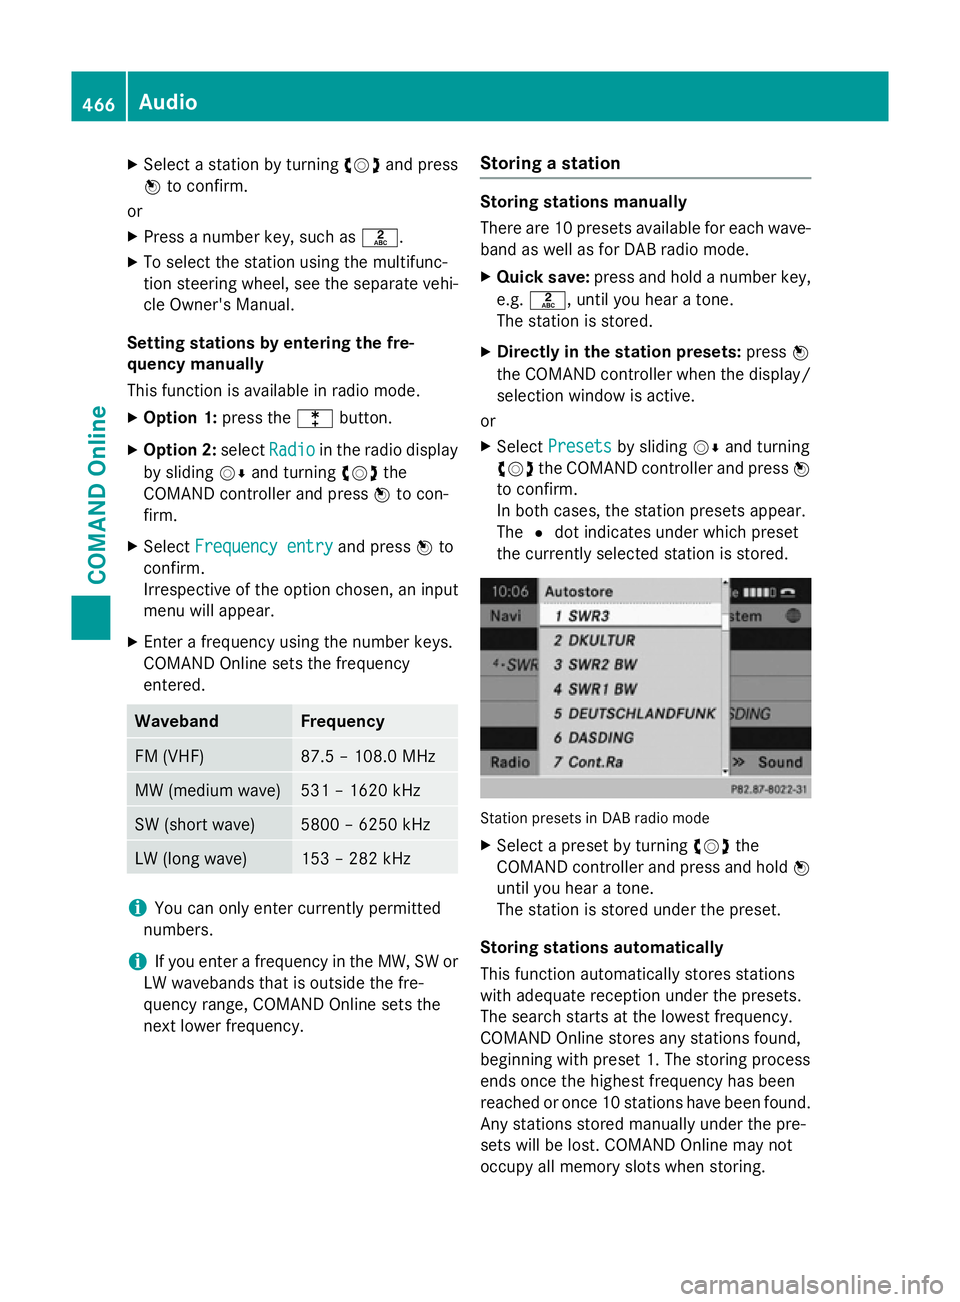
the currently selected station is stored. Station presets in DAB radio mode
X Select a preset by turning cVdthe
COMAND controller and press and hold W
until you hear a tone.
The station is stored under the preset.
Storing stations automatically
This function automatically stores stations
with adequate reception under the presets.
The search starts at the lowest frequency.
COMAND Online stores any stations found,
beginning with preset 1. The storing process
ends once the highest frequency has been
reached or once 10 stations have been found.
Any stations stored manually under the pre-
sets will be lost. COMAND Online may not
occupy all memory slots when storing. 466
AudioCOMAND Online
Page 470 of 637
X
Option 1: pressWthe COMAND controller
when the display/selection window is
active.
X Select Autostore
Autostore in the presets by turning
cVd the COMAND controller and press W
to confirm.
X Option 2: selectPresets
Presets by sliding VÆ
and turning cVdthe COMAND controller
and press Wto confirm.
X Select Autostore
Autostore and pressWto confirm.
In both cases, COMAND Online searches
for stations that can be received. You will
see a message to this effect. The available
stations are automatically stored in the pre- set positions.
X To cancel storing: selectCancel
Cancel and
press Wto confirm.
Radio Data System (RDS) General notes
The Radio Data System (RDS) provides inaud-
ible additional information in the FM wave-
band. The system consists of a listening
receiver and a monitoring receiver.
The monitoring receiver permanently scans
the FM waveband and collects certain data
from all receivable stations. This includes, for
instance, reception quality and RDS data
such as programme names and alternative
frequencies. COMAND Online stores the data and constantly updates the memory. The
audio receiver is therefore able to switch
automatically to an alternative frequency with
a better signal.
i RDS only functions for stations which
transmit RDS data.
Switching RDS on/off
You can use the Frequency fix (radio mode) or Station fix (DAB mode) functions to prevent
COMAND Online from switching between the
alternative frequencies of a station. This is
useful, for example, when the same content is broadcast with a time delay, or when there is
interference on one of the frequencies.
X Select Radio
Radio in the radio display by sliding
VÆ and turning cVdthe COMAND con-
troller and press Wto confirm.
X Select Frequency Frequency fix
fixorStation
Station fix
fix by
turning cVdthe COMAND controller and
press Wto confirm.
Depending on the previous status, switch
Frequency fix Frequency fix onO or off ª.
Traffic Programme Note
Many FM stations transmit traffic announce-
ments (TA). You can also hear these in DAB
radio mode.
Switching traffic announcements on/off
X Option 1: selectRadio Radio by sliding VÆand
turning cVdthe COMAND controller and
press Wto confirm.
The tick next to TA
TAindicates that traffic
announcement reception is switched on.
You see the TA TAsymbol in the status bar.
X Select TA
TAand press Wto confirm.
TA
TA is switched on or off, depending on the
previous status.
X Option 2: on COMAND Online or on the
multifunction steering wheel, press and
hold the 8button until the TA TAicon lights
up or goes out in the status bar.
A warning tone sounds.
Once traffic announcements have been
switched on, COMAND Online selects an RDS station.
Traffic Programme is retrieved from:
R the currently selected FM station
R an RDS station from the network of the
currently selected FM station
R the RDS station with the best reception
quality
When traffic announcements are switched
on, a traffic announcement will interrupt the Audio
467COMAND Online Z
Page 478 of 637
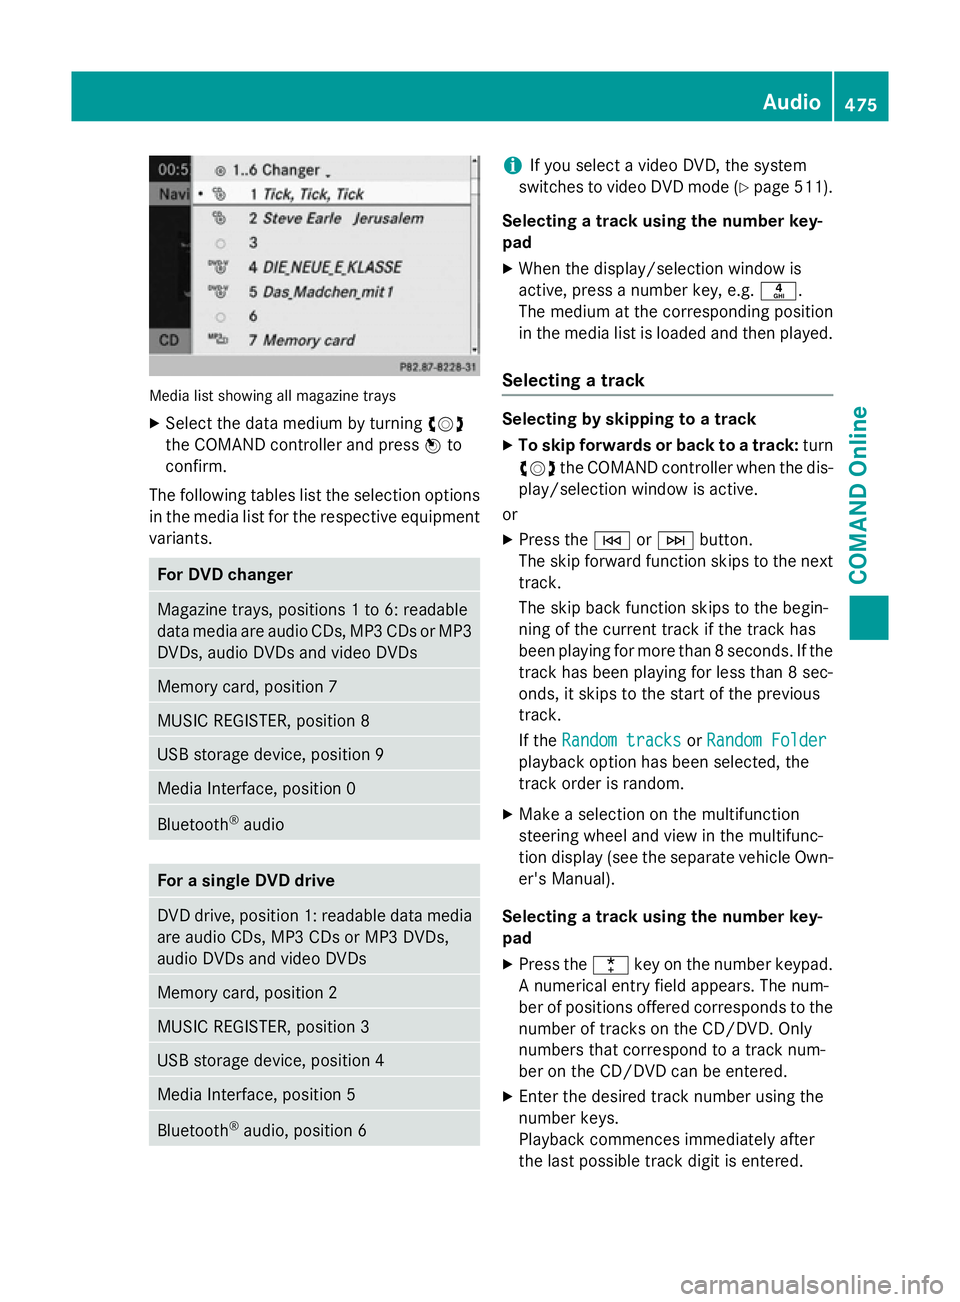
Media list showing all magazine trays
X Select the data medium by turning cVd
the COMAND controller and press Wto
confirm.
The following tables list the selection options
in the media list for the respective equipment variants. For DVD changer
Magazine trays, positions 1 to 6: readable
data media are audio CDs, MP3 CDs or MP3 DVDs, audio DVDs and video DVDs Memory card, position 7
MUSIC REGISTER, position 8
USB storage device, position 9
Media Interface, position 0
Bluetooth
®
audio For a single DVD drive
DVD drive, position 1: readable data media
are audio CDs, MP3 CDs or MP3 DVDs,
audio DVDs and video DVDs Memory card, position 2
MUSIC REGISTER, position 3
USB storage device, position 4
Media Interface, position 5
Bluetooth
®
audio, position 6 i
If you select a video DVD, the system
switches to video DVD mode (Y page 511).
Selecting a track using the number key-
pad X When the display/selection window is
active, press a number key, e.g. n.
The medium at the corresponding position
in the media list is loaded and then played.
Selecting a track Selecting by skipping to a track
X To skip forwards or back to a track: turn
cVd the COMAND controller when the dis-
play/selection window is active.
or
X Press the EorF button.
The skip forward function skips to the next track.
The skip back function skips to the begin-
ning of the current track if the track has
been playing for more than 8 seconds. If the
track has been playing for less than 8 sec-
onds, it skips to the start of the previous
track.
If the Random tracks Random tracks orRandom Folder
Random Folder
playback option has been selected, the
track order is random.
X Make a selection on the multifunction
steering wheel and view in the multifunc-
tion display (see the separate vehicle Own-
er's Manual).
Selecting a track using the number key-
pad X Press the ¯key on the number keypad.
A numerical entry field appears. The num-
ber of positions offered corresponds to the
number of tracks on the CD/DVD. Only
numbers that correspond to a track num-
ber on the CD/DVD can be entered.
X Enter the desired track number using the
number keys.
Playback commences immediately after
the last possible track digit is entered. Audio
475COMAND Online Z
Page 479 of 637
i
Pressing and holding a number key for
more than 2 seconds completes the entry
and the corresponding track is played.
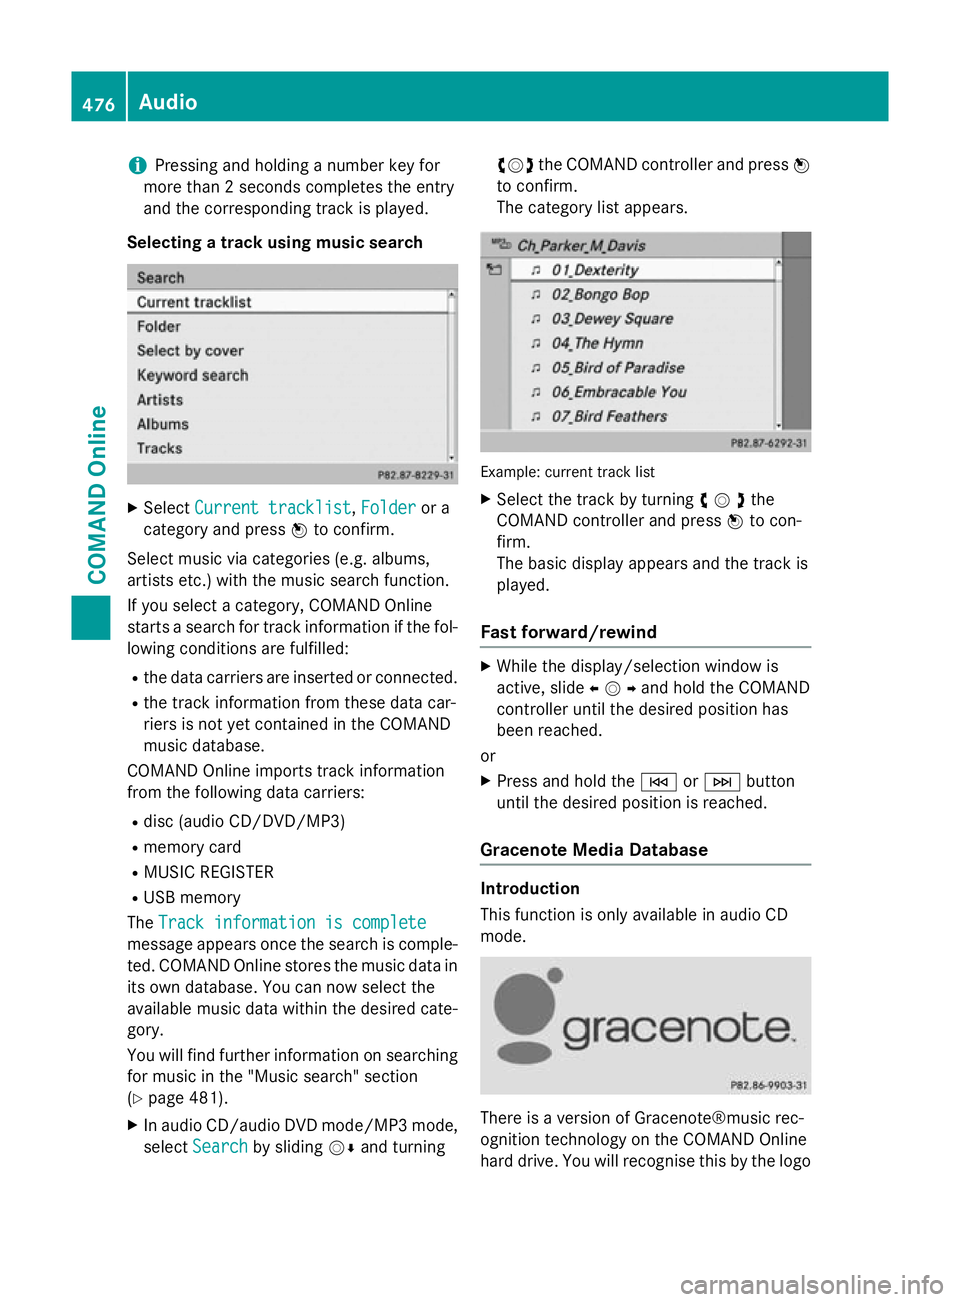
Selecting a track using music search X
Select Current tracklist
Current tracklist ,Folder
Folder or a
category and press Wto confirm.
Select music via categories (e.g. albums,
artists etc.) with the music search function.
If you select a category, COMAND Online
starts a search for track information if the fol-
lowing conditions are fulfilled:
R the data carriers are inserted or connected.
R the track information from these data car-
riers is not yet contained in the COMAND
music database.
COMAND Online imports track information
from the following data carriers:
R disc (audio CD/DVD/MP3)
R memory card
R MUSIC REGISTER
R USB memory
The Track information is complete
Track information is complete
message appears once the search is comple-
ted. COMAND Online stores the music data in its own database. You can now select the
available music data within the desired cate-
gory.
You will find further information on searching
for music in the "Music search" section
(Y page 481).
X In audio CD/audio DVD mode/MP3 mode,
select Search
Search by sliding VÆand turning cVd
the COMAND controller and press W
to confirm.
The category list appears. Example: current track list
X Select the track by turning cVdthe
COMAND controller and press Wto con-
firm.
The basic display appears and the track is
played.
Fast forward/rewind X
While the display/selection window is
active, slide XVYand hold the COMAND
controller until the desired position has
been reached.
or X Press and hold the EorF button
until the desired position is reached.
Gracenote Media Database Introduction
This function is only available in audio CD
mode.
There is a version of Gracenote®music rec-
ognition technology on the COMAND Online
hard drive. You will recognise this by the logo 476
AudioCOMAND Online
Page 481 of 637
Displaying the track and album
X
Press the zbutton.
The current track and album are displayed
in a window.
Displaying metadata (MP3 mode) COMAND Online can also display the album
name and artist (metadata) during playback if
this information has been entered into the
system.
For all media that contain MP3 data (e.g. MP3 CD, SD memory card, MUSIC REGISTER), you
can determine whether:
R the metadata contained in the tags of the
encoded music data should be displayed
R the file and directory names should be dis-
played during playback
X To display the album and artist name:
select MP3
MP3 orUSB USB in the basic display by
sliding VÆand turning cVdthe COMAND
controller and press Wto confirm.
X Select Display track Information
Display track Information and
press Wto confirm.
Selecting a group (DVD audio) The content of an audio DVD can be divided
into up to nine groups. The availability and
type of group depends on the respective DVD.
A group can contain music in different sound
qualities (stereo and multichannel formats,
for example), or bonus tracks.
Each group can contain up to 99 tracks.
If an audio DVD only contains one audio for-
mat, the Group Groupmenu item(s) cannot be selec-
ted.
X Switch on audio DVD mode (Y page 472).
X Select DVD-A
DVD-A by sliding VÆand turning
cVd the COMAND controller and press W
to confirm.
X Select Group
Groupby turning cVdand press W
to confirm.
The #dot indicates the group currently
selected. X
Select the desired group by turning cVd
and press Wto confirm.
X To exit the menu: slideXVY the COMAND
controller or press the %back button.
Selecting an active partition (USB mass
storage devices only) You can select this function for USB mass
storage devices when the storage device is
partitioned. Up to 5 partitions (primary or log-
ical, FAT, FAT32 and NTFS) are supported.
X Select MP3
MP3 in the basic display by sliding
VÆ and turning cVdthe COMAND con-
troller and press Wto confirm.
X Select Select active partition Select active partition and
press Wto confirm.
Playback options X
To select options: switch on audio
CD/DVD or MP3 mode (Y page 472).
X Select CD
CD,DVD-A
DVD-A orMP3
MP3 by sliding VÆand
turning cVdthe COMAND controller and
press Wto confirm.
The options list appears. The #dot indi-
cates the option selected.
X Select an option by turning cVdand press
W to confirm.
The option is switched on. For all options
except Normal track sequence
Normal track sequence, you will
see a corresponding display in the display/
selection window.
The following options are available to you:
R Normal track sequence
Normal track sequence
The tracks are played in the normal order
(e.g. track 1, 2, 3 etc.).
In MP3 mode, the track order is determined
by the order in which the tracks are written to the MP3 data carrier when it is created.
Alphabetical order is the most common.
Once all the tracks in a folder have been
played, the tracks in the next folder are
played.
R Random media Random media 478
AudioCOMAND Online
Page 482 of 637
All the tracks on the medium are played in
random order (e.g. track 3, 8, 5 etc.).
R Random track list
Random track list (MP3 mode only)
You will hear the tracks in the current play-
list or currently active folder (including all
subfolders) in random order.
i The
Normal track sequence
Normal track sequence option is
automatically selected when you change
the disc you are currently listening to or
when you select a different medium. If an
option is selected, it remains selected after COMAND Online is switched on or off.
Notes on MP3 mode General notes
Depending on the volume and format of the
MP3 data, the length of time required for
reading the data may increase.
Permissible data carriers
R CD-R and CD-RW
R DVD-R and DVD-RW
R DVD+R and DVD+RW
R SD memory card
R USB storage device
Permissible file systems R ISO 9660/Joliet standard for CDs
R UDF for audio and video DVDs
R FAT16, FAT32 and NTFS for SD memory
card and USB storage media
Multi-session CDs
For multi-session CDs, the content of the first session determines how COMAND Online will process the CD. COMAND Online plays only
one session and gives priority to the audio CD
session.
If possible, only play CDs on COMAND Online that have been written in one session.
File structure of a disc
When you create a disc with compressed
music files, the tracks can be organised in
folders. A folder may also contain subfolders. The disc may contain no more than eight
directory levels. Files beyond the eighth level
will not be recognised by the system.
i COMAND Online loads up to 15,000
tracks from the SD memory card or USB
storage medium.
Track and file names
When you create a disc with compressed
music files, you can assign names to the
tracks and folders.
COMAND Online uses these names accord-
ingly for the display. Folders that contain data other than MP3 or WMA tracks are not dis-
played by COMAND Online.
If MP3 or WMA files are stored in the root
directory itself, the root directory will also be
treated as a folder. COMAND Online will then show the name of the root directory as the
folder name.
You should observe the following when
assigning track names:
R track names must have at least one char-
acter.
R track names must have the extension
"mp3" or "wma".
R there must be a full stop between the track
name and the extension.
Example of a correct track name:
"Track1.mp3".
Permissible formats
COMAND supports the following formats:
R MPEG1 Audio Layer 3 (MP3)
R Microsoft Windows Media Audio V8 and V9
(WMA) without copy protection
Microsoft Windows Media Audio V2, V7, V8 and V9 (WMA)
R additional music files in AAC format with
the file extensions .aac, .mp4, .m4a
and .m4b, but not copy-protected iTunes
music files with the extension .m4p.
i If, in addition to MP3 files, there are other
music files in these audio formats stored on Audio
479COMAND Online Z
Page 490 of 637
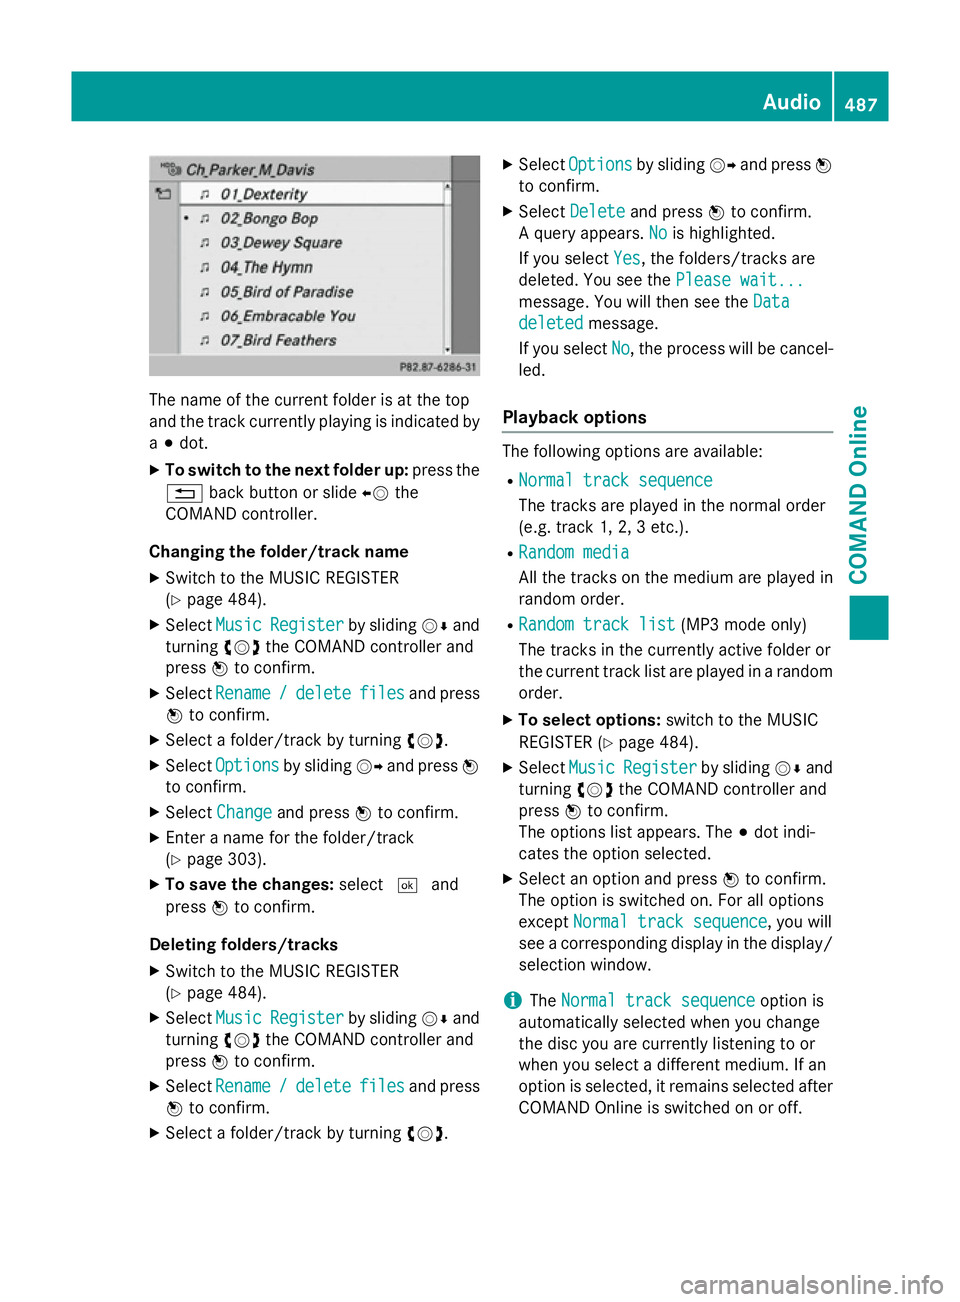
The name of the current folder is at the top
and the track currently playing is indicated by
a # dot.
X To switch to the next folder up: press the
% back button or slide XVthe
COMAND controller.
Changing the folder/track name X Switch to the MUSIC REGISTER
(Y page 484).
X Select Music
Music Register Register by slidingVÆand
turning cVdthe COMAND controller and
press Wto confirm.
X Select Rename
Rename /
/delete
delete files
filesand press
W to confirm.
X Select a folder/track by turning cVd.
X Select Options
Options by sliding VYand press W
to confirm.
X Select Change
Change and press Wto confirm.
X Enter a name for the folder/track
(Y page 303).
X To save the changes: select¬and
press Wto confirm.
Deleting folders/tracks
X Switch to the MUSIC REGISTER
(Y page 484).
X Select Music
Music Register Register by slidingVÆand
turning cVdthe COMAND controller and
press Wto confirm.
X Select Rename
Rename /
/delete
delete files
filesand press
W to confirm.
X Select a folder/track by turning cVd.X
Select Options
Options by sliding VYand press W
to confirm.
X Select Delete
Delete and press Wto confirm.
A query appears. No
No is highlighted.
If you select Yes
Yes, the folders/tracks are
deleted. You see the Please wait...
Please wait...
message. You will then see the Data
Data
deleted
deleted message.
If you select No
No, the process will be cancel-
led.
Playback options The following options are available:
R Normal track sequence
Normal track sequence
The tracks are played in the normal order
(e.g. track 1, 2, 3 etc.).
R Random media Random media
All the tracks on the medium are played in
random order.
R Random track list Random track list (MP3 mode only)
The tracks in the currently active folder or
the current track list are played in a random
order.
X To select options: switch to the MUSIC
REGISTER (Y page 484).
X Select Music Music Register
Register by slidingVÆand
turning cVdthe COMAND controller and
press Wto confirm.
The options list appears. The #dot indi-
cates the option selected.
X Select an option and press Wto confirm.
The option is switched on. For all options
except Normal track sequence
Normal track sequence, you will
see a corresponding display in the display/ selection window.
i The
Normal track sequence
Normal track sequence option is
automatically selected when you change
the disc you are currently listening to or
when you select a different medium. If an
option is selected, it remains selected after COMAND Online is switched on or off. Audio
487COMAND Online Z