2012 MERCEDES-BENZ CLS COUPE engine
[x] Cancel search: enginePage 185 of 373
The following vehicle levels are possible:
R
normal
R raised: the vehicle is raised by about
25 mm when compared with the normal
level.
R lowered: the vehicle is lowered by about
10 mm when compared with the normal
level.
The "Normal" and "Raised" vehicle levels can
be set manually.
The "Lowered" vehicle level is set automati-
cally:
R at speeds above 140 km/h
R if you have selected "Comfort tuning"
(Y page 182) and then lock the vehicle
within 60 seconds of the engine being
switched off
R if you have selected "Sports tuning"
(Y page 182)
Setting the vehicle level G
WARNING
Make sure that nobody is in the vicinit yofthe
wheel housing or under the vehicle while low-
ering the vehicle when it is stationary. Other-
wise, limbs could become trapped.
Select the "Normal" setting for normal road
surfaces and "Raised" for driving with snow
chains or on particularly poor road surfaces.
Your selection remains stored even if you
remove the key from the ignition lock.
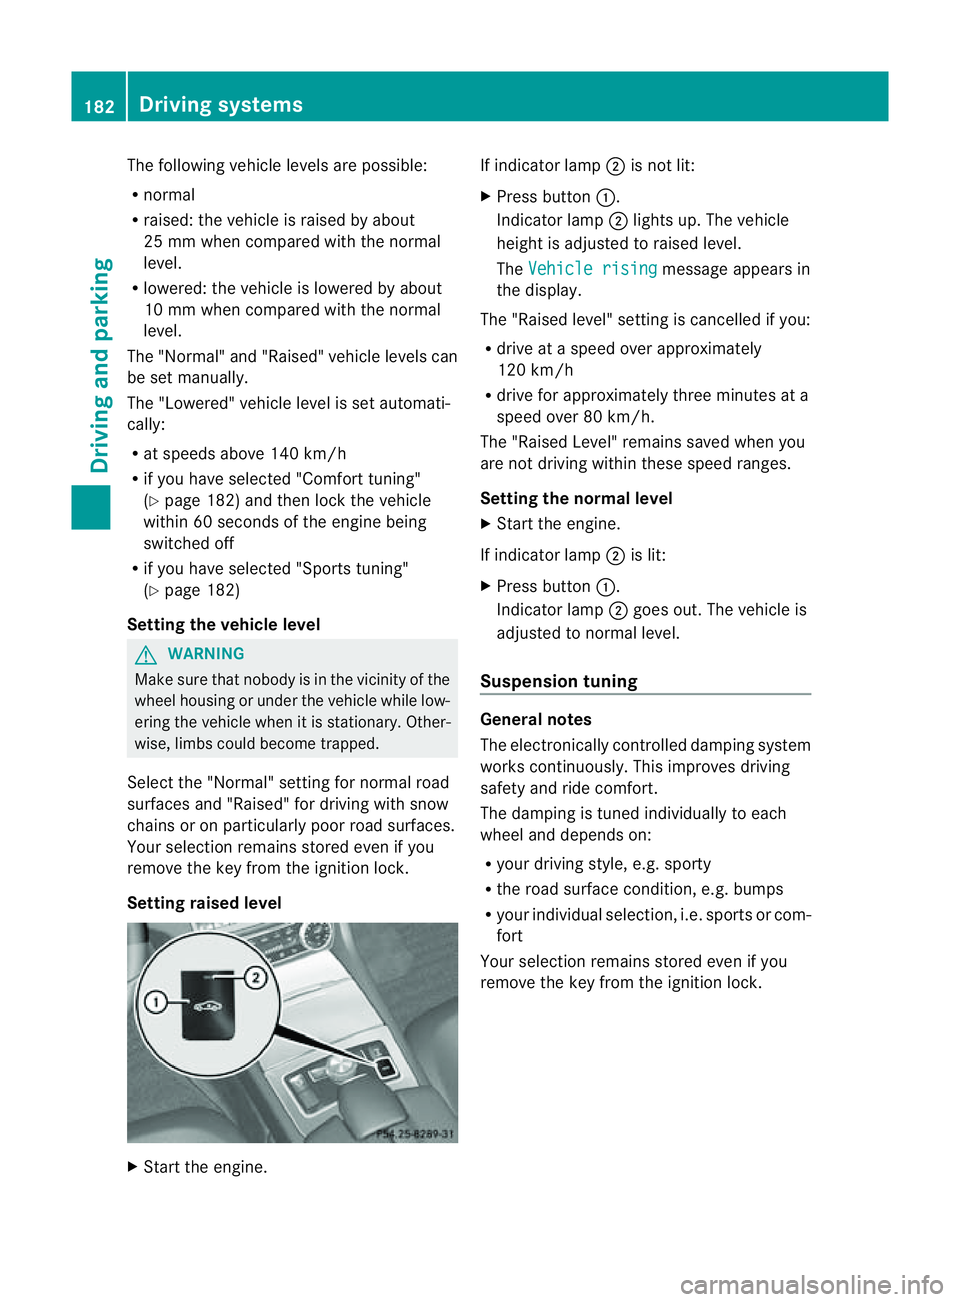
Setting raised level X
Start the engine. If indicator lamp
;is not lit:
X Press button :.
Indicator lamp ;lights up. The vehicle
height is adjusted to raised level.
The Vehicle rising message appears in
the display.
The "Raised level" setting is cancelled if you:
R drive at aspeed over approximately
120 km/h
R drive for approximately three minutes at a
speed over 80 km/h.
The "Raised Level" remains saved when you
are not driving within these speed ranges.
Setting the norma llevel
X Start the engine.
If indicator lamp ;is lit:
X Press button :.
Indicator lamp ;goes out. The vehicle is
adjusted to normal level.
Suspension tuning General notes
The electronically controlled damping system
works continuously. This improves driving
safety and ride comfort.
The damping is tuned individually to each
wheel and depends on:
R
your driving style, e.g. sporty
R the road surface condition, e.g. bumps
R your individual selection ,i.e. sports or com-
fort
Your selection remains stored even if you
remove the key from the ignition lock. 182
Driving systemsDriving and parking
Page 186 of 373
Sportst
uning The firmer suspension tuning in Sport mode
ensures even better contact with the road.
Select this mode when employing asporty
driving style, e.g. on winding countryr oads.
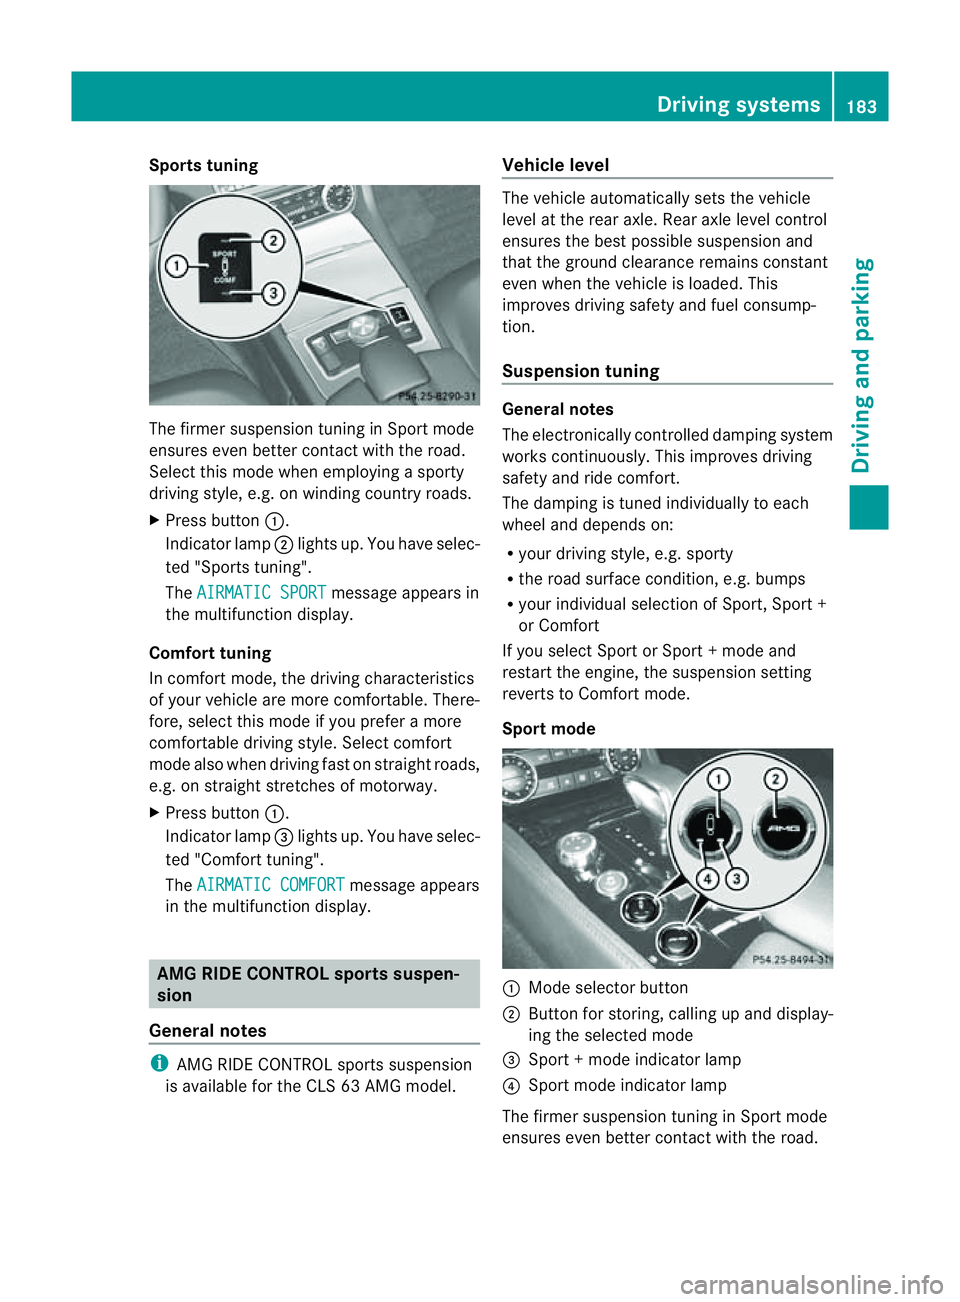
X Press button :.
Indicator lamp ;lights up. You have selec-
ted "Sports tuning".
The AIRMATIC SPORT message appears in
the multifunction display.
Comfort tuning
In comfort mode, the driving characteristics
of your vehicle are more comfortable. There-
fore, select this mode if you prefer amore
comfortable driving style. Select comfort
mode also when driving fast on straight roads,
e.g. on straight stretches of motorway.
X Press button :.
Indicator lamp =lights up. You have selec-
ted "Comfort tuning".
The AIRMATIC COMFORT message appears
in the multifunction display. AMG RIDE CONTROL sportss
uspen-
sion
General notes i
AMG RIDE CONTROL sports suspension
is available for the CLS 63 AMG model. Vehicle level The vehicle automatically sets the vehicle
level at the rear axle. Rear axle level control
ensures the best possible suspension and
that the ground clearance remains constant
even when the vehicle is loaded. This
improves driving safety and fuel consump-
tion.
Suspension tuning
General notes
The electronically controlled damping system
works continuously.T
his improves driving
safety and ride comfort.
The damping is tuned individually to each
wheel and depends on:
R your driving style, e.g. sporty
R the road surface condition,e .g. bumps
R your individual selection of Sport, Spor t+
or Comfort
If you select Sport or Sport +mode and
restart the engine, the suspension setting
revert stoComfort mode.
Sport mode :
Mode selector button
; Button for storing, calling up and display-
ing the selected mode
= Sport +mode indicator lamp
? Sport mode indicator lamp
The firmer suspension tuning in Sport mode
ensures even better contact with the road. Driving systems
183Driving and parking Z
Page 196 of 373
R
if you are predominantly drivin gslower
than 80 km/h or faster than 180 km/h
R if you are currently using COMAND APS or
making atelephon ecall with COMAND APS
R if the tim ehas been set incorrectly
R in active drivin gsituations, such as when
you change lanes or change your speed
Warning and display messages in the
multifunction display If ATTENTION ASSIS
Tisactive, you will be
warne dnosooner than 20 minutes after your
journey has begun. You the nhear an inter-
mittent warning tonet wice and theAtten‐ tion Assist: Drowsiness detected mes-
sage appears in the multifunction display.
X Activat eATTENTION ASSISTu sing the on-
board computer (Y page 220).
Symbol :appears in the multifunction
display.
X If necessary, take abreak.
X Press the abutton to confirm the mes-
sage.
On long journeys, take regular breaks in good
time to allow yourself to rest properly. If you
do not take abreak, you will be warned again
after 15 minutes at the earliest. This will only
happen if ATTENTION ASSISTs till detects
typical indicators of fatigue or increasing lap-
ses in concentration.
ATTENTION ASSISTisr eset and starts
assessing your tiredness again when you con-
tinue your journey if:
R you switch off the engine.
R you take off your seat belt and open the
driver's door, e.g. for achange of drivers or
to take abreak. Speed Limit Assist
Important safet ynotes G
WARNING
Speed Limit Assist is only an aid and may
detec tspeed limit signs incorrectly or not at
all.
The system may be impaired or may not func-
tion if:
R ther eisp oor visibility, e.g. due to snow,
rain, fog or spray.
R ther eisg lare, e.g. from the sun or from
oncoming traffic.
R the windscreen is dirty, misted up or cov-
ered, for instance by asticker, in the vicinity
of the camera.
R the traffic signs are covered, for instance
by dirt, snow or trees.
R the traffic signs are poorly illuminated.
R ther eare ambiguous traffic signs, for
instance near roadworks or on multi-lane
roads.
Traffic signs always have priorit yover the
Speed Limit Assist display. Speed Limit Assist
cannot detec troad and traffic conditions. It is
not asubstitute for attentive driving.
Always pay attention to traffic condition sand
your surroundings. Otherwise, you may fail to
recognise dangers in time, cause an accident
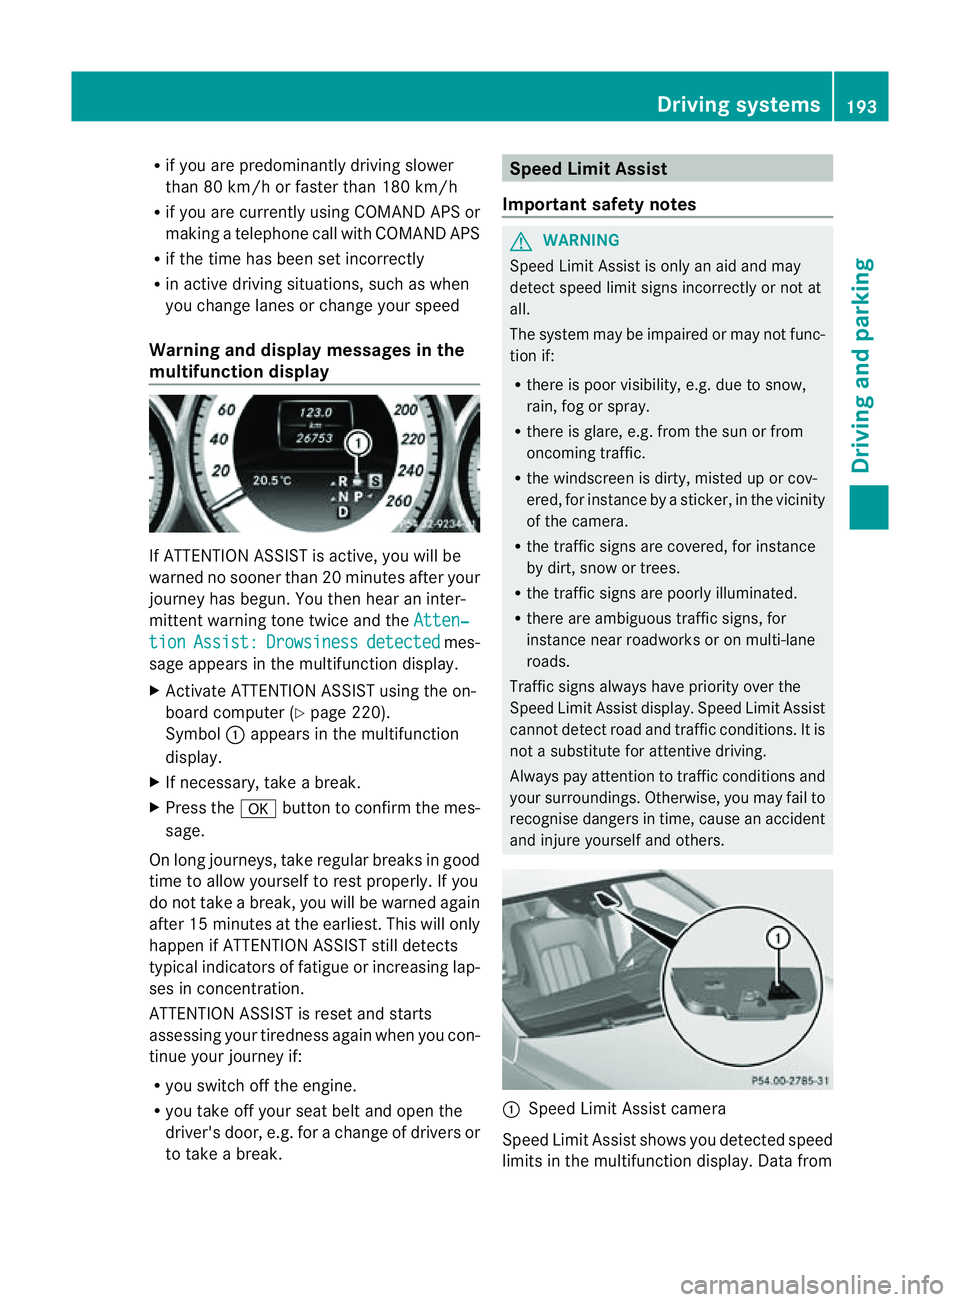
and injure yourself and others. :
Speed Limit Assist camera
Speed Limit Assist shows you detected speed
limits in the multifunction display. Dat afrom Driving systems
193Driving and parking Z
Page 213 of 373

?
Coolan ttemperature (Y page 210)
A Fuel gauge Coolant temperature gauge
The coolant temperature gauge is in the
instrument cluster on the left-hand side
(Y page 30).
Under normal operatin gconditions and with
the specified coolant level, the coolant tem-
perature may rise to 120 †.
At high outside temperatures and when driv-
ing uphill, the coolant temperature may rise
to the end of the scale. Rev counter
! Do not drive in the overrevving range.
Doin gsow ill damage the engine.
The red band in the rev counter indicates the
engine's overrevving range.
The fuel supply is interrupted to protec tthe
engine when the red band is reached. Outside temperature display
G
WARNING
At temperatures just above freezing point, the
street may be icy, especially in wooded areas
or on bridges. If you do not adapt your driving
style to the conditions, the vehicle could skid.
For this reason, adapt your driving style and
speed to the weather conditions.
The outside temperature displayisint he mul-
tifunction display( Ypage 211).
Changes in the outside temperature are dis-
played after ashort delay. Speedometer with segments
The segments in the speedometer indicate
which speed range is available.
R Cruise control activated (Y page 165):The segments light up from the stored
speed to the maximum speed.
R VariableS PEEDTRONIC activated
(Y page 168):
The segments light up from the start of the
scale to the selected limit speed.
R DISTRONIC PLUS activated (Y page 170):
One or two segments in the set speed
range light up.
R DISTRONIC PLUS detects avehicle in front:
The segments between the speed of the
vehicle in fron tand the stored speed light
up. Operatin
gthe on-board computer
Overview :
Multifunctio ndisplay
; Right control panel
= To switc honLINGUATRONIC; see the sep-
arate operating instructions
? Bac kbutton
A Left control panel 210
Display
sand operationOn-board computer and displays
Page 222 of 373
X
Press the abutton.
The multifunction display shows Speed
Limit Assist.
X Press the :button.
The curren tselection is displayed.
X To activate or deactivate: pressa.
If the Speed Limit Assist message function
is activated, adetected speed limit is auto-
matically displayed for five seconds. Other
items in the multifunction display are not
shown during this time.
If Speed Limit Assist is operational and the
message function is activated, the multifunc-
tion display shows the Äsymbol when the
ignition is switched on.
Showing the distance display X
Press the =or; button on the steer-
ing wheel to select the Assist. menu.
X Press the 9or: button to select
Distanc edisplay .
X Press the abutton.
The DISTRONIC PLUS distanc edisplay
appears in the multifunction display
(Y page 176).
If the Sensors deactivated message
appears, the radar sensor system is deacti-
vated.
X Check whether or not the radar sensor sys-
tem is permitted to be activated
(Y page 368).
X Switc hont he radar sensor system
(Y page 225).
Deactivating/activating ESP ®G
WARNING
If you deactivat eESP®
,E SP ®
no longer sta-
bilises the vehicle. There is an increased risk
of skidding and an accident.
Only deactivat eESP®
in the situation sdescri-
bed in the following. Activating/deactivating ESP
®
on AMG vehi-
cles (Y page 66).
For further information about ESP ®
,s ee
(Y page 65).
X Start the engine.
X Press the =or; button on the steer-
ing wheel to select the Assist. menu.
X Press the 9or: button to select
ESP .
X Press the abutton.
The curren tselection is displayed.
X To activate/deactivate: press thea
button again.
ESP ®
is deactivated if the åwarning lamp
in the instrument cluster lights up continu-
ously when the engin eisrunning.
If the ÷ warning lamp and the åwarn-
ing lamp are lit continuously, ESP ®
is not
available due to amalfunction.
It may be best to deactivat eESP®
in the fol-
lowing situations:
R when using snow chains
R in deep snow
R on sand or gravel
Observe the information on warning lamps
(Y page 263).
Observe the information on display messages
(Y page 232).
Activating/deactivating PRE-SAFE ®
Brake PRE-SAFE
®
Brak eiso nly available in vehicles
with DISTRONIC PLUS.
X Press the =or; button on the steer-
ing wheel to select the Assist. menu.
X Press the 9or: button to select
PRE-SAF EBrake .
X Press the abutton.
The curren tselection is displayed.
X To activate/deactivate: press thea
button again. Menus and submenus
219On-boardcomputer and displays Z
Page 225 of 373
i
Vehicles for the United Kingdom: this
function is unavailable.
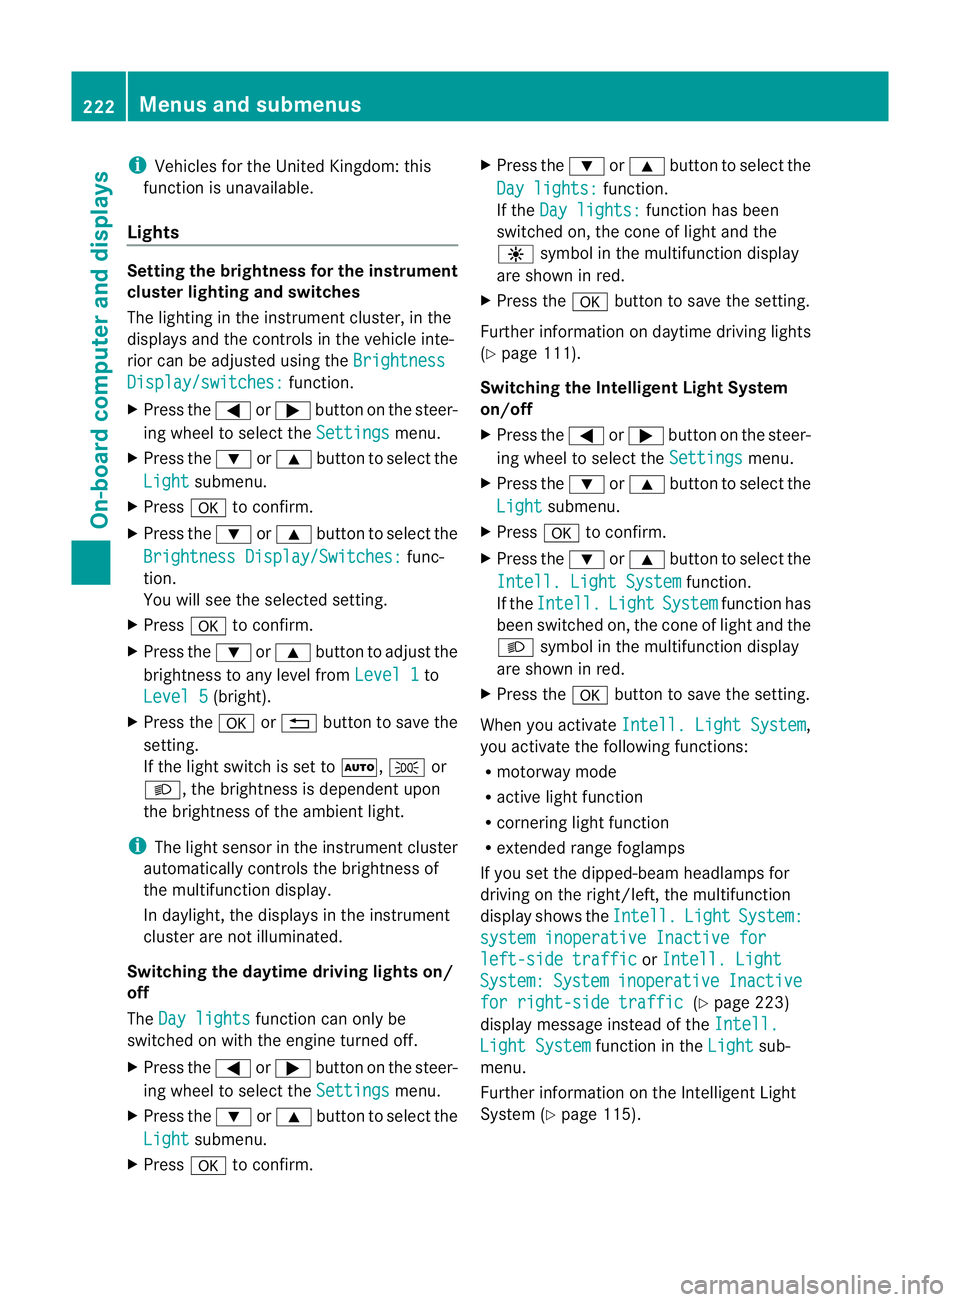
Lights Setting the brightness for the instrument
cluster lighting and switches
The lighting in the instrument cluster, in the
displays and the controls in the vehicle inte-
rior can be adjusted using the
BrightnessDisplay/switches: function.
X Press the =or; button on the steer-
ing wheel to select the Settings menu.
X Press the :or9 button to select the
Light submenu.
X Press ato confirm.
X Press the :or9 button to select the
Brightness Display/Switches: func-
tion.
You wills ee the selected setting.
X Press ato confirm.
X Press the :or9 button to adjust the
brightness to any level from Level 1 to
Level 5 (bright).
X Press the aor% button to save the
setting.
If the light switch is set to Ã,Tor
L,t he brightness is dependent upon
the brightness of the ambient light.
i The light sensor in the instrument cluster
automatically controls the brightness of
the multifunction display.
In daylight, the displays in the instrument
cluster are not illuminated.
Switching the daytime driving lights on/
off
The Day lights function can only be
switched on with the engine turned off.
X Press the =or; button on the steer-
ing wheel to select the Settings menu.
X Press the :or9 button to select the
Light submenu.
X Press ato confirm. X
Press the :or9 button to select the
Day lights: function.
If the Day lights: function has been
switched on, the cone of light and the
W symbol in the multifunction display
are shown in red.
X Press the abutton to save the setting.
Further information on daytime driving lights
(Y page 111).
Switching the IntelligentL ight System
on/off
X Press the =or; button on the steer-
ing wheel to select the Settings menu.
X Press the :or9 button to select the
Light submenu.
X Press ato confirm.
X Press the :or9 button to select the
Intell. Light System function.
If the Intell. Light System function has
been switched on, the con eoflight and the
L symbol in the multifunction display
are shown in red.
X Press the abutton to save the setting.
When you activate Intell. Light System ,
you activate the followin gfunctions:
R motorway mode
R active light function
R cornering light function
R extended rang efoglamps
If you set the dipped-beam headlamps for
drivin gont he right/left, the multifunction
display shows the Intell. Light System:
syste
minoperativ eInactive for left-side traffic or
Intell. Light System: System inoperative Inactive
for right-side traffic (Y
page 223)
display message instead of the Intell. Light System function in the
Light sub-
menu.
Further information on the Intelligent Light
System (Y page 115). 222
Menus and submenusOn-boar
dcomputer and displays
Page 227 of 373
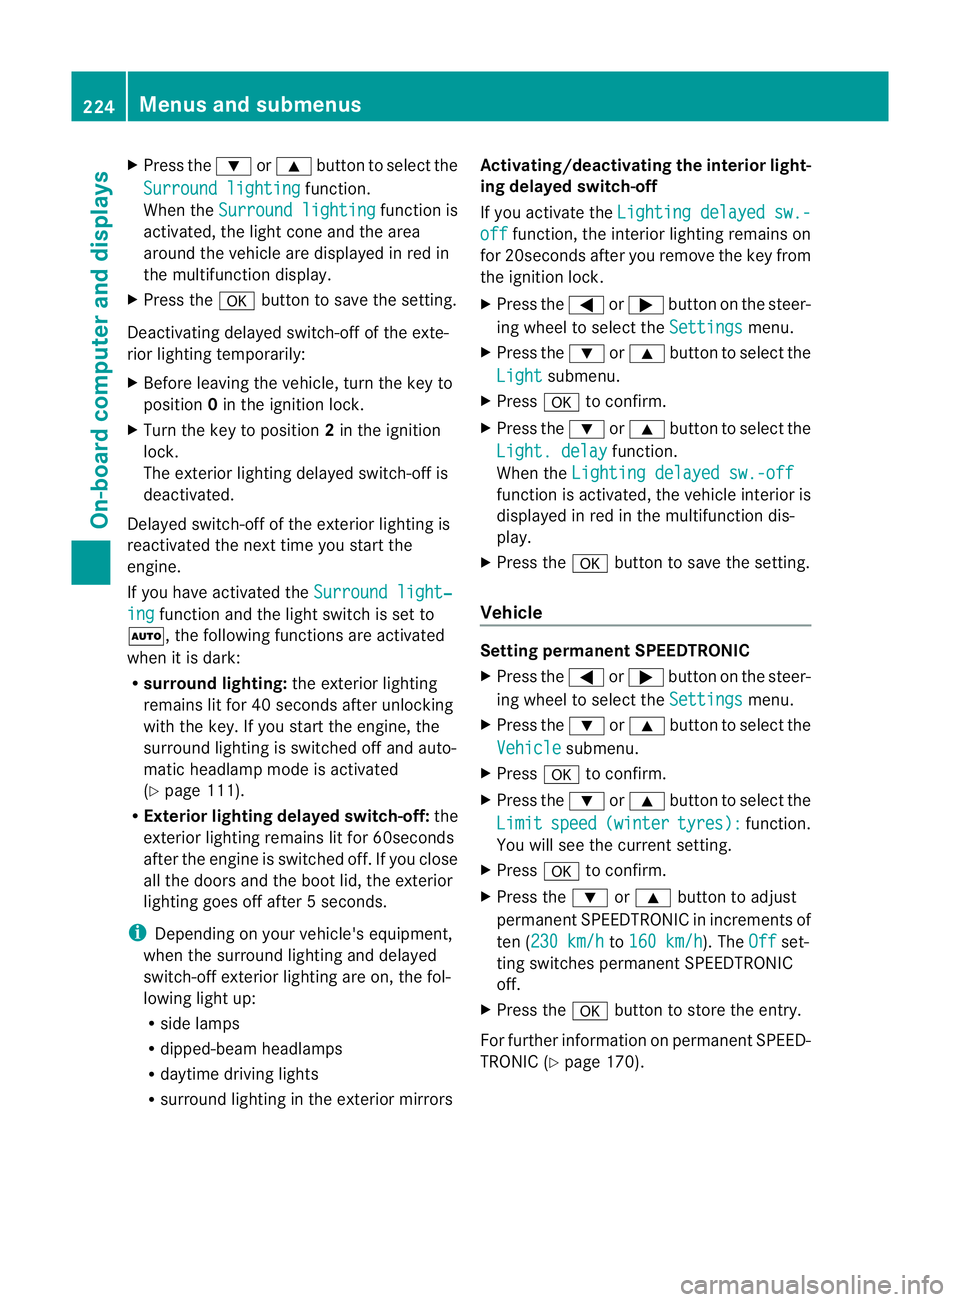
X
Press the :or9 button to select the
Surround lighting function.
When the Surround lighting function is
activated, the light cone and the area
around the vehicle are displaye dinred in
the multifunction display.
X Press the abutton to save the setting.
Deactivating delayed switch-off of the exte-
rior lighting temporarily:
X Before leaving the vehicle, turn the key to
position 0in the ignition lock.
X Turn the key to position 2in the ignition
lock.
The exterior lighting delayed switch-off is
deactivated.
Delayed switch-off of the exterior lighting is
reactivated the next time you start the
engine.
If you have activated the Surround light‐ing function and the light switch is set to
Ã,t he following functions are activated
when it is dark:
R surround lighting: the exterior lighting
remains lit for 40 seconds after unlocking
with the key. If you start the engine, the
surround lighting is switched off and auto-
matic headlamp mode is activated
(Y page 111).
R Exterior lighting delayed switch-off: the
exterior lighting remains lit for 60seconds
after the engine is switched off. If you close
all the doors and the boot lid, the exterior
lighting goes off after 5seconds.
i Depending on your vehicle's equipment,
when the surround lighting and delayed
switch-off exterior lighting are on, the fol-
lowing light up:
R side lamps
R dipped-beam headlamps
R daytime driving lights
R surround lighting in the exterior mirrors Activating/deactivating the interior light-
ing delayed switch-off
If you activat
ethe Lightin gdelayed sw.- off function
,the interior lighting remains on
for 20seconds after you remove the key from
the ignition lock.
X Press the =or; button on the steer-
ing wheel to select the Settings menu.
X Press the :or9 button to select the
Light submenu.
X Press ato confirm.
X Press the :or9 button to select the
Light. delay function.
When the Lightingdelayed sw.-off function is activated, the vehicle interior is
displayed in red in the multifunction dis-
play.
X Press the abutton to save the setting.
Vehicle Setting permanent SPEEDTRONIC
X
Press the =or; button on the steer-
ing wheel to select the Settings menu.
X Press the :or9 button to select the
Vehicle submenu.
X Press ato confirm.
X Press the :or9 button to select the
Limit speed (winter tyres): function.
You will see the curren tsetting.
X Press ato confirm.
X Press the :or9 button to adjust
permanen tSPEEDTRONIC in increment sof
ten ( 230 km/h to
160 km/h ). The
Off set-
ting switches permanent SPEEDTRONIC
off.
X Press the abutton to store the entry.
For furthe rinformation on permanent SPEED-
TRONI C(Ypage 170). 224
Menus and submenusOn-board computer and displays
Page 231 of 373

AMG men
uinAMG vehicles
AMG displays :
Digital speedometer
; Gear indicator
= Upshift indicator
? Engine oil temperature
A Coolant temperature
B ECO start/stop function status indicator
(Y page 144)
X Press the =or; button on the steer-
ing wheel to select the AMG menu.
Upshift indicator UP =
indicates that the
engin ehas reached the overrevving range
when in the manual gearshift program.
Upshift indicator UP =
fades out other mes-
sages until you have shifted up.
If the engin eoil temperature is below 80 †,
the oil temperature is shown in blue. Avoid
using the full output of the engin eduring this
time.
SETUP :
Driv eprogram (C /SS+ /M )
; ESP ®
mode (ON /OFF )orS
PORT handling
mode (SPORT )
= Suspension tunin g(COMFORT /SPORT /
SPORT+ ) SETUP shows the drive program, the ESP
®
(Electronic Stability Program) mode and the
suspension tuning.
X Press the =or; button on the steer-
ing wheel to select the AMG menu.
X Press the 9button repeatedly until
SETUP is displayed.
or
X Briefly press the AMG button on the centre
console (Y page 183).
RACETIMER Displaying and starting the RACETIMER
:
Lap
; RACETIMER
You can start the RACETIME Rwhen the
engin eisrunning or if the key is in position
2 in the ignition lock.
X Press the =or; button on the steer-
ing wheel to select the AMG menu.
X Press the 9button repeatedly until the
RACETIME Risshown.
X To start: press the abutton to start the
RACETIMER.
Displaying the intermediat etime 228
Menus and submenusOn-boar
dcomputer and displays