Page 320 of 429

This section explains why it is
important to keep your vehicle well
maintained and how to f ollow basic
maintenance saf ety precautions.
This section also includes
instructions on how to read the
Maintenance Minder messages on
the inf ormation display or multi-
inf ormation display (depending on
the model), and instructions for
simple maintenance tasks you may
want to take care of yourself.U.S. Vehicles:
If you have the skills and tools to
perf orm more complex maintenance
tasks on your vehicle, you may want
to purchase the service manual. See
page f or inf ormation on how to
obtain a copy, or see your dealer. ......................
Maintenance Saf ety . 314
.................
Maintenance Minder . 315
..............................
Fluid Locations . 327
........................
Adding Engine Oil . 328
Changing the Engine Oil and
...........................................
Filter . 329
..............................
Engine Coolant . 331
....................
Windshield Washers . 332
....
Automatic Transmission Fluid . 333
....................................
Brake Fluid . 335
....................
Power Steering Fluid . 336
....................................
Timing Belt . 337
.............................................
Lights . 337
................
Cleaning the Seat Belts . 345
.....................................
Floor Mats . 346
..................
Dust and Pollen Filter . 346
.................................
Wiper Blades . 347
...........................................
Wheels . 349
...............................................
Tires . 349
...................
Checking the Battery . 357
.............................
Vehicle Storage . 358
..................................
Interior Care . 359
409
Maintenance
Maintenance, replacement, or
repair of emissions control
devices and systems may be done
by any automotive repair
establishment or individual using
parts that are ‘‘certif ied
Page 343 of 429

Pour the f luid slowly and caref ully so
you do not spill any. Clean up any
spill immediately; it could damage
components in the engine
compartment.
A low power steering f luid level can
indicate a leak in the system. Check
the f luid level f requently, and have
the system inspected as soon as
possible.
Always use Honda Power Steering
Fluid. You may use another power
steering f luid as an emergency
replacement, but have the power
steering system f lushed and ref illed
with Honda PSF as soon as possible.
If you are not sure how to add f luid,
contact your dealer.
Remove the cover, then check the
level on the side of the reservoir
when the engine is cold.
The f luid should be between the
UPPER LEVEL and LOWER LEVEL.
If not, add power steering f luid to the
UPPER LEVEL mark, and put the
cover back in place.
Power Steering Fluid
336
LOWER LEVEL
COVER
UPPER LEVEL
T urning the steering wheel to f ull lef t
or right lock and holding it there can
damage the power steering pump.
Main MenuTable of Contents
Page 356 of 429

Slide the new wiper blade into the
holder until the tabs lock.
Slide the wiper blade assembly
onto the wiper arm. Make sure it
locks in place.
Lower the wiper arm against the
window.
Turn the ignition switch to the ON
(II) position, and turn the wiper
switch of f to return the wiper arms
to the parked position.Clean the wheels as you would the
rest of the exterior. Wash them with
thesamesolution,andrinsethem
thoroughly.
Aluminum alloy wheels have a
protective clear-coat that keeps
the aluminum f rom corroding and
tarnishing. Cleaning the wheels
with harsh chemicals (including
some commercial wheel cleaners)
or a stif f brush can damage the
clear-coat. To clean the wheels,
use a mild detergent and a sof t
brush or sponge. To saf ely operate your vehicle, your
tires must be the proper type and
size, in good condition with adequate
tread, and correctly inf lated.
The f ollowing pages give more
detailed inf ormation on how to take
care of your tires and what to do
when they need to be replaced.
6. 7. 8. 9.
If equipped
Wheels T ires
Wiper Blades, Wheels, Tires
Maint enance
349
Using tires that are excessively
worn or improperly inflated can
cause a crash in which you can
be seriously hurt or killed.
Follow all instructions in this
owner
Page 359 of 429

In addition to proper inf lation,
correct wheel alignment helps to
decrease tire wear. If you f ind a tire
is worn unevenly, have your dealer
check the wheel alignment.
Have your dealer check the tires if
you f eel a consistent vibration while
driving. A tire should always be
rebalanced if it is removed f rom the
wheel. When you have new tires
installed, make sure they are
balanced. This increases riding
comf ort and tire lif e. For best results,
have the installer perform a dynamic
balance.
The service lif e of your tires is
dependent on many f actors,
including, but not limited to, driving
habits, road conditions, vehicle
loading, inf lation pressure,
maintenance history, speed, and
environmental conditions (even
when the tires are not in use).
In addition to your regular
inspections and inf lation pressure
maintenance, it is recommended that
you have annual inspections
perf ormed once the tires reach f ive
years old. It is also recommended
that all tires, including the spare, be
removed f rom service af ter 10 years
from the date of manufacture,
regardless of their condition or state
of wear.
The last f our digits of the TIN (tire
identif ication number) are f ound on
the sidewall of the tire and indicate
the date of manufacture (See
on page ). To help increase tire lif e and
distribute wear more evenly, rotate
the tires according to the
maintenance messages displayed on
the inf ormation display or multi-
inf ormation display (depending on
models). Move the tires to the
positions shown in the diagram each
time they are rotated. If you
purchase directional tires, rotate
only f ront-to-back.
394 Tire Rotation
T ire Maintenance
Tire Service Lif e
Tire
Labeling
Tires
352
Front
(For Non-directional
Tires and Wheels) (For Directional
Tires and Wheels)Front
On vehicles with aluminum wheels,
improper wheel weights can damage
your vehicle’s aluminum wheels. Use
only Honda wheel weights f or
balancing.
Main MenuTable of Contents
Page 361 of 429
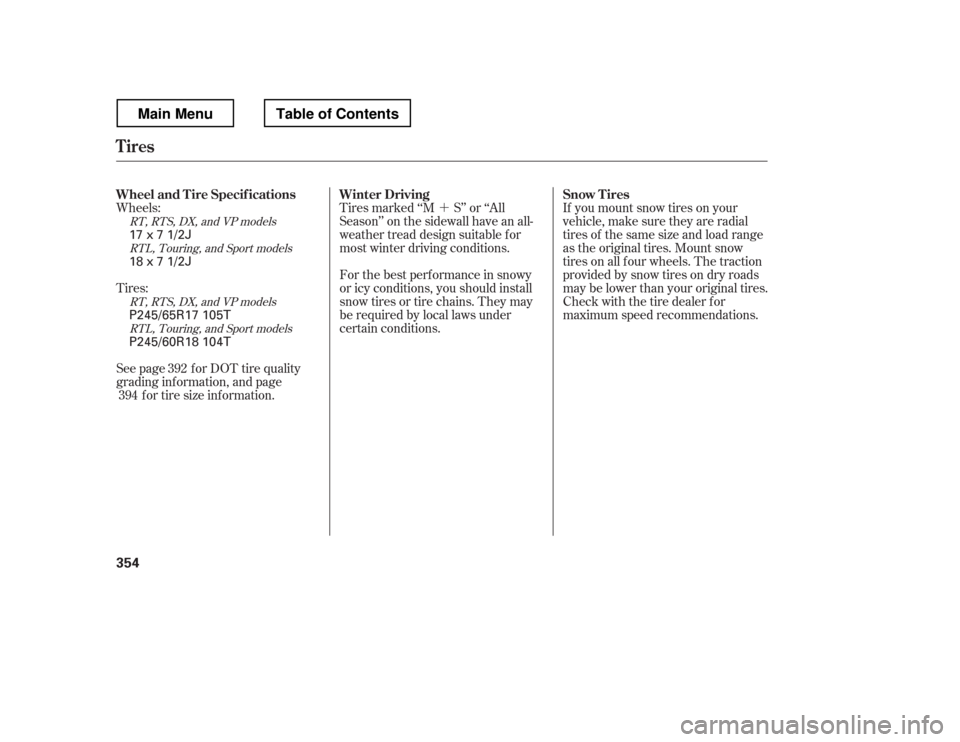
�´
Wheels: If you mount snow tires on your
vehicle, make sure they are radial
tires of the same size and load range
as the original tires. Mount snow
tires on all f our wheels. The traction
provided by snow tires on dry roads
maybelowerthanyouroriginaltires.
Check with the tire dealer f or
maximum speed recommendations.
Tires marked ‘‘M S
Page 365 of 429
Block the rear wheels.
If the vehicle is to be stored f or a
longer period, it should be
supported on jackstands so the
tires are off the ground.
Leave one window open slightly (if
the vehicle is being stored
indoors).
Disconnect the battery.
Support the f ront wiper blade
arms with a f olded towel or rag so
they do not touch the windshield.
To minimize sticking, apply a
silicone spray lubricant to all door,
In-Bed Trunk lid, and tailgate seals.
Also, apply a vehicle body wax to
the painted surfaces that mate
with the door, In-Bed Trunk lid
and tailgate seals.
If your vehicle
Page 369 of 429

Use the compact spare tire as a
temporary replacement only. Get
your regular tire repaired or replaced,
and put it back on your vehicle as
soon as you can.
Check the air pressure of the
compact spare tire every time you
check the other tires. It should be
inf lated to:
Follow these precautions:Replace the tire when you can see
the tread wear indicator bars. The
replacement tire should be the same
sizeanddesign,mountedonthe
same wheel. The spare tire is not
designed to be mounted on a regular
wheel, and the spare wheel is not
designed f or mounting a regular tire.
Never exceed 50 mph (80 km/h).
This tire gives a harsher ride and
less traction on some road
surf aces. Use greater caution
while driving.
Do not mount snow chains on a
compact spare. Do not use your compact spare
tire on another vehicle unless it is
thesamemakeandmodel.
The low tire pressure indicator
comes on and stays on af ter you
replace the flat tire with the compact
spare tire. Af ter several miles
(kilometers) driving with the
compact spare tire, the TPMS
indicator comes on and the low tire
pressure indicator goes of f .
After the flat tire is replaced with the
spare tire, the low tire pressure/
TPMS indicator stays on. After
several miles (kilometers) driving
with the spare, this indicator begins
to f lash, then stays on again. You will
also see a ‘‘CHECK TPMS
SYSTEM
Page 372 of 429
CONT INUED
Loosen each wheel nut 1/2 turn
with the wheel nut wrench.Place the jack under the jacking
point nearest the tire you need to
change.Turn the dial at the bottom of the
jack clockwise until the top of the
jack contacts the jacking point.
Make sure the jacking point tab is
restinginthejacknotch.
8.
9.10.
Changing a Flat T ire
T aking Care of the Unexpected
365
JACKING POINTDIAL
Main MenuTable of Contents