2011 MERCEDES-BENZ M-CLASS SUV door lock
[x] Cancel search: door lockPage 252 of 389

Delayed switch-off of the exterio
rlight ing is
reactivate dthe nex ttime yo ustart the
engine.
Activating/deactivating the interior light-
in gd elay ed switch -off
If yo uactivat ethe Interior lighting delay sw. off function, the
interiorlighting
remain sonfor 20 seconds after you rem ove
th ek ey fr om th eignition lock.
X Press the =or; button on the steer-
ing wheel to selec tthe Settings menu.
X Press the :or9 button to selec tthe
Light submenu.
X Press the abutton to confir m.
X Press the :or9 button to select the
Interior lighting dela ysw. off: function.
Yo
uw ill see the selected setting: on or
off .
X Press the abutton to save the setting.
Vehicle Setting permanent SPEEDTRONIC
You can set permanent SPEEDTRONIC
(Y page 174 )using the Limitspeed (win‐ ter tyres) function.
X Press the =or; buttononthe steer-
ing wheel to selec tthe Settings menu.
X Press the :or9 button to selec tthe
Vehicle submenu.
X Press the abutton to confir m.
X Press :or9 to select the Limit spee
d(winter tyres): function.
Yo uw ill see the current setting.
X Press the abutton to confir m.
X Press :or9 to adjust permanent
SPEEDTRONIC in increments of 10
(24 0k m/h to
160 km/h ). The
Off setting
switches permanen tSPEEDTRONIC off.
X Press the abutton to store the entry. Switching th
eautomatic lockin gfeatu re
on/off
If you select the Automatic door lock func-
tion, the vehicle is centrally locked above a
speed of around 15 km/h.
i For further information on the automatic
locking feature, see (Y page 78).
X Press the =or; button on the steer-
ing wheel to select the Settings menu.
X Press the :or9 button to select the
Vehicle submenu.
X Press the abutton to confir m.
X Press the :or9 button to select the
Automati cdoor lock function.
Yo uw ill see the selected setting: on or
off .
X Press the abutton to save the setting.
Activating/deactivating the acoustic
locking confirmation
If you switch on the Acoustic Lock feed‐ back func
tion, an acoustic signal sounds
when you lock the vehicle.
X Press the =or; button on the steer-
ing wheel to select the Settings menu.
X Press the :or9 button to select the
Vehicle submenu.
X Press the abutton to confir m.
X Press the :or9 button to select the
Acoustic Lock feedback: function.
You will see the selected setting: Activa‐ ted or
Deactivated .
X Press the abutton to save the setting.
Activating/deactivating th eradar sensor
system
i Youm ust deactivate the radar senso rsys-
tem in certain countries and near radio
telescope facilities .For further informa-
tion ,see (Y page 380).
When you are close to radi otelescope facili-
ties, the rada rsensor system will be deacti-
vated automatically. Menu
sand submenus
249On-boardcomput er anddisplay s Z
Page 254 of 389
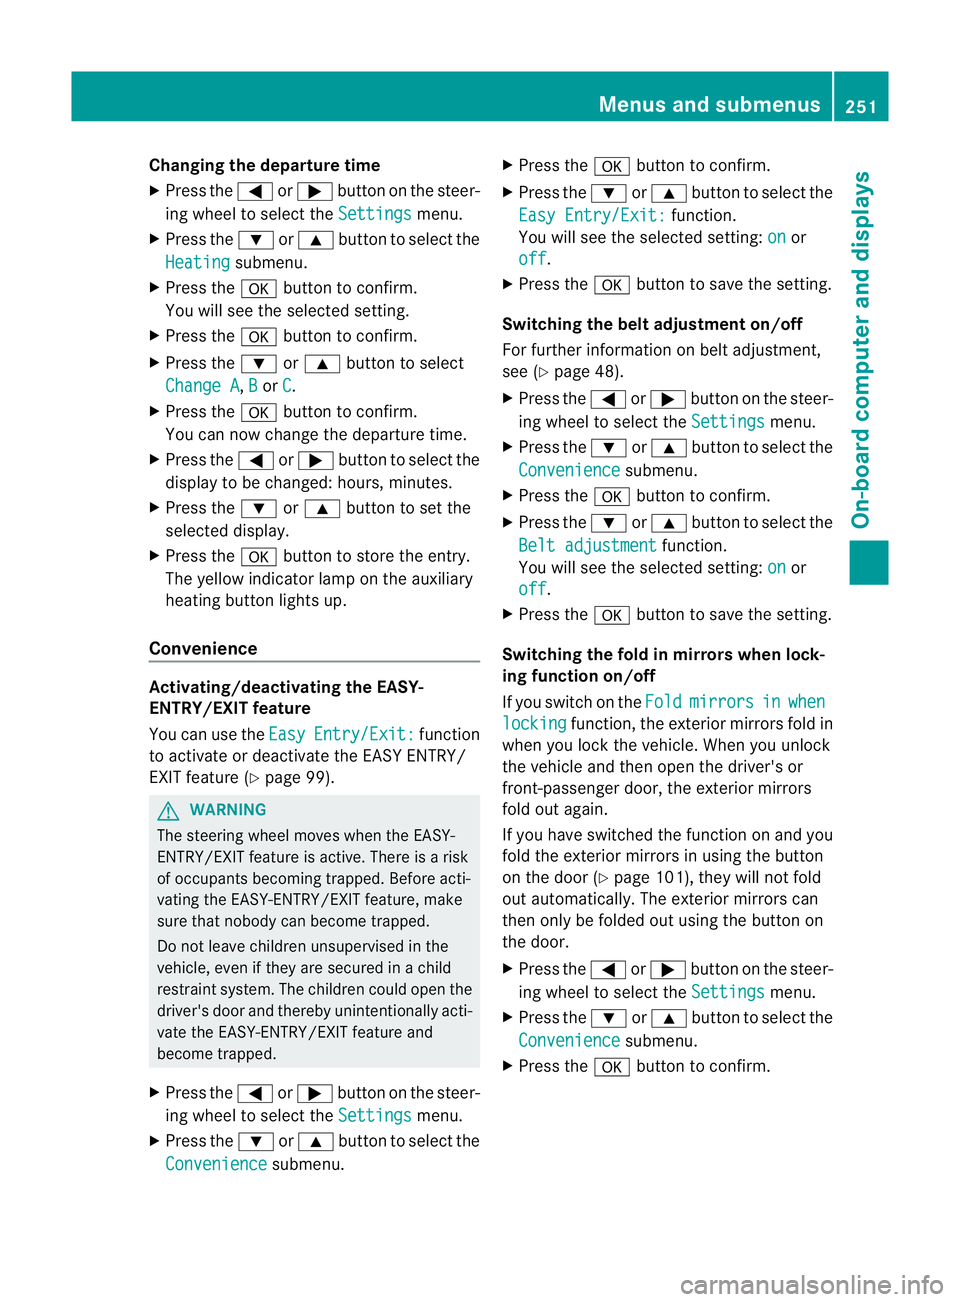
Changing th
edeparture time
X Pres sthe = or; button on th esteer-
ing wheel to selec tthe Settings menu.
X Press the :or9 button to selec tthe
Heating submenu.
X Press the abutton to confir m.
You will see the selected setting.
X Press the abutton to confirm.
X Press the :or9 button to select
Change A ,
B or
C .
X Press the abutton to confirm.
You can now change the departur etime.
X Press the =or; button to select the
displa ytobec hanged: hours, minutes.
X Press the :or9 button to set the
selected display.
X Press the abutton to stor ethe ent ry.
The yellow indicator lam ponthe auxiliary
heating button lights up.
Convenience Activating/deactivating th
eEASY-
ENTRY/EXIT featu re
You can use the Easy Entry/Exit: func
tion
to activate or deactivate the EAS YENTRY/
EXIT feature (Y page 99). G
WARNING
Th es teering whee lmoves when the EASY-
ENTRY/EXI Tfeatur eisa ctive. There is arisk
of occupant sbecoming trapped. Before acti-
vating the EASY-ENTRY/EXI Tfeature, make
sure that nobody can becom etrapped.
Do not leave children unsupervised in the
vehicle, eve nifthey ar esecured in achild
restraint system .The children coul dopen the
driver' sdoor and thereby unintentionally acti-
vat ethe EASY-ENTRY/EXI Tfeatur eand
become trapped.
X Pres sthe = or; button on the steer-
ing wheel to selec tthe Settings menu.
X Press the :or9 button to selec tthe
Convenience submenu.X
Press the abutton to confir m.
X Press the :or9 button to select the
Easy Entry/Exit: function.
You will see the selected setting: on or
off .
X Press the abutton to save the setting.
Switching th ebelt adjustment on/off
For further information on belt adjustment,
see (Y page 48).
X Press the =or; button on the steer-
ing wheel to select the Settings menu.
X Press the :or9 button to select the
Convenience submenu.
X Press the abutton to confir m.
X Press the :or9 button to select the
Belt adjustment function.
You will see the selected setting: on or
off .
X Press the abutton to save the setting.
Switching th efold in mirrors when lock-
ing function on/off
If you switch on the Fold mirrors in when
locking func
tion, the exterior mirror sfold in
when you lock the vehicle. When you unlock
the vehicle and then open the driver's or
front-passenger door, the exterior mirrors
fold out again.
If you have switched the func tion on and you
fold the exterior mirror sinusing the button
on the door (Y page 101), they will not fold
out automatically. The exterior mirrors can
then only be folded out usin gthe button on
the door.
X Press the =or; button on the steer-
ing wheel to selec tthe Settings menu.
X Press the :or9 button to selec tthe
Convenience submenu.
X Press the abutton to confir m. Menus and submenus
251On-boardcomputer and display s Z
Page 286 of 389
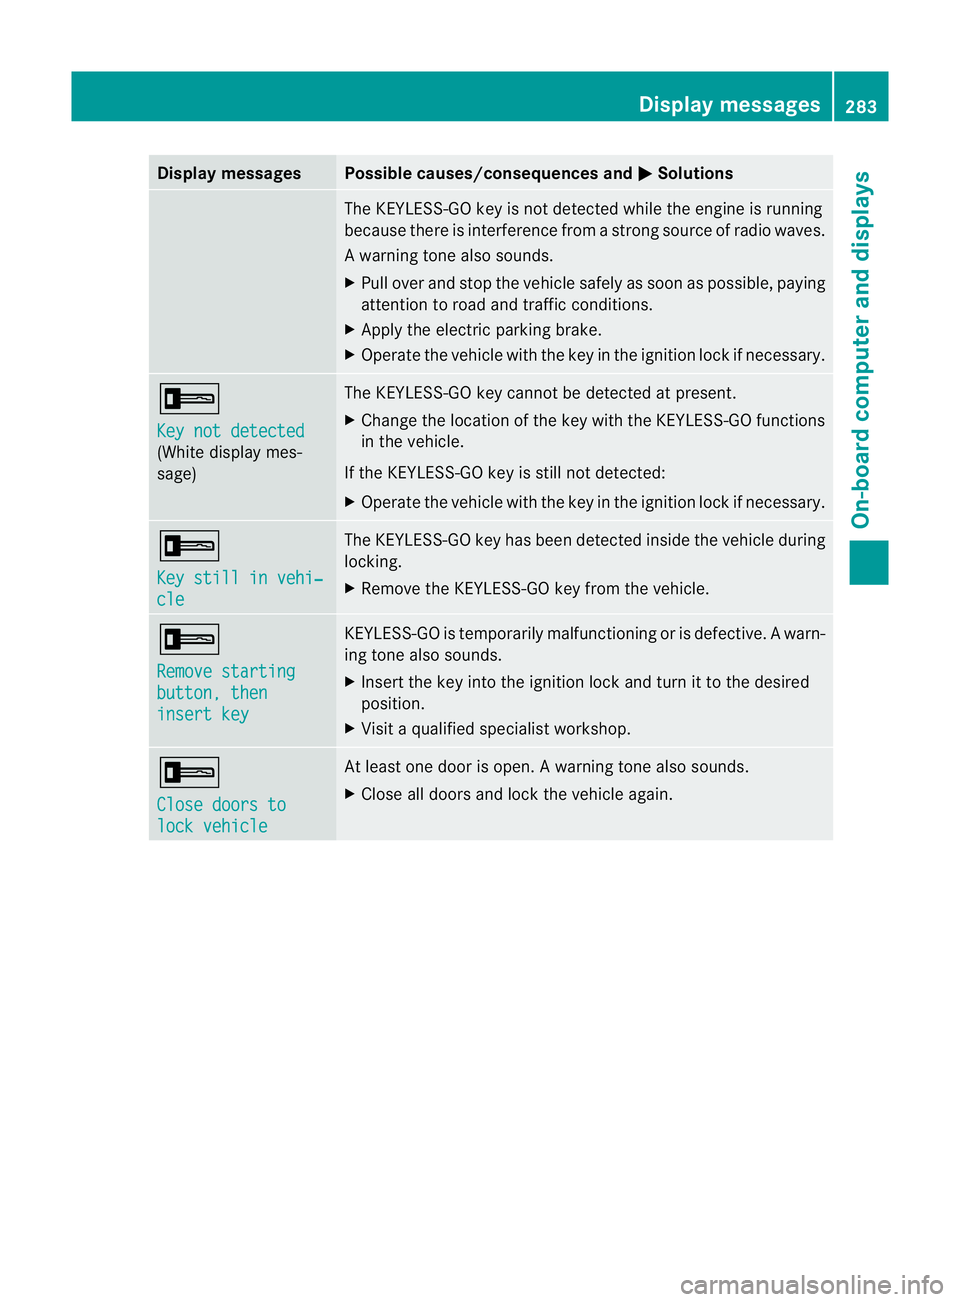
Displa
ymessages Possible causes/consequences and
M Solutions
The KEYLESS-GO ke
yisnot detected whil ethe engin eisrunning
because there is interference from astrong source of radio waves.
Aw arning ton ealso sounds.
X Pull ove rand sto pthe vehicle safel yassoonasp ossible, paying
attention to roa dand traffic conditions.
X Appl ythe electric parkin gbrake.
X Operate th evehicle with the key in the ignition lock if necessary. +
Ke
yn ot detected (White displa
ymes-
sage) The KEYLE
SS-GO key cannot be detected at present.
X Chang ethe location of the key with the KEYLESS-GO functions
in the vehicle.
If the KEYLESS-GO key is still not detected:
X Operate the vehicle with the key in the ignition lock if necessary. +
Ke
ys till in vehi‐ cle Th
eK EYLESS-GO key has bee ndetected inside the vehicle during
locking.
X Remov ethe KEYLESS-GO key from the vehicle. +
Remove starting
button
,then insert key KEYLESS-GO is temporarily malfunctionin
gorisdefective. Awarn-
ing ton ealso sounds.
X Inser tthe key in tothe ignition lock and tur nittothedesired
position.
X Visi taq ualifieds pecialist workshop. +
Clos
edoors to lock vehicle At leas
tone doo riso pen. Awarning ton ealso sounds.
X Close all door sand lock the vehicle again. Display messages
283On-boardcomputer anddisplays Z
Page 316 of 389

Garag
edoor opener
Important safety notes The HomeLink
®
garage door opener integra-
ted in the rear-view mirror allows you to oper-
ate up to three differ entd oor and gate sys-
tems.
i The garage door opener is only available
for certain countries. Observ ethe legal
requirement sfor each individua lcountry.
The HomeLink ®
garage door opener is
compatible with most European garage and
gate ope nerd rives. Mo reinformatio non
HomeLink ®
and/o rcompatible products is
available from:
R any Mercedes-Benz Servic eCentre
R the HomeLink ®
hotline
(0) 0800 0466 354 65 (fre eofcharge) or
+4 9(0) 6838 907 277 (charge sapply)
R on the In ternet at:
http://www.homelink.com
Programming the integra tedg arage
doo ropene rinthe rear-view mir ror Progr
ammi ng G
WARNING
Only press the transmit terb utton on the inte-
grated garage door opener if there are no per-
sons or objects present within the sweep of
the garage door. Persons could otherwis ebe
injured as the door moves. Integrated garage door opener in the rear-view mir-
ror Garage door remote control
Ais not part of
this integrated garage door opener.
i To achieve the best results, insert new
batteries in garage door remote control
A before programming.
X Before programming for the first time, clear
the memor yofthe integrated garage door
opener (Y page 315).
X Tur nthe key to position 2in the ignition
lock.
X Press and hold one of transmitter but-
tons ;to? on the integrated garage door
opener.
Af teras hort time, indicator lamp :star ts
fl ashing yellow.
i Indicator lamp :flashes yellow immedi-
ately the first time that the transmitter but-
ton is programmed. If this transmitter but-
ton has already been programmed, indica-
tor lamp :only start sflashing yellow after
10 seconds have elapsed.
X Release the transmitter button.
X Point transmitter button Bof garage door
remote control Atowards the transmitter
button sonthe rear-vie wmirror at adis-
tanc eof5 to 20 cm.
i The required distance between garage
door remote control Aand the integrated
door opener depends on the garage door
driv esystem. You might require several
attempts. You should test every position for
at leas t25seconds befor etryin ganother
position.
X Pres sand hol dtransmitter button Bon
garag edoor remote con trol A until indi-
cator lamp :lights up green.
The programmin ghas been successful if
indicator lamp :lights up or flashes
green.
X Release transmitter button ;,=or? on
the integrated garage door opener and the
transmitter button on garage door remote
control B. Features
313Stowingandfeatures Z
Page 317 of 389

If indicato
rlamp :lights up red:
X Repeat the programming procedure for the
transmitter buttons. When doing so, vary
the distance betwee nthe garage door drive
remote con troland the rear-view mirror.
i If the indicator lamp flashes gree nafter
successfu lprogramming, th egarage door
system is using arollin gcode. Af terp ro-
gramming ,you must synchronise the
garage door opener integrated in the rear-
view mirror with the receive rofthe garage
door system.
Synchronising th erolling code
Your vehicle must be within reach of the
garage or gate opener drive. Make sure that
neither your vehicle nor any persons/objects
are present within the sweep of the door or
gate.
Observe the safety notes when performing
the rolling code synchronisation.
X Turn the key to position 2in the ignition
lock.
X Press the programming button of the door
or gate drive (see the door or gate drive
operating instructions, e.g. under "Pro-
gramming of additional remote controls").
i Usually, you now have 30 seconds to ini-
tiate the next step.
X Press the previously programmed button of
the integrated HomeLink ®
garage door
opener repeatedly until the door starts to
move.
The rolling code synchronisation is then
complete.
Problems when programming
If you have problems when programming the
integrated garage door opener, please note
the following:
R check the transmitter frequency of garage
door remote control A(this can usually be
found on the rear of the remote control).
R change the batteries in garage door remote
control A.This increases the likelihood that garage door remote con
trolAwill
send astron gand precis esignal to the
integrated remote control in the rear-view
mirror.
R when programming, hold garage door
remote control Aat different distances
and angles from the transmitter button that
you are programming. Try various angles at
ad istance of between 5and 30 cm or the
same angle but varying distances.
R if there is another remote control for the
same garage doo rdrive ,perform the pro-
grammin gsteps again using this remote
control. Before performing thes esteps,
make sure that new batterie shave been
fitted in the garage door drive remote con-
trol.
R note that some remote controls transmit
only for alimited period (the indicator lamp
on the remote control goes out). Press the
button on the remote control again before
transmission ends.
R align the aerial cable of the garage door
opener unit. This can improv esignal recep-
tion/transmission.
Opening or closing the garage door Once programmed, the integrated garage
door opener will assume the func
tion of the
garage door system's remote con trol. Please
also read the operating instruc tions for the
garage door system.
X Tur nthe key to position 2in the ignition
lock.
X Press overhead con trolpanel transmitter
button ;,=or? that you have pro-
grammed to operate the garage door.
Garage door system with afixed code: indi-
cator lamp :lights up green.
Garage door system with arollin gcode:
indicator lamp :flashes green.
i The transmitter will transmit asignal for
as long as the transmitter button is
pressed. The transmission is halted after a
maximum of 10 seconds, and indicator 314
FeaturesStowin
gand features
Page 318 of 389
lamp
:flashes yellow. Press the transmit-
ter button again, if necessary.
Clearing th ememory of th eintegrated
garage door opene rint he rear-view mir-
ror X
Turn the key to position 2in the ignition
lock.
X Press transmitter buttons ;and ?.
The indicator lamp ligh tsup yellow.
X Press and hold transmitter buttons ;
and ?until the indicator lamp turns green.
i Make sure that you clear the memory of
the integrated garage door opener before
selli ngthe vehicle. Features
315Stowingand fe atures Z
Page 319 of 389
Frequencies for th
egarage doo ropener Th
er adio typ eapproval number and th efrequency range for th egarag edoor opener can be
fou ndonthe Interne tat: http://www.mercedes-benz.de/betriebsanleitung. Floormats
G
WARNING
Make sure that there is sufficient clearance
around the pedals when floormats are used,
and that the floormats are properly secured.
The floormats must be correctly secured at all
times using retainer sand press-studs.
Before you drive off ,chec kthe floormats and
secur eifnecessary. Afloormat which is not
properly secured can slip and, thereby, inter-
fere with the movemen tofthe pedals.
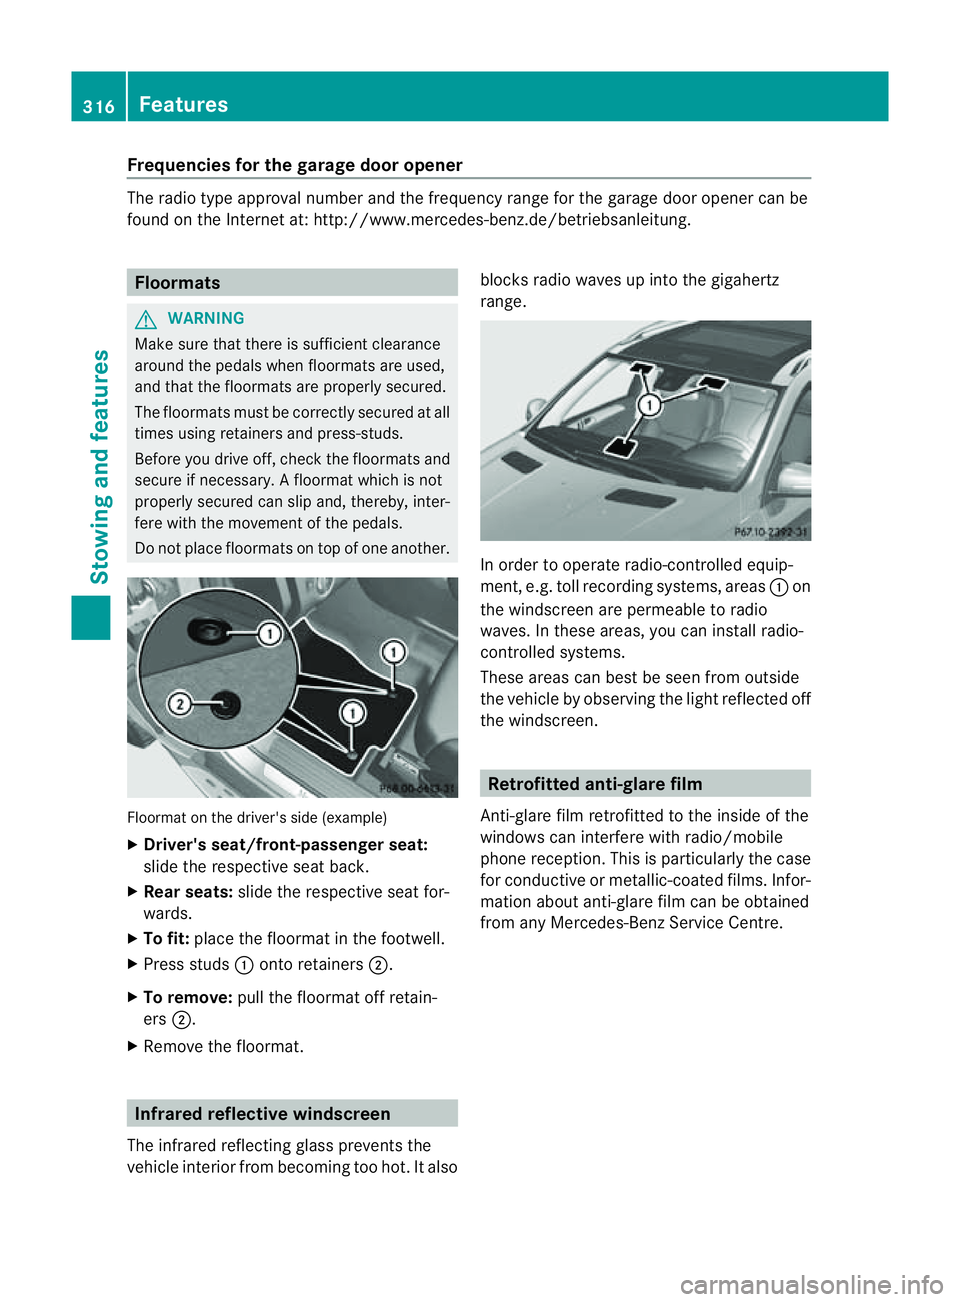
Do not plac efloormats on top of one another. Floormat on the driver's side (example)
X
Driver's seat/front-passenger seat:
slide the respective seat back.
X Rear seats: slide the respective seat for-
wards.
X To fit: place the floorma tinthe footwell.
X Press studs :ontoretainers ;.
X To remove: pull the floormat off retain-
ers ;.
X Remov ethe floormat. Infrared reflective windscreen
The infrared reflecting glass prevents the
vehicle interior from becoming too hot. It also blocks radio waves up int
othe gigahertz
range. In orde
rtooperateradio-controlled equip-
ment, e.g. toll recording systems, areas :on
the windscreen are permeable to radio
waves. In these areas, you can install radio-
controlled systems.
Thes earea scan best be seen from outside
the vehicle by observing the light reflected off
the windscreen. Retrofitted anti-glar
efilm
Anti-glar efilm retrofitted to the inside of the
windows can interfer ewith radio/mobile
phone reception. This is particularly the case
for conductive or metallic-coated films. Infor-
mation about anti-glar efilm can be obtained
from any Mercedes-Ben zService Centre. 316
FeaturesStowing and features
Page 327 of 389
You can obtain fur
ther information about
BlueTE Cexhaus tgas aftertreatmen tand
AdBlue ®
from any Mercedes-Benz Service
Centre. Care
Note
sonc are
Regular care of your vehicle is aconditio nfor
retaining th equalit yint he long term.
Us ec arep roducts and cleani ngagent srec-
ommended and approved by Mercedes-Benz.
! For cleanin gyour vehicle ,donot useany
of the following:
R dry ,rough or hard cloths
R abrasive cleanin gagents
R solvents
R cleanin gagents con taining solvents
Do not scrub.
Do not touch the surfaces or protective
film swith hard objects, e.g. aring or ice
scraper .You coul dotherwis escratch or
damag ethe surfaces and protective film. H
Environmenta
lnote
Dispose of empty packaging and cleaning
cloths in an environmentally responsible man-
ner.
! Do not park up the vehicle for an extended
period straight after cleaning it, particular ly
after having cleaned the wheels with wheel
cleaner. Whee lcleaners could cause
increased corrosion of the brake discs and
brake pads/linings. For this reason, you
should drive for afew minutes after clean-
ing. Brakin gheats the brak ediscs and the
brake pads/linings, thus drying them. The
vehicle can then be parked up. Care of the exterior
Automatic car wash G
WARNING
Braking efficiency is reduced after washing
the vehicle. This could cause an accident. For
this reason, following acar wash, drive with
particular care until the brakes are dry.
You can wash the vehicle in an automatic car
wash from the very start.
If the vehicle is very dirty, pre-wash it before
cleaning it in an automatic car wash.
! In car washe swithatowing mechanism,
make sure that the automatic transmission
is in transmission position N,otherwis ethe
vehicle could be damaged.
R Vehicles with akey:
do not remove the key from the ignition
lock. Do not open the driver' sdoor or
front-passenger door when the engin eis
switched off .Otherwise, the automatic
transmission selects park position P
automaticall yand locks the wheels .You
can prevent this by shifting the auto-
matic transmission to Nbeforehand.
R Vehicles with KEYLE SS-GO:
do not ope nthe driver's door or front-
passenger door when the engin eis
switched off .Otherwise, the automatic
transmission selects park position P
automaticall yand locks the wheels.
Observe the following to make sure that the
automati ctransmission stays in position N:
X Make sure th evehicle is stationary and the
ignition is switched off.
X Turn the key to position 2(Y page 139) in
the ignition lock.
Use the key instead of the Start/Stop but-
ton on vehicles with KEYLE SS-GO.
X Depres sand hol dthe brake pedal.
X Shif tthe automatic transmission to posi-
tion N.
X Release the brake pedal. 324
CareMaintenance and care