2010 MERCEDES-BENZ GLK350 4MATIC door lock
[x] Cancel search: door lockPage 99 of 344
Summer opening feature
When the weather is warm, you can ventilate
the vehicle before driving off by
simultaneously
R opening the door windows
R opening the panorama roof with power tilt/
sliding panel and roller sunblinds
The summer opening feature can only be
activated via the remote control of the
SmartKey. The SmartKey must be in close
proximity to the driver’s outside door handle.XAim the transmitter eye of the SmartKey at
the driver’s outside door handle.
Vehicles without panorama roof with
power tilt/sliding panel
XPress and hold button % on the
SmartKey until the windows have reached
the desired position.
The vehicle unlocks.XRelease button % on the SmartKey to
interrupt the opening procedure.
Vehicles with panorama roof with
power tilt/sliding panel
When roller sunblinds are extended:
XPress and hold button % on the
SmartKey.
The vehicle unlocks.
The windows open and the roller sunblinds
begin to retract after approximately
1 second.XWith the windows opened and the roller
sunblinds fully retracted, press and hold
button % on the SmartKey again.
The tilt/sliding panel opens.XRelease button % on the SmartKey to
interrupt the opening procedure.When roller sunblinds are retracted:XPress and hold button % on the
SmartKey.
The vehicle unlocks.
The windows and the tilt/sliding panel
opens after approximately 1 second.XRelease button % on the SmartKey to
interrupt the opening procedure.
Convenience closing feature
When locking the vehicle, you can
simultaneously close the door windows and
the panorama roof with power tilt/sliding
panel.
Afterward, you can extend the roller
sunblinds of the panorama roof with power
tilt/sliding panel.
GWarning!
When closing the door windows and the
panorama roof with power tilt/sliding panel,
make sure there is no danger of anyone being
harmed by the closing procedure.
If potential danger exists, proceed as follows:
R Release button & to stop the closing
procedure. To open, press and hold button
% . To continue the closing procedure
after making sure that there is no danger of
anyone being harmed by the closing
procedure, press and hold button &.
With SmartKey
The SmartKey must be in close proximity to
the driver’s outside door handle.
XAim transmitter eye of the SmartKey at the
driver’s outside door handle.XPress and hold button & on the
SmartKey until the door windows and the
panorama roof with power tilt/sliding
panel are closed completely.XRelease button & on the SmartKey to
interrupt the closing procedure.Power windows97Controls in detailX204_AKB; 3; 23, en-USd2ureepe,Version: 2.11.8.12009-07-16T19:16:58+02:00 - Seite 97Z
Page 102 of 344
Carry out the following steps:XIf you are starting the engine with the
SmartKey: Turn the SmartKey in the starter
switch to position 0 and repeat the starting
procedure.XIf you are starting the engine with KEYLESS-
GO: Close any doors that may be open to
allow for better detection of the SmartKey.
or
XRemove the KEYLESS-GO start/stop
button from the starter switch.XStart the engine with the SmartKey as radio
signals from another source may be
interfering with the KEYLESS-GO function.XRepeat the starting procedure.
If the engine does not start after several
starting attempts:
XContact an authorized Mercedes-Benz
Center or call Roadside Assistance.
The engine does not start. You cannot
hear the starter.
The battery may not be charged sufficiently.
XGet a jump start ( Y page 319).
If the engine will not start despite a jump
start:
XContact an authorized Mercedes-Benz
Center or call Roadside Assistance.
The starter has been exposed to excessive
temperatures.
XLet the starter cool for about 2 minutes.XRepeat the starting procedure.
If the engine does not start after several
starting attempts:
XContact an authorized Mercedes-Benz
Center or call Roadside Assistance.Driving offGWarning!
On slippery road surfaces, never downshift in
order to obtain braking action. This could
result in drive wheel slip and reduced vehicle
control. Your vehicle’s ABS will not prevent
this type of loss of control.
! Do not run a cold engine at high engine
speeds. Running a cold engine at high
engine speeds may shorten the service life
of the engine. This is not covered by the
Mercedes-Benz Limited Warranty.
! If an acoustic warning sounds and the
message Release Parking Brake
appears in the multifunction display when
driving off, you have forgotten to release
the parking brake.
Release the parking brake.
! Avoid spinning of a drive wheel. This may
cause serious damage to the drivetrain
which is not covered by the Mercedes-Benz
Limited Warranty.
! Simultaneously depressing the
accelerator pedal and applying the brakes
reduces engine performance and causes
premature brake and drivetrain wear which
is not covered by the Mercedes-Benz
Limited Warranty.
i Once the vehicle is in motion, the
automatic central locking function engages
and the locking knobs in the doors move
down.
The automatic central locking function can
be switched off ( Y page 124).
Automatic transmission
GWarning!
It is dangerous to shift the automatic
transmission out of park position P or neutral
position N if the engine speed is higher than
100Driving and parkingControls in detail
X204_AKB; 3; 23, en-USd2ureepe,Version: 2.11.8.12009-07-16T19:16:58+02:00 - Seite 100
Page 105 of 344

With SmartKey XTurn the SmartKey in the starter switch to
position 0.
XRemove the SmartKey from the starter
switch.
The SmartKey can only be removed from the
starter switch with the automatic
transmission in park position P.
With KEYLESS-GO
XPress the KEYLESS-GO start/stop button.
With the driver’s door closed, the starter
switch is now in position 1. With the driver’s
door opened, the starter switch is set to
position 0, same as the SmartKey removed
from the starter switch (Y page 76).
If an acoustic warning sounds, you have tried
to turn off the engine with the KEYLESS-GO
start/stop button while the automatic
transmission was not in park position P.
Read and observe messages that may appear
in the multifunction display (Y page 267).
iIn an emergency you can turn off the
engine while driving by pressing and
holding the KEYLESS-GO start/stop button
for approximately 3 seconds.
If you have started the engine with the
KEYLESS-GO start/stop button and cannot
turn it off as described above:
XRemove the KEYLESS-GO start/stop
button from the starter switch.
XInsert the SmartKey into the starter switch.
The engine turns off. The starter switch is
in position 0 (Y page 76).
Automatic transmission
Introduction
For information on driving with an automatic
transmission, see “Driving and parking”
(Y page 98).
GWarning!
Make sure absolutely no objects are
obstructing the pedals’ range of movement.
Keep the driver’s footwell clear of all
obstacles. If there are any floormats or
carpets in the footwell, make sure the pedals
still have sufficient clearance.
During sudden driving or braking maneuvers
the objects could get caught between or
under the pedals. You could then no longer
brake or accelerate. This could lead to
accidents and injury.
! Allow the engine to warm up under low
load use. Do not place full load on the
engine until the operating temperature has
been reached.
Avoid spinning of a drive wheel for an
extended period when driving off on
slippery road surfaces.
This may cause serious damage to the
engine and the drivetrain which is not
covered by the Mercedes-Benz Limited
Warranty.
iDuring the brief warm-up, transmission
upshifting is delayed. This allows the
catalytic converter to heat up more quickly
to operating temperature.
Gear selector lever
Gearshift pattern for automatic transmission
jPark position with gear selector lever lockkReverse gearAutomatic transmission103Controls in detailX204_AKB; 3; 23, en-USd2ureepe,Version: 2.11.8.12009-07-16T19:16:58+02:00 - Seite 103Z
Page 111 of 344
If you must continue to drive, do so with added
caution. Contact an authorized Mercedes-
Benz Center as soon as possible.
The language setting for the multifunction
display can be changed with the audio system
(Y page 136) or with the COMAND system.
Vehicles with COMAND system: Refer to
separate operating instructions.
Activating the instrument cluster
The instrument cluster is activated when you
Ropen the driver’s door
Rswitch on the ignition
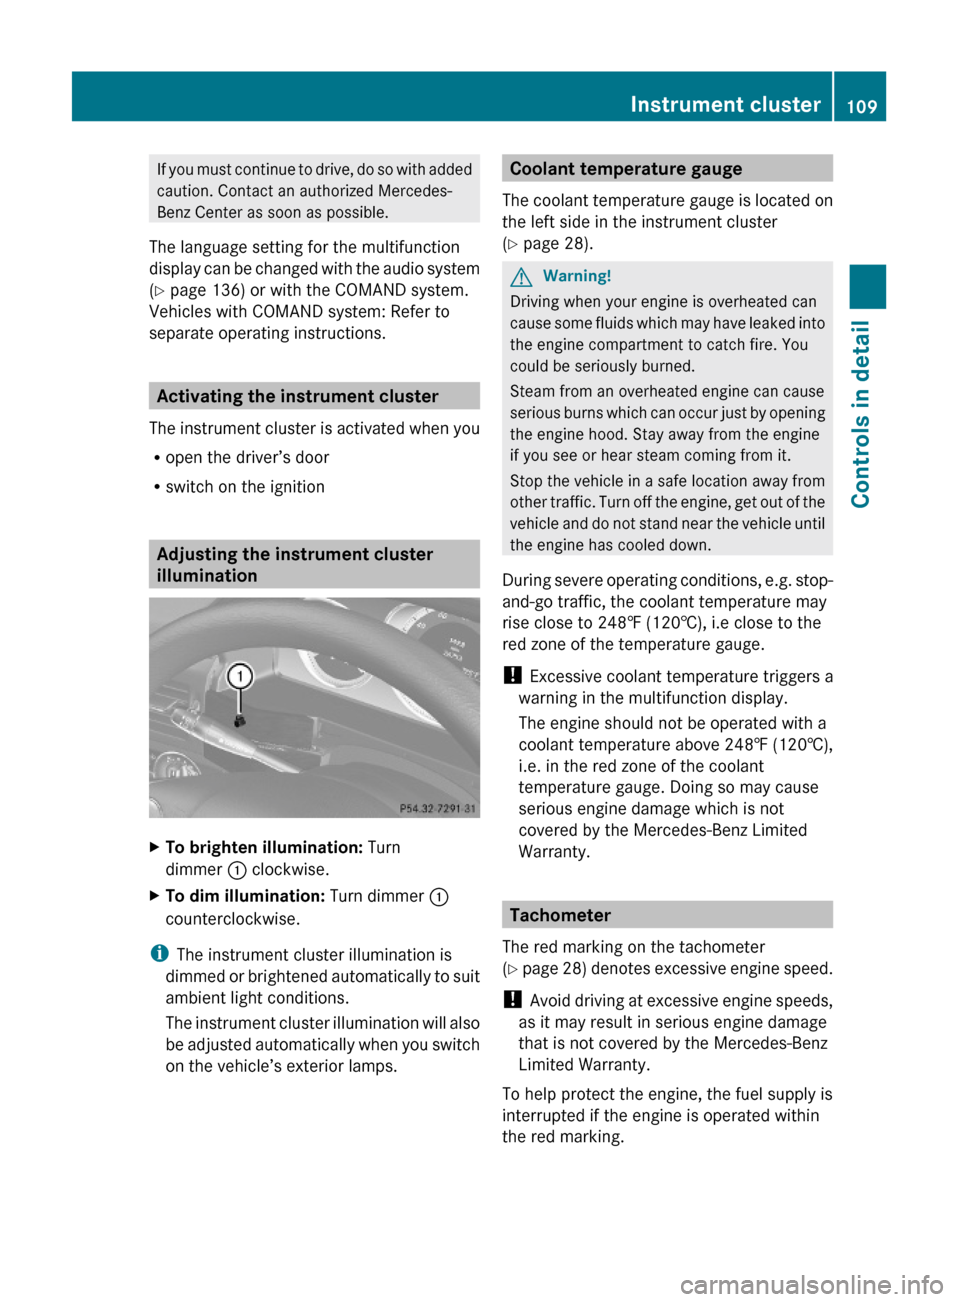
Adjusting the instrument cluster
illumination
XTo brighten illumination: Turn
dimmer : clockwise.
XTo dim illumination: Turn dimmer :
counterclockwise.
iThe instrument cluster illumination is
dimmed or brightened automatically to suit
ambient light conditions.
The instrument cluster illumination will also
be adjusted automatically when you switch
on the vehicle’s exterior lamps.
Coolant temperature gauge
The coolant temperature gauge is located on
the left side in the instrument cluster
(Y page 28).
GWarning!
Driving when your engine is overheated can
cause some fluids which may have leaked into
the engine compartment to catch fire. You
could be seriously burned.
Steam from an overheated engine can cause
serious burns which can occur just by opening
the engine hood. Stay away from the engine
if you see or hear steam coming from it.
Stop the vehicle in a safe location away from
other traffic. Turn off the engine, get out of the
vehicle and do not stand near the vehicle until
the engine has cooled down.
During severe operating conditions, e.g. stop-
and-go traffic, the coolant temperature may
rise close to 248‡ (120†), i.e close to the
red zone of the temperature gauge.
! Excessive coolant temperature triggers a
warning in the multifunction display.
The engine should not be operated with a
coolant temperature above 248‡ (120†),
i.e. in the red zone of the coolant
temperature gauge. Doing so may cause
serious engine damage which is not
covered by the Mercedes-Benz Limited
Warranty.
Tachometer
The red marking on the tachometer
(Y page 28) denotes excessive engine speed.
! Avoid driving at excessive engine speeds,
as it may result in serious engine damage
that is not covered by the Mercedes-Benz
Limited Warranty.
To help protect the engine, the fuel supply is
interrupted if the engine is operated within
the red marking.
Instrument cluster109Controls in detailX204_AKB; 3; 23, en-USd2ureepe,Version: 2.11.8.12009-07-16T19:16:58+02:00 - Seite 109Z
Page 125 of 344
Rthe exterior lamps will come on during
darkness when the vehicle is unlocked with
the SmartKey.
The lamps will go out when the driver’s door
is opened.
If you do not open the driver’s door after
unlocking the vehicle with the SmartKey,
the lamps will go out automatically after
approximately 40 seconds.
Rthe exterior lamps will remain on for
15 seconds during darkness after exiting
the vehicle and closing all doors.
If, after turning off the engine, you do not
open or close a door, the lamps will
automatically go out after 60 seconds.
The following lamps will come on
RParking lamps
RTail lamps
RLicense plate lamps
RSide marker lamps
RFront fog lamps
XPress button = or ; to select the
Settings menu.
XPress button : or 9 to select the
Lights submenu.
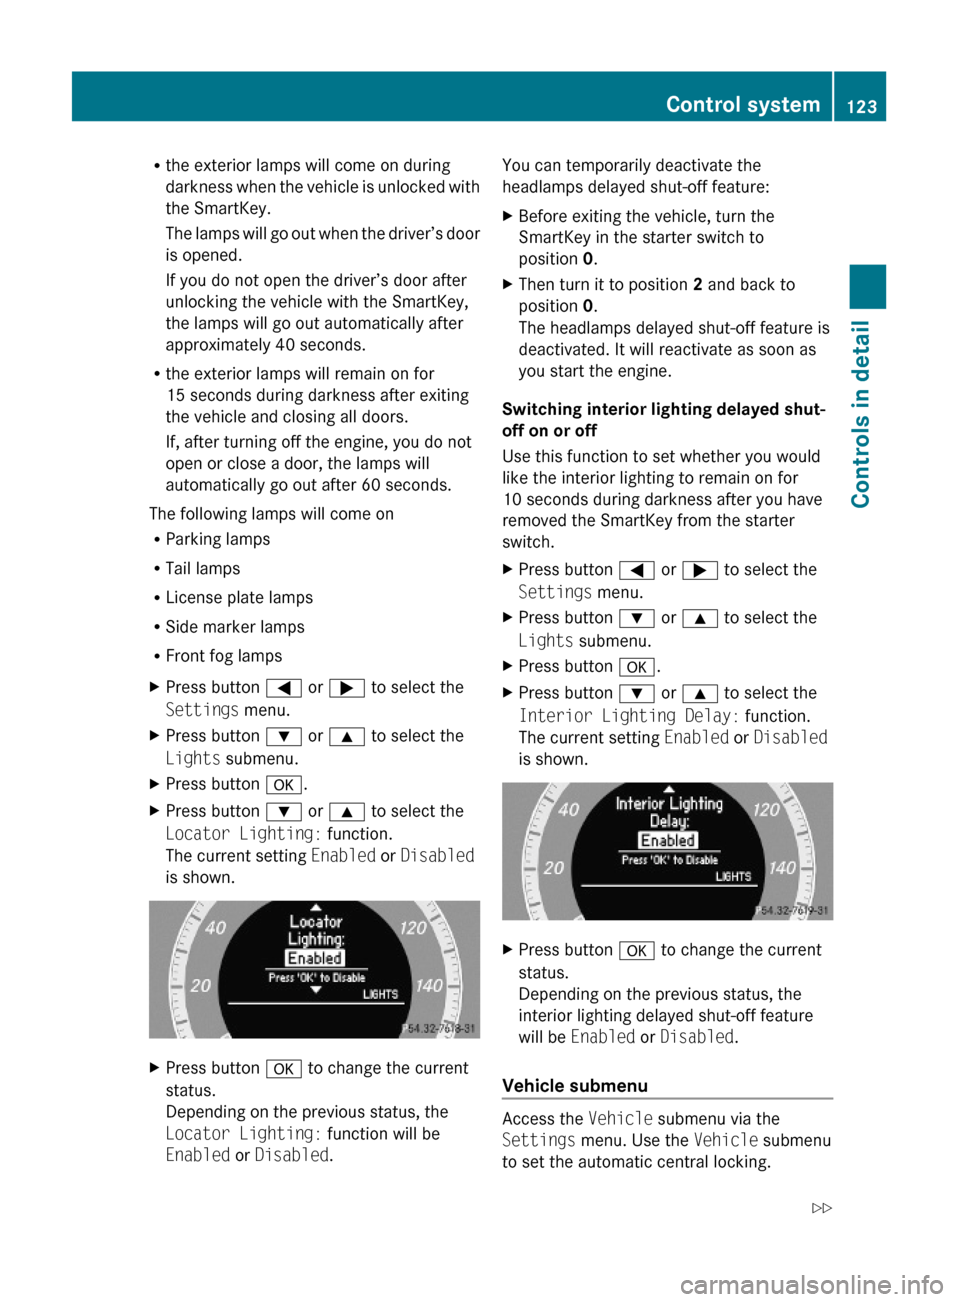
XPress button a.XPress button : or 9 to select the
Locator Lighting: function.
The current setting Enabled or Disabled
is shown.
XPress button a to change the current
status.
Depending on the previous status, the
Locator Lighting: function will be
Enabled or Disabled.
You can temporarily deactivate the
headlamps delayed shut-off feature:
XBefore exiting the vehicle, turn the
SmartKey in the starter switch to
position 0.
XThen turn it to position 2 and back to
position 0.
The headlamps delayed shut-off feature is
deactivated. It will reactivate as soon as
you start the engine.
Switching interior lighting delayed shut-
off on or off
Use this function to set whether you would
like the interior lighting to remain on for
10 seconds during darkness after you have
removed the SmartKey from the starter
switch.
XPress button = or ; to select the
Settings menu.
XPress button : or 9 to select the
Lights submenu.
XPress button a.XPress button : or 9 to select the
Interior Lighting Delay: function.
The current setting Enabled or Disabled
is shown.
XPress button a to change the current
status.
Depending on the previous status, the
interior lighting delayed shut-off feature
will be Enabled or Disabled.
Vehicle submenu
Access the Vehicle submenu via the
Settings menu. Use the Vehicle submenu
to set the automatic central locking.
Control system123Controls in detailX204_AKB; 3; 23, en-USd2ureepe,Version: 2.11.8.12009-07-16T19:16:58+02:00 - Seite 123Z
Page 126 of 344
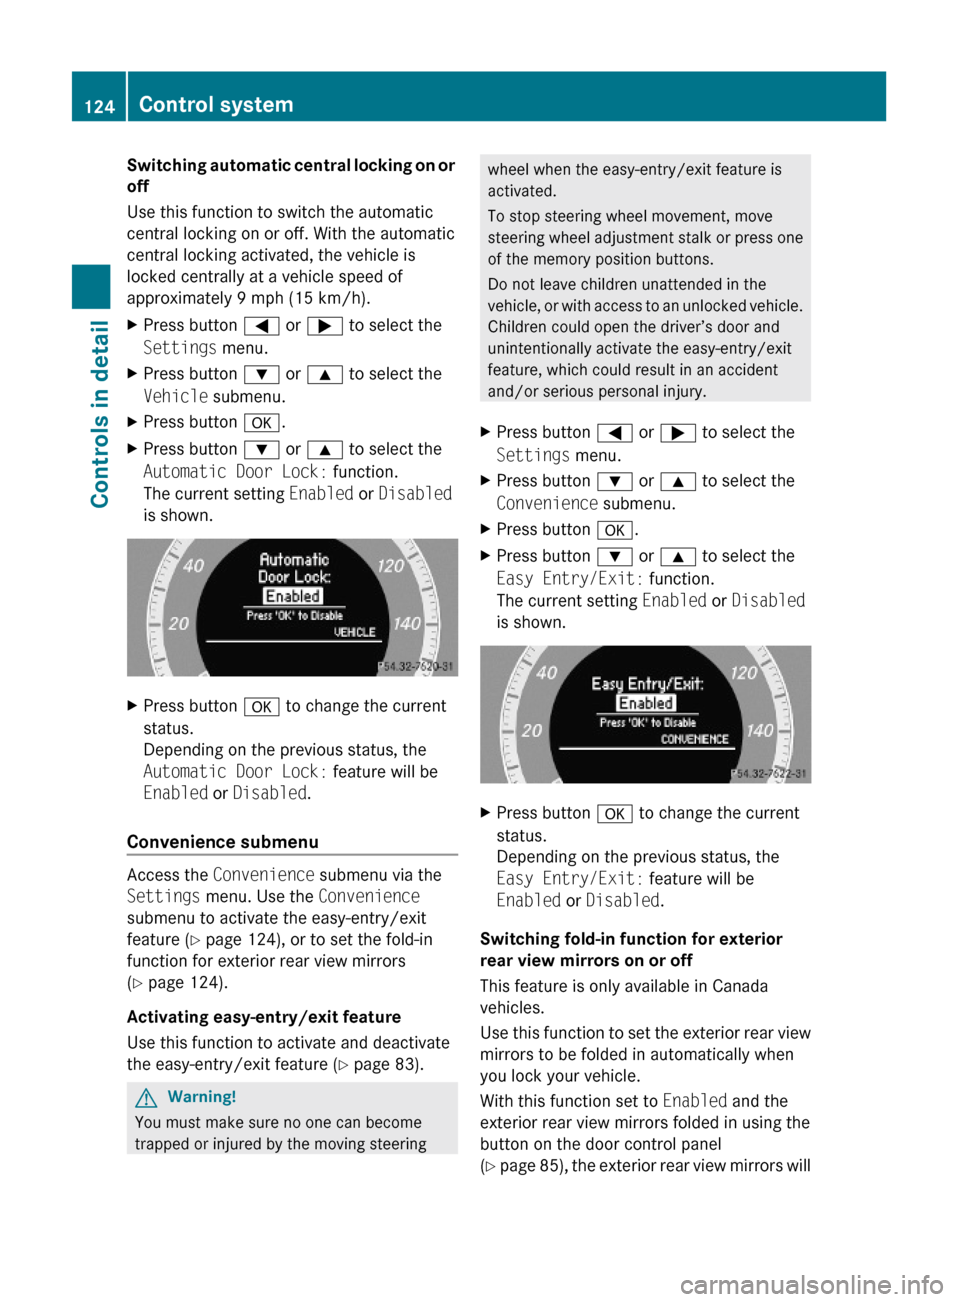
Switching automatic central locking on or
off
Use this function to switch the automatic
central locking on or off. With the automatic
central locking activated, the vehicle is
locked centrally at a vehicle speed of
approximately 9 mph (15 km/h).
XPress button = or ; to select the
Settings menu.
XPress button : or 9 to select the
Vehicle submenu.
XPress button a.XPress button : or 9 to select the
Automatic Door Lock: function.
The current setting Enabled or Disabled
is shown.
XPress button a to change the current
status.
Depending on the previous status, the
Automatic Door Lock: feature will be
Enabled or Disabled.
Convenience submenu
Access the Convenience submenu via the
Settings menu. Use the Convenience
submenu to activate the easy-entry/exit
feature (Y page 124), or to set the fold-in
function for exterior rear view mirrors
(Y page 124).
Activating easy-entry/exit feature
Use this function to activate and deactivate
the easy-entry/exit feature (Y page 83).
GWarning!
You must make sure no one can become
trapped or injured by the moving steering
wheel when the easy-entry/exit feature is
activated.
To stop steering wheel movement, move
steering wheel adjustment stalk or press one
of the memory position buttons.
Do not leave children unattended in the
vehicle, or with access to an unlocked vehicle.
Children could open the driver’s door and
unintentionally activate the easy-entry/exit
feature, which could result in an accident
and/or serious personal injury.
XPress button = or ; to select the
Settings menu.
XPress button : or 9 to select the
Convenience submenu.
XPress button a.XPress button : or 9 to select the
Easy Entry/Exit: function.
The current setting Enabled or Disabled
is shown.
XPress button a to change the current
status.
Depending on the previous status, the
Easy Entry/Exit: feature will be
Enabled or Disabled.
Switching fold-in function for exterior
rear view mirrors on or off
This feature is only available in Canada
vehicles.
Use this function to set the exterior rear view
mirrors to be folded in automatically when
you lock your vehicle.
With this function set to Enabled and the
exterior rear view mirrors folded in using the
button on the door control panel
(Y page 85), the exterior rear view mirrors will
124Control systemControls in detail
X204_AKB; 3; 23, en-USd2ureepe,Version: 2.11.8.12009-07-16T19:16:58+02:00 - Seite 124
Page 127 of 344
not fold out when you switch on the ignition.
You will then have to fold out the exterior rear
view mirrors using the button on the door
control panel (Y page 85).
Make sure both exterior rear view mirrors are
folded out completely before driving off.
XPress button = or ; to select the
Settings menu.
XPress button : or 9 to select the
Convenience submenu.
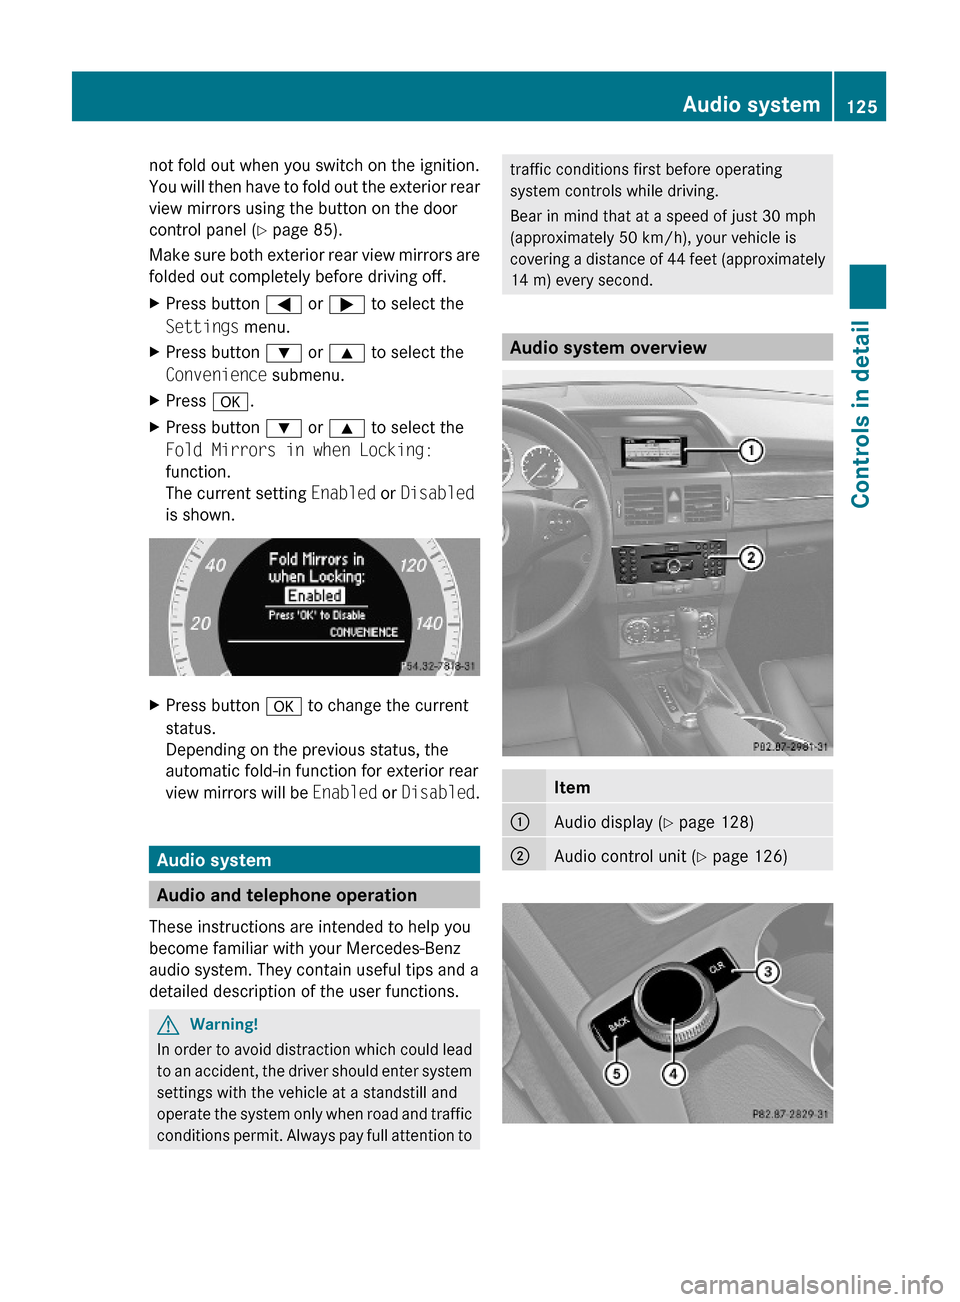
XPress a.XPress button : or 9 to select the
Fold Mirrors in when Locking:
function.
The current setting Enabled or Disabled
is shown.
XPress button a to change the current
status.
Depending on the previous status, the
automatic fold-in function for exterior rear
view mirrors will be Enabled or Disabled.
Audio system
Audio and telephone operation
These instructions are intended to help you
become familiar with your Mercedes-Benz
audio system. They contain useful tips and a
detailed description of the user functions.
GWarning!
In order to avoid distraction which could lead
to an accident, the driver should enter system
settings with the vehicle at a standstill and
operate the system only when road and traffic
conditions permit. Always pay full attention to
traffic conditions first before operating
system controls while driving.
Bear in mind that at a speed of just 30 mph
(approximately 50 km/h), your vehicle is
covering a distance of 44 feet (approximately
14 m) every second.
Audio system overview
Item:Audio display (Y page 128);Audio control unit (Y page 126)Audio system125Controls in detailX204_AKB; 3; 23, en-USd2ureepe,Version: 2.11.8.12009-07-16T19:16:58+02:00 - Seite 125Z
Page 202 of 344
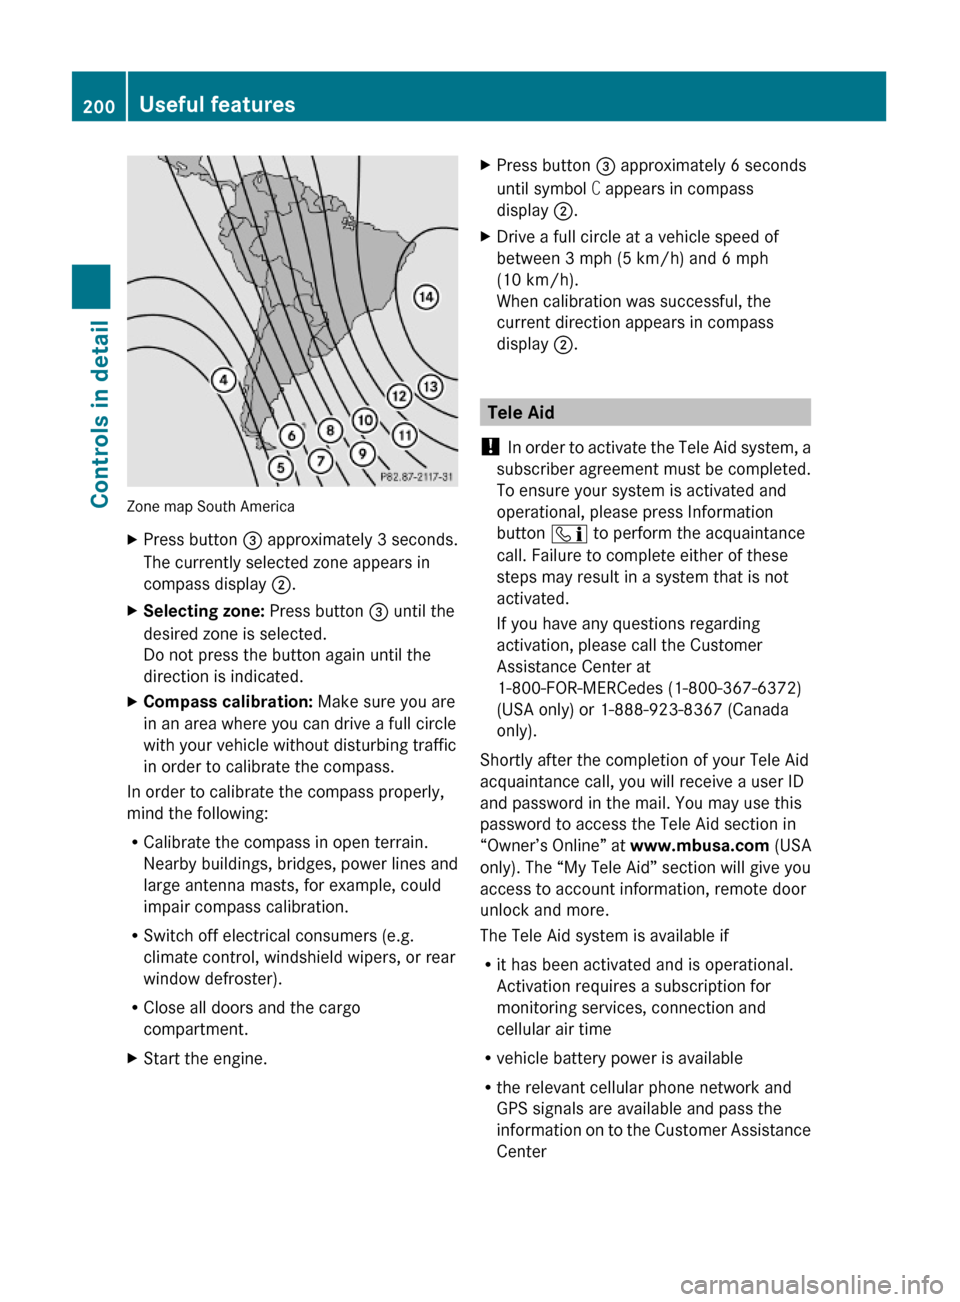
Zone map South America
XPress button = approximately 3 seconds.
The currently selected zone appears in
compass display ;.
XSelecting zone: Press button = until the
desired zone is selected.
Do not press the button again until the
direction is indicated.
XCompass calibration: Make sure you are
in an area where you can drive a full circle
with your vehicle without disturbing traffic
in order to calibrate the compass.
In order to calibrate the compass properly,
mind the following:
RCalibrate the compass in open terrain.
Nearby buildings, bridges, power lines and
large antenna masts, for example, could
impair compass calibration.
RSwitch off electrical consumers (e.g.
climate control, windshield wipers, or rear
window defroster).
RClose all doors and the cargo
compartment.
XStart the engine.XPress button = approximately 6 seconds
until symbol C appears in compass
display ;.
XDrive a full circle at a vehicle speed of
between 3 mph (5 km/h) and 6 mph
(10 km/h).
When calibration was successful, the
current direction appears in compass
display ;.
Tele Aid
! In order to activate the Tele Aid system, a
subscriber agreement must be completed.
To ensure your system is activated and
operational, please press Information
button ï to perform the acquaintance
call. Failure to complete either of these
steps may result in a system that is not
activated.
If you have any questions regarding
activation, please call the Customer
Assistance Center at
1-800-FOR-MERCedes (1-800-367-6372)
(USA only) or 1-888-923-8367 (Canada
only).
Shortly after the completion of your Tele Aid
acquaintance call, you will receive a user ID
and password in the mail. You may use this
password to access the Tele Aid section in
“Owner’s Online” at www.mbusa.com (USA
only). The “My Tele Aid” section will give you
access to account information, remote door
unlock and more.
The Tele Aid system is available if
Rit has been activated and is operational.
Activation requires a subscription for
monitoring services, connection and
cellular air time
Rvehicle battery power is available
Rthe relevant cellular phone network and
GPS signals are available and pass the
information on to the Customer Assistance
Center
200Useful featuresControls in detail
X204_AKB; 3; 23, en-USd2ureepe,Version: 2.11.8.12009-07-16T19:16:58+02:00 - Seite 200