2010 CHEVROLET EQUINOX reset
[x] Cancel search: resetPage 119 of 394

Instruments and Controls 4-33
Tire Messages
Service Tire Monitor System
This message displays if there is a
problem with the Tire Pressure
Monitor System (TPMS). SeeTire
Pressure Monitor Operation
on
page 9‑49for more information.
Tire Learning Active
This message displays when the
system is learning new tires. See
Tire Pressure Monitor Operation
on
page 9‑49for more information.
Tire Low Add Air To Tire
On vehicles with the Tire Pressure
Monitor System (TPMS), this
message displays when the
pressure in one or more of the
vehicle's tires is low.
This message also displays “Left
Front”, “Right Front”, “Left Rear”,
or “Right Rear” to indicate the
location of the low tire. The low tire pressure warning light
will also come on. See
Tire
Pressure Light on page 4‑21.
If a tire pressure message appears
on the DIC, stop as soon as you
can. Inflate the tires by adding air
until the tire pressure is equal to the
values shown on the Tire Loading
Information label. See Tires
on
page 9‑40, Vehicle Load Limitson
page 8‑24, and Tire Pressureon
page 9‑46.
You can receive more than one tire
pressure message at a time. To
read the other messages that may
have been sent at the same time,
press the set/reset button. The DIC
also shows the tire pressure values.
See Driver Information Center (DIC)
on page 4‑24.
Transmission Messages
Service Transmission
This message displays if there is a
problem with the transmission. See
your dealer.
Shift To Park
This message displays when the
transmission needs to be shifted to
P (Park). This may appear when
attempting to remove the key from
the ignition if the vehicle is not in
P (Park).
Transmission Hot –Idle
Engine
This message displays and a chime
sounds if the transmission fluid in
the vehicle gets hot. Driving with the
transmission fluid temperature high
can cause damage to the vehicle.
Stop the vehicle and let it idle to
allow the transmission to cool. This
message clears when the fluid
temperature reaches a safe level.
Page 131 of 394

Infotainment System 6-1
Infotainment
System
Introduction
Introduction . . . . . . . . . . . . . . . . . . . 6-1
Theft-Deterrent Feature . . . . . . . 6-2
Overview (Radio with CD) . . . . . 6-3
Overview (Radio withCD/DVD/MEM) . . . . . . . . . . . . . 6-5
Operation . . . . . . . . . . . . . . . . . . . . . 6-7
Radio
AM-FM Radio . . . . . . . . . . . . . . . . 6-11
Satellite Radio . . . . . . . . . . . . . . . 6-14
Radio Reception . . . . . . . . . . . . . 6-18
Multi-Band Antenna . . . . . . . . . . 6-18
Audio Players
CD Player . . . . . . . . . . . . . . . . . . . 6-19
CD/DVD Player . . . . . . . . . . . . . . 6-21
Mass Storage Media (MEM) . . . . . . . . . . . . . . . 6-25
Auxiliary Devices (Radio
with CD) . . . . . . . . . . . . . . . . . . . . 6-28
Auxiliary Devices (Radio with CD/DVD/MEM) . . . . . . . 6-31
Rear Seat Infotainment
Rear Seat Entertainment(RSE) System . . . . . . . . . . . . . . 6-33
Phone
Bluetooth (Overview) . . . . . . . . 6-42
Bluetooth (InfotainmentControls) . . . . . . . . . . . . . . . . . . . 6-43
Bluetooth (Voice Recognition) . . . . . . . . . . . . . . . 6-46
Bluetooth (Navigation) . . . . . . . 6-58
Introduction
Read the following pages to
become familiar with the audio
system's features.
{WARNING
Taking your eyes off the road for
extended periods could cause a
crash resulting in injury or death
to you or others. Do not give
extended attention to
entertainment tasks while driving.
This system provides access to
many audio and non audio listings.
To minimize taking your eyes off the
road while driving, do the following
while the vehicle is parked:
.Become familiar with the
operation and controls of the
audio system.
.Set up the tone, speaker
adjustments, and preset radio
stations.
Page 139 of 394
Infotainment System 6-9
Press the0BACK button to delete
the last character in the sequence
or press and hold to delete the
entire character sequence.
Audio Settings
The audio settings can be set for
each radio band and each audio
player source.
To quickly reset an audio setting
value to 0:
1. Press the TONE button.
2. Select the audio setting.
3. Press and hold the MENU/SEL button until the value changes
to 0.
Press the
0BACK button to go
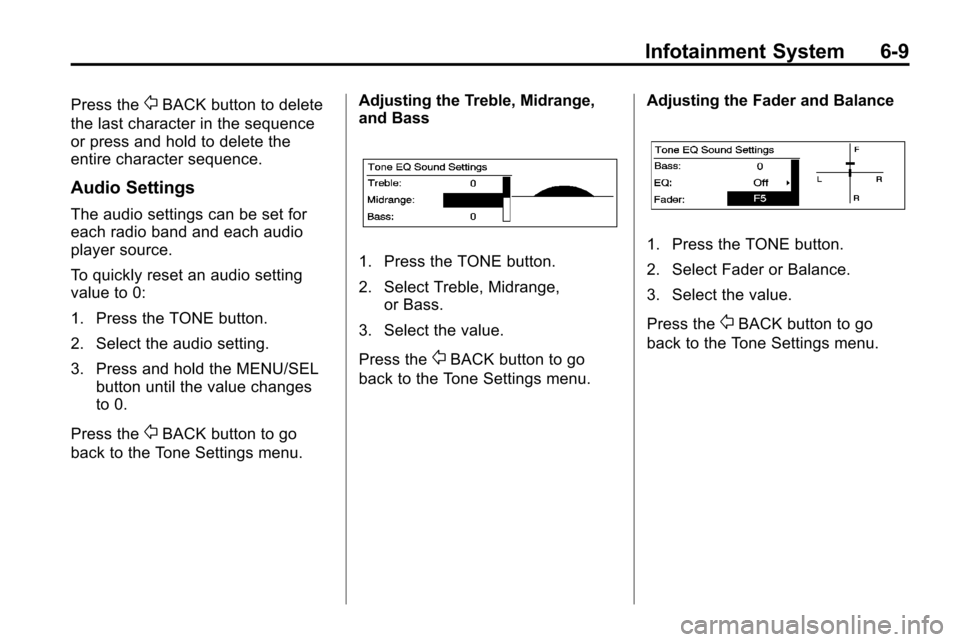
back to the Tone Settings menu. Adjusting the Treble, Midrange,
and Bass
1. Press the TONE button.
2. Select Treble, Midrange,
or Bass.
3. Select the value.
Press the
0BACK button to go
back to the Tone Settings menu. Adjusting the Fader and Balance
1. Press the TONE button.
2. Select Fader or Balance.
3. Select the value.
Press the
0BACK button to go
back to the Tone Settings menu.
Page 141 of 394
Infotainment System 6-11
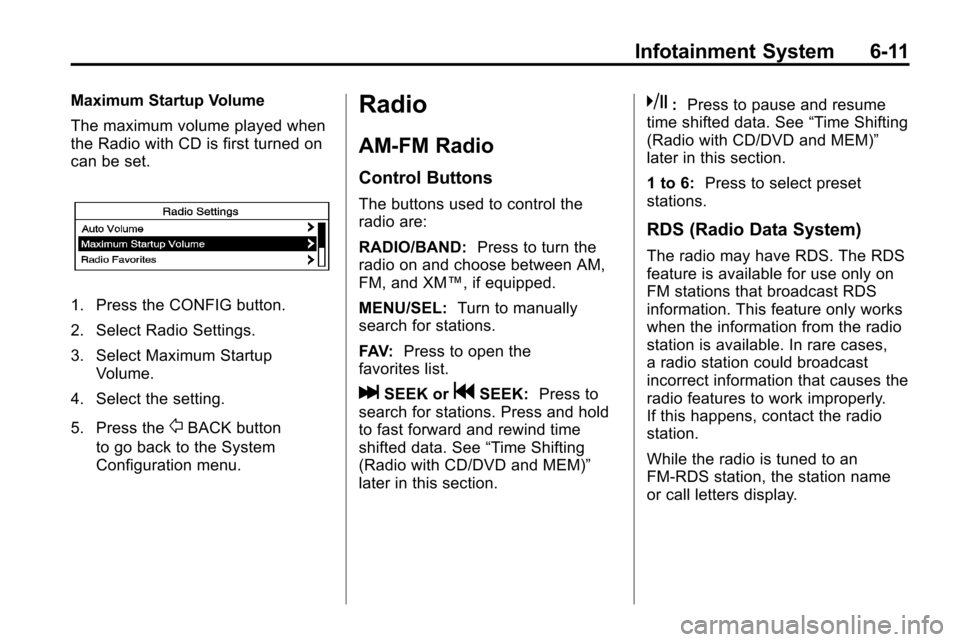
Maximum Startup Volume
The maximum volume played when
the Radio with CD is first turned on
can be set.
1. Press the CONFIG button.
2. Select Radio Settings.
3. Select Maximum StartupVolume.
4. Select the setting.
5. Press the
0BACK button
to go back to the System
Configuration menu.
Radio
AM-FM Radio
Control Buttons
The buttons used to control the
radio are:
RADIO/BAND: Press to turn the
radio on and choose between AM,
FM, and XM™, if equipped.
MENU/SEL: Turn to manually
search for stations.
FAV: Press to open the
favorites list.
lSEEK orgSEEK: Press to
search for stations. Press and hold
to fast forward and rewind time
shifted data. See “Time Shifting
(Radio with CD/DVD and MEM)”
later in this section.
k: Press to pause and resume
time shifted data. See “Time Shifting
(Radio with CD/DVD and MEM)”
later in this section.
1 to 6: Press to select preset
stations.
RDS (Radio Data System)
The radio may have RDS. The RDS
feature is available for use only on
FM stations that broadcast RDS
information. This feature only works
when the information from the radio
station is available. In rare cases,
a radio station could broadcast
incorrect information that causes the
radio features to work improperly.
If this happens, contact the radio
station.
While the radio is tuned to an
FM-RDS station, the station name
or call letters display.
Page 144 of 394
6-14 Infotainment System
Press and release thegSEEK or
lSEEK buttons to jump forward or
back 30 seconds in the time shift
buffer.
When the radio station is changed,
the buffer is cleared and
automatically restarted for the
current station. Content from a
previously tuned station is no longer
available.
The time shift feature is not
available while recording or with
other sources of playback.
Pausing AM/FM with the Vehicle
Turned Off
If AM/FM is paused when the
vehicle is turned off, the radio
continues to buffer the current radio
station for up to 20 minutes. If the
vehicle is turned back on within
20 minutes, the radio resumes
playback from the paused point.
Satellite Radio
Vehicles with an XM™ Satellite
Radio tuner and a valid XM Satellite
Radio subscription can receive XM
programming.
XM Satellite Radio Service
XM is a satellite radio service that is
based in the 48 contiguous United
States and 10 Canadian provinces.
XM Satellite Radio has a wide
variety of programming and
commercial-free music,
coast-to-coast, and in digital-quality
sound. A service fee is required to
receive the XM service. For more
information, contact XM at
www.xmradio.com or call
1-800-929-2100 in the U.S. and
www.xmradio.ca or call
1-877-438-9677 in Canada.
Control Buttons
The buttons used to control the XM
radio are:
RADIO/BAND: Press to turn the
radio on and choose between AM,
FM, and XM™, if equipped.
gSEEK /lSEEK: Press to go
to the previous or next station.
FAV: Press to open the
favorites list.
k: Press to pause and resume
time shifted data. See “Time Shifting
(Radio with CD/DVD and MEM)”
later in this section.
1 to 6: Press to select preset
stations.
MENU/SEL: Turn to select stations.
Press to open the XM Satellite
Radio menu.
Page 241 of 394
Driving and Operating 8-37
Manual Mode
Electronic Range Select
(ERS) Mode
ERS or manual mode allows for the
selection of the range of gear
positions. Use this mode when
driving down hill or towing a trailer
to limit the top gear and vehicle
speed. The shift position indicator
within the Driver Information Center
(DIC) will display a number next to
the M indicating the highest
available gear under manual mode
and the driving conditions when
manual mode was selected.
To use this feature:
1. Move the shift lever toM (Manual Mode).
2. Press the plus/minus button on the shift lever, to increase or
decrease the gear range
available. When shifting to M (Manual Mode),
the transmission will shift to a preset
lower gear range. For this preset
range, the highest gear available is
displayed next to the M in the DIC.
See
Driver Information Center (DIC)
on page 4‑24for more information.
All gears below that number are
available to use. For example, when
4 (Fourth) is shown next to the M,
1 (First) through 4 (Fourth) gears are
shifted automatically. To shift to
5 (Fifth) gear, press the + (Plus)
button or shift into D (Drive).
M (Manual Mode) will prevent
shifting to a lower gear range if the
engine speed is too high. If vehicle
speed is not reduced within the time
allowed, the lower gear range shift
will not be completed. Slow the
vehicle, then press the −(Minus)
button to the desired lower gear
range.
While using the ERS, cruise control
can be used.
Fuel Economy Mode
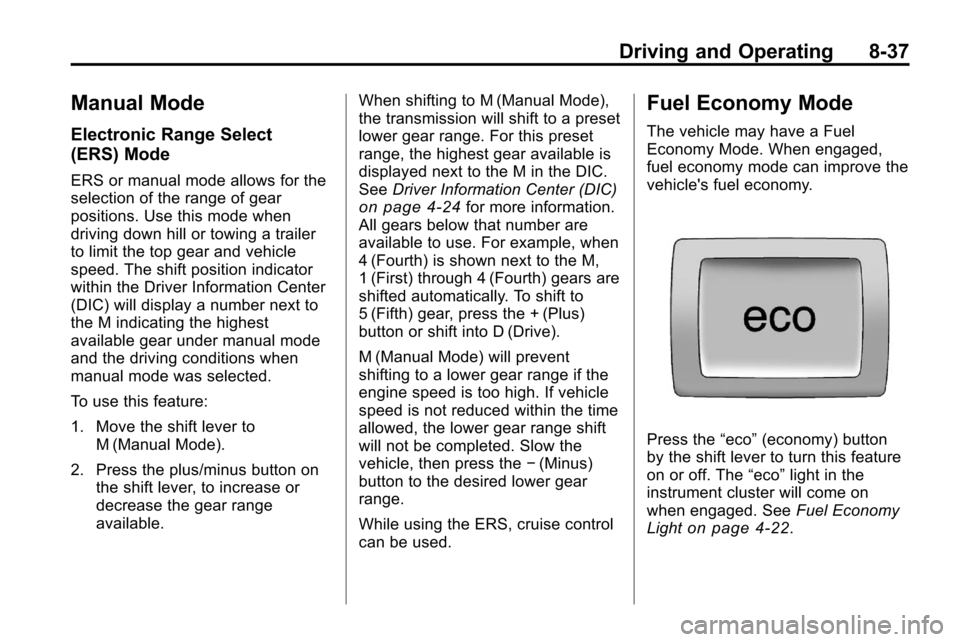
The vehicle may have a Fuel
Economy Mode. When engaged,
fuel economy mode can improve the
vehicle's fuel economy.
Press the “eco”(economy) button
by the shift lever to turn this feature
on or off. The “eco”light in the
instrument cluster will come on
when engaged. See Fuel Economy
Light
on page 4‑22.
Page 257 of 394
Driving and Operating 8-53
.A fast flash may indicate that the
display has been on for the
maximum allowable time during
a reverse cycle, or the display
has reached an over
temperature limit.
The fast flash conditions are
used to protect the video device
from high temperature
conditions. Once conditions
return to normal the device will
reset and the green indicator will
stop flashing.
During any of these fault conditions,
the display will be blank and the
indicator will continue to flash as
long as the vehicle is in R (Reverse)
or until the conditions return to
normal.
Pressing and holding
zwhen the
left indicator light is flashing will turn
off the video display along with the
left indicator light.
Fuel
Use of the recommended fuel is an
important part of the proper
maintenance of this vehicle. To help
keep the engine clean and maintain
optimum vehicle performance, we
recommend the use of gasoline
advertised as TOP TIER Detergent
Gasoline.
Look for the TOP TIER label on the
fuel pump to ensure gasoline meets
enhanced detergency standards
developed by auto companies. A list
of marketers providing TOP TIER
Detergent Gasoline can be found at
www.toptiergas.com.
Page 279 of 394
Vehicle Care 9-11
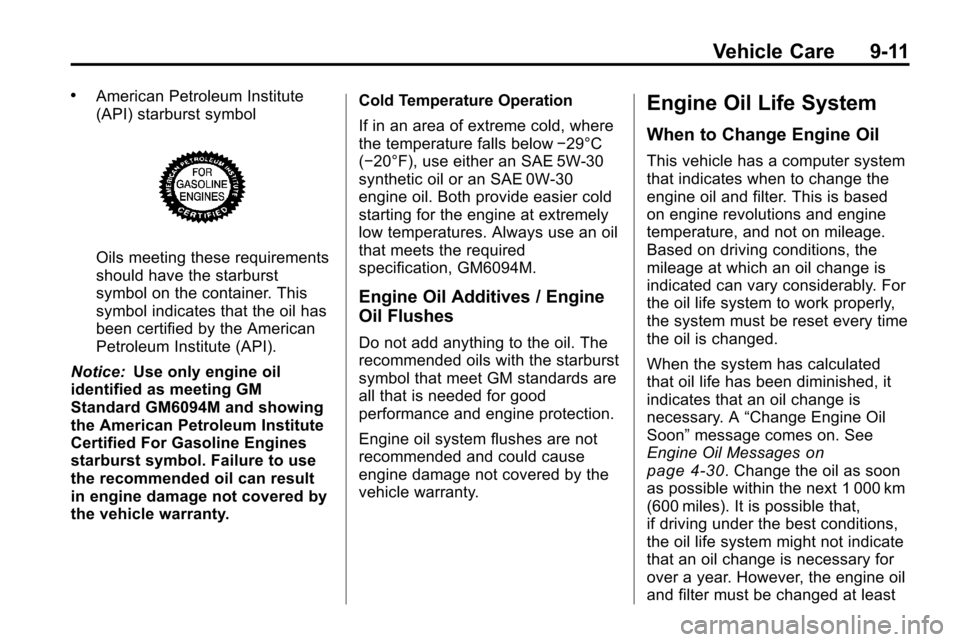
.American Petroleum Institute
(API) starburst symbol
Oils meeting these requirements
should have the starburst
symbol on the container. This
symbol indicates that the oil has
been certified by the American
Petroleum Institute (API).
Notice: Use only engine oil
identified as meeting GM
Standard GM6094M and showing
the American Petroleum Institute
Certified For Gasoline Engines
starburst symbol. Failure to use
the recommended oil can result
in engine damage not covered by
the vehicle warranty. Cold Temperature Operation
If in an area of extreme cold, where
the temperature falls below
−29°C
(−20°F), use either an SAE 5W-30
synthetic oil or an SAE 0W-30
engine oil. Both provide easier cold
starting for the engine at extremely
low temperatures. Always use an oil
that meets the required
specification, GM6094M.
Engine Oil Additives / Engine
Oil Flushes
Do not add anything to the oil. The
recommended oils with the starburst
symbol that meet GM standards are
all that is needed for good
performance and engine protection.
Engine oil system flushes are not
recommended and could cause
engine damage not covered by the
vehicle warranty.
Engine Oil Life System
When to Change Engine Oil
This vehicle has a computer system
that indicates when to change the
engine oil and filter. This is based
on engine revolutions and engine
temperature, and not on mileage.
Based on driving conditions, the
mileage at which an oil change is
indicated can vary considerably. For
the oil life system to work properly,
the system must be reset every time
the oil is changed.
When the system has calculated
that oil life has been diminished, it
indicates that an oil change is
necessary. A “Change Engine Oil
Soon” message comes on. See
Engine Oil Messages
on
page 4‑30. Change the oil as soon
as possible within the next 1 000 km
(600 miles). It is possible that,
if driving under the best conditions,
the oil life system might not indicate
that an oil change is necessary for
over a year. However, the engine oil
and filter must be changed at least