2010 CHEVROLET EQUINOX fuel cap
[x] Cancel search: fuel capPage 99 of 394
Instruments and Controls 4-13
Speedometer
The vehicle's speed can be selected
to display on the Driver Information
Center (DIC) and the speedometer
in either kilometers per hour (km/h)
or miles per hour (mph). Telltales on
the speedometer indicate whether
kilometers or miles were chosen.
The DIC will show the vehicles
speed after the limit on the
speedometer has been reached.
Odometer
The odometer shows how far the
vehicle has been driven, in either
kilometers or miles.
This vehicle has a tamper-resistant
odometer. If the vehicle needs a
new odometer installed, the new
one is set to the mileage of the old
odometer. If this is not possible, it is
set at zero and a label is put on the
driver's door to show the old
mileage reading.
Tachometer
The tachometer displays the engine
speed in revolutions per
minute (rpm).
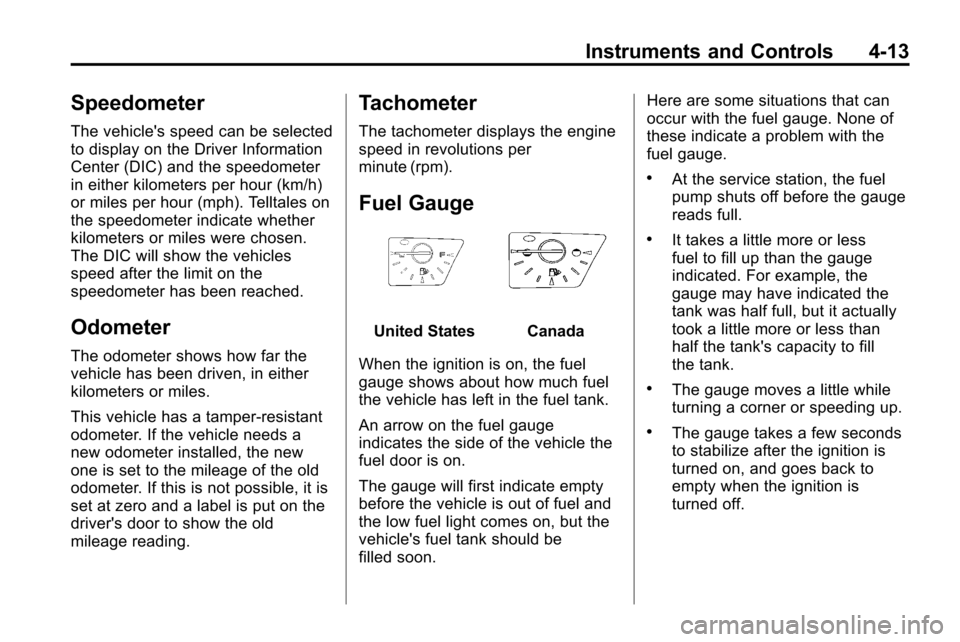
Fuel Gauge
United StatesCanada
When the ignition is on, the fuel
gauge shows about how much fuel
the vehicle has left in the fuel tank.
An arrow on the fuel gauge
indicates the side of the vehicle the
fuel door is on.
The gauge will first indicate empty
before the vehicle is out of fuel and
the low fuel light comes on, but the
vehicle's fuel tank should be
filled soon. Here are some situations that can
occur with the fuel gauge. None of
these indicate a problem with the
fuel gauge.
.At the service station, the fuel
pump shuts off before the gauge
reads full.
.It takes a little more or less
fuel to fill up than the gauge
indicated. For example, the
gauge may have indicated the
tank was half full, but it actually
took a little more or less than
half the tank's capacity to fill
the tank.
.The gauge moves a little while
turning a corner or speeding up.
.The gauge takes a few seconds
to stabilize after the ignition is
turned on, and goes back to
empty when the ignition is
turned off.
Page 104 of 394
4-18 Instruments and Controls
Light On Steady:An emission
control system malfunction has
been detected on the vehicle.
Diagnosis and service might be
required.
An emission system malfunction
might be corrected.
.Make sure the fuel cap is fully
installed. See Filling the Tankon
page 8‑56. The diagnostic
system can determine if the
fuel cap has been left off or
improperly installed. A loose or
missing fuel cap allows fuel to
evaporate into the atmosphere.
A few driving trips with the cap
properly installed should turn the
light off.
.If the vehicle has been driven
through a deep puddle of water,
the vehicle's electrical system
might be wet. The condition is
usually corrected when the
electrical system dries out. A
few driving trips should turn the
light off.
.Make sure to fuel the vehicle
with quality fuel. Poor fuel quality
causes the engine not to run as
efficiently as designed and may
cause: stalling after start-up,
stalling when the vehicle is
changed into gear, misfiring,
hesitation on acceleration,
or stumbling on acceleration.
These conditions might go away
once the engine is warmed up.
If one or more of these
conditions occurs, change the
fuel brand used. It will require at
least one full tank of the proper
fuel to turn the light off.
See Recommended Fuel
on
page 8‑54.
If none of the above have made
the light turn off, your dealer can
check the vehicle. The dealer
has the proper test equipment
and diagnostic tools to fix any
mechanical or electrical problems
that might have developed.
Emissions Inspection and
Maintenance Programs
Some state/provincial and local
governments have or might begin
programs to inspect the emission
control equipment on the vehicle.
Failure to pass this inspection could
prevent getting a vehicle
registration.
Here are some things to know to
help the vehicle pass an inspection:
.The vehicle will not pass this
inspection if the check engine
light is on with the engine
running, or if the key is in ON/
RUN and the light is not on.
.The vehicle will not pass this
inspection if the OBD II
(on-board diagnostic) system
determines that critical emission
control systems have not been
completely diagnosed by the
system. The vehicle would be
considered not ready for
inspection. This can happen if
the battery has recently been
replaced or if the battery has run
Page 116 of 394
4-30 Instruments and Controls
High Coolant Temperature
This message displays if the coolant
temperature is hot, seeEngine
Overheating on page 9‑18.
Engine Oil Messages
Change Engine Oil Soon
This message displays when the
engine oil needs to be changed.
When you change the engine oil, be
sure to reset the Oil Life System.
See Engine Oil Life System
on
page 9‑11and Driver Information
Center (DIC)on page 4‑24for
information on how to reset the
system. See Engine Oil
on
page 9‑10and Scheduled
Maintenanceon page 10‑2for
more information.
Engine Oil Hot, Idle Engine
This message displays when the
engine oil temperature is too hot.
Stop and allow the vehicle to idle
until it cools down.
Engine Oil Low –Add Oil
This message displays when the
engine oil level is too low. Check the
oil level. See Engine Oil
on
page 9‑10.
Oil Pressure Low –Stop
Engine
This message displays if low oil
pressure levels occur. Stop the
vehicle as soon as safely possible
and do not operate it until the cause
of the low oil pressure has been
corrected. Check the oil as soon as
possible and have your vehicle
serviced by your dealer.
Engine Power Messages
Engine Power Is Reduced
This message displays when the
vehicle's engine power is reduced.
Reduced engine power can affect
the vehicle's ability to accelerate.
If this message is on, but there
is no reduction in performance,
proceed to your destination. The
performance may be reduced the next time the vehicle is driven. The
vehicle may be driven at a reduced
speed while this message is on, but
maximum acceleration and speed
may be reduced. Anytime this
message stays on, the vehicle
should be taken to your dealer for
service as soon as possible.
Fuel System Messages
ECO Mode On
On some models, this message
displays when the fuel economy
mode has been turned on by
pressing the eco button near the
shift lever. See
Fuel Economy Mode
on page 8‑37for more information.
Fuel Level Low
This message displays when the
vehicle is low on fuel. Refuel as
soon as possible.
Tighten Gas Cap
This message displays when the
fuel cap is not on tight. Tighten the
fuel cap.
Page 260 of 394
8-56 Driving and Operating
Filling the Tank
{WARNING
Fuel vapor burns violently and a
fuel fire can cause bad injuries.
To help avoid injuries to you and
others, read and follow all the
instructions on the fuel pump
island. Turn off the engine when
refueling. Do not smoke near fuel
or when refueling the vehicle. Do
not use cellular phones. Keep
sparks, flames, and smoking
materials away from fuel. Do not
leave the fuel pump unattended
when refueling the vehicle. This is
against the law in some places.
Do not re-enter the vehicle while
pumping fuel. Keep children away
from the fuel pump; never let
children pump fuel.The fuel cap is behind the fuel door
on the vehicle's passenger side.
Turn the fuel cap counterclockwise
to remove. Do not release the cap
too soon or it will spring back.
Reinstall the cap by turning it
clockwise until it clicks.
If the cap is not properly installed,
the Malfunction Indicator Lamp
come on. See
Malfunction Indicator
Lamp
on page 4‑16for more
information.
{WARNING
Fuel can spray out on you if you
open the fuel cap too quickly.
If you spill fuel and then
something ignites it, you could be
badly burned. This spray can
happen if the tank is nearly full,
and is more likely in hot weather.
Open the fuel cap slowly and wait
for any hiss noise to stop. Then
unscrew the cap all the way. Do not top off or overfill the tank and
wait a few seconds before removing
the nozzle. Clean fuel from painted
surfaces as soon as possible. See
Exterior Care on page 9‑75.
{WARNING
If a fire starts while you are
refueling, do not remove the
nozzle. Shut off the flow of fuel by
shutting off the pump or by
notifying the station attendant.
Leave the area immediately.
Notice: If a new fuel cap is
needed, be sure to get the right
type of cap from your dealer. The
wrong type fuel cap might not fit
properly, might cause the
malfunction indicator lamp to
light, and could damage the fuel
tank and emissions system. See
Malfunction Indicator Lamp
on
page 4‑16.
Page 262 of 394
8-58 Driving and Operating
For information on towing a disabled
vehicle, seeTowing the Vehicleon
page 9‑72. For information on
towing the vehicle behind another
vehicle —such as a motorhome,
see Recreational Vehicle Towing
on
page 9‑72.
Driving Characteristics
and Towing Tips
{WARNING
The driver can lose control when
pulling a trailer if the correct
equipment is not used or the
vehicle is not driven properly.
For example, if the trailer is too
heavy, the brakes may not work
well —or even at all. The driver
and passengers could be
seriously injured. The vehicle may
also be damaged; the resulting
repairs would not be covered by
(Continued)
WARNING (Continued)
the vehicle warranty. Pull a trailer
only if all the steps in this section
have been followed. Ask your
dealer for advice and information
about towing a trailer with the
vehicle.
The vehicle can tow a trailer when
equipped with the proper trailer
towing equipment. For trailering
capacity, see “Trailer Towing”
following in this section. Trailering
changes handling, acceleration,
braking, durability and fuel
economy. With the added weight,
the engine, transmission, wheel
assemblies and tires are forced to
work harder and under greater
loads. The trailer also adds wind
resistance, increasing the pulling
requirements. For safe trailering,
correctly use the proper trailering
equipment. The following information has
important trailering tips and rules for
your safety and that of your
passengers. Read this section
carefully before pulling a trailer.
Pulling A Trailer
Here are some important points:
.There are many laws, including
speed limit restrictions that apply
to trailering. Check for legal
requirements with state or
provincial police.
.Do not tow a trailer at all during
the first 1 600 km (1,000 miles)
the new vehicle is driven. The
engine, axle or other parts could
be damaged.
.During the first 800 km
(500 miles) that a trailer is
towed, do not drive over 80 km/h
(50 mph) and do not make starts
at full throttle. This reduces wear
on the vehicle.
.The vehicle can tow in D (Drive).
Use a lower gear if the
transmission shifts too often.
Page 278 of 394
9-10 Vehicle Care
Engine Oil
Checking Engine Oil
It is a good idea to check the engine
oil level at each fuel fill. In order to
get an accurate reading, the oil
must be warm and the vehicle must
be on level ground.
The engine oil dipstick handle is a
yellow loop. SeeEngine
Compartment Overview
on
page 9‑6for the location of the
engine oil dipstick.
1. Turn off the engine and give the oil several minutes to drain back
into the oil pan. If this is not
done, the oil dipstick might not
show the actual level.
2. Pull out the dipstick and clean it with a paper towel or cloth, then
push it back in all the way.
Remove it again, keeping the tip
down, and check the level.
When to Add Engine Oil
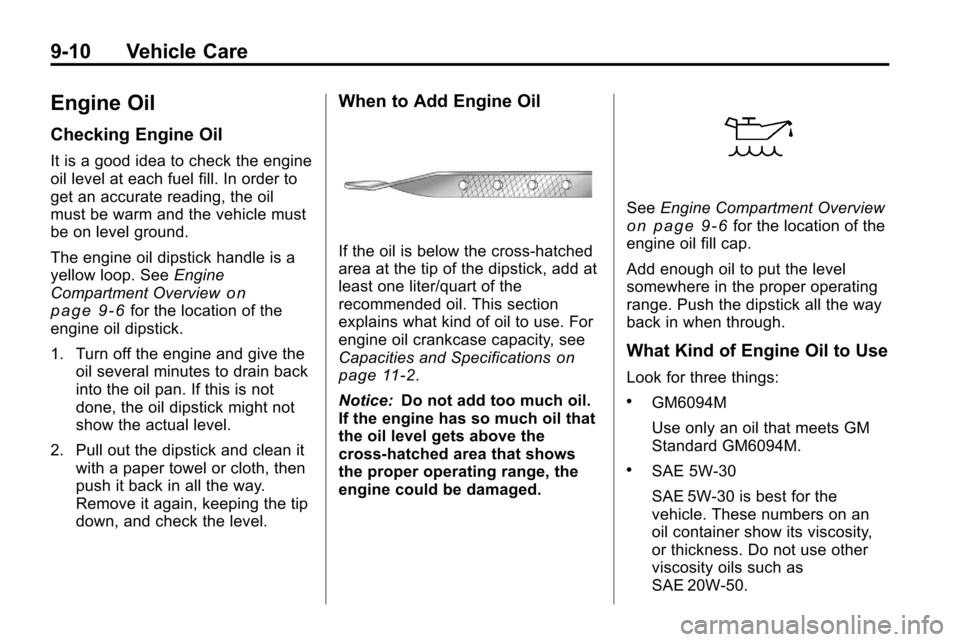
If the oil is below the cross-hatched
area at the tip of the dipstick, add at
least one liter/quart of the
recommended oil. This section
explains what kind of oil to use. For
engine oil crankcase capacity, see
Capacities and Specifications
on
page 11‑2.
Notice: Do not add too much oil.
If the engine has so much oil that
the oil level gets above the
cross-hatched area that shows
the proper operating range, the
engine could be damaged.
See Engine Compartment Overviewon page 9‑6for the location of the
engine oil fill cap.
Add enough oil to put the level
somewhere in the proper operating
range. Push the dipstick all the way
back in when through.
What Kind of Engine Oil to Use
Look for three things:
.GM6094M
Use only an oil that meets GM
Standard GM6094M.
.SAE 5W-30
SAE 5W-30 is best for the
vehicle. These numbers on an
oil container show its viscosity,
or thickness. Do not use other
viscosity oils such as
SAE 20W-50.
Page 312 of 394

9-44 Vehicle Care
Curb Weight:The weight of a
motor vehicle with standard and
optional equipment including the
maximum capacity of fuel, oil,
and coolant, but without
passengers and cargo.
DOT Markings
:A code molded
into the sidewall of a tire
signifying that the tire is in
compliance with the U.S.
Department of Transportation
(DOT) motor vehicle safety
standards. The DOT code
includes the Tire Identification
Number (TIN), an alphanumeric
designator which can also
identify the tire manufacturer,
production plant, brand, and
date of production.
GVWR
:Gross Vehicle Weight
Rating. See Vehicle Load Limits
on page 8‑24. GAWR FRT
:Gross Axle Weight
Rating for the front axle. See
Vehicle Load Limits
on
page 8‑24
.
GAWR RR
:Gross Axle Weight
Rating for the rear axle. See
Vehicle Load Limits
on
page 8‑24
.
Intended Outboard Sidewall
:
The side of an asymmetrical tire,
that must always face outward
when mounted on a vehicle.
Kilopascal (kPa)
:The metric
unit for air pressure.
Light Truck (LT‐Metric) Tire
:A
tire used on light duty trucks and
some multipurpose passenger
vehicles.
Load Index
:An assigned
number ranging from 1 to 279
that corresponds to the load
carrying capacity of a tire. Maximum Inflation Pressure
:
The maximum air pressure to
which a cold tire can be inflated.
The maximum air pressure is
molded onto the sidewall.
Maximum Load Rating
:The
load rating for a tire at the
maximum permissible inflation
pressure for that tire.
Maximum Loaded Vehicle
Weight
:The sum of curb
weight, accessory weight,
vehicle capacity weight, and
production options weight.
Normal Occupant Weight
:The
number of occupants a vehicle
is designed to seat multiplied by
68 kg (150 lbs). See Vehicle
Load Limits
on page 8‑24.
Occupant Distribution
:
Designated seating positions.
Page 314 of 394
9-46 Vehicle Care
Vehicle Capacity Weight:The
number of designated seating
positions multiplied by 68 kg
(150 lbs) plus the rated cargo
load. See Vehicle Load Limits
on
page 8‑24
.
Vehicle Maximum Load on the
Tire
:Load on an individual tire
due to curb weight, accessory
weight, occupant weight, and
cargo weight.
Vehicle Placard
:A label
permanently attached to a
vehicle showing the vehicle's
capacity weight and the original
equipment tire size and
recommended inflation pressure.
See “Tire and Loading
Information Label” underVehicle
Load Limits
on page 8‑24.
Tire Pressure
Tires need the correct amount of
air pressure to operate
effectively.
Notice:Do not let anyone tell
you that under‐inflation or
over‐inflation is all right. It is
not. If your tires do not have
enough air (under‐inflation),
you can get the following:
.Too much flexing
.Too much heat
.Tire overloading
.Premature or
irregular wear
.Poor handling
.Reduced fuel economy If your tires have too much air
(over‐inflation), you can get
the following:
.Unusual wear
.Poor handling
.Rough ride
.Needless damage from
road hazards
A vehicle specific Tire and
Loading Information label is
attached to your vehicle. This
label shows your vehicle's
original equipment tires and the
correct inflation pressures for
your tires when they are cold.
The recommended cold tire
inflation pressure, shown on the
label, is the minimum amount of
air pressure needed to support
your vehicle's maximum load
carrying capacity.