2010 CHEVROLET CORVETTE automatic transmission
[x] Cancel search: automatic transmissionPage 362 of 472
Jump Starting
If your battery has run down, you may want to use
another vehicle and some jumper cables to start your
vehicle. Be sure to use the following steps to do it
safely.
{WARNING:
Batteries can hurt you. They can be dangerous
because:
.They contain acid that can burn you.
.They contain gas that can explode or ignite.
.They contain enough electricity to burn you.
If you do not follow these steps exactly, some or
all of these things can hurt you.
Notice: If you try to start your vehicle by pushing or
pulling it, you could damage your vehicle. Do not
push or pull your vehicle to start it; instead, use the
jump starting procedure in this manual to start your
vehicle when the battery has run down.
1. Check the other vehicle. It must have a 12-volt battery with a negative ground system. Notice:
If the other vehicle's system is not a 12-volt
system with a negative ground, both vehicles can
be damaged. Only use vehicles with 12-volt systems
with negative grounds to jump start your vehicle.
2. Get the vehicles close enough so the jumper cables can reach, but be sure the vehicles are not
touching each other. If they are, it could cause a
ground connection you do not want. You would
not be able to start your vehicle, and the bad
grounding could damage the electrical systems.
To avoid the possibility of the vehicles rolling, set
the parking brake firmly on both vehicles involved
in the jump start procedure. Put an automatic
transmission in P (Park) or a manual transmission
in Neutral before setting the parking brakes.
Notice: If you leave the radio or other accessories
on during the jump starting procedure, they could
be damaged. The repairs would not be covered by
the warranty. Always turn off the radio and other
accessories when jump starting the vehicle.
3. Turn off the ignition on both vehicles. Unplug unnecessary accessories plugged into the
cigarette lighter or the accessory power outlet.
Turn off the radio and all lamps that are not
needed. This will avoid sparks and help save
both batteries. And it could save the radio!
6-50
Page 378 of 472
Tire Terminology and Definitions
Air Pressure:The amount of air inside the tire
pressing outward on each square inch of the tire.
Air pressure is expressed in pounds per square
inch (psi) or kilopascal (kPa).
Accessory Weight
:This means the combined
weight of optional accessories. Some examples of
optional accessories are, automatic transmission,
power steering, power brakes, power windows,
power seats, and air conditioning.
Aspect Ratio
:The relationship of a tire's height
to its width.
Belt
:A rubber coated layer of cords that is
located between the plies and the tread. Cords
may be made from steel or other reinforcing
materials.
Bead
:The tire bead contains steel wires wrapped
by steel cords that hold the tire onto the rim.
Bias Ply Tire
:A pneumatic tire in which the plies
are laid at alternate angles less than 90 degrees
to the centerline of the tread. Cold Tire Pressure
:The amount of air pressure
in a tire, measured in pounds per square inch (psi)
or kilopascals (kPa) before a tire has built up heat
from driving. See Inflation - Tire Pressure
on
page 6‑70
.
Curb Weight
:The weight of a motor vehicle with
standard and optional equipment including the
maximum capacity of fuel, oil, and coolant, but
without passengers and cargo.
DOT Markings
:A code molded into the sidewall
of a tire signifying that the tire is in compliance
with the U.S. Department of Transportation (DOT)
motor vehicle safety standards. The DOT code
includes the Tire Identification Number (TIN), an
alphanumeric designator which can also identify
the tire manufacturer, production plant, brand, and
date of production.
GVWR
:Gross Vehicle Weight Rating.
See Loading the Vehicle
on page 5‑28.
GAWR FRT
:Gross Axle Weight Rating for the
front axle. See Loading the Vehicle
on page 5‑28.
GAWR RR
:Gross Axle Weight Rating for the rear
axle. See Loading the Vehicle
on page 5‑28.
6-66
Page 396 of 472
Tire Chains
{WARNING:
Do not use tire chains. There is not enough
clearance. Tire chains used on a vehicle without
the proper amount of clearance can cause
damage to the brakes, suspension, or other
vehicle parts. The area damaged by the tire
chains could cause you to lose control of the
vehicle and you or others may be injured in a
crash. Use another type of traction device only
if its manufacturer recommends it for use on
the vehicle and tire size combination and
road conditions. Follow that manufacturer's
instructions. To help avoid damage to the vehicle,
drive slowly, re‐adjust or remove the device if
it is contacting the vehicle, and do not spin the
wheels. If you do find traction devices that will fit,
install them on the rear tires.
Lifting the Vehicle
{WARNING:
Lifting a vehicle can cause an injury. The vehicle
can slip off the jack and roll over you or other
people. You and they could be badly injured.
Find a level place to lift your vehicle. To help
prevent the vehicle from moving: 1. Set the parking brake firmly.
2. Put an automatic transmission shift lever in P (Park), or shift a manual transmission to
1 (First) or R (Reverse).
3. Turn off the engine.
To be even more certain the vehicle won't move,
you can put blocks in front of and behind the
wheels.
6-84
Page 421 of 472
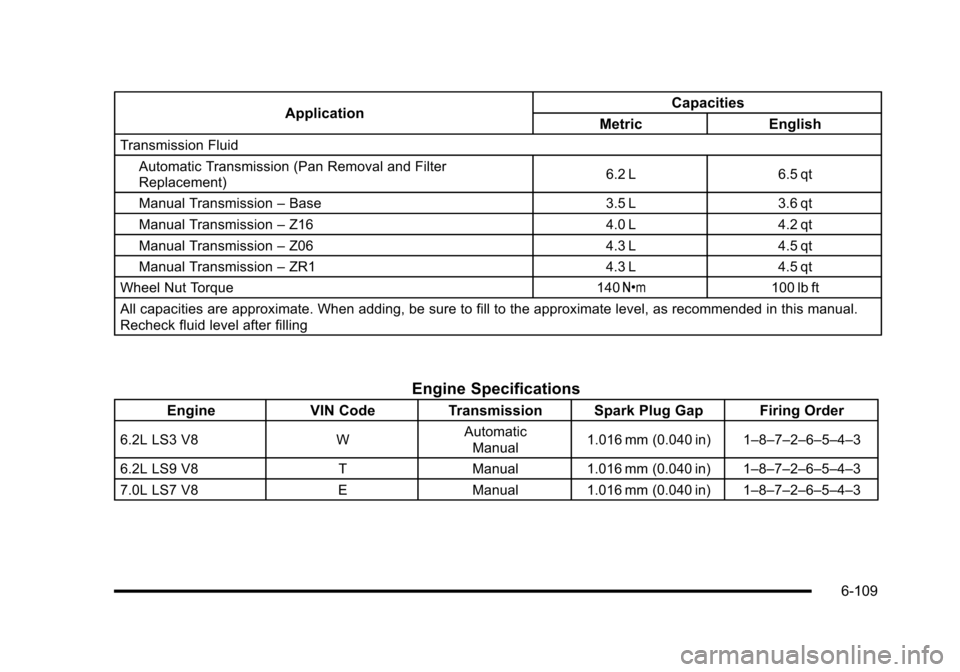
Application Capacities
Metric English
Transmission Fluid
Automatic Transmission (Pan Removal and Filter
Replacement) 6.2 L
6.5 qt
Manual Transmission –Base 3.5 L3.6 qt
Manual Transmission –Z16 4.0 L4.2 qt
Manual Transmission –Z06 4.3 L4.5 qt
Manual Transmission –ZR1 4.3 L4.5 qt
Wheel Nut Torque 140 Y 100 lb ft
All capacities are approximate. When adding, be sure to fill to the approximate level, as recommended in this manual.
Recheck fluid level after filling
Engine Specifications
Engine VIN CodeTransmission Spark Plug Gap Firing Order
6.2L LS3 V8 W Automatic
Manual 1.016 mm (0.040 in) 1–8–7–2–6–5–4–3
6.2L LS9 V8 TManual1.016 mm (0.040 in) 1–8–7–2–6–5–4–3
7.0L LS7 V8 EManual1.016 mm (0.040 in) 1–8–7–2–6–5–4–3
6-109
Page 427 of 472
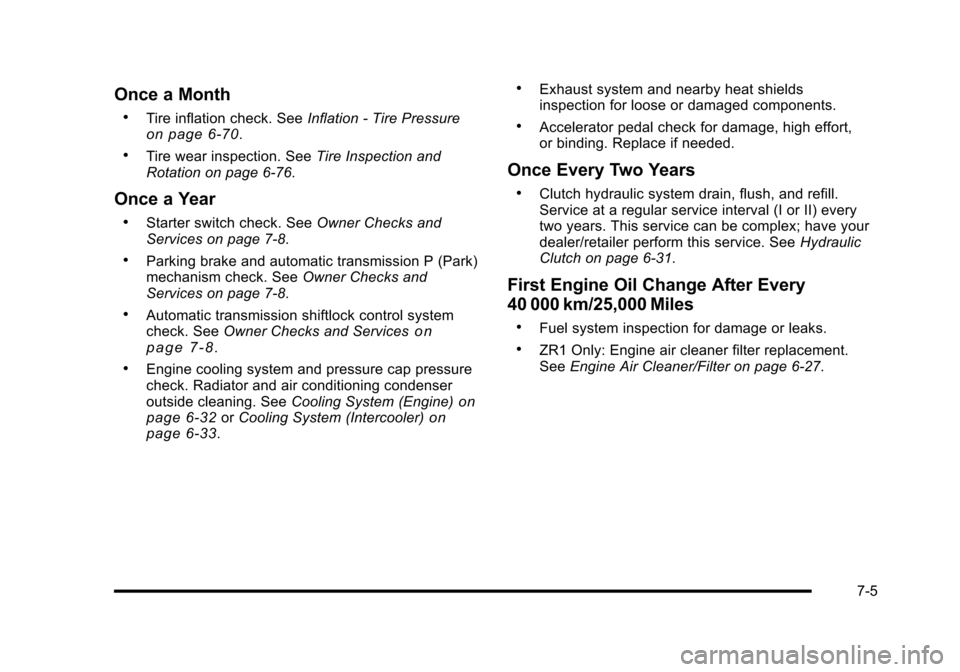
Once a Month
.Tire inflation check. SeeInflation - Tire Pressureon page 6‑70.
.Tire wear inspection. See Tire Inspection and
Rotation on page 6‑76.
Once a Year
.Starter switch check. See Owner Checks and
Services on page 7‑8.
.Parking brake and automatic transmission P (Park)
mechanism check. See Owner Checks and
Services on page 7‑8.
.Automatic transmission shiftlock control system
check. See Owner Checks and Serviceson
page 7‑8.
.Engine cooling system and pressure cap pressure
check. Radiator and air conditioning condenser
outside cleaning. See Cooling System (Engine)
on
page 6‑32or Cooling System (Intercooler)on
page 6‑33.
.Exhaust system and nearby heat shields
inspection for loose or damaged components.
.Accelerator pedal check for damage, high effort,
or binding. Replace if needed.
Once Every Two Years
.Clutch hydraulic system drain, flush, and refill.
Service at a regular service interval (I or II) every
two years. This service can be complex; have your
dealer/retailer perform this service. See Hydraulic
Clutch on page 6‑31.
First Engine Oil Change After Every
40 000 km/25,000 Miles
.Fuel system inspection for damage or leaks.
.ZR1 Only: Engine air cleaner filter replacement.
See Engine Air Cleaner/Filter on page 6‑27.
7-5
Page 428 of 472
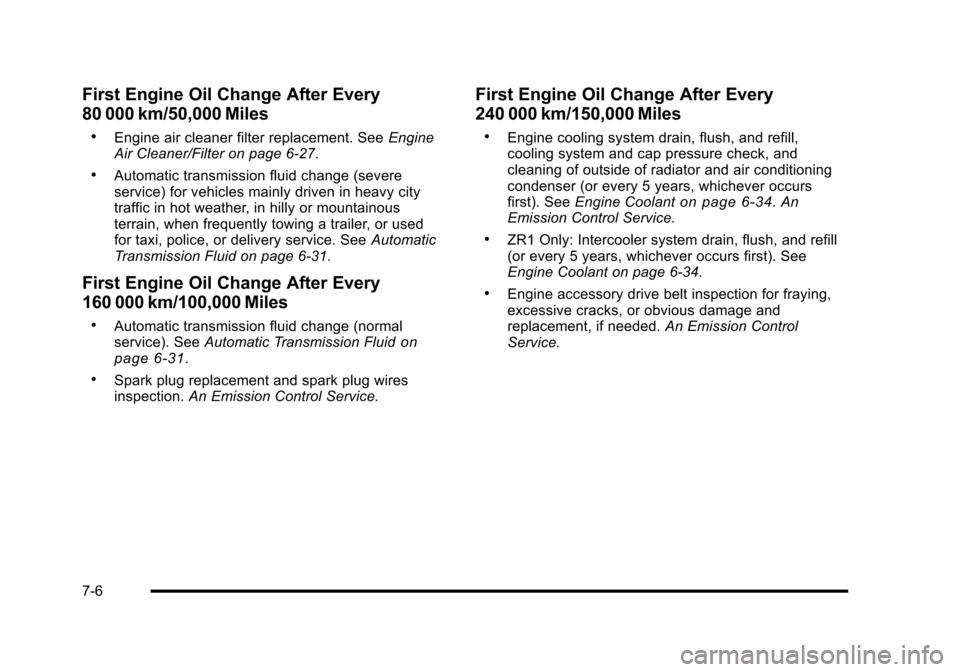
First Engine Oil Change After Every
80 000 km/50,000 Miles
.Engine air cleaner filter replacement. See Engine
Air Cleaner/Filter on page 6‑27.
.Automatic transmission fluid change (severe
service) for vehicles mainly driven in heavy city
traffic in hot weather, in hilly or mountainous
terrain, when frequently towing a trailer, or used
for taxi, police, or delivery service. See Automatic
Transmission Fluid on page 6‑31.
First Engine Oil Change After Every
160 000 km/100,000 Miles
.Automatic transmission fluid change (normal
service). See Automatic Transmission Fluidon
page 6‑31.
.Spark plug replacement and spark plug wires
inspection. An Emission Control Service.
First Engine Oil Change After Every
240 000 km/150,000 Miles
.Engine cooling system drain, flush, and refill,
cooling system and cap pressure check, and
cleaning of outside of radiator and air conditioning
condenser (or every 5 years, whichever occurs
first). See Engine Coolant
on page 6‑34.An
Emission Control Service.
.ZR1 Only: Intercooler system drain, flush, and refill
(or every 5 years, whichever occurs first). See
Engine Coolant on page 6‑34.
.Engine accessory drive belt inspection for fraying,
excessive cracks, or obvious damage and
replacement, if needed. An Emission Control
Service.
7-6
Page 430 of 472
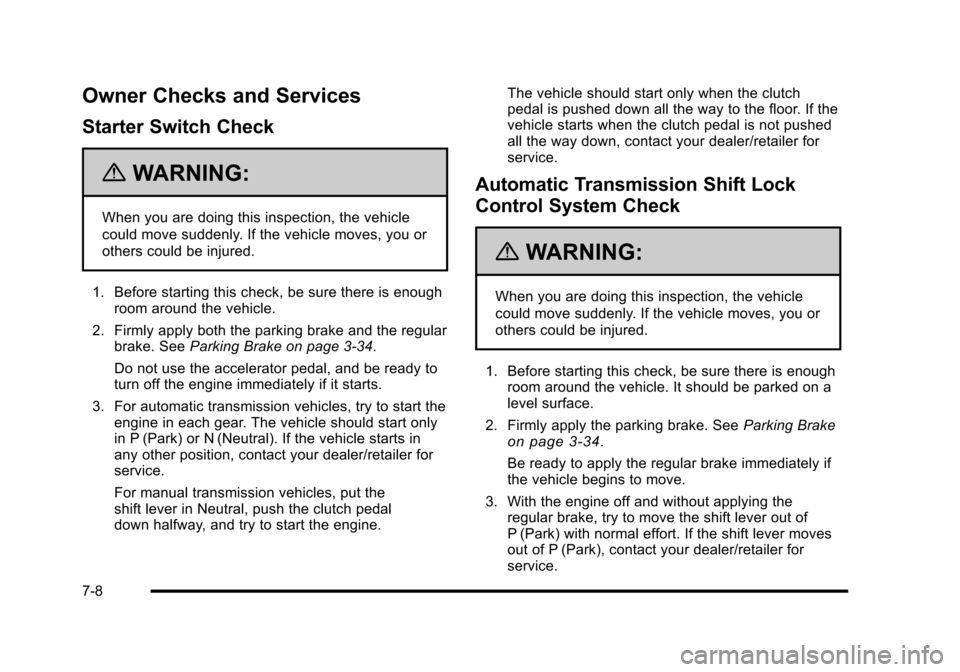
Owner Checks and Services
Starter Switch Check
{WARNING:
When you are doing this inspection, the vehicle
could move suddenly. If the vehicle moves, you or
others could be injured.
1. Before starting this check, be sure there is enough room around the vehicle.
2. Firmly apply both the parking brake and the regular brake. See Parking Brake on page 3‑34.
Do not use the accelerator pedal, and be ready to
turn off the engine immediately if it starts.
3. For automatic transmission vehicles, try to start the engine in each gear. The vehicle should start only
in P (Park) or N (Neutral). If the vehicle starts in
any other position, contact your dealer/retailer for
service.
For manual transmission vehicles, put the
shift lever in Neutral, push the clutch pedal
down halfway, and try to start the engine. The vehicle should start only when the clutch
pedal is pushed down all the way to the floor. If the
vehicle starts when the clutch pedal is not pushed
all the way down, contact your dealer/retailer for
service.
Automatic Transmission Shift Lock
Control System Check
{WARNING:
When you are doing this inspection, the vehicle
could move suddenly. If the vehicle moves, you or
others could be injured.
1. Before starting this check, be sure there is enough room around the vehicle. It should be parked on a
level surface.
2. Firmly apply the parking brake. See Parking Brake
on page 3‑34.
Be ready to apply the regular brake immediately if
the vehicle begins to move.
3. With the engine off and without applying the regular brake, try to move the shift lever out of
P (Park) with normal effort. If the shift lever moves
out of P (Park), contact your dealer/retailer for
service.
7-8
Page 431 of 472
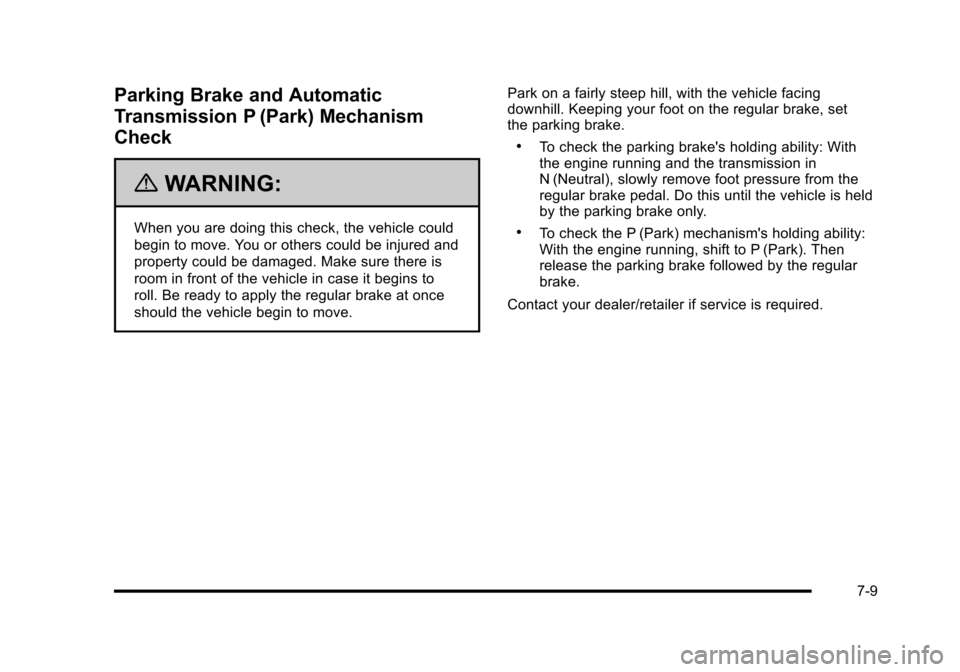
Parking Brake and Automatic
Transmission P (Park) Mechanism
Check
{WARNING:
When you are doing this check, the vehicle could
begin to move. You or others could be injured and
property could be damaged. Make sure there is
room in front of the vehicle in case it begins to
roll. Be ready to apply the regular brake at once
should the vehicle begin to move. Park on a fairly steep hill, with the vehicle facing
downhill. Keeping your foot on the regular brake, set
the parking brake.
.To check the parking brake's holding ability: With
the engine running and the transmission in
N (Neutral), slowly remove foot pressure from the
regular brake pedal. Do this until the vehicle is held
by the parking brake only.
.To check the P (Park) mechanism's holding ability:
With the engine running, shift to P (Park). Then
release the parking brake followed by the regular
brake.
Contact your dealer/retailer if service is required.
7-9