2009 NISSAN TIIDA spark plug
[x] Cancel search: spark plugPage 1611 of 4331
![NISSAN TIIDA 2009 Service Repair Manual P0300, P0301, P0302,
P0303, P0304 MISFIRE
EC-255
< COMPONENT DIAGNOSIS >
[HR16DE] C
D E
F
G H
I
J
K L
M A EC
NP
O
2. Listen to each fuel injector operating sound.
Is the inspection result normal? YES NISSAN TIIDA 2009 Service Repair Manual P0300, P0301, P0302,
P0303, P0304 MISFIRE
EC-255
< COMPONENT DIAGNOSIS >
[HR16DE] C
D E
F
G H
I
J
K L
M A EC
NP
O
2. Listen to each fuel injector operating sound.
Is the inspection result normal? YES](/manual-img/5/57398/w960_57398-1610.png)
P0300, P0301, P0302,
P0303, P0304 MISFIRE
EC-255
< COMPONENT DIAGNOSIS >
[HR16DE] C
D E
F
G H
I
J
K L
M A EC
NP
O
2. Listen to each fuel injector operating sound.
Is the inspection result normal? YES >> GO TO 5.
NO >> Perform trouble diagnosis for FUEL INJECTOR, refer to EC-432, " Component Inspection " .
5.
CHECK FUNCTION OF IGNITION COIL-I
CAUTION:
Do the following procedure in the place where ventilation is good without the combustible.
1. Turn ignition switch OFF.
2. Remove fuel pump fuse in IPDM E/R to release fuel pressure. NOTE:
Do not use CONSULT-III to release fuel pressure, or fuel pressure applies again during the following pro-
cedure.
3. Start engine.
4. After engine stalls, crank it two or three times to release all fuel pressure.
5. Turn ignition switch OFF.
6. Remove all ignition coil harness connectors to avoid the electrical discharge from the ignition coils.
7. Remove ignition coil and spark plug of the cylinder to be checked.
8. Crank engine for 5 seconds or more to remove combustion gas in the cylinder.
9. Connect spark plug and harness connector to ignition coil.
10. Fix ignition coil using a rope etc. with gap of 13 - 17 mm (0.52 -
0.66 in) between the edge of the spark plug and grounded metal
portion as shown in the figure.
11. Crank engine for about 3 seconds, and check whether spark is
generated between the spark plug and the grounded metal por-
tion.
CAUTION:
• During the operation, alw ays stay 0.5 m (19.7 in) away
from the spark plug and the ig nition coil within. Be careful
not to get an electrical sh ock while checking, because the
electrical discharge voltage becomes 20 kV or more.
• It might cause to damage the igni tion coil if the gap of more than 17 mm (0.66 in) is taken.
NOTE:
When the gap is less than 13 mm (0.52 in), the sp ark might be generated even if the coil is mal-
functioning.
Is the inspection result normal? YES >> GO TO 9.
NO >> GO TO 6. 6.
CHECK FUNCTION OF IGNITION COIL-II
1. Turn ignition switch OFF.
2. Disconnect spark plug and connect a known-good spark plug.
3. Crank engine for about 3 seconds, and recheck whether spark is generated between the spark plug and the grounded metal portion.
Is the inspection result normal? YES >> GO TO 7.
NO >> Check ignition coil, power transistor and their circuits. Refer to EC-439, " Component Function
Check " .
Clicking noise should be heard.
PBIB3332E
Spark should be generated.
JMBIA0066GB
Spark should be generated.
Page 1612 of 4331

YES >> Replace spark plug(s) with standard type one(s). For
spark plug type, refer to EM-117, " Spark Plug " .
NO >> Repair or clean spark plug. Then GO TO 8. YES >> INSPECTION END
NO >> Replace spark plug(s) with standard type one(s). For spark plug type, refer to EM-117, " Spark
Plug " .
Inspection " .
Is the inspection result normal? YES >> GO TO 10.
NO >> Check pistons, piston rings, valves, valve seats and cylinder head gaskets. Inspection " .
Is the inspection result normal? YES >> GO TO 12.
NO >> GO TO 11. YES >> Replace “fuel filter and fuel pump assembly”.
NO >> Repair or replace. BASIC INSPECTION : Special Repair Requirement " .
For specification, refer to EC-504, " Ignition Timing " .
Is the inspection result normal? YES >> GO TO 13.
NO >> Follow the EC-26, " BASIC INSPECTION : Special Repair Requirement " .
Page 1632 of 4331
![NISSAN TIIDA 2009 Service Repair Manual EC-276< COMPONENT DIAGNOSIS >
[HR16DE]
P0420 THREE WAY CATALYST FUNCTION
Do the following procedure in the place where ventilation is good without the combustible.
1. Turn ignition switch OFF.
2. Rem NISSAN TIIDA 2009 Service Repair Manual EC-276< COMPONENT DIAGNOSIS >
[HR16DE]
P0420 THREE WAY CATALYST FUNCTION
Do the following procedure in the place where ventilation is good without the combustible.
1. Turn ignition switch OFF.
2. Rem](/manual-img/5/57398/w960_57398-1631.png)
EC-276< COMPONENT DIAGNOSIS >
[HR16DE]
P0420 THREE WAY CATALYST FUNCTION
Do the following procedure in the place where ventilation is good without the combustible.
1. Turn ignition switch OFF.
2. Remove fuel pump fuse in IPDM E/R to release fuel pressure.
NOTE:
Do not use CONSULT-III to release fuel pressure, or fuel pressure applies again during the following pro-
cedure.
3. Start engine.
4. After engine stalls, crank it two or three times to release all fuel pressure.
5. Turn ignition switch OFF.
6. Remove all ignition coil harness connectors to avoi d the electrical discharge from the ignition coils.
7. Remove ignition coil and spark plug of the cylinder to be checked.
8. Crank engine for 5 seconds or more to remove combustion gas in the cylinder.
9. Connect spark plug and harness connector to ignition coil.
10. Fix ignition coil using a rope etc. with gap of 13 - 17 mm (0.52 - 0.66 in) between the edge of the spark plug and grounded metal
portion as shown in the figure.
11. Crank engine for about 3 seconds, and check whether spark is
generated between the spark plug and the grounded metal por-
tion.
CAUTION:
• During the operation, always stay 0.5 m (19.7 in) away from the spark plug and the ig nition coil. Be careful not to
get an electrical shock wh ile checking, because the elec-
trical discharge voltage becomes 20 kV or more.
• It might cause to damage the igni tion coil if the gap of more than 17 mm (0.66 in) is taken.
NOTE:
When the gap is less than 13 mm (0.52 in), the sp ark might be generated even if the coil is mal-
functioning.
Is the inspection result normal? YES >> GO TO 10.
NO >> GO TO 7. 7.
CHECK FUNCTION OF IGNITION COIL-II
1. Turn ignition switch OFF.
2. Disconnect spark plug and connect a known-good spark plug.
3. Crank engine for about 3 seconds, and recheck whether spark is generated between the spark plug and
the grounded metal portion.
Is the inspection result normal? YES >> GO TO 8.
NO >> Check ignition coil, power transistor and their circuits. Refer to EC-441, " Diagnosis Procedure " .
8.
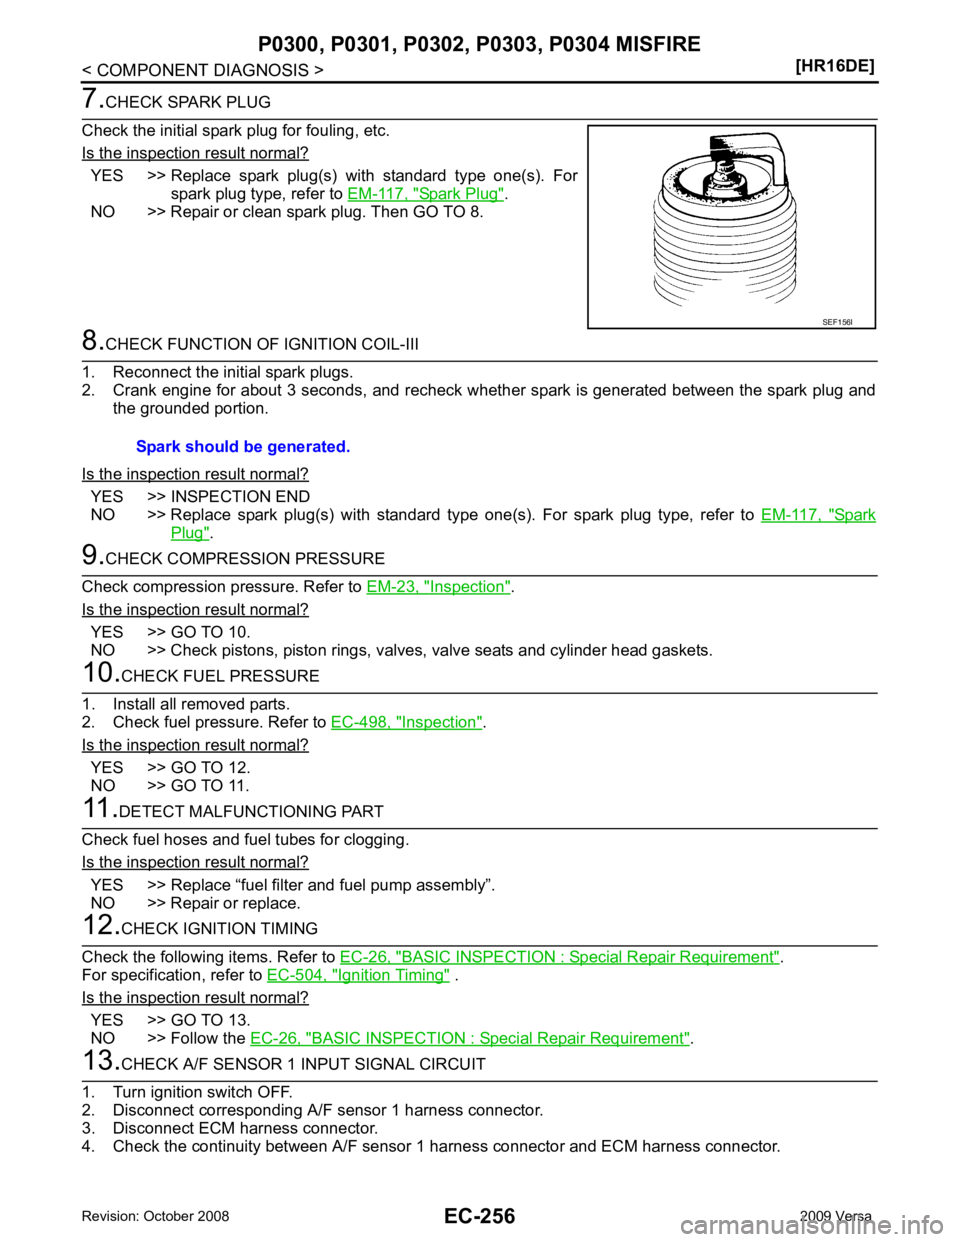
CHECK SPARK PLUG
Check the initial spark plug for fouling, etc.
Is the inspection result normal? YES >> Replace spark plug(s) with standard type one(s). For
spark plug type, refer to EM-117, " Spark Plug " .
NO >> Repair or clean spark plug. Then GO TO 9. 9.
CHECK FUNCTION OF IGNITION COIL-III Spark should be generated. JMBIA0066GB
Spark should be generated.
SEF156I
Page 1633 of 4331

EC
NP
O
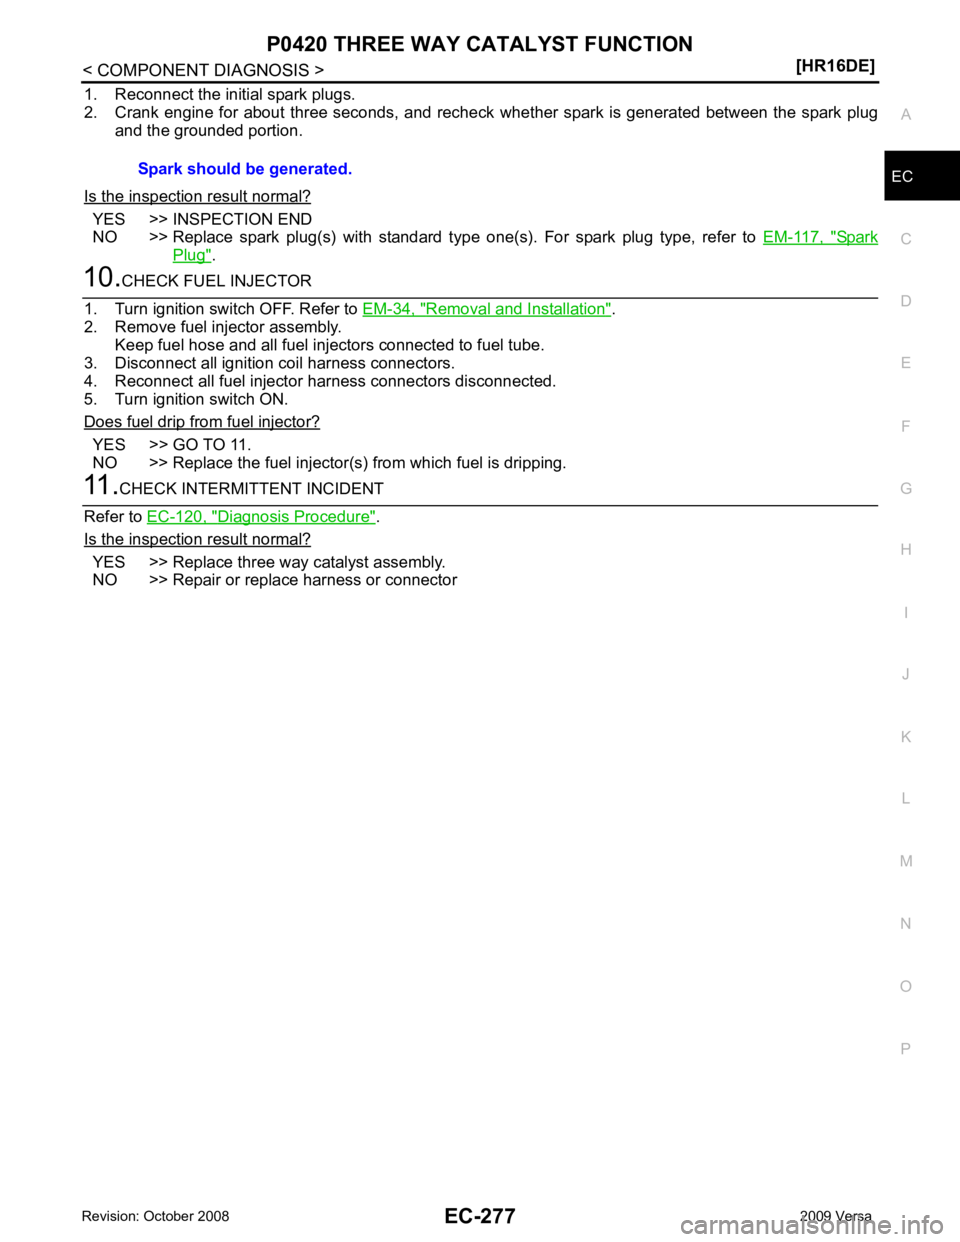
1. Reconnect the initial spark plugs.
2. Crank engine for about three seconds, and recheck whether spark is generated between the spark plug and the grounded portion.
Is the inspection result normal? YES >> INSPECTION END
NO >> Replace spark plug(s) with standard type one(s). For spark plug type, refer to EM-117, " Spark
Plug " .
Removal and Installation " .
2. Remove fuel injector assembly. Keep fuel hose and all fuel injectors connected to fuel tube.
3. Disconnect all ignition coil harness connectors.
4. Reconnect all fuel injector harness connectors disconnected.
5. Turn ignition switch ON.
Does fuel drip from fuel injector? YES >> GO TO 11.
NO >> Replace the fuel injector(s) from which fuel is dripping. Diagnosis Procedure " .
Is the inspection result normal? YES >> Replace three way catalyst assembly.
NO >> Repair or replace harness or connector Spark should be generated.
Page 1801 of 4331
![NISSAN TIIDA 2009 Service Repair Manual IGNITION SIGNAL
EC-445
< COMPONENT DIAGNOSIS >
[HR16DE] C
D E
F
G H
I
J
K L
M A EC
NP
O
10. Connect spark plug and harness connector to ignition coil.
11. Fix ignition coil using a rope etc. with gap NISSAN TIIDA 2009 Service Repair Manual IGNITION SIGNAL
EC-445
< COMPONENT DIAGNOSIS >
[HR16DE] C
D E
F
G H
I
J
K L
M A EC
NP
O
10. Connect spark plug and harness connector to ignition coil.
11. Fix ignition coil using a rope etc. with gap](/manual-img/5/57398/w960_57398-1800.png)
IGNITION SIGNAL
EC-445
< COMPONENT DIAGNOSIS >
[HR16DE] C
D E
F
G H
I
J
K L
M A EC
NP
O
10. Connect spark plug and harness connector to ignition coil.
11. Fix ignition coil using a rope etc. with gap of 13 - 17 mm (0.52 - 0.66 in) between the edge of the spark plug and grounded metal
portion as shown in the figure.
12. Crank engine for about three seconds, and check whether spark is generated between the spark plug and the grounded metal
portion.
CAUTION:
• During the operation, alw ays stay 0.5 cm (19.7 in) away
from the spark plug and the igni tion coil. Be careful not to
get an electrical shock wh ile checking, because the elec-
trical discharge voltage becomes 20 kV or more.
• It might cause to damage the igni tion coil if the gap of more than 17 mm (0.66 in) is taken.
NOTE:
When the gap is less than 13 mm (0.52 in), the sp ark might be generated even if the coil is mal-
functioning.
Is the inspection result normal? YES >> INSPECTION END
NO >> Replace malfunctioning ignition coil with power transistor.
Component Inspection (Condenser-2) INFOID:00000000047803701.
CHECK CONDENSER-2
1. Turn ignition switch OFF.
2. Disconnect condenser-2 harness connector.
3. Check resistance between condenser-2 terminals as per the fol- lowing.
Is the inspection result normal? YES >> INSPECTION END
NO >> Replace condenser-2. Spark should be generated. JMBIA0066GB
Terminals Resistance
1 and 2 Above 1 M Ω [at 25 °C (77 °F)] PBIB0794E
Page 1927 of 4331

EC
NP
O
• : Vehicle front
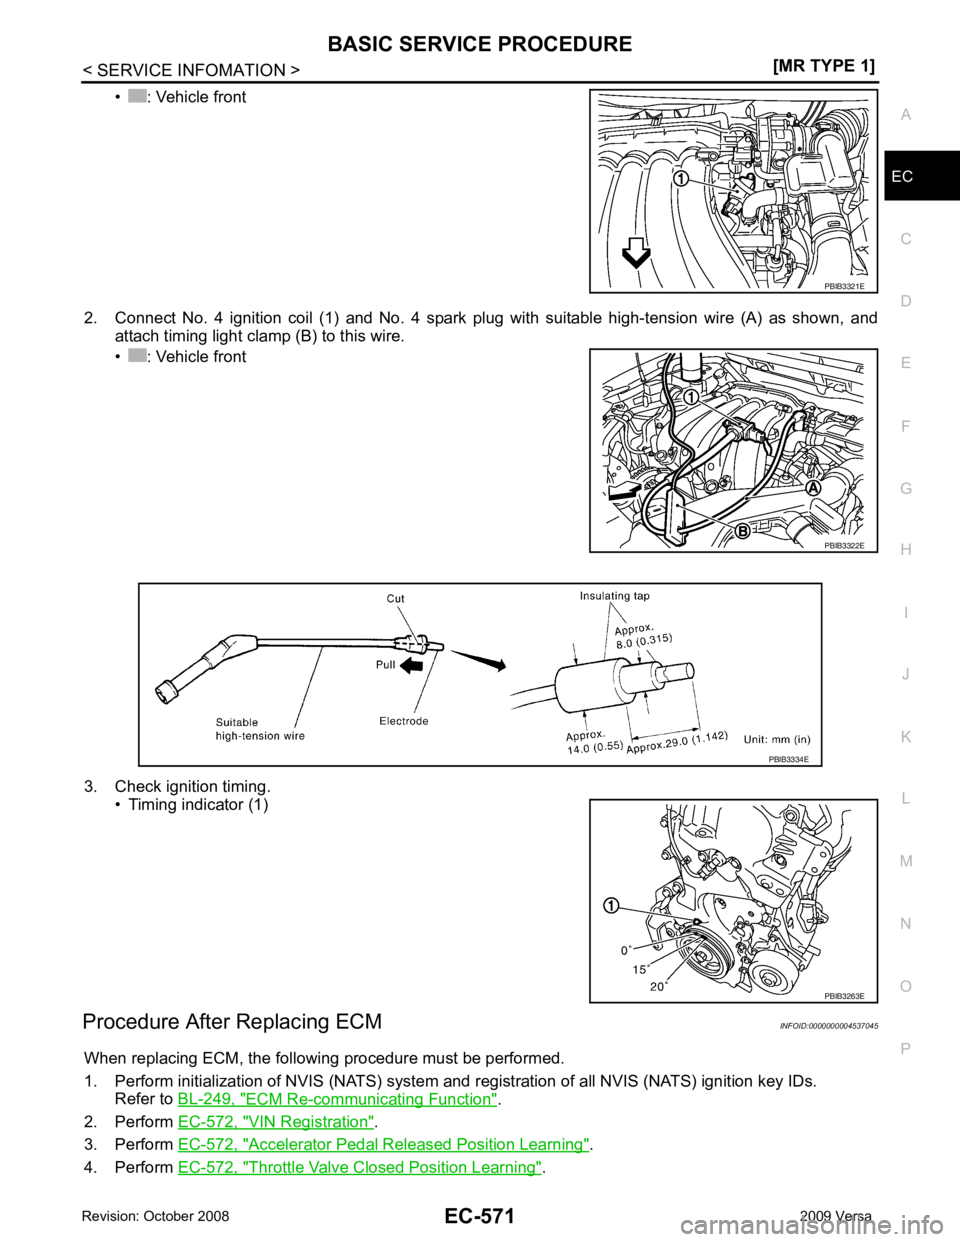
2. Connect No. 4 ignition coil (1) and No. 4 spark plug with suitable high-tension wire (A) as shown, and attach timing light clamp (B) to this wire.
• : Vehicle front
3. Check ignition timing. • Timing indicator (1)
Procedure After Replacing ECM INFOID:0000000004537045
When replacing ECM, the following procedure must be performed.
1. Perform initialization of NVIS (NATS) system and registration of all NVIS (NATS) ignition key IDs.
Refer to BL-249, " ECM Re-communicating Function " .
2. Perform EC-572, " VIN Registration " .
3. Perform EC-572, " Accelerator Pedal Released Position Learning " .
4. Perform EC-572, " Throttle Valve Closed Position Learning " . PBIB3322E
PBIB3263E
Page 1933 of 4331
![NISSAN TIIDA 2009 Service Repair Manual TROUBLE DIAGNOSIS
EC-577
< SERVICE INFOMATION >
[MR TYPE 1] C
D E
F
G H
I
J
K L
M A EC
NP
O
TROUBLE DIAGNOSIS
Trouble Diagnosis Introduction INFOID:0000000004537051
INTRODUCTION The engine has an ECM NISSAN TIIDA 2009 Service Repair Manual TROUBLE DIAGNOSIS
EC-577
< SERVICE INFOMATION >
[MR TYPE 1] C
D E
F
G H
I
J
K L
M A EC
NP
O
TROUBLE DIAGNOSIS
Trouble Diagnosis Introduction INFOID:0000000004537051
INTRODUCTION The engine has an ECM](/manual-img/5/57398/w960_57398-1932.png)
TROUBLE DIAGNOSIS
EC-577
< SERVICE INFOMATION >
[MR TYPE 1] C
D E
F
G H
I
J
K L
M A EC
NP
O
TROUBLE DIAGNOSIS
Trouble Diagnosis Introduction INFOID:0000000004537051
INTRODUCTION The engine has an ECM to control major systems such as fuel con-
trol, ignition control, idle air control system, etc. The ECM accepts
input signals from sensors and instantly drives actuators. It is essen-
tial that both input and output signals are proper and stable. At the
same time, it is important that there are no malfunctions such as vac-
uum leaks, fouled spark plugs, or other malfunctions with the engine.
It is much more difficult to diagnose an incident that occurs intermit-
tently rather than continuously. Most intermittent incidents are
caused by poor electric connections or improper wiring. In this case,
careful checking of suspected circuits may help prevent the replace-
ment of good parts.
A visual check only may not find t he cause of the incidents. A road
test with CONSULT-III (or GST) or a circuit tester connected should
be performed. Follow the Work Flow on "WORK FLOW".
Before undertaking actual checks, take a few minutes to talk with a
customer who approaches with a driveability complaint. The cus-
tomer can supply good information about such incidents, especially
intermittent ones. Find out what symptoms are present and under
what conditions they occur. A Diagnostic Worksheet like the example
on "Worksheet Sample" should be used.
Start your diagnosis by looking for conventional malfunctions first.
This will help troubleshoot driveability malfunctions on an electroni-
cally controlled engine vehicle.
WORK FLOW MEF036D
SEF233G
SEF234G
Page 1967 of 4331
![NISSAN TIIDA 2009 Service Repair Manual EC
NP
O
NOTE:
Any monitored item that does not match the vehicle being diagnosed is deleted from the display automatically.
ACTIVE TEST MODE
Test Item AT OD CANCEL
[ON/OFF] • Indicates [ON/OFF] cond NISSAN TIIDA 2009 Service Repair Manual EC
NP
O
NOTE:
Any monitored item that does not match the vehicle being diagnosed is deleted from the display automatically.
ACTIVE TEST MODE
Test Item AT OD CANCEL
[ON/OFF] • Indicates [ON/OFF] cond](/manual-img/5/57398/w960_57398-1966.png)
EC
NP
O
NOTE:
Any monitored item that does not match the vehicle being diagnosed is deleted from the display automatically.
ACTIVE TEST MODE
Test Item AT OD CANCEL
[ON/OFF] • Indicates [ON/OFF] condition of A/T O/D cancel signal sent
from the TCM. • For M/T models always “OFF” is displayed
CRUISE LAMP
[ON/OFF] • Indicates [ON/OFF]
condition of CRUISE lamp determined
by the ECM according to the input signals.
SET LAMP
[ON/OFF] • Indicates [ON/OFF] condition of SET lamp determined by the
ECM according to the input signals.
A/F ADJ-B1 • Indicates the correction factor stored in ECM. The factor is
calculated from the difference between the target air/fuel ratio
stored in ECM and the air/fuel ratio calculated from air fuel ra-
tio (A/F) sensor 1 signal.
Monitored item [Unit] Description Remarks TEST ITEM CONDITION JUDGEMENT CHECK ITEM (REMEDY)
FUEL INJEC-
TION • Engine: Return to the original
trouble condition
• Change the amount of fuel injec- tion using CONSULT-III. If trouble symptom disappears, see
CHECK ITEM. • Harness and connectors
• Fuel injector
• Air fuel ratio (A/F) sensor 1
IGNITION TIM-
ING • Engine: Return to the original
trouble condition
• Timing light: Set
• Retard the ignition timing using
CONSULT-III. If trouble symptom disappears, see
CHECK ITEM. • Perform Idle Air Volume Learning.
POWER BAL-
ANCE • Engine: After warming up, idle the
engine.
• A/C switch OFF
• Shift lever: P or N (A/T, CVT), Neutral (M/T)
• Cut off each fuel injector signal
one at a time using CONSULT-III. Engine runs rough or dies.
• Harness and connectors
• Compression
• Fuel injector
• Power transistor
• Spark plug
• Ignition coil
COOLING FAN* • Ignition switch: ON
• Turn the cooling fan “LOW”, “HI” and “OFF” with CONSULT-III. Cooling fan moves and stops. • Harness and connectors
• Cooling fan relay
• Cooling fan motor
ENG COOLANT
TEMP • Engine: Return to the original
trouble condition
• Change the engine coolant tem- perature using CONSULT-III. If trouble symptom disappears, see
CHECK ITEM. • Harness and connectors
• Engine coolant temperature sen-
sor
• Fuel injector
FUEL PUMP RE-
LAY • Ignition switch: ON
(Engine stopped)
• Turn the fuel pump relay ON and OFF using CONSULT-III and lis-
ten to operating sound. Fuel pump relay makes the operat-
ing sound. • Harness and connectors
• Fuel pump relay
PURG VOL
CONT/V • Engine: After warming up, run en-
gine at 1,500 rpm.
• Change the EVAP canister purge volume control solenoid valve
opening percent using CON-
SULT-III. Engine speed changes according to
the opening percent. • Harness and connectors
• EVAP canister purge volume con- trol solenoid valve
FUEL/T TEMP
SEN • Change the fuel tank temperature using CONSULT-III.