Page 292 of 532

�µ
�µ
�´
�µ
�´ �µ
�µ
�µ Press the eject button to
remove the DVD from the drive.
To return f ront panel control to the
front audio system, turn the REAR
CTRL knob counterclockwise.
Press and hold the
side to move forward; you will see
‘‘CUE’’ in the display. Press and hold
the sidetomovebackward;you
will see ‘‘REV’’ in the display.
Release the bar when the system
reaches the point you want.
Each time you press and release the side of the SEEK/SKIP bar, the
system skips f orward to the
beginning of the next track or
chapter. Press and release the
side of the bar to skip backward to
the beginning of the current track or
chapter. Press it again to skip to the
beginning of the previous track or
chapter.
Turn the Rear CTRL knob clockwise.
The amber Rear LED comes on to
show that the control panel is now
enabled.
Insert a DVD into the DVD/CD
player below the f ront panel.
Push the DVD in half way, the drive
will pull it in the rest of the way.
Press the PLAY button if
the DVD does not start playing
automatically.
Press the PAUSE button
to pause the DVD. Press the button
again or press PLAY to resume.
Pause works only with the DVD
player.
Rear Entertainment System
EJECT
To Return to Front Audio
Controls
SEEK /SK IP
PL AY
PAUSE
Features
289
�\f���—�\f���—���
�y�
�
�������\f�
�y���
�(���������\f�y�\f�������y
2009 Odyssey
Page 315 of 532
If it takes several pushes on the
button to operate the rear
entertainment system, have your
dealer replace the batteries as soon
as possible.
The rear control panel can be
detached f rom the ceiling unit and
used as a remote control. To remove
it f rom the ceiling unit, press the
release button. The control panel will
swing down partway. Pivot it down
f urther past the detent until it
detaches f rom the hinge. To reinstall
it, reverse the procedure.
Battery type: BR3032An improperly disposed of battery
can hurt the environment.
Always conf irm local regulations f or
battery disposal.
Remote Control
Replacing the Remote Control
Batteries
Rear Entertainment System
312
COVER
RELEASE BUTTON
�\f���—�\f���—���
�y�
�
�����������y���
�(���������\f�y�\f���
���y
2009 Odyssey
Page 318 of 532
Some state and local government
agencies prohibit the use of
headphones by the driver of a motor
vehicle. Always obey applicable laws
and regulations.To use the headphones, pivot the
earpieces outward. This turns them
on. To adjust the volume, turn the
dial on the bottom of the right
earpiece. When you remove the
headphones, the earpieces
automatically pivot inward, and the
headphones turn of f . When not in
use, store the headphones in the
pocket of either f ront seat.
The audio f or the rear entertainment
system is sent to the wireless
headphones that come with the
system. When using the headphones,
make sure you wear them correctly:
L (lef t) and R (right) are marked on
the sides of the frame. Wearing the
headphones backwards may affect
audio reception, limiting the sound
quality and range.
Wireless Headphones
Rear Entertainment System
Features
315
VOLUME
DIAL
�\f���—�\f���—���
�y�
�
�������
���y���
�(���������\f�y�\f�����\f�y
2009 Odyssey
Page 319 of 532
Auxiliary input jacks and headphone
connectors f or the rear
entertainment system are under the
third row seat armrest on the driver’s
side. To access these connectors,
open the cover by pulling up on the
lever.
Remove the battery. Install the new
battery in the earpiece as shown in
the diagram next to the battery slot.
Slide the cover back into place on the
earpiece, then press down on the
back edge to lock it in place.
An improperly disposed of battery
can hurt the environment.
Always conf irm local regulations f or
battery disposal.
Each headphone uses one AAA
battery. The battery is under the
cover on the lef t earpiece. To
remove the cover, insert a coin in the
slot and twist it slightly to pry the
cover away f rom the earpiece. Pull
the cover outward, and pivot it out of
the way.
Rear Entertainment System
Auxiliary Input JacksReplacing Bat t eries
316
COVER
BATTERY LEVER
ARMREST
COIN
�\f���—�\f���—���
�y�
�
�����������y���
�(���������\f�y�\f�����
�y
2009 Odyssey
Page 321 of 532

Once the security system is set,
opening any door, the tailgate, or the
hood without using the key or the
remote transmitter, will cause it to
alarm. It also alarms if the audio unit
is removed f rom the dashboard or
the wiring is cut.The alarm will also be activated if a
passenger inside the locked vehicle
turns the ignition switch on.
The security system will not set if
the hood, tailgate, or any door is not
f ully closed. Bef ore you leave the
vehicle, make sure the doors,
tailgate, and hood are securely
closed.
To see if the system is set
af ter you exit the vehicle, press the
LOCK button on the remote
transmitter within 5 seconds. If the
system is set, the horn will beep
once.
Do not attempt to alter this system
or add other devices to it.
The security system automatically
sets 15 seconds after you lock the
doors, hood, and the tailgate. For the
system to activate, you must lock the
doorsandthetailgatefromthe
outside with the key, driver’s lock
tab, door lock master switch, or
remote transmitter. The security
system indicator on the instrument
panel starts blinking immediately to
show you the system is setting itself .
The security system helps to protect
your vehicle and valuables f rom thef t.
The horn sounds and a combination
of headlights, parking lights, side
marker lights, and taillights f lashes if
someone attempts to break into your
vehicleorremovetheradio.This
alarm continues f or 2 minutes, then
the system resets. To reset an
activated system before the 2
minutes have elapsed, unlock the
driver’s door with the key or the
remote transmitter.
On EX, EX-L and Touring models
Security System
318
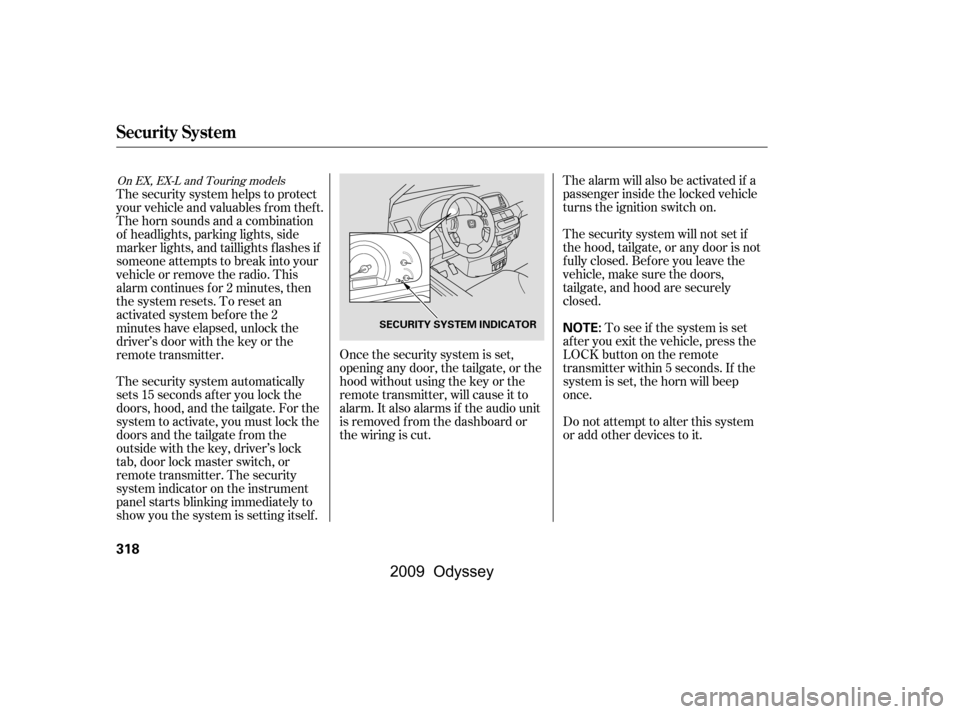
NOTE:SECURITY SYSTEM INDICATOR
�\f���—�\f���—���
�y�
�
�����������y���
�(���������\f�y�\f�������y
2009 Odyssey
Page 343 of 532

You can make calls using any phone
number, or by using a name in the
HFL phonebook. You can also redial
the last number called. During a call,
HFLallowsyoutotalkupto30
minutes af ter you remove the key
f rom the ignition switch. Continuing
a call without running the engine
may discharge and weaken the
vehicle’s battery.Press and release the Talk button.
Af ter the beep, say ‘‘Call’’ or ‘‘Dial.’’
HFL responds ‘‘Calling’’ or
‘‘Dialing.’’
Once connected, you will hear the
person you called through the
audio speakers. To change the
volume, use the audio system
volume knob or the steering wheel
volume controls.
To end the call, press the Back
button.
With your phone on and the
ignition switch in the
ACCESSORY (I) or ON (II)
position, press and release the
Talk button. After the beep, say
‘‘Call’’ or ‘‘Dial.’’
HFL responds ‘‘What name or
number would you like to call/
dial? Press the Talk button and say
a name, a number, or say list to
hear the phonebook entries.’’
Press and release the Talk button.
Af ter the beep, say the number
you want to call. For example, say
‘‘123 456 7891.’’
HFL responds ‘‘123 456 7891.
Press the Talk button and
continue to add numbers, or say
Call or Dial to place a call.’’ 4.
2.
1. 3.
To make a call using a phone number,
do this:
BluetoothHandsFreeL ink
Making a Call
340
�\f���—�\f���—���
�y�
����\f�\f��\f�\f�y���
�(���������\f�y�\f�������y
2009 Odyssey
Page 354 of 532

CONT INUED
To import the cellular phonebookSearch Imported Phonebook: This
option allows you to search the
phone numbers stored in HFL.
When you enter a person’s f irst
name or last name, the system will
f ind the number you want and let
you make calls.
Import Cellular Phonebook: This
option allows you to store the
phonebook of your cellular phone in
HFL. When you link your phone to
HFL and select this option, the
system will start importing and
loading the phonebook.
Delete Imported Phonebook: This
option allows you to delete the stored
phonebook f rom HFL. When you
link your phone to HFL and select
this option, the system will
automatically delete the phonebook
of the linked phone f rom HFL (see
page ).Bef ore selling or discarding
your vehicle, make sure to delete the
imported phonebook data.
PIN Number: This option allows you
to add, change, or remove a PIN
number f or any phonebook that has
been imported.
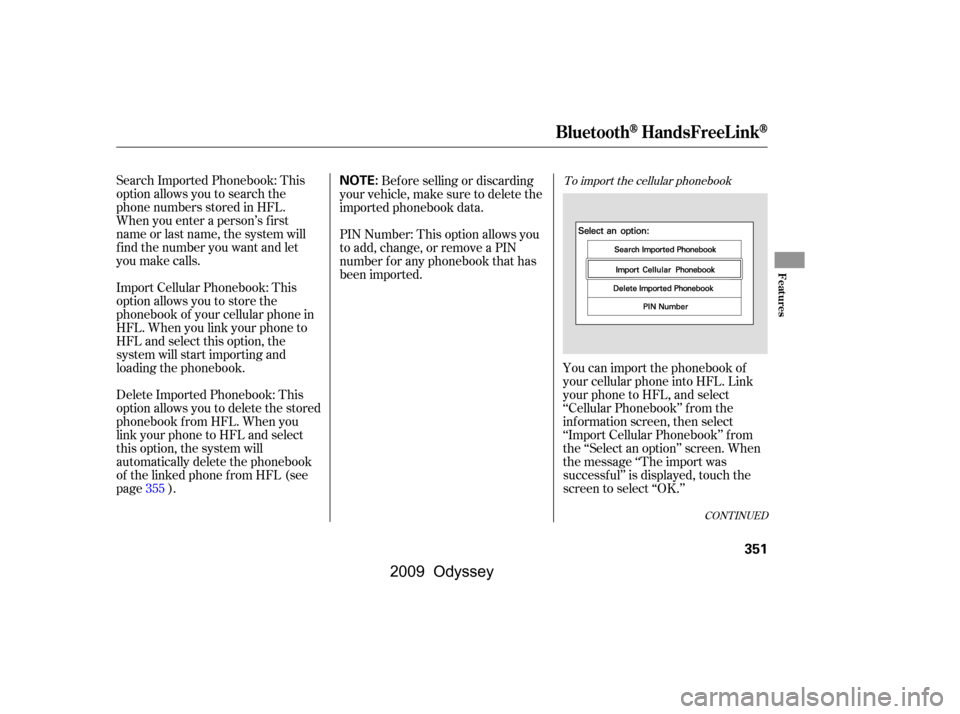
You can import the phonebook of
your cellular phone into HFL. Link
your phone to HFL, and select
‘‘Cellular Phonebook’’ f rom the
inf ormation screen, then select
‘‘Import Cellular Phonebook’’ f rom
the ‘‘Select an option’’ screen. When
the message ‘‘The import was
successf ul’’ is displayed, touch the
screen to select ‘‘OK.’’
355
BluetoothHandsFreeL ink
Features
351
NOTE:
�\f���—�\f���—���
�y�
����\f����\f�\f�y���
�(���������\f�y�\f�������y
2009 Odyssey
Page 359 of 532
To add, change, or remove a PINnumber f rom any phonebook To add a PIN number
You can add, change, or remove a
PIN number f rom any phonebook.
Select ‘‘Cellular Phonebook’’ f rom
the inf ormation screen, then select
‘‘PIN Number’’ f rom the ‘‘Select an
option’’ screen. The display will
change as shown above.Select the phonebook you wish to
add the PIN number to. When you
select the phonebook without a
PIN icon, the display will change
as shown above.
Enter the f our-digit PIN number.
Youwillbeaskedtore-enterthe
PIN to verif y.
1.
2.
BluetoothHandsFreeL ink
356
�\f���—�\f���—���
�y�
����\f��������y���
�(���������\f�y�\f�����
�y
2009 Odyssey