Page 199 of 532
To use the f ront beverage holder,
pull the handle.
Additional beverage holders f or the
frontseatpassengersareinthe
retractable center tray.The beverage holders f or the third
row seat passengers are in the
armrests on the rear side panels.
The plus-one seat has a beverage
holder on the back of the seat-back.
To use the beverage holder, remove
the seat cushion, and fold the seat-
back by pulling the seat-back strap
(see page ). 179Except U.S. LX and Canadian DX
models
Interior Convenience Items
196
�\f���—�\f���—���
�y�
�
����\f������y���
�(���������\f�y�\f���\f�
�y
2009 Odyssey
Page 201 of 532
Some larger styles of sunglasses
may not f it in the holder.
You may also store small items in
thisholder.Makesuretheyare
small enough to let the holder close
and latch, and that they are not
heavy enough to cause the holder to
pop open while driving.To use the sun visor, pull it down.
Whenusingthesunvisorforthe
side window, remove the support rod
f rom the clip, and swing it out.
Make sure you put the sun visor
back in place when you are getting
into or out of the vehicle.
The sunglasses holder uses a convex
mirror f or its bottom panel. You can
see all the vehicle passengers in this
mirror. To use the mirror, open the
sunglasses holder f ully, push it to the
f irst detent, and release it.
To switch back to the sunglasses
holder, close the conversation mirror
and then open the sunglasses holder.If equipped
Conversation Mirror
Sun Visor
Interior Convenience Items
198
SUN VISOR
�\f���—�\f���—���
�y�
�
����\f������y���
�(���������\f�y�\f���\f���y
2009 Odyssey
Page 202 of 532
Pull up the vanity mirror cover to use
the mirror. The lights come on when
you open the cover. Make sure you
close the cover when you are not
using the vanity mirror.
The vanity mirror light will not come
on if the sun visor is slid outward.To open the compartment, pull the
lever and lif t the lid. To close, lower
the lid and push it down until it
latches.
You can store items under the seat
cushion of the plus-one seat.
Pull the strap to raise the seat
cushion, store items, then reinstall
the cushion or remove the cushion
and fold the seat-back down to use
the seat as a tray.Except U.S. LX and Canadian DX
models
Vanity Mirror Rear CompartmentSecond Row Console
Interior Convenience Items
Inst rument s and Cont rols
199
REAR COMPARTMENT LEVER STRAP
�\f���—�\f���—���
�y�
�
����\f������y���
�(���������\f�y�\f���\f���y
2009 Odyssey
Page 203 of 532
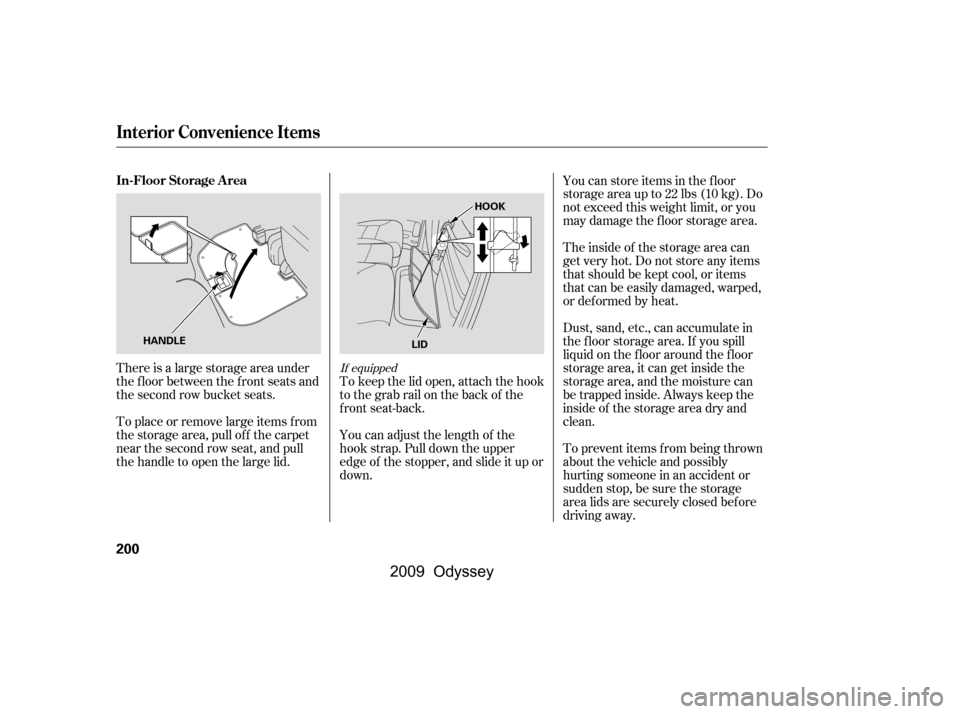
There is a large storage area under
the floor between the front seats and
the second row bucket seats.
To place or remove large items f rom
the storage area, pull off the carpet
near the second row seat, and pull
thehandletoopenthelargelid.You can store items in the f loor
storageareaupto22lbs(10kg).Do
not exceed this weight limit, or you
may damage the floor storage area.
Theinsideof thestorageareacan
get very hot. Do not store any items
that should be kept cool, or items
that can be easily damaged, warped,
or def ormed by heat.
Dust, sand, etc., can accumulate in
the f loor storage area. If you spill
liquid on the f loor around the f loor
storage area, it can get inside the
storage area, and the moisture can
be trapped inside. Always keep the
inside of the storage area dry and
clean.
To prevent items f rom being thrown
about the vehicle and possibly
hurting someone in an accident or
sudden stop, be sure the storage
area lids are securely closed bef ore
driving away.
You can adjust the length of the
hook strap. Pull down the upper
edge of the stopper, and slide it up or
down.
To keep the lid open, attach the hook
to the grab rail on the back of the
f ront seat-back.If equipped
In-Floor Storage A rea
Interior Convenience Items
200
HANDLE HOOK
LID
�\f���—�\f���—���
�y�
�
����
��\f�\f�y���
�(���������\f�y�\f���\f���y
2009 Odyssey
Page 217 of 532
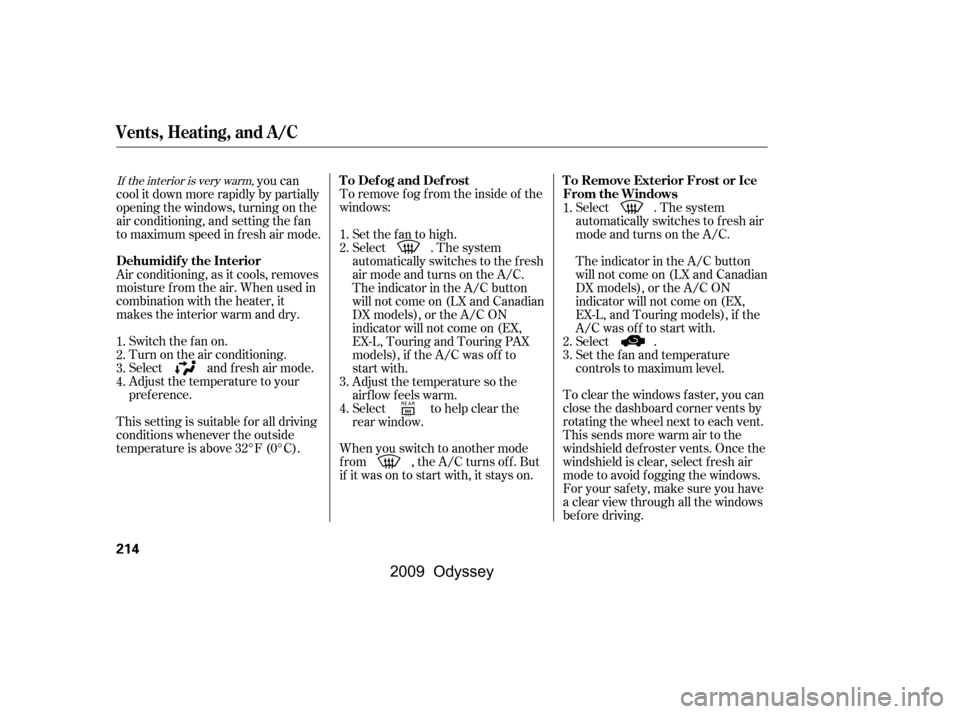
To remove f og f rom the inside of the
windows:To clear the windows f aster, you can
close the dashboard corner vents by
rotating the wheel next to each vent.
This sends more warm air to the
windshield def roster vents. Once the
windshield is clear, select f resh air
mode to avoid f ogging the windows.
For your saf ety, make sure you have
a clear view through all the windows
bef ore driving.
you can
cool it down more rapidly by partially
opening the windows, turning on the
air conditioning, and setting the f an
to maximum speed in f resh air mode.
Air conditioning, as it cools, removes
moisture from the air. When used in
combination with the heater, it
makes the interior warm and dry.
This setting is suitable f or all driving
conditions whenever the outside
temperature is above 32°F (0°C). Switch the f an on.
Turn on the air conditioning.
Select and fresh air mode.
Adjust the temperature to your
pref erence.
When you switch to another mode
f rom , the A/C turns of f . But
if it was on to start with, it stays on.Set the f an to high.
Select . The system
automatically switches to the fresh
air mode and turns on the A/C.
The indicator in the A/C button
will not come on (LX and Canadian
DX models), or the A/C ON
indicator will not come on (EX,
EX-L, Touring and Touring PAX
models), if the A/C was of f to
start with.
Adjust the temperature so the
airflow feels warm.
Select to help clear the
rear window.
Select . The system
automatically switches to f resh air
mode and turns on the A/C.
The indicator in the A/C button
will not come on (LX and Canadian
DX models), or the A/C ON
indicator will not come on (EX,
EX-L, and Touring models), if the
A/C was off to start with.
Select .
Set the f an and temperature
controls to maximum level.
1.
2.
3.
4. 1.
1.
2.
3.
4. 2.
3.
If the interior is very warm,
Vents, Heating, and A/C
T o Def og and Def rost
T o Remove Exterior Frost or Ice
From the Windows
Dehumidif y the Interior
214
�\f���—�\f���—���
�y�
�
�����������y���
�(���������\f�y�\f���
���y
2009 Odyssey
Page 235 of 532
�µ
In MP3 or WMA mode
This
feature, when activated, plays all
f iles on the selected f older in random
order. To activate f older random,
press the RDM button. You will see
F-RDM in the display. The system
will then select and play f iles
randomly. This continues until you
deactivate f older random by pressing
and holding the RDM button f or 2
seconds.
Each time you press and release the
RDM button, the mode changes
f rom f older random play to random
play (within a disc random play),
then to normal play. Press the eject button ( ) to
remove the disc. If you eject the disc,
but do not remove it f rom the slot,
the system will automatically reload
the disc af ter 10 seconds and put it in
pause mode. To begin playing, press
the CD button.
Press the AM or FM button to
switch to the radio while a disc is
playing. Press the CD button to play
the disc.
If you turn the system of f while a
disc is playing, either with the PWR/
VOL knob or by turning of f the
ignition switch, the disc will stay in
the drive. When you turn the system
back on, the disc will begin playing
where it lef t of f .For inf ormation on how to handle
and protect compact discs, see page
.272
Playing a Disc (L X and Canadian DX models)
FOLDER-RANDOM T o Stop Playing a Disc
Protecting Compact Discs
232
�\f���—�\f���—���
�y�
�
�����������y���
�(���������\f�y�\f�������y
2009 Odyssey
Page 236 of 532
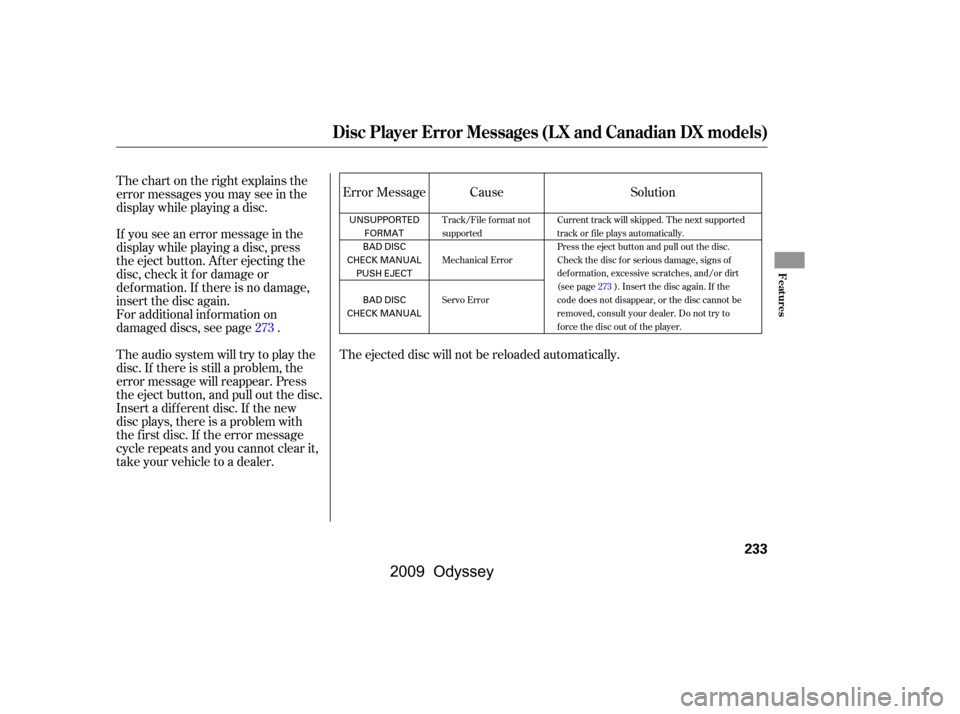
The ejected disc will not be reloaded automatically.
If you see an error message in the
display while playing a disc, press
the eject button. After ejecting the
disc, check it for damage or
deformation. If there is no damage,
insert the disc again.
For additional information on
damaged discs, see page .
Theaudiosystemwilltrytoplaythe
disc. If there is still a problem, the
error message will reappear. Press
the eject button, and pull out the disc.
Insert a dif f erent disc. If the new
disc plays, there is a problem with
the f irst disc. If the error message
cycle repeats and you cannot clear it,
take your vehicle to a dealer. Cause
Error Message
Thechartontherightexplainsthe
error messages you may see in the
display while playing a disc. Solution
273
Track/File format not
supported
Mechanical Error
Servo Error Current track will skipped. The next supported
track or file plays automatically.
Press the eject button and pull out the disc.
Check the disc for serious damage, signs of
deformation, excessive scratches, and/or dirt
(see page273). Insert the disc again. If the
code does not disappear, or the disc cannot be
removed, consult your dealer. Do not try to
force the disc out of the player.
Disc Player Error Messages (LX and Canadian DX models)
Features
233
UNSUPPORTED
FORMAT
BAD DISC
CHECK MANUAL PUSH EJECT
BAD DISC
CHECK MANUAL
�\f���—�\f���—���
�y�
�
���������\f�y���
�(���������\f�y�\f�������y
2009 Odyssey
Page 253 of 532
For inf ormation on how to handle
and protect compact discs, see page.
To remove the disc that is currently
playing, press the eject button. You
will see ‘‘EJECT’’ in the display.
When you remove the disc f rom the
slot, the system automatically begins
the load sequence so you can load
another disc in that position. If you
do not load another disc af ter 15
seconds, the system selects the
previous mode (AM, FM, or XM).
If you do not remove the disc f rom
the slot, the system will reload the
disc af ter 10 seconds, and select the
previous mode (AM, FM, or XM). To
begin playing the disc, press the CD
button.
To remove a different disc from the
changer,firstselectitwiththe
appropriate preset button. When that
disc begins playing, press the eject
button. If you press the eject button while
listening to the radio, or with the
audio system turned of f , the disc
that was last selected is ejected.
Af ter that disc is ejected, pressing
the eject button again will eject the
next disc in numerical order. By
doing this six times, you can remove
all the CDs f rom the changer.
In any mode, if you press the eject
button and hold it until you hear a
beep, the system will eject all of the
discs in the changer.
You can also eject discs when the
ignition switch is of f . The disc that
was last selected is ejected f irst. You
can eject up to six discs, one at a
time.
272
Playing Discs (EX and EX-L models without navigation system)
Protecting Compact DiscsRemoving Discs f rom t he In-dash
Disc Changer
250
�\f���—�\f���—���
�y�
�
�����������y���
�(���������\f�y�\f�������y
2009 Odyssey