Page 444 of 532
Open the tailgate.Install the rear light assembly in
the rear pillar. Tighten the two
bolts. Snap the bolt covers into
position.
Put the socket back into the light
assembly, and turn it clockwise to
lock it in place.
Testthelightstomakesurethe
new bulb is working.
Remove the two bolt covers on the
rear pillar by prying on the bottom
edge with a flat-tip screwdriver.
Remove the bolts with a Phillips-
head screwdriver, and remove the
light assembly f rom the rear pillar. Push the new bulb straight into
the socket until it bottoms.
Remove the bulb by pulling it
straight out of its socket.
Remove the socket by turning it
one-quarter turn counterclockwise.
Determine which of the two bulbs
is burned out: turn signal or
brake/taillight.
2. 3.
5.6.
1. 4.7.
8.
Lights
Replacing Rear Bulbs (in Rear
Pillar)
Maint enance
441
COVER
BOLTS BULBS
SOCKETS
�\f���—�\f���—���
�y�
����
����
���y���
�(���������\f�y�\f�������y
2009 Odyssey
Page 445 of 532
Open the tailgate. Place a cloth on
the edge of the light assembly
cover. Remove the cover by
caref ully prying in the notch on its
middle edge with a f lat-tip
screwdriver.
Determine which of the two bulbs
is burned out: taillight or back-up
light.Remove the socket by turning it
one-quarter turn counterclockwise.
Pull the bulb straight out of its
socket. Push the new bulb straight
into the socket until it bottoms.Turn on the lights to make sure
the new bulb is working.
Reinstall the socket into the light
assembly by turning it clockwise
until it locks.
Reinstall the light assembly cover.
1.
2. 3.
4.5.
7.
6.
Lights
Replacing Rear Bulbs
(in Tailgate)
442
COVER
BULBS
SOCKETS
�\f���—�\f���—���
�y�
����
��������y���
�(���������\f�y�\f�������y
2009 Odyssey
Page 446 of 532
Remove the socket f rom the light
assembly by turning it one-quarter
turn counterclockwise.
Remove the two screw covers on
the light assembly by prying on
the side edge with a flat-tip
screwdriver.
Remove the screws with a Phillips-
head screwdriver, then remove
the light assembly f rom the
tailgate. Pull the bulb straight out of its
socket. Push the new bulb straight
into the socket until it bottoms.Press the brake pedal to make
sure the new bulb is working.
Put the socket back into the light
assembly, and turn it clockwise to
lock it in place.
Reinstall the high-mount brake
light assembly into the tailgate.
Tighten the two screws and
reinstall the covers.
1.
2. 3.
4.5.
6.
7.
Lights
Replacing a High-mount Brake
Light Bulb
Maint enance
443
SCREWS
BULB
SOCKET
COVER
�\f���—�\f���—���
�y�
����
��������y���
�(���������\f�y�\f�������y
2009 Odyssey
Page 447 of 532

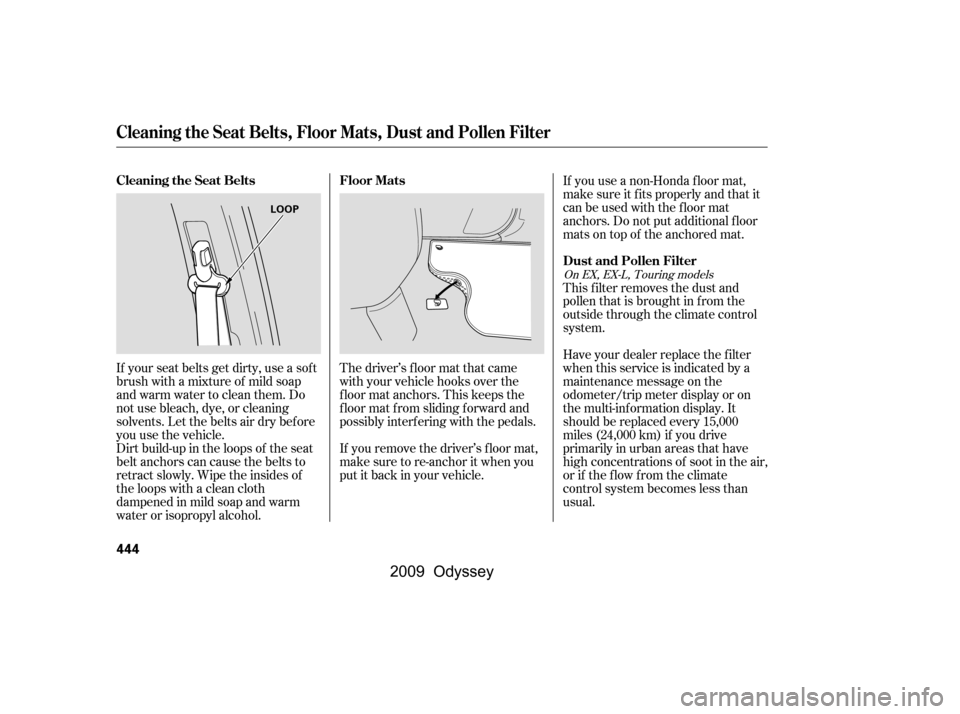
If your seat belts get dirty, use a sof t
brush with a mixture of mild soap
and warm water to clean them. Do
not use bleach, dye, or cleaning
solvents. Let the belts air dry bef ore
you use the vehicle.
Dirt build-up in the loops of the seat
belt anchors can cause the belts to
retract slowly. Wipe the insides of
the loops with a clean cloth
dampened in mild soap and warm
water or isopropyl alcohol.If you remove the driver’s f loor mat,
make sure to re-anchor it when you
putitbackinyourvehicle.
The driver’s f loor mat that came
with your vehicle hooks over the
f loor mat anchors. This keeps the
f loor mat f rom sliding f orward and
possibly interf ering with the pedals.If you use a non-Honda f loor mat,
make sure it f its properly and that it
canbeusedwiththefloormat
anchors. Do not put additional f loor
mats on top of the anchored mat.
This f ilter removes the dust and
pollenthatisbroughtinfromthe
outside through the climate control
system.
Have your dealer replace the filter
when this service is indicated by a
maintenance message on the
odometer/trip meter display or on
the multi-information display. It
should be replaced every 15,000
miles (24,000 km) if you drive
primarily in urban areas that have
high concentrations of soot in the air,
or if the f low f rom the climate
control system becomes less than
usual.
On EX, EX-L, Touring models
Floor Mats
Cleaning the Seat Belts
Dust and Pollen Filter
Cleaning the Seat Belts, Floor Mats, Dust and Pollen Filter
444
LOOP
�\f���—�\f���—���
�y�
����
��������y���
�(���������\f�y�\f�������y
2009 Odyssey
Page 449 of 532
Pivot the blade assembly toward
the wiper arm until it releases
from the wiper arm.
When replacing a wiper blade,
make sure not to drop the wiper
blade or wiper arm down on the
windshield.Examine the new wiper blades. If
they have no plastic or metal
reinf orcement along the back
edge, remove the metal
reinf orcement strips f rom the old
wiper blade, and install them in
the slots along the edge of the new
blade.
Remove the blade f rom its holder
by grabbing the tabbed end of the
blade. Pull f irmly until the tabs
come out of the holder.
3. 4.
Wiper Blades
446
BLADE
WIPER ARM
�\f���—�\f���—���
�y�
����
��������y���
�(���������\f�y�\f�����
�y
2009 Odyssey
Page 451 of 532
Pull one end of the blade out f rom
the holder.
Slide the blade out of the holder.
To replace a rear wiper blade:
Disconnect the blade assembly
f rom the wiper arm by pivoting the
blade assembly upward. Examine the new wiper blades. If
they have no plastic or metal
reinf orcement along the back
edge, remove the metal
reinf orcement strips f rom the old
wiper blade, and install them in
the slots along the edge of the new
blade.
1.
2.
3.
Wiper Blades
448
BLADE
REINFORCEMENT
�\f���—�\f���—���
�y�
����
����
���y���
�(���������\f�y�\f�������y
2009 Odyssey
Page 456 of 532

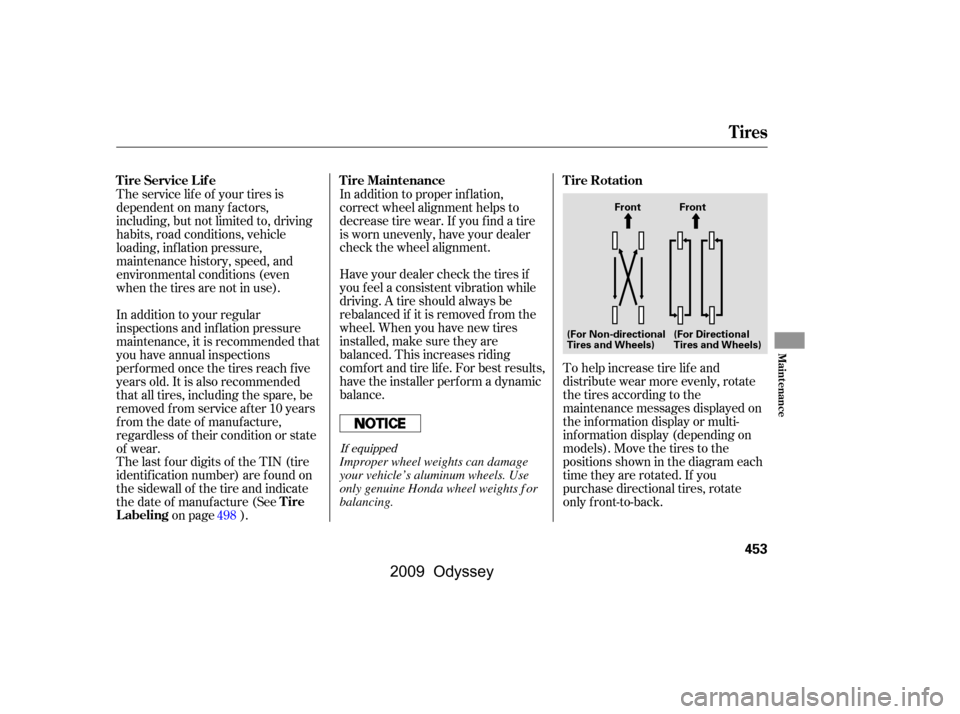
To help increase tire lif e and
distribute wear more evenly, rotate
the tires according to the
maintenance messages displayed on
the inf ormation display or multi-
inf ormation display (depending on
models). Move the tires to the
positions shown in the diagram each
time they are rotated. If you
purchase directional tires, rotate
only f ront-to-back.
In addition to proper inf lation,
correct wheel alignment helps to
decrease tire wear. If you f ind a tire
is worn unevenly, have your dealer
check the wheel alignment.
Have your dealer check the tires if
you f eel a consistent vibration while
driving. A tire should always be
rebalanced if it is removed f rom the
wheel. When you have new tires
installed, make sure they are
balanced. This increases riding
comf ort and tire lif e. For best results,
have the installer perform a dynamic
balance.
The service lif e of your tires is
dependent on many f actors,
including, but not limited to, driving
habits, road conditions, vehicle
loading, inf lation pressure,
maintenance history, speed, and
environmental conditions (even
when the tires are not in use).
The last f our digits of the TIN (tire
identif ication number) are f ound on
the sidewall of the tire and indicate
the date of manufacture (See
on page ).
In addition to your regular
inspections and inf lation pressure
maintenance, it is recommended that
you have annual inspections
perf ormed once the tires reach f ive
years old. It is also recommended
that all tires, including the spare, be
removed from service after 10 years
from the date of manufacture,
regardless of their condition or state
of wear.
498
If equipped
Tires
Tire Rotation
T ire Maintenance
Tire Service Lif e
Tire
Labeling
Maint enance
453
Front Front
(For Non-directional
Tires and Wheels) (For Directional
Tires and Wheels)
Improper wheel weights can damage
your vehicle’s aluminum wheels. Use
only genuine Honda wheel weights f or
balancing.
�\f���—�\f���—���
�y�
����
����\f���y���
�(���������\f�y�\f�������y
2009 Odyssey
Page 459 of 532

Tire chains cannot be used with a
flat front tire. If a front tire goes flat
when a tire chain is installed on it,
remove the chain, and f ollow the
precautions described under
Michelin PAX System (see page
).
The previously listed chains are the
only ones that have been approved
by Honda f or use on your vehicle.
Since Honda cannot test all chains,
you must be personally responsible
f or proper selection, installation, and
useof tirechains.
These chains are available at many
auto supply stores. For a complete
list of stores, visit the SCC website at
www.scc-chain.com. When installing
chains, f ollow the manuf acturer’s
instructions, and mount them as
tightlyasyoucan.Driveslowlywith
chains installed.
When installing cables, f ollow the
manuf acturer’s instructions, and
mount them as tight as you can.
Make sure they are not contacting
the brake lines or suspension. Drive
slowly with them installed. If you
hear them coming into contact with
the body or chassis, stop and
investigate. Remove them as soon as
youbegindrivingonclearedroads.
462
Tires
456
Using the wrong chains, or not
properly installing chains, can
damage the brake lines and
cause a crash in which you can
be seriously injured or killed.
Follow all instructions in this
owner’s manual regarding the
selection and use of tire chains.
Traction devices that are the wrong
size or improperly installed can
damage your vehicle’s brake lines,
suspension, body, and wheels. Stop
driving if they are hitting any part of
the vehicle.
�����—�����—���
�y�
����
��������y���
�(�����������y�������
�y
2009 Odyssey