2009 DODGE DAKOTA ignition
[x] Cancel search: ignitionPage 224 of 449
1. The Electronic Serial Number/Sirius Identification
Number (ESN/SID).
2. Your Vehicle Identification Number.
To access the ESN/SID, refer to the following steps:
ESN/SID Access With REQ/RES Radios
With the ignition switch in the ON/RUN or ACC posi-
tion and the radio on, press the SETUP button and scroll
using the Tune/Scroll control knob until Sirius ID is
selected. Press the Tune/Scroll control knob and the
Sirius ID number will display. The Sirius ID number
display will time out in two minutes. Press any button on
the radio to exit this screen.
ESN/SID Access With REN/RER Radios
While in SAT mode, press the MENU button on the radio
faceplate.
Next, touch the SUBSCRIPTION tab on the touch screen.
All the ESNs that apply to your vehicle will display.
ESN/SID Access With REU Radio
While in SAT mode, press the MENU button on the radio
faceplate.
Next, turn the knob surrounding the joystick in the center
of the radio to scroll to Subscription, and then press and
release the joystick. All of the ESNs that apply to your
vehicle will display.
Selecting Satellite Mode
Press the SAT button until9SAT9appears in the display. A
CD may remain in the radio while in the Satellite radio
mode.
Satellite Antenna
To ensure optimum reception, do not place items on the
roof around the rooftop antenna location or strap items to
the trunk lid around the trunk lid antenna (if equipped).
Metal objects placed within the line of sight of the
antenna will cause decreased performance. Larger lug-
gage items such as bikes should be placed as far rearward
222 UNDERSTANDING YOUR INSTRUMENT PANEL
Page 225 of 449
as possible, within the loading design of the rack. Do not
place items directly on or above the antenna.
Reception Quality
Satellite reception may be interrupted due to one of the
following reasons:
²The vehicle is parked in an underground parking
structure or under a physical obstacle.
²Dense tree coverage may interrupt reception in the
form of short audio mutes.
²Driving under wide bridges or along tall buildings can
cause intermittent reception.
²Placing objects over or too close to the antenna can
cause signal blockage.
Operating Instructions Ð Satellite Mode
NOTE:The ignition switch must be in the ON or ACC
position to operate the radio.
SEEK Buttons
Press and release the SEEK buttons to search for the next
channel in Satellite mode. Press the right switch to seek
up and the left switch to seek down. The radio will
remain tuned to the new channel until you make another
selection. Holding either button will bypass channels
without stopping until you release it.
SCAN Button (When Equipped)
Pressing the SCAN button causes the tuner to search for
the next channel, pausing for eight seconds before con-
tinuing to the next. To stop the search, press the SCAN
button a second time.
INFO Button Ð Except REU Radio
Pressing the INFO button will cycle the display informa-
tion between Artist, Song Title, and Composer (if avail-
able). Also, pressing and holding the INFO button for an
UNDERSTANDING YOUR INSTRUMENT PANEL 223
4
Page 241 of 449
STARTING PROCEDURES
Before starting your vehicle, adjust your seat, adjust both
inside and outside mirrors, and fasten your seat belts.
WARNING!
Do not leave children or animals inside parked
vehicles in hot weather. Interior heat buildup may
cause serious injury or death.
Manual Transmission
Apply the parking brake, place the shift lever in NEU-
TRAL and depress clutch pedal to the floor before
starting the vehicle. This vehicle is equipped with a
clutch interlocking ignition system. It will not start unless
the clutch is pressed to the floor.
Automatic Transmission
Start the engine with the shift lever in NEUTRAL or
PARK position. Apply the brake before shifting to any
driving range.
NOTE: This vehicle is equipped with a transmission
shift interlocking system. The brake pedal must be
depressed to shift out of PARK.
Tip Start Feature
Turn the ignition switch to START position and release it
as soon as the starter engages. The starter motor will
continue to run, but will automatically disengage itself
when the engine is running. If the engine fails to start, the
starter will disengage automatically in 10 seconds. If this
occurs, turn the ignition switch to the LOCK position,
wait 10 to 15 seconds, then repeat the normal starting
procedure.
STARTING AND OPERATING 239
5
Page 242 of 449
Normal Starting
NOTE:Normal starting of either a warm or cold engine
is obtained without pumping or depressing the accelera-
tor pedal.
Turn the ignition switch to the START position and
release when the engine starts. If the engine fails to start
within 10 seconds, turn the key to the OFF position, wait
5 seconds, then repeat the starting procedure.
Extreme Cold Weather (below ±20ÉF or ±29ÉC)
To insure reliable starting at these temperatures, use of an
externally powered electric engine block heater (available
from your dealer) is recommended.
If Engine Fails To Start
WARNING!
²Never pour fuel or other flammable liquids into
the throttle body air inlet opening in an attempt to
start the vehicle. This could result in a flash fire
causing serious personal injury.
²Do not attempt to push or tow your vehicle to get
it started. Vehicles equipped with an automatic
transmission cannot be started this way. Unburned
fuel could enter the catalytic converter and once
the engine has started, ignite and damage the
converter and vehicle. If the vehicle has a dis-
charged battery, booster cables may be used to
obtain a start from a booster battery or the battery
in another vehicle. This type of start can be dan-
gerous if done improperly. Refer to ªJump-
Startingº in Section 6 and follow them carefully.
240 STARTING AND OPERATING
Page 248 of 449
CAUTION! (Continued)
²Before shifting into any gear, make sure your foot
is firmly on the brake pedal.
WARNING!
It is dangerous to move the shift lever out of PARK or
NEUTRAL if the engine speed is higher than idle
speed. If your foot is not firmly on the brake pedal,
the vehicle could accelerate quickly forward or in
reverse. You could lose control of the vehicle and hit
someone or something. Only shift into gear when the
engine is idling normally and when your right foot is
firmly on the brake pedal.
Brake/Transmission Interlock System
This system prevents you from moving the shift lever out
of PARK and into any gear unless the brake pedal is
pressed. This system is active only while the ignitionswitch is in the ON position. Always depress thebrake
pedal first,before moving the shift lever out of PARK.
Automatic Transmission
The electronic PRNDL on the instrument cluster indicates
the transmission gear selected. The shift lever is mounted
on the right side of the steering column. To drive, move
the shift lever from PARK or NEUTRAL to the desired
drive position. Pull the shift lever toward you when
shifting into REVERSE, SECOND, FIRST or PARK, or
when shifting out of PARK.
Gear Ranges
DO NOT race the engine when shifting from PARK or
NEUTRAL position into another gear range.
PARK
PARK supplements the parking brake by locking the
transmission. The engine can be started in this range.
Never use PARK while the vehicle is in motion. Apply
246 STARTING AND OPERATING
Page 257 of 449
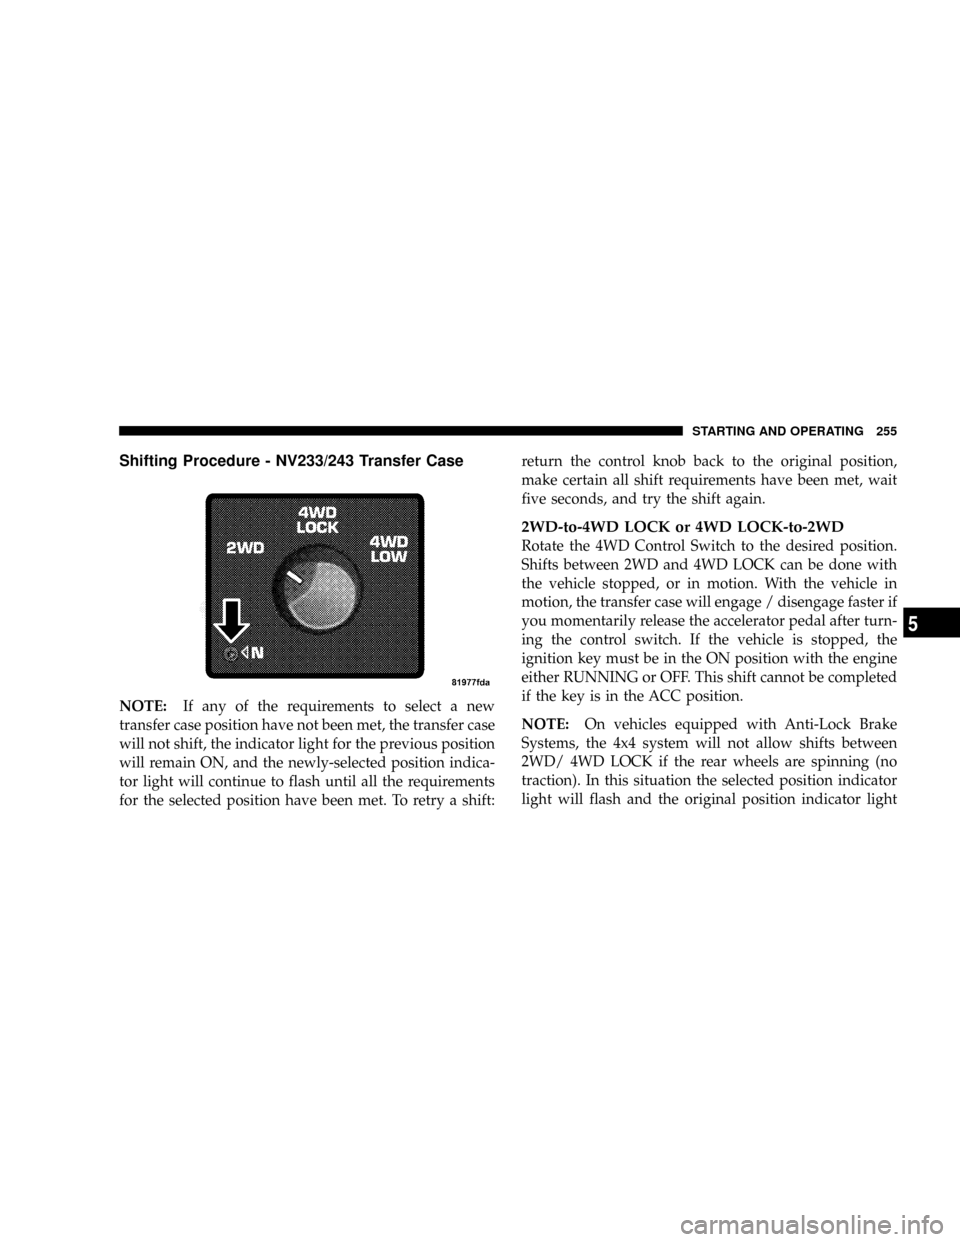
Shifting Procedure - NV233/243 Transfer Case
NOTE:If any of the requirements to select a new
transfer case position have not been met, the transfer case
will not shift, the indicator light for the previous position
will remain ON, and the newly-selected position indica-
tor light will continue to flash until all the requirements
for the selected position have been met. To retry a shift:return the control knob back to the original position,
make certain all shift requirements have been met, wait
five seconds, and try the shift again.
2WD-to-4WD LOCK or 4WD LOCK-to-2WD
Rotate the 4WD Control Switch to the desired position.
Shifts between 2WD and 4WD LOCK can be done with
the vehicle stopped, or in motion. With the vehicle in
motion, the transfer case will engage / disengage faster if
you momentarily release the accelerator pedal after turn-
ing the control switch. If the vehicle is stopped, the
ignition key must be in the ON position with the engine
either RUNNING or OFF. This shift cannot be completed
if the key is in the ACC position.
NOTE:On vehicles equipped with Anti-Lock Brake
Systems, the 4x4 system will not allow shifts between
2WD/ 4WD LOCK if the rear wheels are spinning (no
traction). In this situation the selected position indicator
light will flash and the original position indicator light
STARTING AND OPERATING 255
5
Page 259 of 449
4. After the desired position indicator light is ON (not
flashing), shift transmission back into gear (release clutch
on manual transmissions).
NOTE:If steps 1 or 2, of either the Preferred or Alternate
Procedure, are not satisfied prior to attempting the shift,
or if they no longer are being met while the shift attempt
is in process, then the indicator light will flash and the
current transfer case position will be maintained. To retry
the selection, turn the control knob back to the current
position, wait five seconds, and retry shift.
NOTE:The ignition key must be ON for a shift to take
place and for the position indicator lights to be operable.
If the key is not ON then the shift will not take place and
no position indicator lights will be on or flashing.NV 244 Generation II Transfer Case Operating
Information / Precautions
The NV 244 Generation II is an electric-shift transfer case
and is operated by the 4WD Control Switch, which is
located on the instrument panel.
The NV 244 Generation II transfer case provides four
mode positions - Normal four-wheel drive (4WD) high
range, 4-wheel-drive lock (4WD LOCK), 4-wheel drive
low (4WD LOW) range, and NEUTRAL.
This transfer case is equipped with an inter-axle differ-
ential that allows driving the vehicle in the normal
all-wheel drive position (4WD) at all times on any given
road surface, including dry, hard-surfaced roads. The
4WD mode allows the front and rear wheels to rotate at
different speeds. This eliminates driveline binding and
component wear normally associated with driving the
vehicle in the 4WD LOCK position on dry, hard-surfaced
STARTING AND OPERATING 257
5
Page 264 of 449
3. While still rolling, rotate the transfer case control
switch to the desired position.
4. After the position indicator light has stopped flashing,
shift the transmission back into gear.
Alternate Procedure
1. Bring the vehicle to a complete stop.
2. With the key ON and the engine either OFF or
running, shift the transmission into NEUTRAL.
3. Rotate the transfer case control switch to the desired
position.
4. After the position indicator light has stopped flashing,
shift the transmission back into gear.
NOTE:
²The ignition key must be ON for a shift to take place
and for the position indicator lights to be operable. Ifthe key is not ON then the shift will not take place and
no position indicator lights will be on or flashing.
²If any of the requirements to select a new transfer case
position have not been met, the transfer case will not
shift. The indicator light will flash and the current
transfer case position will be maintained. To retry the
selection, turn the control knob back to the current
position, wait five seconds, and retry the shift.
LIMITED-SLIP REAR AXLE DIFFERENTIAL Ð IF
EQUIPPED
The limited-slip differential provides additional traction
on snow, ice, mud, sand and gravel. It improves traction
when there is a difference between the characteristics of
the surface under the right and left rear wheels. During
normal driving and cornering, the limited-slip unit is
similar to a conventional differential. But on a slippery
surface, the differential delivers more of the driving effort
to the wheel having the better traction.
262 STARTING AND OPERATING