2009 DODGE DAKOTA oil level
[x] Cancel search: oil levelPage 344 of 449
WARNING!
A loose tire or jack thrown forward in a collision or
hard stop could injure someone in the vehicle. Al-
ways stow the jack, tools and the extra tire and wheel
in the places provided.
8. Lower the jack to its fully closed position. Stow the
replaced tire, jack, and tools as previously described.
9. Adjust the tire pressure when possible.
NOTE:Do not oil wheel studs. For chrome wheels, do
not substitute with chrome plated wheel nuts.
WARNING!
Carefully follow these tire changing warnings to
help prevent personal injury or damage to your
vehicle:
(Continued)
WARNING! (Continued)
²Always park on a firm, level surface as far from
the edge of the roadway as possible before raising
the vehicle.
²Block the wheel diagonally opposite the wheel to
be raised.
²Apply the parking brake firmly before jacking.
²Never start the engine with the vehicle on a jack.
²Do not let anyone sit in the vehicle when it is on a
jack.
²Do not get under the vehicle when it is on a jack.
²Only use the jack in the positions indicated.
²If working on or near a roadway, be extremely
careful of motor traffic.
²To assure that spare tires, flat or inflated, are
securely stowed, spares must be stowed with the
valve stem facing the ground.
342 WHAT TO DO IN EMERGENCIES
Page 358 of 449
DEALER SERVICE
Your authorized dealer has the qualified service person-
nel, special tools and equipment to perform all service
operations in an expert manner. Service Manuals are
available which include detailed service information for
your vehicle. Refer to these manuals before attempting
any procedure yourself.
NOTE:Intentional tampering with emissions control
systems can result in civil penalties being assessed
against you.
WARNING!
You can be badly injured working on or around a
motor vehicle. Do only that service work for which
you have the knowledge and the proper equipment.
If you have any doubt about your ability to perform
a service job, take your vehicle to a competent
mechanic.
MAINTENANCE PROCEDURES
The pages that follow contain therequiredmaintenance
services determined by the engineers who designed your
vehicle.
Besides the maintenance items for which there are fixed
maintenance intervals, there are other items that should
operate satisfactorily without periodic maintenance.
However, if a malfunction of these items does occur, it
could adversely affect the engine or vehicle performance.
These items should be inspected if a malfunction is
observed or suspected.
Engine Oil
Checking Oil Level
To assure proper lubrication of your vehicle's engine, the
engine oil must be maintained at the correct level. The
best time to check the engine oil level is about five
minutes after a fully warmed-up engine is shut off, or
before starting the engine after it has sat overnight.
356 MAINTAINING YOUR VEHICLE
Page 359 of 449
Checking the oil while the vehicle is on level ground will
improve the accuracy of the oil level readings. Always
maintain the oil level within the SAFE zone on the
dipstick. Adding one quart/liter of oil when the reading
is at the bottom of the SAFE zone will result in a reading
at the top of the safe zone on these engines.
CAUTION!
Overfilling or underfilling the crankcase will cause
oil aeration or loss of oil pressure. This could damage
your engine.
Change Engine Oil
Refer to the ªMaintenance Scheduleº in Section 8 for
proper maintenance intervals.
Engine Oil Selection
For best performance and maximum protection under all
types of operating conditions, the manufacturer onlyrecommends engine oils that are API certified and meet
the requirements of Chrysler Material Standard MS-6395.
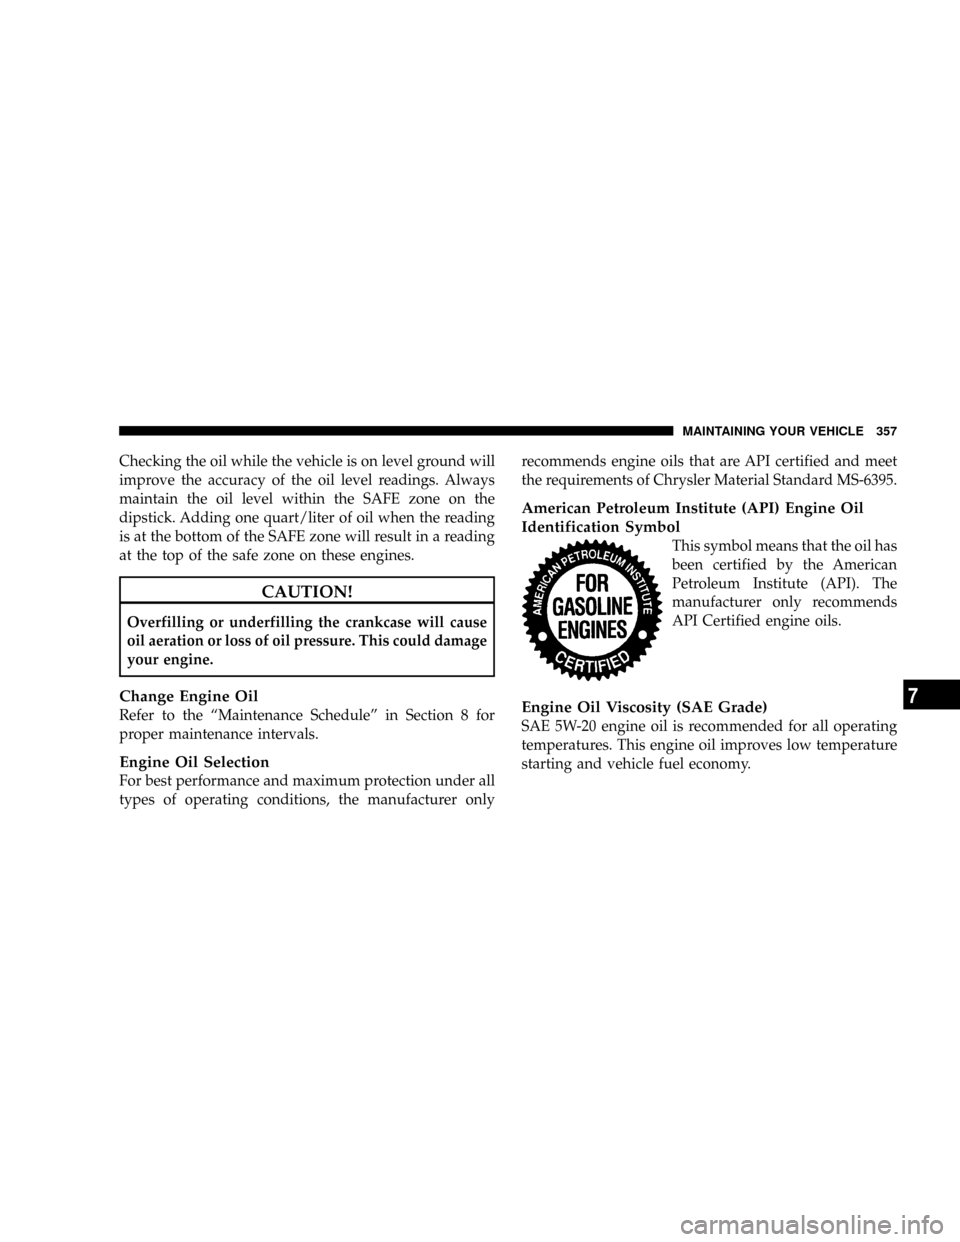
American Petroleum Institute (API) Engine Oil
Identification Symbol
This symbol means that the oil has
been certified by the American
Petroleum Institute (API). The
manufacturer only recommends
API Certified engine oils.
Engine Oil Viscosity (SAE Grade)
SAE 5W-20 engine oil is recommended for all operating
temperatures. This engine oil improves low temperature
starting and vehicle fuel economy.
MAINTAINING YOUR VEHICLE 357
7
Page 365 of 449
Windshield Washers
The fluid reservoir should be checked for fluid level at
regular intervals. When freezing weather is anticipated,
flush out the water in the reservoir by operating the
system. Fill the reservoir with windshield washer anti-
freeze (not radiator antifreeze), and operate the system
for a few seconds to flush out the residual water.
To prevent freeze-up of your windshield washer system
in cold weather, select a solution or mixture that meets or
exceeds the temperature range of your climate. This
rating information can be found on most washer fluid
containers.
WARNING!
Commercially available windshield washer solvents
are flammable. They could ignite and burn you. Care
must be exercised when filling or working around
the washer solution.
Exhaust System
The best protection against carbon monoxide entry into
the vehicle body is a properly maintained engine exhaust
system.
Whenever a change is noticed in the sound of the exhaust
system, when exhaust fumes can be detected inside the
vehicle, or when the underside or rear of the vehicle is
damaged, have a competent mechanic inspect the com-
plete exhaust system and adjacent body areas for broken,
damaged, deteriorated, or mispositioned parts. Open
seams or loose connections could permit exhaust fumes
to seep into the passenger compartment. In addition,
inspect the exhaust system each time the vehicle is raised
for lubrication or oil change. Replace as required.
MAINTAINING YOUR VEHICLE 363
7
Page 373 of 449
²Keep the front of the radiator clean. If your vehicle is
equipped with air conditioning, also keep the front of
the condenser clean.
²Do not change the thermostat for Summer or Winter
operation. If replacement is ever necessary, install
ONLY the correct type thermostat. Other designs may
result in unsatisfactory engine coolant (antifreeze)
performance, poor gas mileage, and increased
emissions.
Brake System
Fluid Level Check Ð Brake Master Cylinder
The fluid level in the master cylinder should be checked
whenever the vehicle is serviced, or immediately if the
brake system warning light is on. If necessary, add fluid
to bring level to the full mark on the side of the reservoir
of the brake master cylinder. Be sure to clean the top of
the master cylinder area before removing the cap. With
disc brakes, fluid level can be expected to fall as the brakepads wear. Brake fluid level should be checked when
pads are replaced. If the brake fluid level is abnormally
low, check system for leaks.
Refer to ªFluids, Lubricants, and Genuine Partsº in this
section for the correct fluid type.
WARNING!
²Use of brake fluid that may have a lower initial
boiling point, or is unidentified as to specifica-
tions, may result in sudden brake failure during
hard prolonged braking. You could have an acci-
dent.
²Overfilling the brake fluid reservoir can result in
spilling brake fluid on hot engine parts and the
brake fluid catching fire.
MAINTAINING YOUR VEHICLE 371
7
Page 375 of 449
To check the automatic transmission fluid level properly,
the following procedure must be used:
1. Operate the engine at idle speed and normal operating
temperature.
2. The vehicle must be on level ground.
3. Fully apply the parking brake and press the brake
pedal.
4. Place the gear selector momentarily in each gear
position, ending with the lever in PARK.
5. Remove the dipstick, wipe it clean and reinsert it until
seated.
6. Remove the dipstick again and note the fluid level on
both sides. The fluid level should be between the ªHOTº
(upper) reference holes on the dipstick at normal operat-
ing temperature. Verify that solid coating of oil is seen on
both sides of the dipstick. If the fluid is low, add asrequired into the dipstick tube.Do not overfill.After
adding any quantity of oil through the oil fill tube, wait
a minimum of two minutes for the oil to fully drain into
the transmission before rechecking the fluid level.
NOTE:If it is necessary to check the transmissionbelow
the operating temperature, the fluid level should be
between the two ªCOLDº (lower) holes on the dipstick
with the fluid at approximately 70É F (21É C) (room
temperature). If the fluid level is correctly established at
room temperature, it should be between the ªHOTº
(upper) reference holes when the transmission reaches
180É F (82É C). Remember it is best to check the level at
the normal operating temperature.
MAINTAINING YOUR VEHICLE 373
7
Page 403 of 449
²Change your engine oil more often if you drive your
vehicle off-road for an extended period of time.
²Under no circumstances should oil change intervals
exceed 6,000 miles (10,000 km) or 6 months, whichever
comes first.
Your authorized dealer will reset the oil change indicator
message after completing the scheduled oil change. If this
scheduled oil change is performed by someone other
than your authorized dealer the message can be reset by
referring to the steps described under ªOil Change
Requiredº in ªUse Factory Settingsº of the EVIC section
in this manual, or under ªOdometer/Trip Odometerº in
the ªInstrument Cluster Descriptions section of this
manual.
At Each Stop for Fuel
²Check the engine oil level about five minutes after a
fully warmed engine is shut off. Checking the oil levelwhile the vehicle is on level ground will improve the
accuracy of the oil level reading. Add oil only when
the level is at or below the ADD or MIN mark.
²Check the windshield washer solvent and add if
required.
Once a Month
²Check tire pressure and look for unusual wear or
damage.
²Inspect the battery, and clean and tighten the terminals
as required.
²Check the fluid levels of coolant reservoir, brake
master cylinder, power steering and transmission, and
add as needed.
²Check all lights and other electrical items for correct
operation.
MAINTENANCE SCHEDULES 401
8
M
A
I
N
T
E
N
A
N
C
E
S
C
H
E
D
U
L
E
S
Page 404 of 449
At Each Oil Change
²Change the engine oil filter.
²Inspect the brake hoses and lines.
²Check the manual transmission fluid level.
CAUTION!
Failure to perform the required maintenance items
may result in damage to the vehicle.
Required Maintenance Intervals
NOTE:** Vehicles built with the 4.7L engine are
equipped with sixteen spark plugs, one set is located on
the top of the engine under the coils, and the second set
is located on the side of the engine.
The spark plugs located under the coils are a standard
plug, and must be changed every 30,000 miles
(50 000 km).
The spark plugs located on the side of the engine are a
premium plug, and must be changed every 102,000 miles
(170 000 km).
402 MAINTENANCE SCHEDULES
8
M
A
I
N
T
E
N
A
N
C
E
S
C
H
E
D
U
L
E
S