2009 DODGE DAKOTA bulb
[x] Cancel search: bulbPage 18 of 449
SENTRY KEYTIMMOBILIZER SYSTEM Ð IF
EQUIPPED
The Sentry Keytprevents unauthorized vehicle opera-
tion by disabling the engine. The system does not need to
be armed or activated. Operation is automatic, regardless
of whether the vehicle is locked or unlocked.
The system uses ignition keys that have an embedded
electronic chip (transponder) to prevent unauthorized
vehicle operation. Therefore, only keys that are pro-
grammed to the vehicle can be used to start and operate
the vehicle. The system will shut the engine off in two
seconds if someone uses an invalid key to try to start the
engine.
NOTE:A key that has not been programmed is also
considered an invalid key, even if it is cut to fit the
ignition switch lock cylinder for that vehicle.
During normal operation, after turning on the ignition
switch, the Vehicle Security Light will turn on for threeseconds for a bulb check. If the light remains on after the
bulb check, it indicates that there is a problem with the
electronics. In addition, if the light begins to flash after
the bulb check, it indicates that someone used an invalid
key to try to start the engine. Either of these conditions
will result in the engine being shut off after two seconds.
If the Vehicle Security Light turns on during normal
vehicle operation (vehicle running for longer than 10 sec-
onds), it indicates that there is a fault in the electronics.
Should this occur, have the vehicle serviced as soon as
possible.
NOTE:
²The Sentry KeytImmobilizer System is not compat-
ible with some aftermarket remote starting systems.
Use of these systems may result in vehicle starting
problems and loss of security protection.
²Exxon/Mobil SpeedpassŸ, additional Sentry Keyst,
or any other transponder-equipped components on
16 THINGS TO KNOW BEFORE STARTING YOUR VEHICLE
Page 74 of 449
compartment. In addition, inspect the exhaust system
each time the vehicle is raised for lubrication or oil
change. Replace or adjust as required.
Safety Checks You Should Make Inside The
Vehicle
Heater Defroster Ducts
Inspect the heater defroster ducts for proper operation.
Check for proper airflow through all defroster ducts. If
there is any question regarding the operation of your
heater defroster ducts, have the system checked by an
authorized dealer
Seat Belts
Inspect the seat belt system periodically, checking for
cuts, frays and loose parts. Damaged parts must be
replaced immediately. Do not disassemble or modify the
system.Seat belt assemblies must be replaced after an accident if
they have been damaged (bent retractor, torn webbing,
etc.) or if the front airbags have deployed. If there is any
question regarding seat belt or retractor condition, re-
place the seat belt.
Airbag Warning Light
The airbag warning light should come on, and remain on,
for six to eight seconds as a bulb check when the ignition
switch is first turned ON. If the light is not lit during
starting, see your authorized dealer. If the light stays on,
flickers or comes on while driving, have the system
checked by an authorized dealer. If there is a problem
with the airbag warning light, the seat belt light will
flash.
72 THINGS TO KNOW BEFORE STARTING YOUR VEHICLE
Page 130 of 449
The arrow on either side of the instrument cluster flashes
to indicate the direction of the turn, and proper operation
of the front and rear turn signal lights. If an indicator fails
to light when the multifunction lever is moved, it would
suggest that the switch or indicator lamp is defective.
If a defective bulb or wiring circuit is detected for the
turn signal system, the arrow indicators will flash at a
faster rate.
NOTE:If a turn signal has been left on for at least a mile
duration, a continuous chime will sound.
Turn Signal Auto-Mode
Tap the multifunction lever once and the turn signal (left
or right) will flash three times, and automatically turn off.
Flash-To-Pass
You can signal another vehicle with your headlights by
partially pulling the multifunction lever toward the steer-
ing wheel. This will turn on the high beam headlights
until the multifunction lever is released.
High Beam/Low Beam Select Switch
Pull the multifunction lever fully toward the steering
wheel to switch the headlights from high or low beam.
128 UNDERSTANDING THE FEATURES OF YOUR VEHICLE
Page 170 of 449
INSTRUMENT CLUSTER DESCRIPTION
1. Fuel Gauge
The fuel gauge shows the level of fuel in the fuel tank
when ignition switch is in the ON position.
2. Temperature Gauge
The temperature gauge shows engine coolant tempera-
ture. Any reading within the normal range indicates that
the engine cooling system is operating satisfactorily. The
gauge pointer will likely indicate a higher temperature
when driving in hot weather, up mountain grades, or
when towing a trailer. It should not be allowed to exceed
the upper limits of the normal operating range.
CAUTION!
Do not leave your vehicle unattended with the en-
gine running as you would not be able to react to the
temperature gauge if the engine overheats.3. Turn Signal Indicators
When a turn signal is activated, a right-pointing or
left-pointing arrow lights up and flashes to indicate the
direction of the turn. These indicators also indicate
proper operation of the front and rear turn signal lights.
If either indicator flashes at a faster rate than normal,
check for a defective bulb. If either indicator fails to light
up when the lever is moved, check for a defective fuse or
turn signal LED. A single chime is activated when the
left/right turn signal is left on, with the vehicle speed
greater than 15 mph (24 km/h) for more than one mile.
4. Low Fuel Warning Light
The low fuel warning light will illuminate when the
fuel gauge reads 1/8 of a tank or less. There is a
pointer on the side of this symbol that indicates the
side that your fuel filler door is located.
168 UNDERSTANDING YOUR INSTRUMENT PANEL
Page 172 of 449
WARNING!
A hot engine cooling system is dangerous. You or
others could be badly burned by steam or boiling
coolant. You may want to call a service center if your
vehicle overheats. If you decide to look under the
hood yourself, see Section 7 of this manual. Follow
the warnings under the Cooling System Pressure Cap
paragraph.
8. Speedometer
The speedometer shows the vehicle's speed.
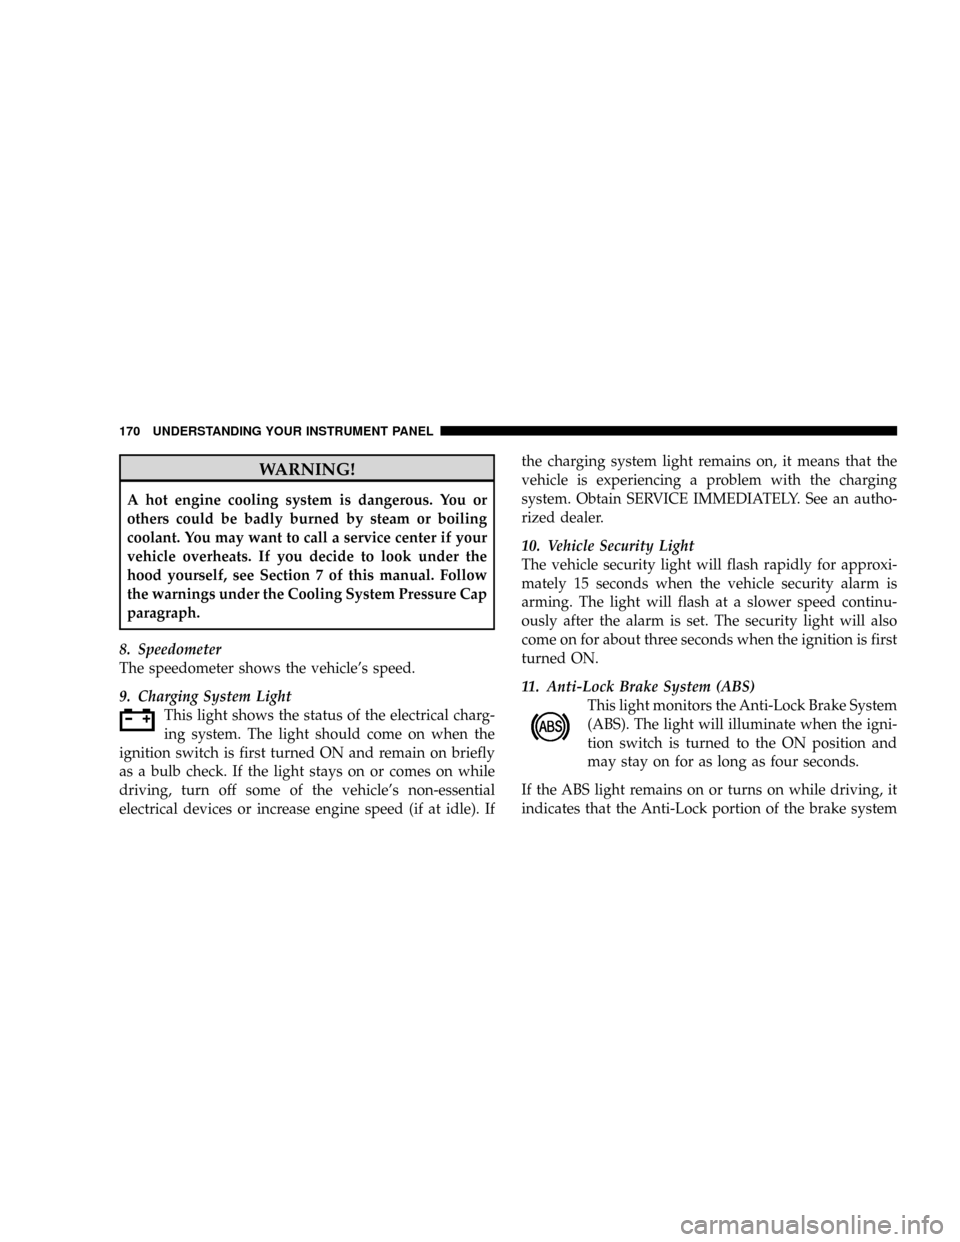
9. Charging System Light
This light shows the status of the electrical charg-
ing system. The light should come on when the
ignition switch is first turned ON and remain on briefly
as a bulb check. If the light stays on or comes on while
driving, turn off some of the vehicle's non-essential
electrical devices or increase engine speed (if at idle). Ifthe charging system light remains on, it means that the
vehicle is experiencing a problem with the charging
system. Obtain SERVICE IMMEDIATELY. See an autho-
rized dealer.
10. Vehicle Security Light
The vehicle security light will flash rapidly for approxi-
mately 15 seconds when the vehicle security alarm is
arming. The light will flash at a slower speed continu-
ously after the alarm is set. The security light will also
come on for about three seconds when the ignition is first
turned ON.
11. Anti-Lock Brake System (ABS)
This light monitors the Anti-Lock Brake System
(ABS). The light will illuminate when the igni-
tion switch is turned to the ON position and
may stay on for as long as four seconds.
If the ABS light remains on or turns on while driving, it
indicates that the Anti-Lock portion of the brake system
170 UNDERSTANDING YOUR INSTRUMENT PANEL
Page 173 of 449
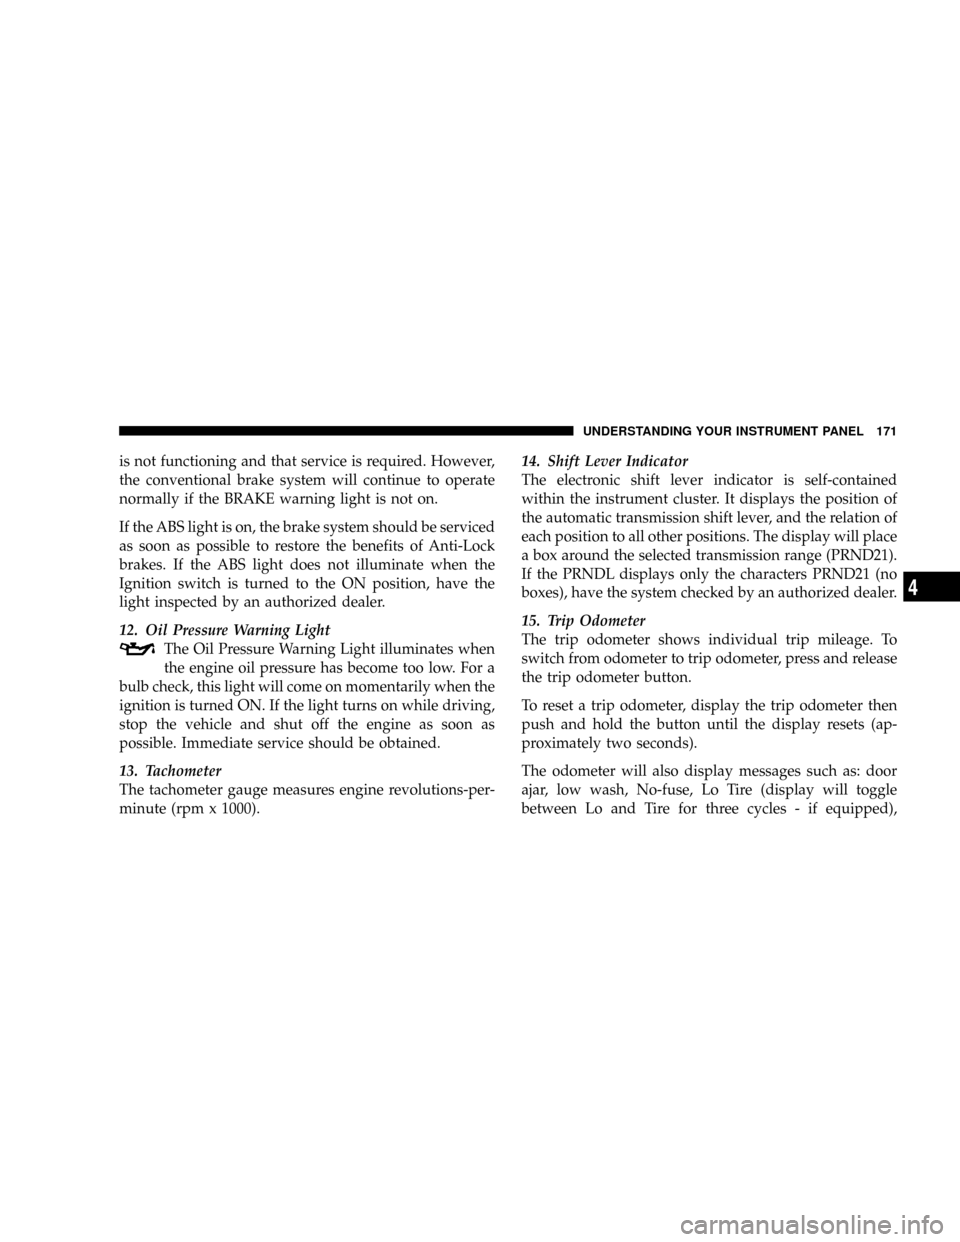
is not functioning and that service is required. However,
the conventional brake system will continue to operate
normally if the BRAKE warning light is not on.
If the ABS light is on, the brake system should be serviced
as soon as possible to restore the benefits of Anti-Lock
brakes. If the ABS light does not illuminate when the
Ignition switch is turned to the ON position, have the
light inspected by an authorized dealer.
12. Oil Pressure Warning Light
The Oil Pressure Warning Light illuminates when
the engine oil pressure has become too low. For a
bulb check, this light will come on momentarily when the
ignition is turned ON. If the light turns on while driving,
stop the vehicle and shut off the engine as soon as
possible. Immediate service should be obtained.
13. Tachometer
The tachometer gauge measures engine revolutions-per-
minute (rpm x 1000).14. Shift Lever Indicator
The electronic shift lever indicator is self-contained
within the instrument cluster. It displays the position of
the automatic transmission shift lever, and the relation of
each position to all other positions. The display will place
a box around the selected transmission range (PRND21).
If the PRNDL displays only the characters PRND21 (no
boxes), have the system checked by an authorized dealer.
15. Trip Odometer
The trip odometer shows individual trip mileage. To
switch from odometer to trip odometer, press and release
the trip odometer button.
To reset a trip odometer, display the trip odometer then
push and hold the button until the display resets (ap-
proximately two seconds).
The odometer will also display messages such as: door
ajar, low wash, No-fuse, Lo Tire (display will toggle
between Lo and Tire for three cycles - if equipped),
UNDERSTANDING YOUR INSTRUMENT PANEL 171
4
Page 175 of 449
16. Odometer
The odometer shows the total distance the vehicle has
been driven.
U.S. federal regulations require that upon transfer of
vehicle ownership, the seller certify to the purchaser the
correct mileage that the vehicle has been driven. There-
fore, if the odometer reading is changed during repair or
replacement, be sure to keep a record of the reading
before and after the service so that the correct mileage can
be determined.
17. Fog Light Indicator Ð If Equipped
The fog light indicator shows when the fog lights
are ON.
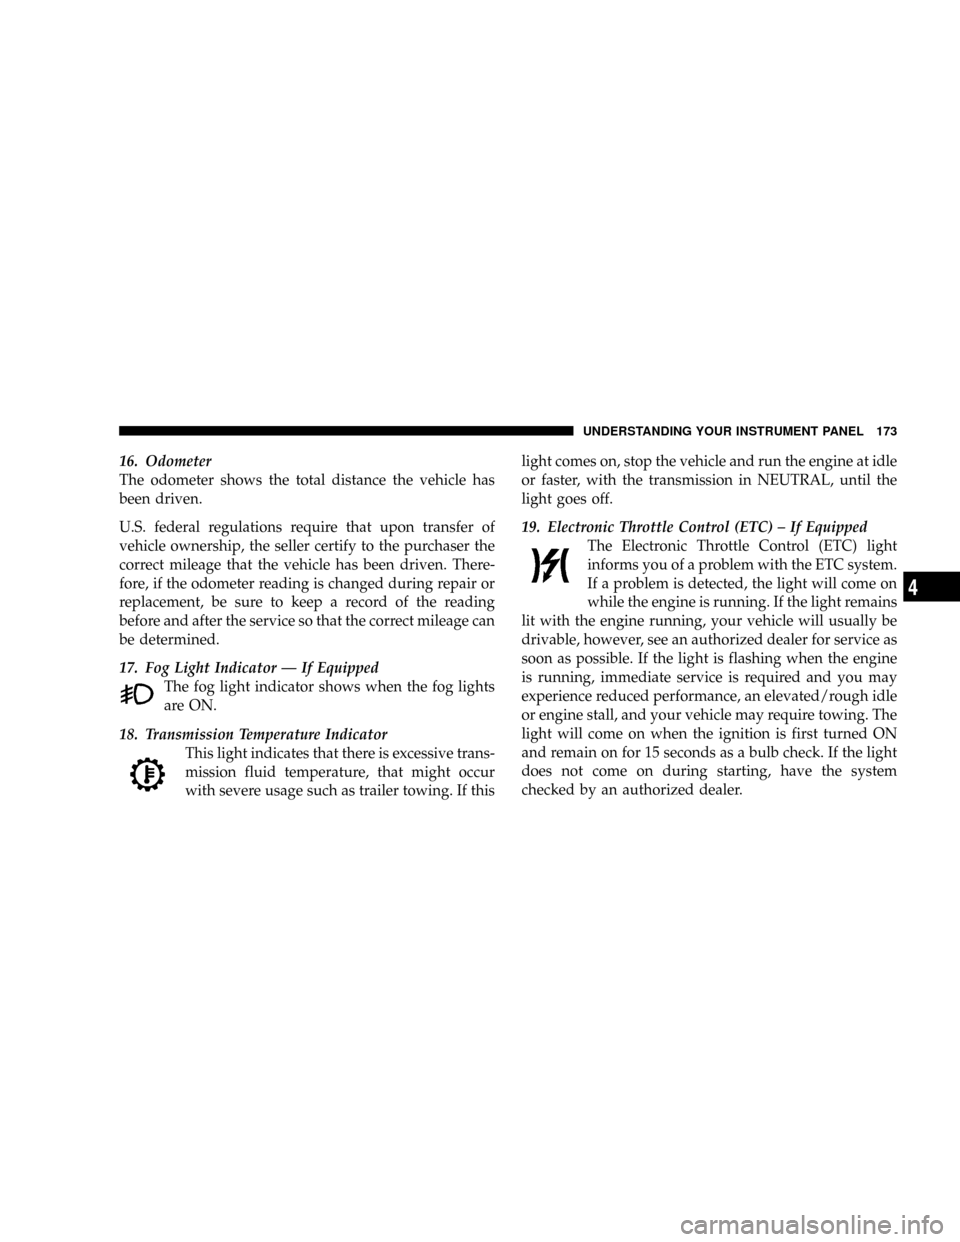
18. Transmission Temperature Indicator
This light indicates that there is excessive trans-
mission fluid temperature, that might occur
with severe usage such as trailer towing. If thislight comes on, stop the vehicle and run the engine at idle
or faster, with the transmission in NEUTRAL, until the
light goes off.
19. Electronic Throttle Control (ETC) ± If Equipped
The Electronic Throttle Control (ETC) light
informs you of a problem with the ETC system.
If a problem is detected, the light will come on
while the engine is running. If the light remains
lit with the engine running, your vehicle will usually be
drivable, however, see an authorized dealer for service as
soon as possible. If the light is flashing when the engine
is running, immediate service is required and you may
experience reduced performance, an elevated/rough idle
or engine stall, and your vehicle may require towing. The
light will come on when the ignition is first turned ON
and remain on for 15 seconds as a bulb check. If the light
does not come on during starting, have the system
checked by an authorized dealer.
UNDERSTANDING YOUR INSTRUMENT PANEL 173
4
Page 177 of 449
WARNING!
Driving a vehicle with the red brake light on is
dangerous. Part of the brake system may have failed.
It will take longer to stop the vehicle. You could have
an accident. Have the vehicle checked immediately.
Vehicles equipped with the Anti-Lock Brake System
(ABS), are also equipped with Electronic Brake Force
Distribution (EBD). In the event of an EBD failure, the
Brake Warning Light will turn on along with the ABS
Light. Immediate repair to the ABS system is required.
Operation of the Brake Warning Light can be checked by
turning the ignition switch from the OFF position to the
ON position. The light should illuminate for approxi-
mately two seconds. The light should then turn off unless
the parking brake is applied or a brake fault is detected.
If the light does not illuminate, have the light inspected
by an authorized dealer.The light also will turn on when the parking brake is
applied with the ignition switch in the ON position.
NOTE:This light shows only that the parking brake is
applied. It does not show the degree of brake application.
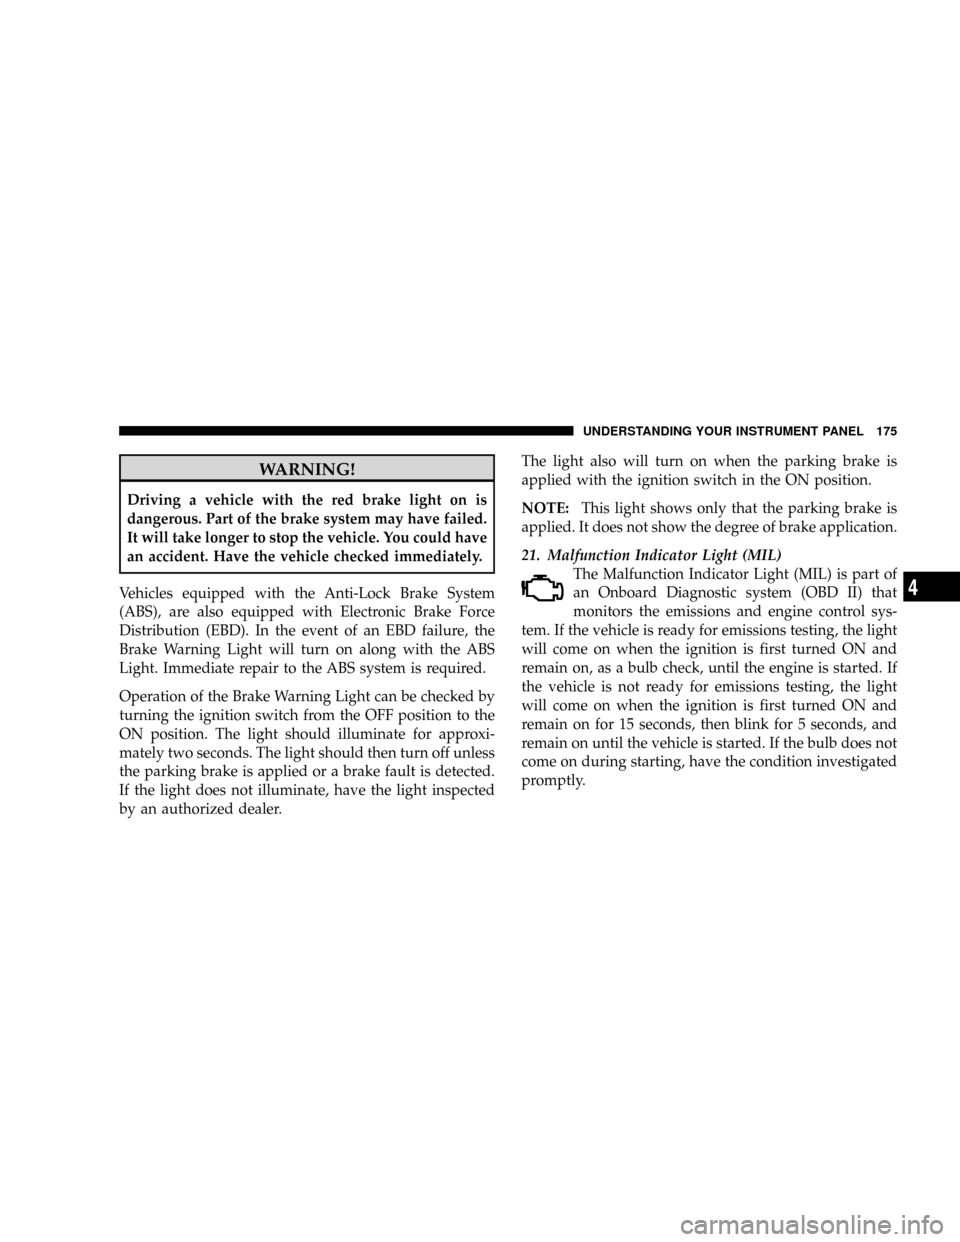
21. Malfunction Indicator Light (MIL)
The Malfunction Indicator Light (MIL) is part of
an Onboard Diagnostic system (OBD II) that
monitors the emissions and engine control sys-
tem. If the vehicle is ready for emissions testing, the light
will come on when the ignition is first turned ON and
remain on, as a bulb check, until the engine is started. If
the vehicle is not ready for emissions testing, the light
will come on when the ignition is first turned ON and
remain on for 15 seconds, then blink for 5 seconds, and
remain on until the vehicle is started. If the bulb does not
come on during starting, have the condition investigated
promptly.
UNDERSTANDING YOUR INSTRUMENT PANEL 175
4