Page 113 of 449
When you press the VR hard-key, you will hear a beep.
The beep is your signal to give a command.
NOTE:If you do not say a command within a few
seconds, the system will present you with a list of
options.
If you ever wish to interrupt the system while it lists
options, press the VR hard-key, listen for the beep, and
say your command.
Pressing the VR hard-key while the system is speaking is
known as ªbarging in.º The system will be interrupted
and after the beep you can add or change commands.
This will become helpful once you start to learn the
options.
NOTE:At any time, you can say the words CANCEL,
HELP, or MAIN MENU.These commands are universal and can be used from any
menu. All other commands can be used depending upon
the active application.
For example, if you are in the disc menu and you are
listening to FM radio, you can speak commands from the
disc menu or from the FM radio menu.
When using this system, you should speak clearly and at
a normal speaking volume.
The system will best recognize your speech if the win-
dows are closed, and the heater/air-conditioning fan is
set to low.
At any point, if the system does not recognize one of your
commands, you will be prompted to repeat it.
To hear the first available Menu, press the VR hard-key
and say HELP or MAIN MENU.
UNDERSTANDING THE FEATURES OF YOUR VEHICLE 111
3
Page 158 of 449
To remove the cleats from the utility rail, remove the end
cap by pushing up on the locking tab, located on the
bottom of the end cap. Slide the cleat off the end of the
rail.REAR WINDOW FEATURES
Rear Window Defroster Ð If Equipped
CAUTION!
Use care when washing the inside of the rear window
to prevent damage to heating elements. Use a soft
cloth and a mild washing solution, wiping parallel to
the heating elements. Also, keep all objects a safe
distance from the window to prevent damaging the
heating elements.
A pushbutton type switch is located on the right
side of the Air Conditioning and Heater Control,
below the A/C (snowflake) button. Pressing the switch
will turn on the Rear Window Defroster. A light above the
Rear Window Defroster symbol will illuminate to indi-
cate the Rear Window Defroster is on. Pushing the button
a second time will turn the Rear Window Defroster off
Utility Rail End Cap
156 UNDERSTANDING THE FEATURES OF YOUR VEHICLE
Page 167 of 449
NOperating Instructions Ð Satellite Mode.... 223
NOperating Instructions Ð Hands-Free Phone
(If Equipped)........................ 226
NOperating Instructions Ð Video
Entertainment System (VES)Ÿ
(If Equipped)........................ 226
mRemote Sound System Controls Ð
If Equipped........................... 226
NRadio Operation..................... 227NCD Player.......................... 227
mCD/DVD Maintenance.................. 227
mRadio Operation And Cellular Phones....... 228
mClimate Controls...................... 228
NAir Conditioning And Heater............ 229
NOperating Tips...................... 232
NOperation Tips Chart.................. 234
UNDERSTANDING YOUR INSTRUMENT PANEL 165
4
Page 231 of 449
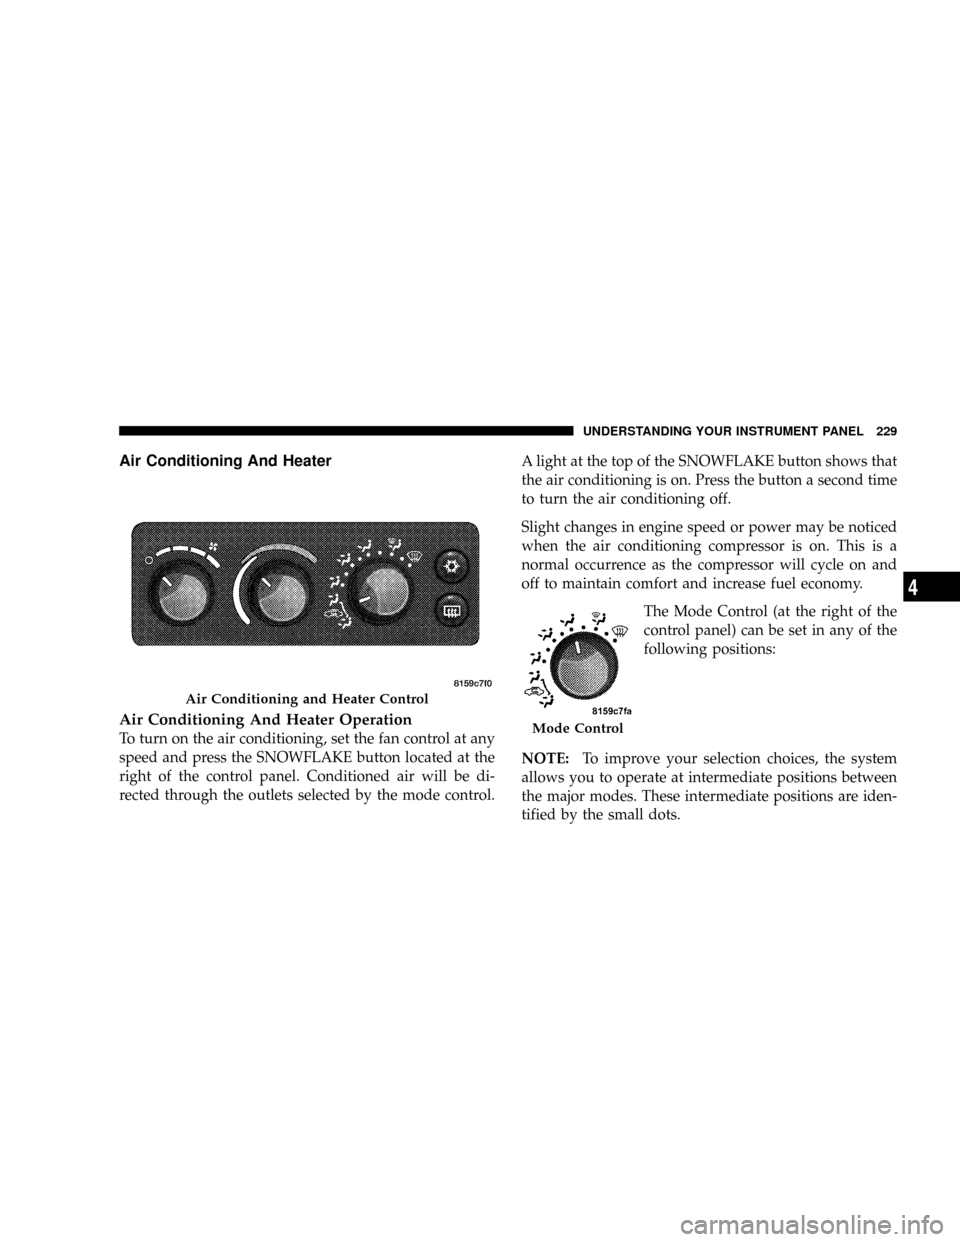
Air Conditioning And Heater
Air Conditioning And Heater Operation
To turn on the air conditioning, set the fan control at any
speed and press the SNOWFLAKE button located at the
right of the control panel. Conditioned air will be di-
rected through the outlets selected by the mode control.A light at the top of the SNOWFLAKE button shows that
the air conditioning is on. Press the button a second time
to turn the air conditioning off.
Slight changes in engine speed or power may be noticed
when the air conditioning compressor is on. This is a
normal occurrence as the compressor will cycle on and
off to maintain comfort and increase fuel economy.
The Mode Control (at the right of the
control panel) can be set in any of the
following positions:
NOTE:To improve your selection choices, the system
allows you to operate at intermediate positions between
the major modes. These intermediate positions are iden-
tified by the small dots.
Air Conditioning and Heater Control
Mode Control
UNDERSTANDING YOUR INSTRUMENT PANEL 229
4
Page 234 of 449
Side window demisters direct airflow specifically to the
window glass to help prevent interior fogging of the
glass. They are located in the extreme outside upper
edges of the instrument panel. The demisters also pro-
vide extra air ducts for circulation. They are in operation
whenever the Floor, Mix, Defrost, or Bi-Level modes are
in use.
NOTE:When you turn off the engine you may hear a
hissing sound from under the hood for a short period of
time. This is a normal condition that occurs if the air
conditioning system has been on. It is not an indication of
a problem with the air conditioning system.
Operating Tips
Fast Cooldown
For a fast cooldown, open the windows and turn the
blower fan rotary knob to the extreme right position, turn
the mode control to the panel fresh position, press the
SNOWFLAKE button to turn on the air conditioning, anddrive with the windows open for the first few minutes.
Once the hot air has been expelled, close the windows
and turn the mode selector to the Recirculation Panel
Mode or Recirculation Mode Bi-level position. When a
comfortable condition has been reached, choose a mode
position and adjust the temperature control knob and
blower speed as necessary to maintain comfort. For high
humidity conditions it may be necessary to remain in the
Recirculation mode to maintain comfort.
Window Fogging
Windows will fog on the inside when the humidity inside
the vehicle is high. This often occurs in mild or cool
temperatures when it's rainy or humid. In most cases
turning on the Air-conditioning (pressing the SNOW-
FLAKE button) will clear the fog. Adjust the temperature
control, air direction and blower speed to maintain
comfort.
232 UNDERSTANDING YOUR INSTRUMENT PANEL
Page 325 of 449

þWhen using the speed control, if you experience speed
drops greater than 10 mph (16 km/h), disengage until
you can resume cruising speed.
þUse speed control in flat terrain and with light loads to
maximize fuel efficiency.
Towing Tips Ð Cooling System
To reduce potential for engine and transmission over-
heating, take the following actions:
þCity Driving
When stopped for short periods of time, put transmission
in NEUTRAL and increase engine idle speed.
þHighway Driving
Reduce speed.
þAir Conditioning
Turn off temporarily.
SNOWPLOW
Snow plows, winches, and other aftermarket equipment
shouldnotbe added to the front end of your vehicle. The
airbag crash sensors may be affected by the change in the
front end structure. The airbags could deploy unexpect-
edly or could fail to deploy during a collision.
WARNING!
Do not add a snow plow, winches, or any other
aftermarket equipment to the front of your vehicle.
This could adversely affect the functioning of the
airbag system and you could be injured.
STARTING AND OPERATING 323
5
Page 363 of 449
include cleaning of the condenser fins and a performance
test. Drive belt tension should also be checked at this
time.
WARNING!
²Use only refrigerants and compressor lubricants
approved by the manufacturer for your air condi-
tioning system. Some unapproved refrigerants are
flammable and can explode, injuring you. Other
unapproved refrigerants or lubricants can cause
the system to fail, requiring costly repairs. Refer to
Section 3 of the Warranty Information book for
further warranty information.
²The air conditioning system contains refrigerant
under high pressure. To avoid risk of personal
injury or damage to the system, adding refrigerant
or any repair requiring lines to be disconnected,
should be done by an experienced repairman.NOTE:Use only manufacturer approved A/C System
Sealers, Stop Leak Products, Seal Conditioners, Compres-
sor Oils and Refrigerants.
Refrigerant Recovery and Recycling
R-134a air conditioning refrigerant is a hydrofluoro-
carbon (HFC) that is endorsed by the Environmental
Protection Agency (EPA), and is an ozone-saving prod-
uct. However, the manufacturer recommends that air
conditioning service be performed by authorized dealers
or other service facilities using recovery and recycling
equipment.
Drive Shaft Constant Velocity Joints
All 4-wheel drive models are equipped with four con-
stant velocity joints. Periodic lubrication of these joints is
not required. However, the joint boot should be inspected
for external leakage or damage periodically. If external
leakage or damage is evident, the joint boot and grease
should be replaced immediately. Continued operation
MAINTAINING YOUR VEHICLE 361
7
Page 373 of 449
²Keep the front of the radiator clean. If your vehicle is
equipped with air conditioning, also keep the front of
the condenser clean.
²Do not change the thermostat for Summer or Winter
operation. If replacement is ever necessary, install
ONLY the correct type thermostat. Other designs may
result in unsatisfactory engine coolant (antifreeze)
performance, poor gas mileage, and increased
emissions.
Brake System
Fluid Level Check Ð Brake Master Cylinder
The fluid level in the master cylinder should be checked
whenever the vehicle is serviced, or immediately if the
brake system warning light is on. If necessary, add fluid
to bring level to the full mark on the side of the reservoir
of the brake master cylinder. Be sure to clean the top of
the master cylinder area before removing the cap. With
disc brakes, fluid level can be expected to fall as the brakepads wear. Brake fluid level should be checked when
pads are replaced. If the brake fluid level is abnormally
low, check system for leaks.
Refer to ªFluids, Lubricants, and Genuine Partsº in this
section for the correct fluid type.
WARNING!
²Use of brake fluid that may have a lower initial
boiling point, or is unidentified as to specifica-
tions, may result in sudden brake failure during
hard prolonged braking. You could have an acci-
dent.
²Overfilling the brake fluid reservoir can result in
spilling brake fluid on hot engine parts and the
brake fluid catching fire.
MAINTAINING YOUR VEHICLE 371
7