Page 60 of 449
²Cruise control status
²Traction/stability control status
²Tire pressure monitoring system status (if equipped).
Child Restraint
Everyone in your vehicle needs to be buckled up all the
time - babies and children, too. Every state in the United
States, and all Canadian provinces, require that small
children ride in proper restraint systems. This is the law,
and you can be prosecuted for ignoring it. Children
12 years and younger should ride properly buckled up in
a rear seat, if available. According to crash statistics,
children are safer when properly restrained in the rear
seats rather than in the front.
There are different sizes and types of restraints for
children from newborn size to the child almost large
enough for an adult seat belt. Always check the child seatowner's manual to ensure you have the right seat for
your child. Use the restraint that is correct for your child.
Infants and Small Children
²
Safety experts recommend that children ride
rearward-facing in the vehicle until they are at least
one year old and weigh at least 20 lbs (9 kg). Two types
of child restraints can be used rearward facing: infant
carriers and9convertible9child seats.
²The infant carrier is only used rearward-facing in the
vehicle. It is recommended for children who weigh up
to about 20 lbs (9 kg).9Convertible9child seats can be
used either rearward-facing or forward-facing in the
vehicle. Convertible child seats often have a higher
weight limit in the rearward-facing direction than
infant carriers do, so they can be used rearward-facing
by children who weigh more than 20 lbs (9 kg) but are
less than one year old. Both types of child restraints are
held in the vehicle by the seat belt or the LATCH child
58 THINGS TO KNOW BEFORE STARTING YOUR VEHICLE
Page 62 of 449
²Check belt fit periodically. A child's squirming or
slouching can move the belt out of position.
²If the shoulder belt contacts the face or neck, move the
child closer to the center of the vehicle. Never allow a
child to put the shoulder belt under an arm.
For additional information, refer to www.seatcheck.org.
WARNING!
²Improper installation can lead to failure of an
infant or child restraint. It could come loose in a
collision. The child could be badly injured or
killed. Follow the manufacturer's directions ex-
actly when installing an infant or child restraint.
(Continued)
WARNING! (Continued)
²A rearward-facing infant restraint should only be
used in a rear seat of a vehicle that does not have
an airbag off switch. A rearward-facing infant
restraint in the front seat may be struck by a
deploying passenger airbag, which may cause se-
vere or fatal injury to the infant.
Here are some tips for getting the most out of your child
restraint:
²Before buying any restraint system, make sure that it
has a label certifying that it meets all applicable Safety
Standards. The manufacturer recommends that you
try a child restraint in the vehicle seats where you will
use it before you buy it.
²The restraint must be appropriate for your child's
weight and height. Check the label on the restraint for
weight and height limits.
60 THINGS TO KNOW BEFORE STARTING YOUR VEHICLE
Page 140 of 449
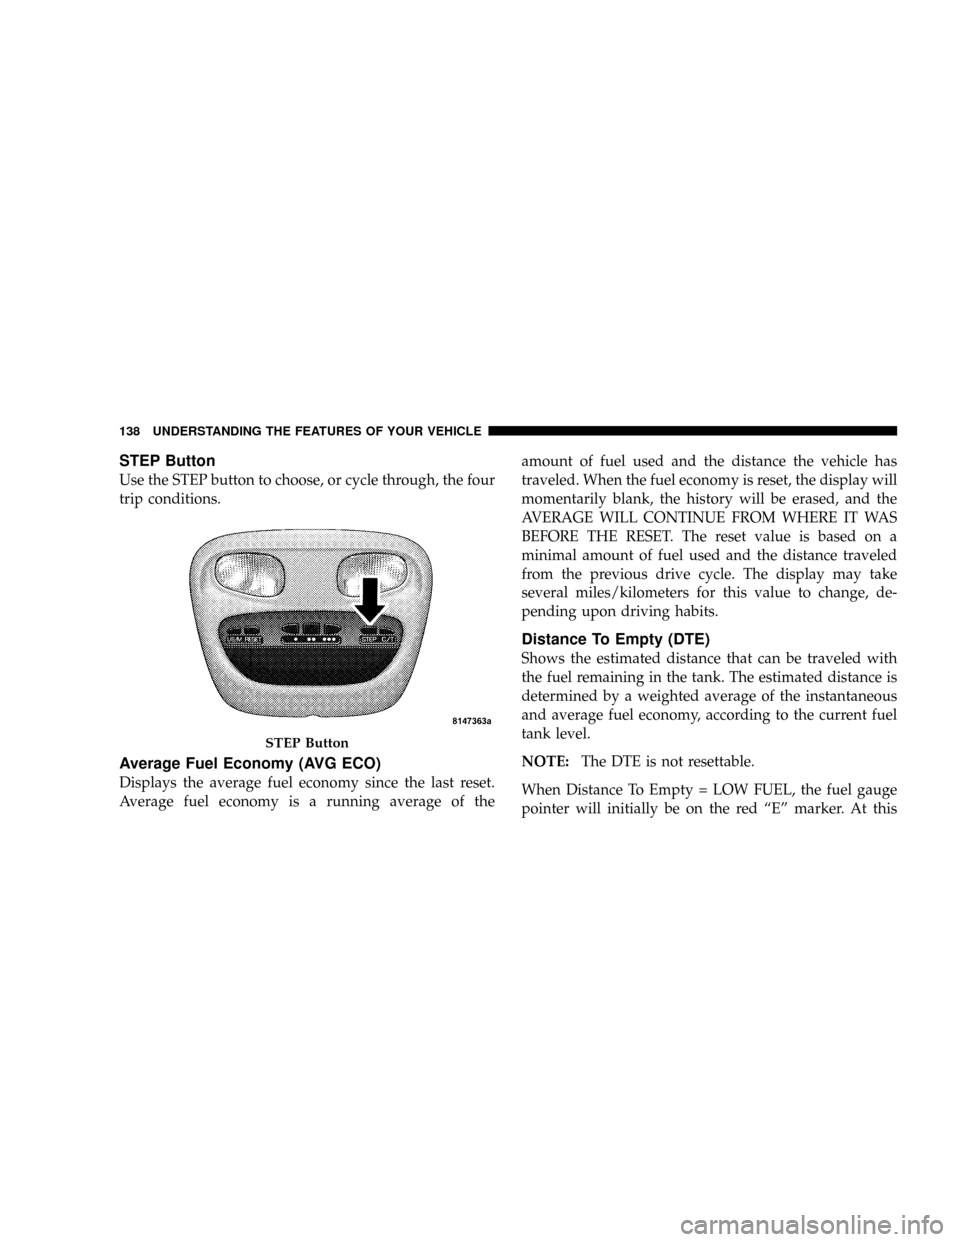
STEP Button
Use the STEP button to choose, or cycle through, the four
trip conditions.
Average Fuel Economy (AVG ECO)
Displays the average fuel economy since the last reset.
Average fuel economy is a running average of theamount of fuel used and the distance the vehicle has
traveled. When the fuel economy is reset, the display will
momentarily blank, the history will be erased, and the
AVERAGE WILL CONTINUE FROM WHERE IT WAS
BEFORE THE RESET. The reset value is based on a
minimal amount of fuel used and the distance traveled
from the previous drive cycle. The display may take
several miles/kilometers for this value to change, de-
pending upon driving habits.
Distance To Empty (DTE)
Shows the estimated distance that can be traveled with
the fuel remaining in the tank. The estimated distance is
determined by a weighted average of the instantaneous
and average fuel economy, according to the current fuel
tank level.
NOTE:The DTE is not resettable.
When Distance To Empty = LOW FUEL, the fuel gauge
pointer will initially be on the red ªEº marker. At this
STEP Button
138 UNDERSTANDING THE FEATURES OF YOUR VEHICLE
Page 240 of 449
mFlexible Fuel (4.7L Engine Only) Ð If Equipped. . 302
NE-85 General Information............... 302
NEthanol Fuel (E-85)................... 304
NFuel Requirements.................... 304
NSelection Of Engine Oil For Flexible Fuel
Vehicles (E-85) And Gasoline Vehicles...... 305
NStarting........................... 305
NCruising Range...................... 305
NReplacement Parts.................... 305
mAdding Fuel......................... 306
NFuel Filler Cap (Gas Cap)............... 306
mVehicle Loading....................... 308
NCertification Label.................... 308
NCurb Weight........................ 309NLoading........................... 309
mTrailer Towing........................ 310
NCommon Towing Definitions............ 311
NTrailer Hitch Classification.............. 315
NTrailer Towing Weights (Maximum Trailer
Weight Ratings)...................... 316
NTrailer And Tongue Weight.............. 316
NTowing Requirements................. 317
NTowing Tips........................ 322
mSnowplow........................... 323
mRecreational Towing (Behind Motorhome,
Etc.)................................ 324
N2WD Models........................ 324
N4WD Models........................ 324
238 STARTING AND OPERATING
Page 278 of 449
Tire Loading and Tire Pressure
Tire Placard Location
NOTE:The proper cold tire inflation pressure is listed
on either the face of the driver's door or the driver's side
B-Pillar.
Tire and Loading Information Placard
This placard tells you important information about
the:
1) number of people that can be carried in the vehicle
2) total weight your vehicle can carry
Tire and Loading Information Placard
276 STARTING AND OPERATING
Page 279 of 449
3) tire size designed for your vehicle
4) cold tire inflation pressures for the front, rear, and
spare tires.
Loading
The vehicle maximum load on the tire must not exceed
the load carrying capacity of the tire on your vehicle. You
will not exceed the tire's load carrying capacity if you
adhere to the loading conditions, tire size, and cold tire
inflation pressures specified on the Tire and Loading
Information placard and in the ªVehicle Loadingº section
of this manual.
NOTE:Under a maximum loaded vehicle condition,
gross axle weight ratings (GAWRs) for the front and rear
axles must not be exceeded. For further information on
GAWRs, vehicle loading, and trailer towing, refer to
ªVehicle Loadingº in this section.
To determine the maximum loading conditions of your
vehicle, locate the statement ªThe combined weight ofoccupants and cargo should never exceed XXX kg or XXX
lbs.º on the Tire and Loading Information placard. The
combined weight of occupants, cargo/luggage and
trailer tongue weight (if applicable) should never exceed
the weight referenced here.
Steps for Determining Correct Load Limit
1. Locate the statement ªThe combined weight of occu-
pants and cargo should never exceed XXX kg or XXX lbsº
on your vehicle's placard.
2. Determine the combined weight of the driver and
passengers that will be riding in your vehicle.
3. Subtract the combined weight of the driver and pas-
sengers from XXX kg or XXX lbs.
4. The resulting figure equals the available amount of
cargo and luggage load capacity. For example, if ªXXXº
amount equals 1,400 lbs (635 kg) and there will be five
150 lb (68 kg) passengers in your vehicle, the amount of
STARTING AND OPERATING 277
5
Page 280 of 449
available cargo and luggage load capacity is 650 lbs
(295 kg) (since 5 x 150 = 750, and 1400 ± 750 = 650 lbs
[295 kg]).
5. Determine the combined weight of luggage and cargo
being loaded on the vehicle. That weight may not safely
exceed the available cargo and luggage load capacity
calculated in Step 4.
6. If your vehicle will be towing a trailer, load from your
trailer will be transferred to your vehicle. Consult this
manual to determine how this reduces the available
cargo and luggage load capacity of your vehicle.NOTE:
²The following table shows examples on how to calcu-
late total load, cargo/luggage, and towing capacities
of your vehicle with varying seating configurations
and number and size of occupants. This table is for
illustration purposes only and may not be accurate for
the seating and load carry capacity of your vehicle.
²For the following example, the combined weight of
occupants and cargo should never exceed 865 lbs
(392 kg).
278 STARTING AND OPERATING
Page 310 of 449
VEHICLE LOADING
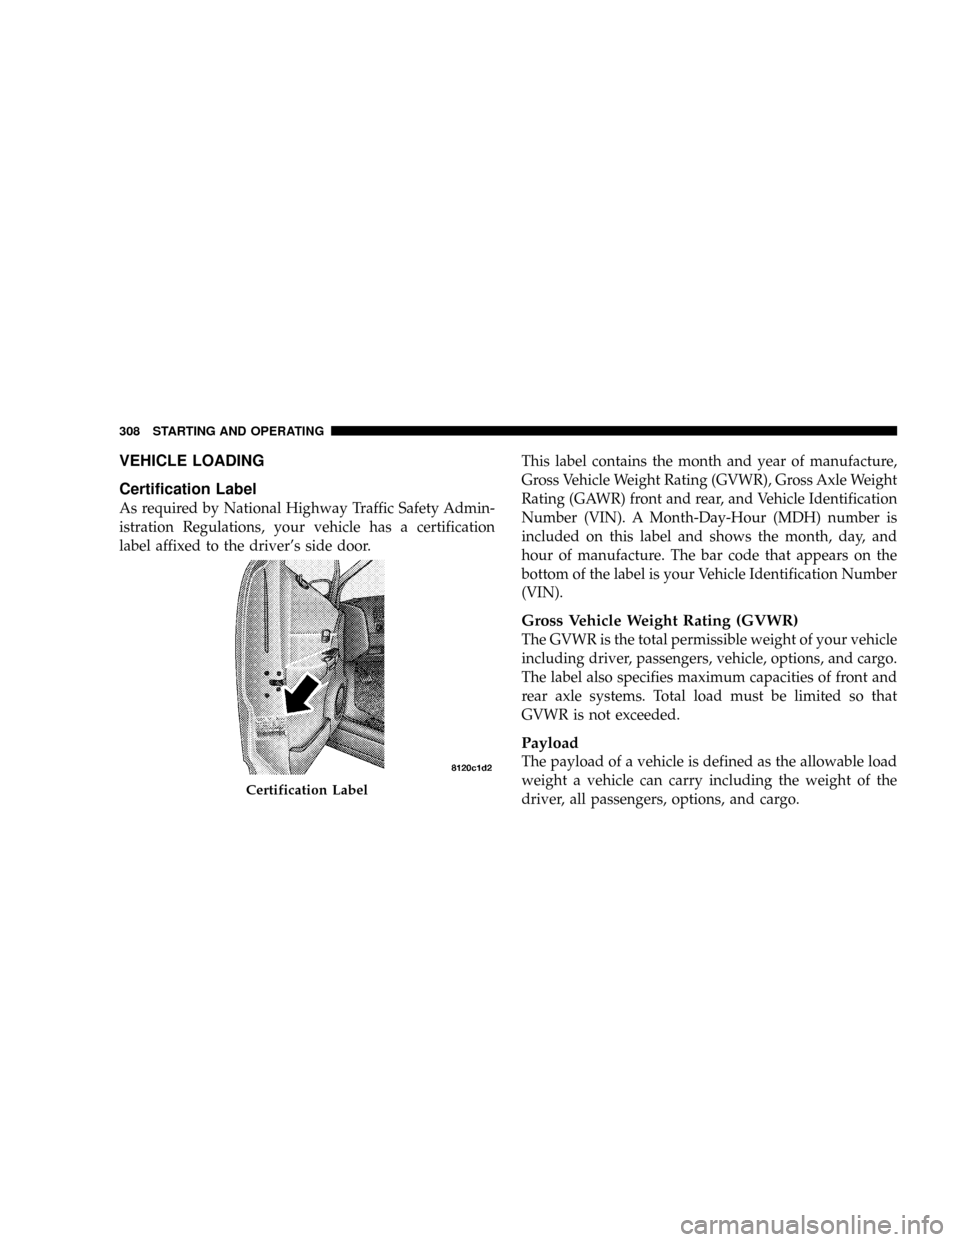
Certification Label
As required by National Highway Traffic Safety Admin-
istration Regulations, your vehicle has a certification
label affixed to the driver's side door.This label contains the month and year of manufacture,
Gross Vehicle Weight Rating (GVWR), Gross Axle Weight
Rating (GAWR) front and rear, and Vehicle Identification
Number (VIN). A Month-Day-Hour (MDH) number is
included on this label and shows the month, day, and
hour of manufacture. The bar code that appears on the
bottom of the label is your Vehicle Identification Number
(VIN).
Gross Vehicle Weight Rating (GVWR)
The GVWR is the total permissible weight of your vehicle
including driver, passengers, vehicle, options, and cargo.
The label also specifies maximum capacities of front and
rear axle systems. Total load must be limited so that
GVWR is not exceeded.
Payload
The payload of a vehicle is defined as the allowable load
weight a vehicle can carry including the weight of the
driver, all passengers, options, and cargo.
Certification Label
308 STARTING AND OPERATING