Page 174 of 449
CHAngE OIL and the outside temperature on vehicles
that are not equipped with the Overhead Console with
Compass/Temperature Mini-Trip Computer.
If the vehicle diagnostic system determines that the fuel
filler cap is loose, improperly installed, or damaged,
ªGASCAPº will be displayed in the instrument cluster.
Tighten the fuel filler cap properly and press the odom-
eter RESET button to turn the ªGASCAPº message off. If
the problem continues, the message will appear the next
time the vehicle is started.
Change Oil Message
Your vehicle is equipped with an engine oil change
indicator system. The ªCHAngE OILº message will flash
in the instrument cluster odometer for approximately
12 seconds after a single chime has sounded, to indicate
the next scheduled oil change interval. The engine oil
change indicator system is duty cycle based, which
means the engine oil change interval may fluctuate
dependent upon your personal driving style.Unless reset, this message will continue to display each
time you turn the ignition switch to the ON/RUN
position. To turn off the message temporarily, press and
release the Trip Odometer button on the instrument
cluster. To reset the oil change indicator system (after
performing the scheduled maintenance) refer to the fol-
lowing procedure.
1. Turn the ignition switch to the ON position(do not
start the engine).
2. Fully depress the accelerator pedal slowly three
times within 10 seconds.
3. Turn the ignition switch to the OFF/LOCK position.
NOTE:If the indicator message illuminates when you
start the vehicle, the oil change indicator system did not
reset. If necessary, repeat this procedure.
172 UNDERSTANDING YOUR INSTRUMENT PANEL
Page 175 of 449
16. Odometer
The odometer shows the total distance the vehicle has
been driven.
U.S. federal regulations require that upon transfer of
vehicle ownership, the seller certify to the purchaser the
correct mileage that the vehicle has been driven. There-
fore, if the odometer reading is changed during repair or
replacement, be sure to keep a record of the reading
before and after the service so that the correct mileage can
be determined.
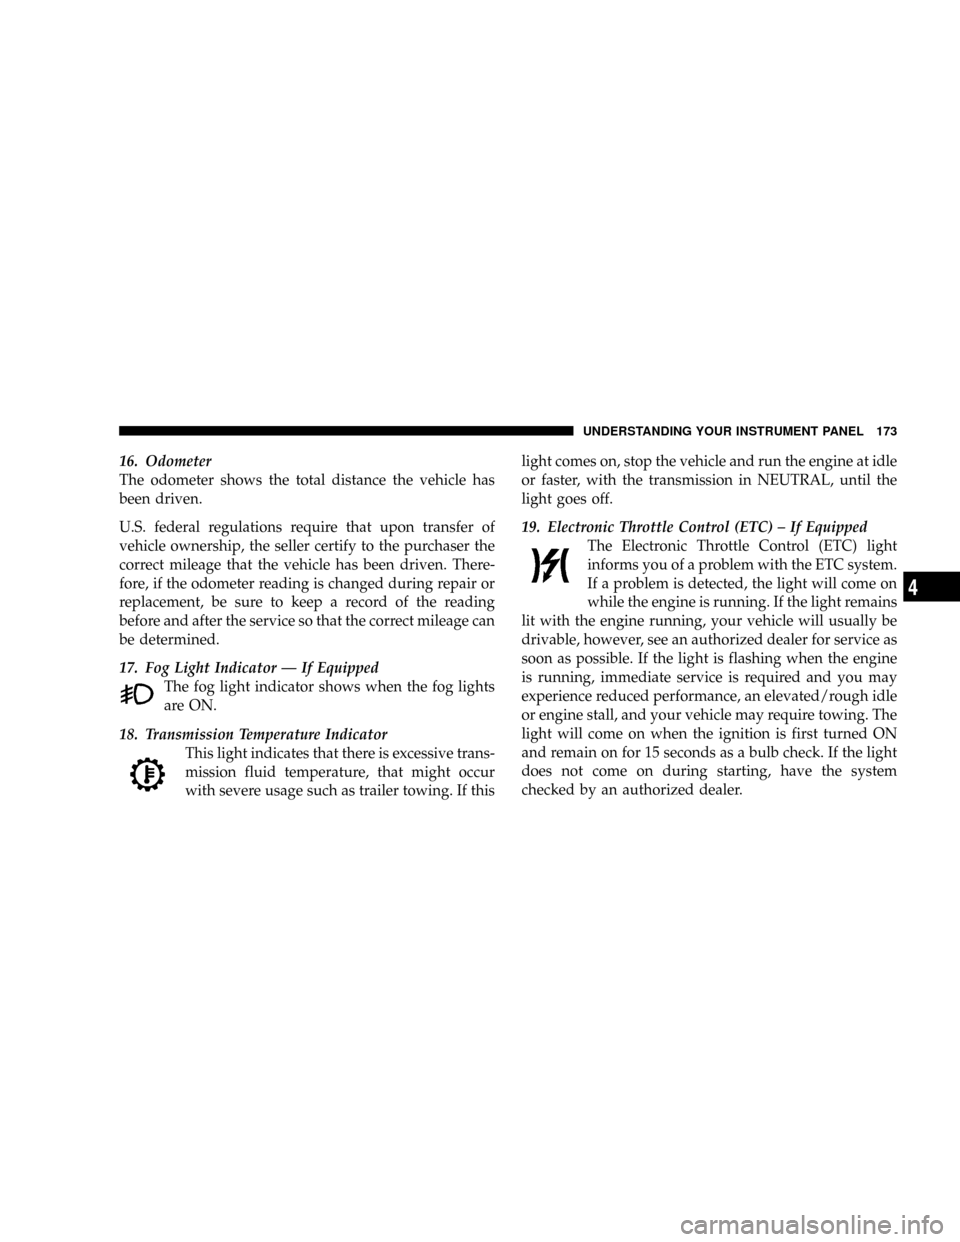
17. Fog Light Indicator Ð If Equipped
The fog light indicator shows when the fog lights
are ON.
18. Transmission Temperature Indicator
This light indicates that there is excessive trans-
mission fluid temperature, that might occur
with severe usage such as trailer towing. If thislight comes on, stop the vehicle and run the engine at idle
or faster, with the transmission in NEUTRAL, until the
light goes off.
19. Electronic Throttle Control (ETC) ± If Equipped
The Electronic Throttle Control (ETC) light
informs you of a problem with the ETC system.
If a problem is detected, the light will come on
while the engine is running. If the light remains
lit with the engine running, your vehicle will usually be
drivable, however, see an authorized dealer for service as
soon as possible. If the light is flashing when the engine
is running, immediate service is required and you may
experience reduced performance, an elevated/rough idle
or engine stall, and your vehicle may require towing. The
light will come on when the ignition is first turned ON
and remain on for 15 seconds as a bulb check. If the light
does not come on during starting, have the system
checked by an authorized dealer.
UNDERSTANDING YOUR INSTRUMENT PANEL 173
4
Page 177 of 449
WARNING!
Driving a vehicle with the red brake light on is
dangerous. Part of the brake system may have failed.
It will take longer to stop the vehicle. You could have
an accident. Have the vehicle checked immediately.
Vehicles equipped with the Anti-Lock Brake System
(ABS), are also equipped with Electronic Brake Force
Distribution (EBD). In the event of an EBD failure, the
Brake Warning Light will turn on along with the ABS
Light. Immediate repair to the ABS system is required.
Operation of the Brake Warning Light can be checked by
turning the ignition switch from the OFF position to the
ON position. The light should illuminate for approxi-
mately two seconds. The light should then turn off unless
the parking brake is applied or a brake fault is detected.
If the light does not illuminate, have the light inspected
by an authorized dealer.The light also will turn on when the parking brake is
applied with the ignition switch in the ON position.
NOTE:This light shows only that the parking brake is
applied. It does not show the degree of brake application.
21. Malfunction Indicator Light (MIL)
The Malfunction Indicator Light (MIL) is part of
an Onboard Diagnostic system (OBD II) that
monitors the emissions and engine control sys-
tem. If the vehicle is ready for emissions testing, the light
will come on when the ignition is first turned ON and
remain on, as a bulb check, until the engine is started. If
the vehicle is not ready for emissions testing, the light
will come on when the ignition is first turned ON and
remain on for 15 seconds, then blink for 5 seconds, and
remain on until the vehicle is started. If the bulb does not
come on during starting, have the condition investigated
promptly.
UNDERSTANDING YOUR INSTRUMENT PANEL 175
4
Page 180 of 449

CAUTION!
The TPMS has been optimized for the original
equipment tires and wheels. TPMS pressures and
warning have been established for the tire size
equipped on your vehicle. Undesirable system opera-
tion or sensor damage may result when using re-
placement equipment that is not of the same size,
type, and/or style. Aftermarket wheels can cause
sensor damage. Do not use tire sealant from a can, or
balance beads if your vehicle is equipped with a
TPMS, as damage to the sensors may result.
23. Airbag Warning Light
The airbag warning light will illuminate and
remain lit for six to eight seconds when the
ignition is first turned ON. If the light does not
illuminate when the ignition is first turned ON,or the light stays on or comes on while driving, have the
airbag system checked by an authorized dealer.
24. 4WD Indicator
The 4WD indicator illuminates when the transfer case is
in 4WD position.
25. SVC (Service) 4WD Indicator
The SVC 4WD illuminates when the ignition key is
turned to the ON position and will stay on for two
seconds. If the light stays on or illuminates during
driving, it means that the 4WD system is not functioning
properly and that service is required.
26. Cruise Indicator
The cruise indicator illuminates when the electronic
speed control system is turned on.
178 UNDERSTANDING YOUR INSTRUMENT PANEL
Page 181 of 449
27. Cargo Light
The Cargo Light indicator will illuminate when the Cargo
Light is activated by pressing the CARGO LIGHT button,
located on the headlight switch.
28. TOW/HAUL
The TOW/HAUL button is located at the end of the gear
shift lever. This light will illuminate when the TOW/
HAUL button has been selected.
29. 4WD LOW Indicator
The 4WD Low indicator illuminates when the transfer
case is in 4WD LOW position.
30. Odometer/Trip Odometer Button
Press the ODOMETER/TRIP ODOMETER button to
toggle between the odometer and the trip odometer
display. Holding the button in, resets the trip odometer
reading.ELECTRONIC DIGITAL CLOCK
The clock and radio each use the display panel built into
the radio. A digital readout shows the frequency and/or
time in hours and minutes (depending on your radio
model), whenever the ignition switch is in the ON or
ACC position.
When the ignition switch is in the OFF position, or when
the radio frequency is being displayed, timekeeping is
accurately maintained.
On the AM/FM/CD (6-disc) radio, the time button
alternates the location of the time and frequency on the
display. On the AM/FM/CD (single-disc) radio, only one
of the two, time or frequency, is displayed.
Clock Setting Procedure
1. Press and hold the TIME button until the hours blink.
2. Adjust the hours by turning the TUNE/AUDIO con-
trol knob.
UNDERSTANDING YOUR INSTRUMENT PANEL 179
4
Page 182 of 449
3. After the hours are adjusted, push the TUNE/AUDIO
control knob to set the minutes.
4. Adjust the minutes by turning the TUNE/AUDIO
control knob.
5. To exit, press any button/knob, or wait approximately
five seconds.
SALES CODE REQ Ð AM/FM STEREO RADIO
AND 6±DISC CD/DVD CHANGER (MP3/WMA AUX
JACK)
NOTE:The radio sales code is located on the lower right
side of your radio faceplate.
Operating Instructions - Radio Mode
NOTE:The ignition switch must be in the ON or ACC
position to operate the radio.
REQ Radio
180 UNDERSTANDING YOUR INSTRUMENT PANEL
Page 191 of 449
Operation Instructions - (DISC MODE for CD and
MP3/WMA Audio Play, DVD-VIDEO)
The radio DVD player and many DVD discs are coded by
geographic region. These region codes must match in
order for the disc to play. If the region code for the DVD
disc does not match the region code for the radio DVD
player, it will not play the disc. Customers may take their
vehicle to an authorized dealer to change the region code
of the player a maximum of five times.
CAUTION!
The radio may shut down during extremely hot
conditions. When this occurs, the radio will indicate
ªDisc Hotº and shut off until a safe temperature is
reached. This shutdown is necessary to protect the
optics of the DVD player and other radio internal
components.NOTE:The ignition switch must be in the ON or ACC
position to operate the radio.
LOAD Button Ð Loading Compact Disc(s)
Press the LOAD button and the pushbutton with the
corresponding number (1-6) where the CD is being
loaded. The radio will display PLEASE WAIT and
prompt when to INSERT DISC. After the radio displays
9INSERT DISC,9insert the CD into the player.
Radio display will show9LOADING DISC9when the disc
is loading and ªREADING DISCº when the radio is
reading the disc.
CAUTION!
This CD player will accept 4±3/4 in (12 cm) discs only.
The use of other sized discs may damage the CD
player mechanism.
UNDERSTANDING YOUR INSTRUMENT PANEL 189
4
Page 192 of 449
Eject Button Ð Ejecting Compact Disc(s)
Press the EJECT button and the pushbutton
with the corresponding number (1-6) where the
CD was loaded and the disc will unload and
move to the entrance for easy removal. Radio
display will show9EJECTING DISC9when the disc is
being ejected and prompt the user to remove the disc.
Press and hold the EJECT button for five seconds and all
CDs will be ejected from the radio.
The disc can be ejected with the radio and ignition OFF.
SEEK Button (CD MODE)
Press the right SEEK button for the next selection on the
CD. Press the left SEEK button to return to the beginning
of the current selection, or return to the beginning of the
previous selection if the CD is within the first second of
the current selection. Pressing and holding the SEEK
button will allow you to scroll through the tracks faster in
CD, MP3/MWA modes.
SCAN Button (CD MODE)
Press the SCAN button to scan through each track on the
CD currently playing.
TIME Button (CD MODE)
Press this button to change the display from a large CD
playing time display to a small CD playing time display.
RW/FF (CD MODE)
Press and hold FF (Fast Forward) and the CD player will
begin to fast forward until FF is released, or RW or
another CD button is pressed. The RW (Rewind) button
works in a similar manner.
AM or FM Button (CD MODE)
Switches the Radio into the AM or FM Radio mode.
190 UNDERSTANDING YOUR INSTRUMENT PANEL