2008 SUBARU TRIBECA change time
[x] Cancel search: change timePage 122 of 409
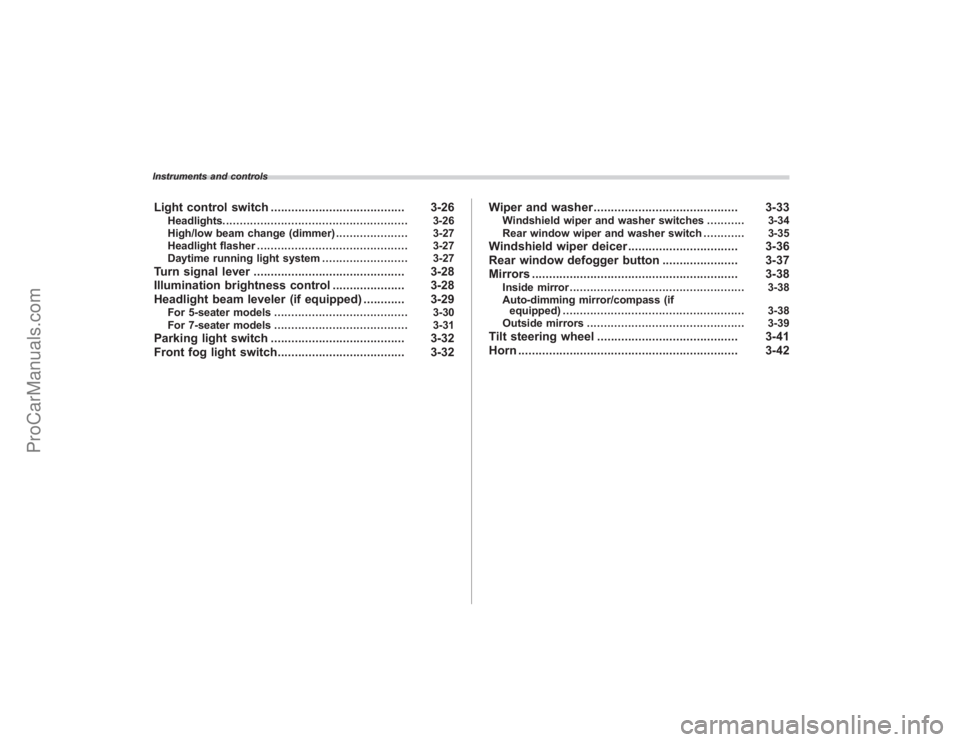
Instruments and controlsLight control switch....................................... 3-26
Headlights...................................................... 3-26
High/low beam change (dimmer) ..................... 3-27
Headlight flasher ............................................ 3-27
Daytime running light system ......................... 3-27
Turn signal lever............................................ 3-28
Illumination brightness control ..................... 3-28
Headlight beam leveler (if equipped) ............ 3-29
For 5-seater models....................................... 3-30
For 7-seater models ....................................... 3-31
Parking light switch....................................... 3-32
Front fog light switch ..................................... 3-32 Wiper and washer
.......................................... 3-33
Windshield wiper and washer switches ........... 3-34
Rear window wiper and washer switch ............ 3-35
Windshield wiper deicer................................ 3-36
Rear window defogger button ...................... 3-37
Mirrors ............................................................ 3-38
Inside mirror ................................................... 3-38
Auto-dimming mirror/compass (if equipped) ..................................................... 3-38
Outside mirrors .............................................. 3-39
Tilt steering wheel ......................................... 3-41
Horn ................................................................ 3-42
ProCarManuals.com
Page 141 of 409
ing driving, have the vehicle checked
by your nearest SUBARU dealer.&
Cruise control set in-
dicator light
The cruise control set indicator light
comes on when the ignition switch is
turned to the“ON”position and goes out
after approximately 3 seconds.
This light comes on when vehicle speed
has been set.&
Headlight indicator
light
This indicator light comes on when the
light switch is turned to the “
”position
(to turn on the parking lights) or to the
“
” position (to turn on the headlights).
&
Front fog light indicator
light
This indicator light is on while the front fog
lights are on.
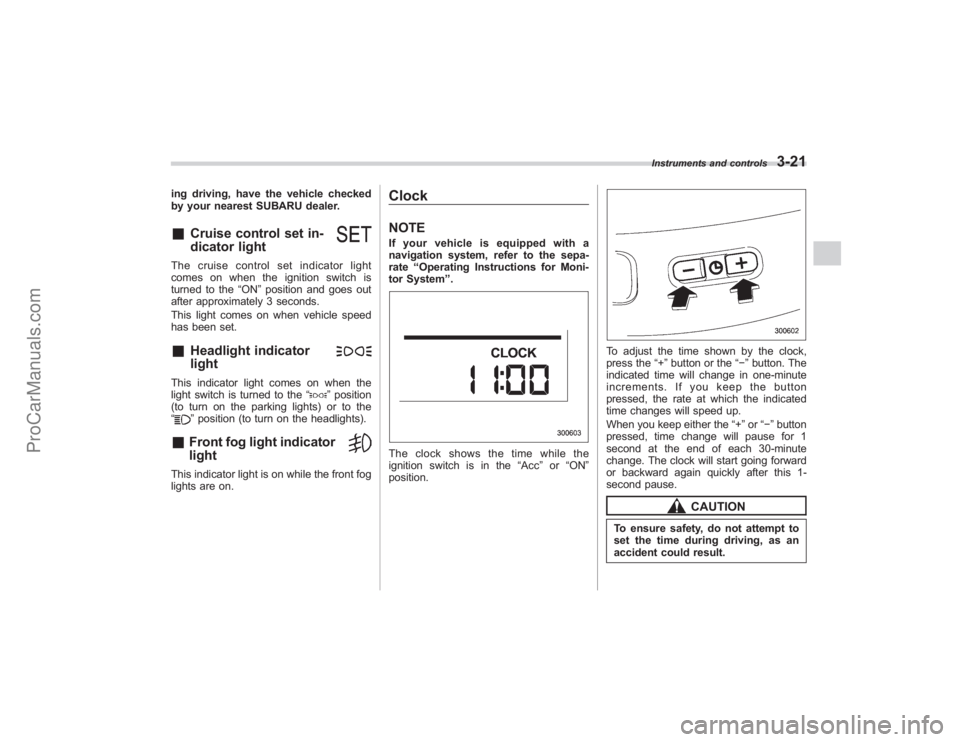
ClockNOTEIf your vehicle is equipped with a
navigation system, refer to the sepa-
rate “Operating Instructions for Moni-
tor System ”.The clock shows the time while the
ignition switch is in the “Acc”or “ON ”
position.
To adjust the time shown by the clock,
press the “+”button or the “−”button. The
indicated time will change in one-minute
increments. If you keep the button
pressed, the rate at which the indicated
time changes will speed up.
When you keep either the “+”or “− ” button
pressed, time change will pause for 1
second at the end of each 30-minute
change. The clock will start going forward
or backward again quickly after this 1-
second pause.
CAUTION
To ensure safety, do not attempt to
set the time during driving, as an
accident could result.
Instruments and controls
3-21
ProCarManuals.com
Page 147 of 409
&High/low beam change (dim-
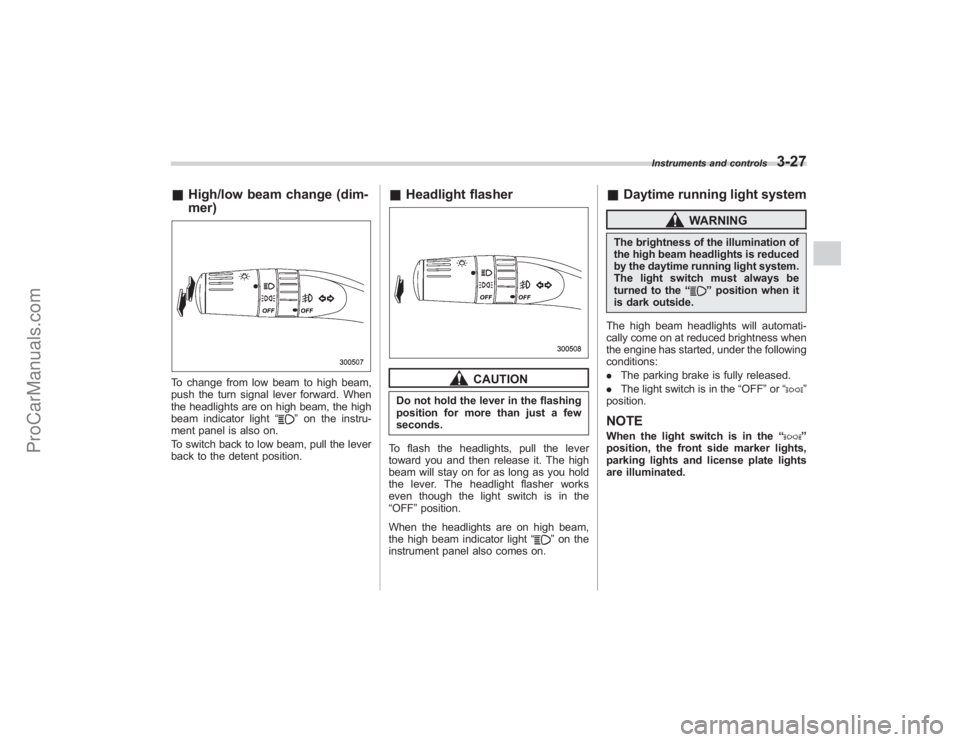
mer)To change from low beam to high beam,
push the turn signal lever forward. When
the headlights are on high beam, the high
beam indicator light “
”on the instru-
ment panel is also on.
To switch back to low beam, pull the lever
back to the detent position.
& Headlight flasher
CAUTION
Do not hold the lever in the flashing
position for more than just a few
seconds.
To flash the headlights, pull the lever
toward you and then release it. The high
beam will stay on for as long as you hold
the lever. The headlight flasher works
even though the light switch is in the
“OFF ”position.
When the headlights are on high beam,
the high beam indicator light “
”on the
instrument panel also comes on.
& Daytime running light system
WARNING
The brightness of the illumination of
the high beam headlights is reduced
by the daytime running light system.
The light switch must always be
turned to the “
”position when it
is dark outside.
The high beam headlights will automati-
cally come on at reduced brightness when
the engine has started, under the following
conditions:
. The parking brake is fully released.
. The light switch is in the “OFF”or “
”
position.
NOTEWhen the light switch is in the “
”
position, the front side marker lights,
parking lights and license plate lights
are illuminated.
Instruments and controls
3-27
ProCarManuals.com
Page 175 of 409
CAUTION
Contact your SUBARU dealer if the
following occurs, even if it is not yet
time to change the filter:
–Reduction of the air flow through
the vents.
– Windshield gets easily fogged or
misted.NOTEThe filter can influence the air condi-
tioning, heating and defroster perfor-
mance if not properly maintained.
Climate control
4-13
ProCarManuals.com
Page 183 of 409
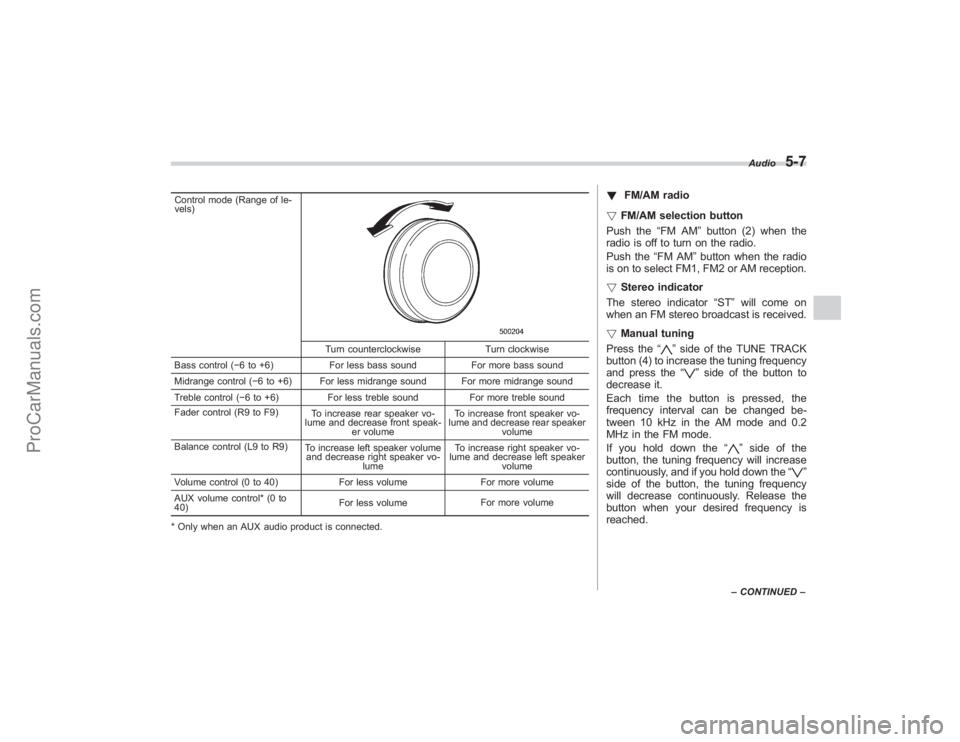
Control mode (Range of le-
vels)
Turn counterclockwiseTurn clockwise
Bass control ( −6 to +6) For less bass sound For more bass sound
Midrange control ( −6 to +6) For less midrange sound For more midrange sound
Treble control ( −6 to +6) For less treble sound For more treble sound
Fader control (R9 to F9) To increase rear speaker vo-
lume and decrease front speak- er volume To increase front speaker vo-
lume and decrease rear speaker volume
Balance control (L9 to R9) To increase left speaker volume
and decrease right speaker vo-
lume To increase right speaker vo-
lume and decrease left speaker
volume
Volume control (0 to 40) For less volumeFor more volume
AUX volume control* (0 to
40) For less volume
For more volume
* Only when an AUX audio product is connected.
! FM/AM radio
! FM/AM selection button
Push the “FM AM”button (2) when the
radio is off to turn on the radio.
Push the “FM AM”button when the radio
is on to select FM1, FM2 or AM reception.
! Stereo indicator
The stereo indicator “ST”will come on
when an FM stereo broadcast is received.
! Manual tuning
Press the “
”side of the TUNE TRACK
button (4) to increase the tuning frequency
and press the “
”side of the button to
decrease it.
Each time the button is pressed, the
frequency interval can be changed be-
tween 10 kHz in the AM mode and 0.2
MHz in the FM mode.
If you hold down the “
”side of the
button, the tuning frequency will increase
continuously, and if you hold down the “
”
side of the button, the tuning frequency
will decrease continuously. Release the
button when your desired frequency is
reached.
Audio
5-7
– CONTINUED –
ProCarManuals.com
Page 189 of 409
!Repeating
! To repeat the currently playing track/
file (track)
To repeat a track/file (track), briefly press
the “RPT ”button (6) while the track/file
(track) is playing. The display will show
“RPT ”, and the track/file (track) will be
repeated.
To cancel the track/file (track) repeat-play
mode:
Press the “RPT”button once (non-MP3
disc)
Press the “RPT”button twice (MP3 disc)
The “RPT ”indication will go off, and the
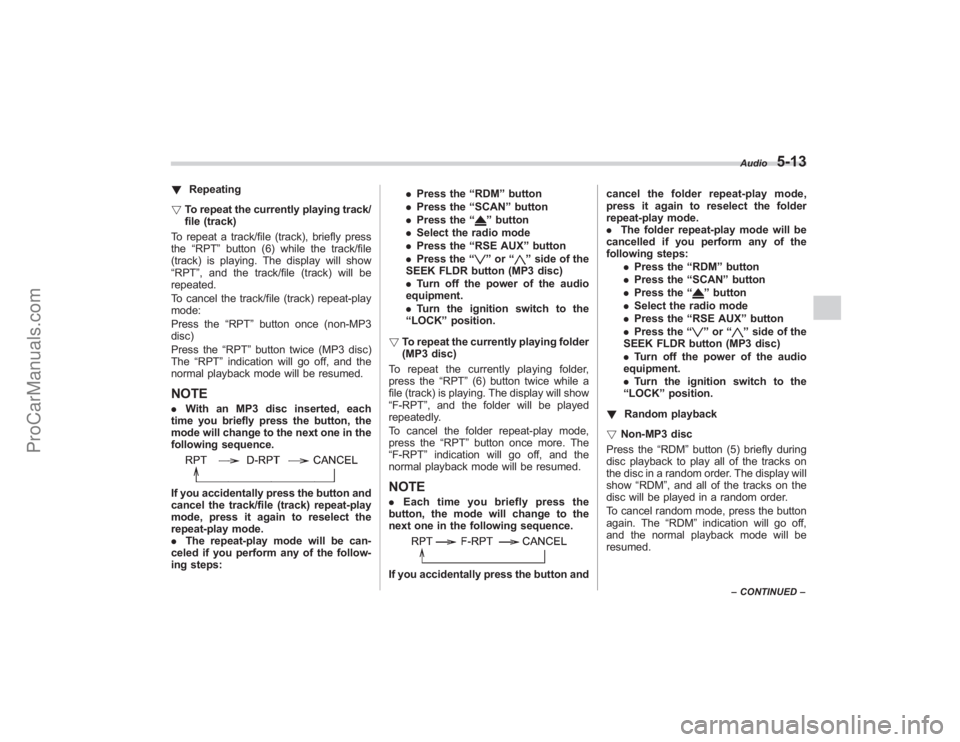
normal playback mode will be resumed.NOTE. With an MP3 disc inserted, each
time you briefly press the button, the
mode will change to the next one in the
following sequence.If you accidentally press the button and
cancel the track/file (track) repeat-play
mode, press it again to reselect the
repeat-play mode.
. The repeat-play mode will be can-
celed if you perform any of the follow-
ing steps: .
Press the “RDM ”button
. Press the “SCAN ”button
. Press the “
”button
. Select the radio mode
. Press the “RSE AUX ”button
. Press the “”or “
”side of the
SEEK FLDR button (MP3 disc)
. Turn off the power of the audio
equipment.
. Turn the ignition switch to the
“ LOCK ”position.
! To repeat the currently playing folder
(MP3 disc)
To repeat the currently playing folder,
press the “RPT”(6) button twice while a
file (track) is playing. The display will show
“F-RPT ”, and the folder will be played
repeatedly.
To cancel the folder repeat-play mode,
press the “RPT”button once more. The
“F-RPT ”indication will go off, and the
normal playback mode will be resumed.
NOTE. Each time you briefly press the
button, the mode will change to the
next one in the following sequence.If you accidentally press the button and cancel the folder repeat-play mode,
press it again to reselect the folder
repeat-play mode.
.
The folder repeat-play mode will be
cancelled if you perform any of the
following steps:
.Press the “RDM ”button
. Press the “SCAN” button
. Press the “
”button
. Select the radio mode
. Press the “RSE AUX ”button
. Press the “”or “
”side of the
SEEK FLDR button (MP3 disc)
. Turn off the power of the audio
equipment.
. Turn the ignition switch to the
“ LOCK ”position.
! Random playback
! Non-MP3 disc
Press the “RDM”button (5) briefly during
disc playback to play all of the tracks on
the disc in a random order. The display will
show “RDM ”, and all of the tracks on the
disc will be played in a random order.
To cancel random mode, press the button
again. The “RDM”indication will go off,
and the normal playback mode will be
resumed.Audio
5-13
– CONTINUED –
ProCarManuals.com
Page 190 of 409
5-14
Audio
NOTERandom playback will be cancelled if
you perform any of the following steps:
.Press the “RPT ”button
. Press the “SCAN ”button
. Press the “
”button
. Select the radio mode
. Press the “RSE AUX ”button
. Press the “”or “
”side of the
SEEK FLDR button
. Turn off the power of the audio
equipment.
. Turn the ignition switch to the
“ LOCK ”position.
! MP3 disc
Press the “RDM”button (5) during disc
playback to play all of the tracks in the
folder currently being played in random
order. Press the “RDM”button again to
play all of the tracks on the disc in random
order. The display will show “RDM”during
the random mode.
To cancel the random mode, press the
“ RDM ”button during “in-disc ”random
playback. The “RDM”indication will go
off, and the normal playback mode will be
resumed.
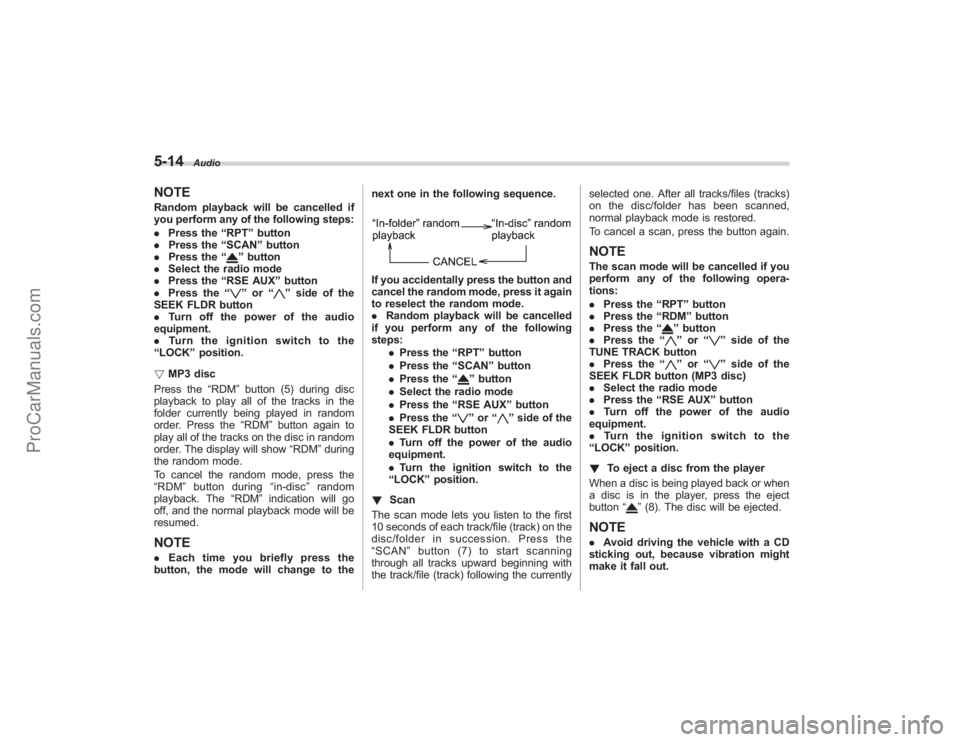
NOTE. Each time you briefly press the
button, the mode will change to the next one in the following sequence.
If you accidentally press the button and
cancel the random mode, press it again
to reselect the random mode.
.
Random playback will be cancelled
if you perform any of the following
steps:
.Press the “RPT ”button
. Press the “SCAN ”button
. Press the “
”button
. Select the radio mode
. Press the “RSE AUX ”button
. Press the “”or “
”side of the
SEEK FLDR button
. Turn off the power of the audio
equipment.
. Turn the ignition switch to the
“ LOCK ”position.
! Scan
The scan mode lets you listen to the first
10 seconds of each track/file (track) on the
disc/folder in succession. Press the
“ SCAN ”button (7) to start scanning
through all tracks upward beginning with
the track/file (track) following the currently selected one. After all tracks/files (tracks)
on the disc/folder has been scanned,
normal playback mode is restored.
To cancel a scan, press the button again.
NOTEThe scan mode will be cancelled if you
perform any of the following opera-
tions:
.
Press the “RPT ”button
. Press the “RDM ”button
. Press the “
”button
. Press the “”or “
”side of the
TUNE TRACK button
. Press the “
”or “
”side of the
SEEK FLDR button (MP3 disc)
. Select the radio mode
. Press the “RSE AUX ”button
. Turn off the power of the audio
equipment.
. Turntheignitionswitchtothe
“ LOCK ”position.
! To eject a disc from the player
When a disc is being played back or when
a disc is in the player, press the eject
button “
”(8). The disc will be ejected.
NOTE. Avoid driving the vehicle with a CD
sticking out, because vibration might
make it fall out.
ProCarManuals.com
Page 191 of 409
.If the disc is left ejected for more
than approximately 15 seconds after
the ignition switch is turned to the
“ LOCK” position, a disc protection
function will operate, automatically
reloading the disc. In this case, the
disc is not played.
! Display selection (MP3 disc)
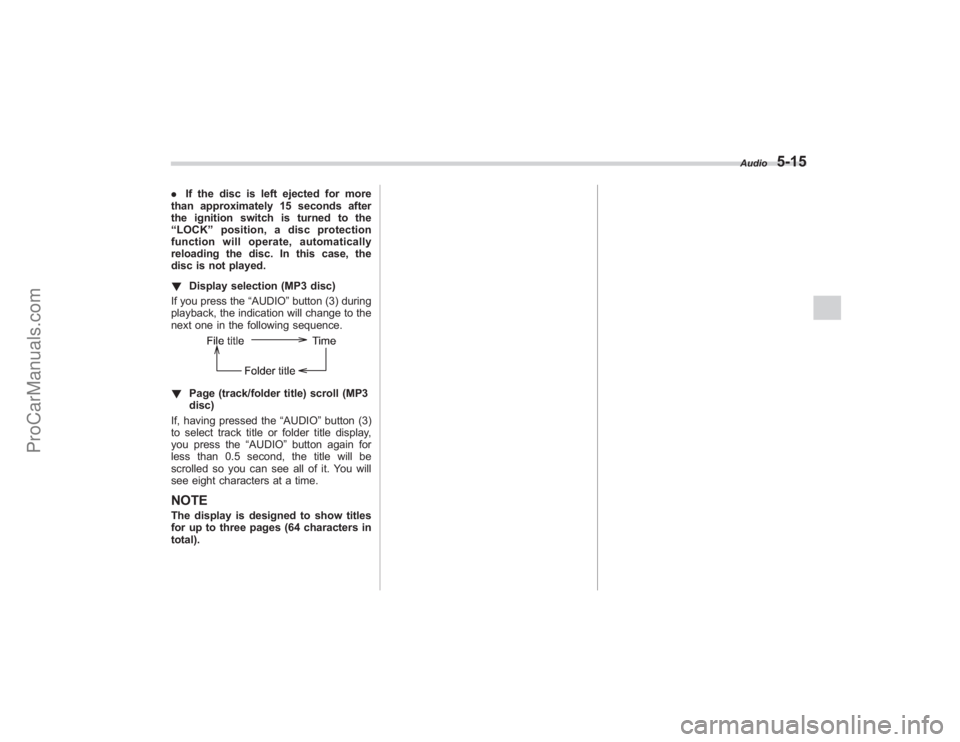
If you press the “AUDIO”button (3) during
playback, the indication will change to the
next one in the following sequence.! Page (track/folder title) scroll (MP3
disc)
If, having pressed the “AUDIO”button (3)
to select track title or folder title display,
you press the “AUDIO”button again for
less than 0.5 second, the title will be
scrolled so you can see all of it. You will
see eight characters at a time.NOTEThe display is designed to show titles
for up to three pages (64 characters in
total).
Audio
5-15
ProCarManuals.com