Page 111 of 225
110 Telephone
Address book
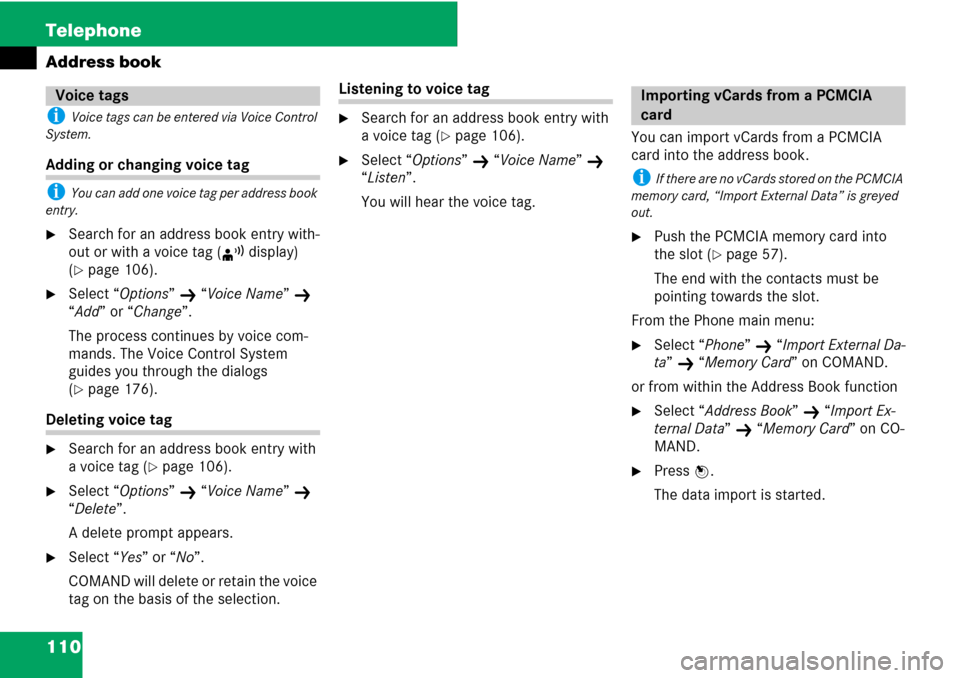
i Voice tags can be entered via Voice Control
System.
Adding or changing voice tag
i You can add one voice tag per address book
entry.
�Search for an address book entry with-
out or with a voice tag (m display)
(
�page 106).
�Select “Options” K “Voice Name” K
“Add” or “Change”.
The process continues by voice com-
mands. The Voice Control System
guides you through the dialogs
(
�page 176).
Deleting voice tag
�Search for an address book entry with
a voice tag (
�page 106).
�Select “Options” K “Voice Name” K
“Delete”.
A delete prompt appears.
�Select “Yes” or “No”.
COMAND will delete or retain the voice
tag on the basis of the selection.
Listening to voice tag
�Search for an address book entry with
a voice tag (
�page 106).
�Select “Options” K “Voice Name” K
“Listen”.
You will hear the voice tag.You can import vCards from a PCMCIA
card into the address book.
i If there are no vCards stored on the PCMCIA
memory card, “Import External Data” is greyed
out.
�Push the PCMCIA memory card into
the slot (
�page 57).
The end with the contacts must be
pointing towards the slot.
From the Phone main menu:
�Select “Phone” K “Import External Da-
ta”
K “Memory Card” on COMAND.
or from within the Address Book function
�Select “Address Book” K “Import Ex-
ternal Data”
K “Memory Card” on CO-
MAND.
�Press n.
The data import is started.
Voice tagsImporting vCards from a PCMCIA
card
Page 129 of 225
128 Navigation
Destination input
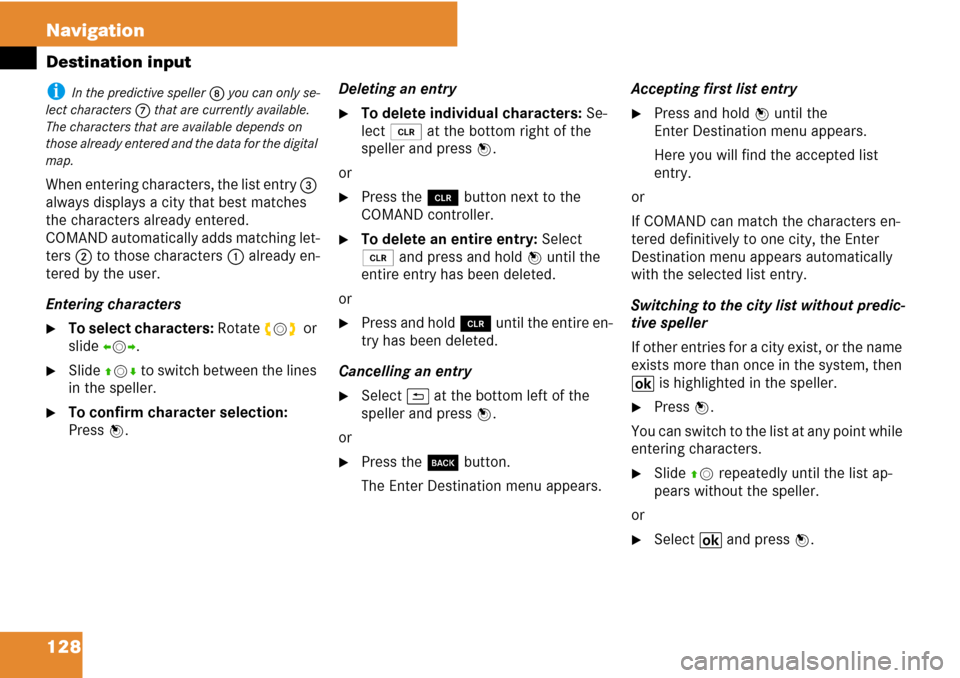
i In the predictive speller 8 you can only se-
lect characters 7 that are currently available.
The characters that are available depends on
those already entered and the data for the digital
map.
When entering characters, the list entry 3
always displays a city that best matches
the characters already entered.
COMAND automatically adds matching let-
ters 2 to those characters 1 already en-
tered by the user.
Entering characters
�To select characters: Rotate ymz or
slide omp.
�Slide qmr to switch between the lines
in the speller.
�To confirm character selection:
Press n.Deleting an entry
�To delete individual characters: Se-
lect õ at the bottom right of the
speller and press n.
or
�Press the î button next to the
COMAND controller.
�To delete an entire entry: Select
õ and press and hold n until the
entire entry has been deleted.
or
�Press and hold î until the entire en-
try has been deleted.
Cancelling an entry
�Select A at the bottom left of the
speller and press n.
or
�Press the í button.
The Enter Destination menu appears.Accepting first list entry
�Press and hold n until the
Enter Destination menu appears.
Here you will find the accepted list
entry.
or
If COMAND can match the characters en-
tered definitively to one city, the Enter
Destination menu appears automatically
with the selected list entry.
Switching to the city list without predic-
tive speller
If other entries for a city exist, or the name
exists more than once in the system, then
B is highlighted in the speller.
�Press n.
You can switch to the list at any point while
entering characters.
�Slide qm repeatedly until the list ap-
pears without the speller.
or
�Select B and press n.
Page 144 of 225
143 Navigation
POI input
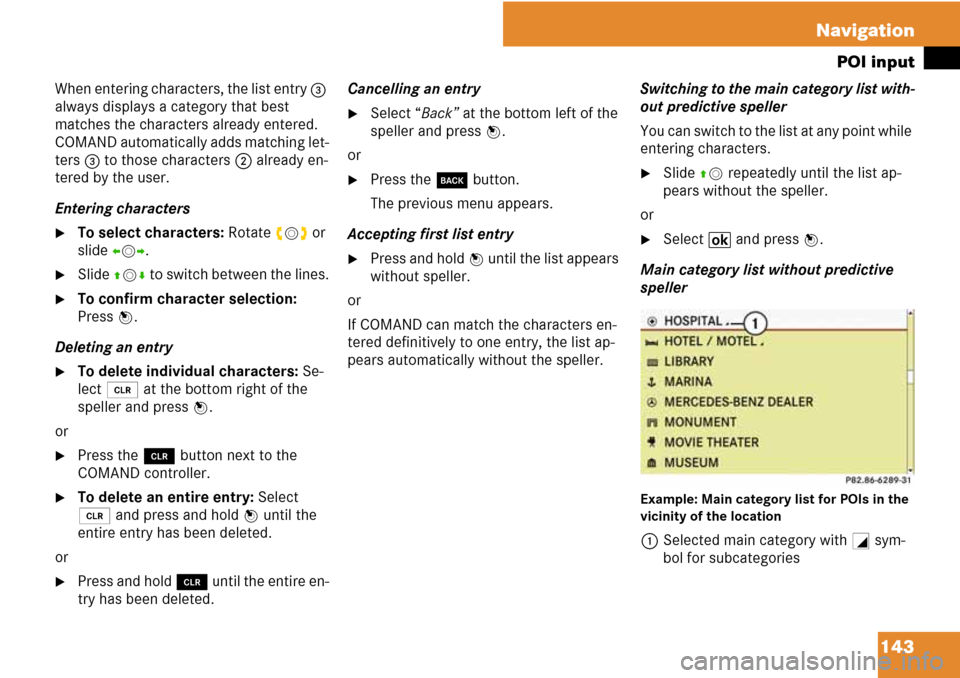
When entering characters, the list entry 3
always displays a category that best
matches the characters already entered.
COMAND automatically adds matching let-
ters
3 to those characters 2 already en-
tered by the user.
Entering characters
�To select characters: Rotate ymz or
slide omp.
�Slide qmr to switch between the lines.
�To confirm character selection:
Press n.
Deleting an entry
�To delete individual characters: Se-
lect õ at the bottom right of the
speller and press n.
or
�Press the î button next to the
COMAND controller.
�To delete an entire entry: Select
õ and press and hold n until the
entire entry has been deleted.
or
�Press and hold î until the entire en-
try has been deleted.Cancelling an entry
�Select “Back” at the bottom left of the
speller and press n.
or
�Press the í button.
The previous menu appears.
Accepting first list entry
�Press and hold n until the list appears
without speller.
or
If COMAND can match the characters en-
tered definitively to one entry, the list ap-
pears automatically without the speller.Switching to the main category list with-
out predictive speller
You can switch to the list at any point while
entering characters.
�Slide qm repeatedly until the list ap-
pears without the speller.
or
�Select B and press n.
Main category list without predictive
speller
Example: Main category list for POIs in the
vicinity of the location
1Selected main category with + sym-
bol for subcategories
Page 164 of 225
163 System settings
Opening System menu .............. 164
Menu overview ........................... 164
Display settings .......................... 164
Time settings .............................. 165
Read-out settings ....................... 166
Voice control settings ............... 167
Bluetooth
® settings ................... 169
Reset ............................................ 171
Setting the system language .... 171
Tele Aid* ...................................... 172
Page 165 of 225
164 System settings
System settings
�Press the function button Z.
or
�Select “System” in the menu bar with
main functions.
Adjusting brightness
�Select “System” K “System Settings”
K “Display” K “Brightness”.
1Brightness bar
�To adjust brightness: Rotate ymz or
slide qmr.
The brightness bar moves up or down.
�To confirm selection: Press n or
slide om.
System settings
Opening System menu
Menu overview
System settingsLanguage
Display
Time
Text reader speed
Voice control
Bluetooth
Reset (resets
COMAND to
factory settings)
i Use this function
to delete your person-
al data, e.g. before
selling your vehicle.
Setting language
Display settings
Page 167 of 225
166 System settings
System settings
Setting time zone and switching be-
tween daylight saving time and stan-
dard time
i The correct time zone and daylight saving/
standard time settings are essential for the fol-
lowing system functions to operate correctly:
�Route guidance on routes with time-depen-
dent traffic routing
�Calculation of estimated time of arrival
�Time stamps for calls received and calls di-
aled
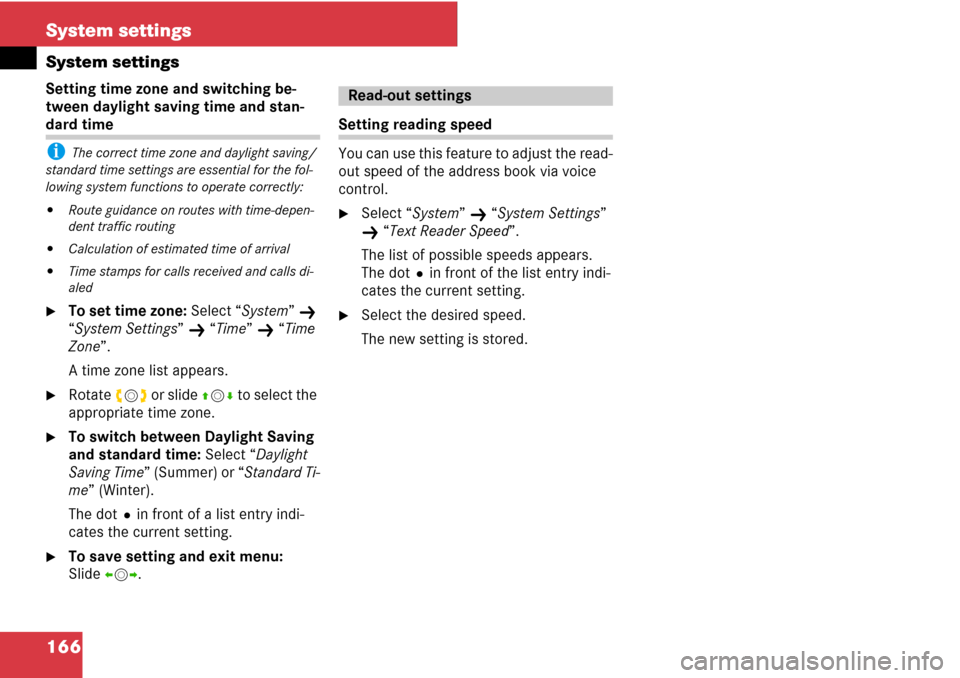
�To set time zone: Select “System” K
“System Settings”
K “Time” K “Time
Zone”.
A time zone list appears.
�Rotate ymz or slide qmr to select the
appropriate time zone.
�To switch between Daylight Saving
and standard time: Select “Daylight
Saving Time” (Summer) or “Standard Ti-
me” (Winter).
The dotRin front of a list entry indi-
cates the current setting.
�To save setting and exit menu:
Slide omp.
Setting reading speed
You can use this feature to adjust the read-
out speed of the address book via voice
control.
�Select “System” K “System Settings”
K “Text Reader Speed”.
The list of possible speeds appears.
The dotRin front of the list entry indi-
cates the current setting.
�Select the desired speed.
The new setting is stored.
Read-out settings
Page 168 of 225
167 System settings
System settings
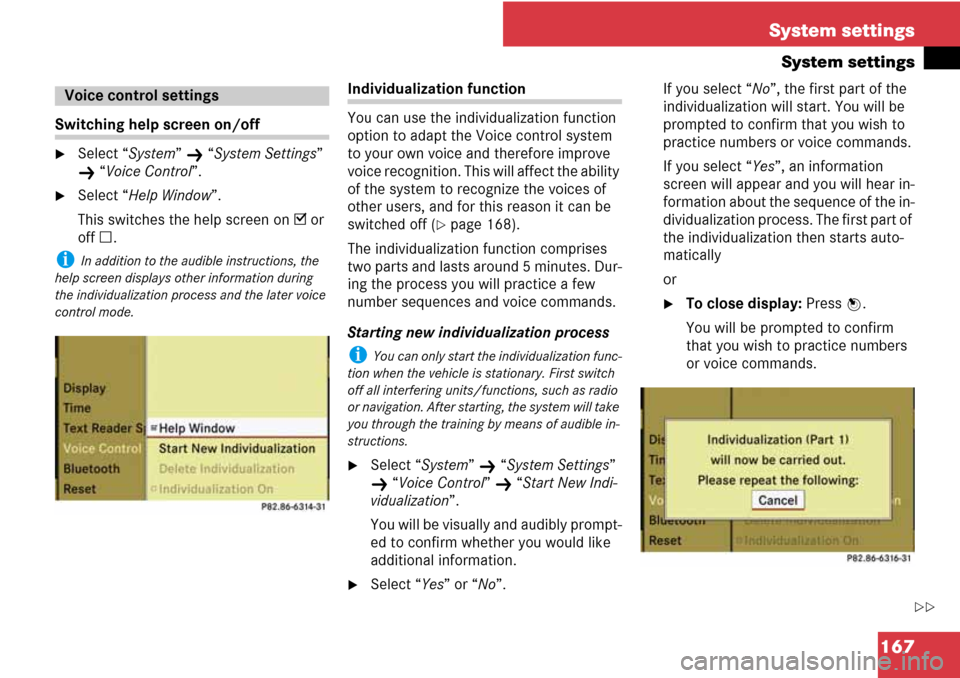
Switching help screen on/off
�Select “System” K “System Settings”
K “Voice Control”.
�Select “Help Window”.
This switches the help screen on D or
off C.
i In addition to the audible instructions, the
help screen displays other information during
the individualization process and the later voice
control mode.
Individualization function
You can use the individualization function
option to adapt the Voice control system
to your own voice and therefore improve
voice recognition. This will affect the ability
of the system to recognize the voices of
other users, and for this reason it can be
switched off (
�page 168).
The individualization function comprises
two parts and lasts around 5 minutes. Dur-
ing the process you will practice a few
number sequences and voice commands.
Starting new individualization process
i You can only start the individualization func-
tion when the vehicle is stationary. First switch
off all interfering units/functions, such as radio
or navigation. After starting, the system will take
you through the training by means of audible in-
structions.
�Select “System” K “System Settings”
K “Voice Control” K “Start New Indi-
vidualization”.
You will be visually and audibly prompt-
ed to confirm whether you would like
additional information.
�Select “Yes” or “No”.If you select “No”, the first part of the
individualization will start. You will be
prompted to confirm that you wish to
practice numbers or voice commands.
If you select “Yes”, an information
screen will appear and you will hear in-
formation about the sequence of the in-
dividualization process. The first part of
the individualization then starts auto-
matically
or
�To close display: Press n.
You will be prompted to confirm
that you wish to practice numbers
or voice commands.
Voice control settings
��
Page 169 of 225
168 System settings
System settings
Once the first part is over, you will be
prompted to confirm that you wish to
start the second part.
�Select “Yes” or “No”.
If you select “No”, the individualization
is cancelled. The data from the first
part is saved automatically.
If you select “Yes”, the second part of
the individualization will start.
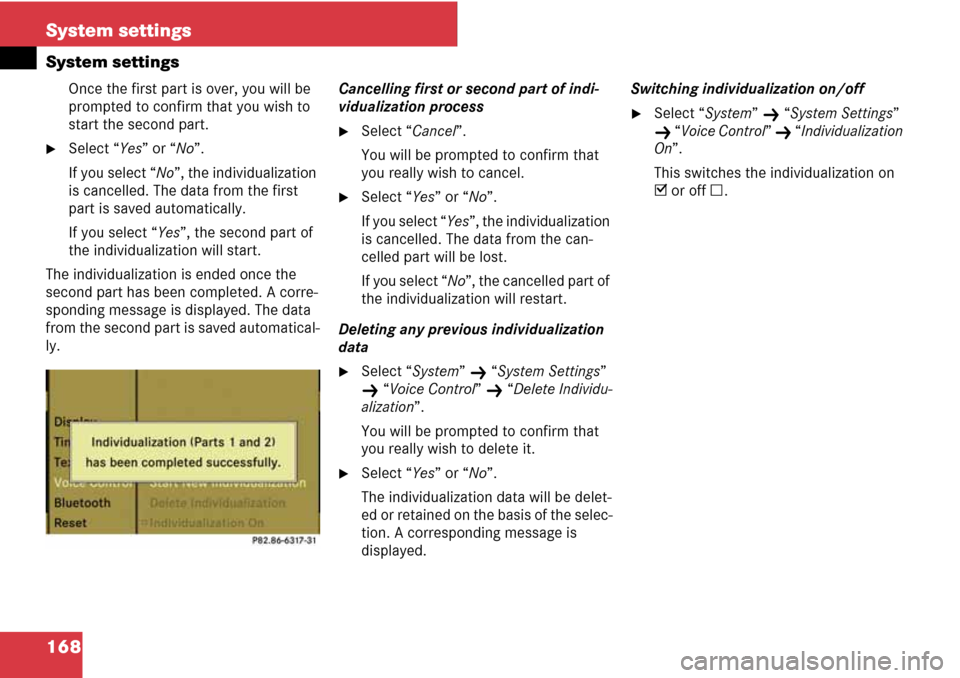
The individualization is ended once the
second part has been completed. A corre-
sponding message is displayed. The data
from the second part is saved automatical-
ly.Cancelling first or second part of indi-
vidualization process
�Select “Cancel”.
You will be prompted to confirm that
you really wish to cancel.
�Select “Yes” or “No”.
If you select “Yes”, the individualization
is cancelled. The data from the can-
celled part will be lost.
If you select “No”, the cancelled part of
the individualization will restart.
Deleting any previous individualization
data
�Select “System” K “System Settings”
K “Voice Control” K “Delete Individu-
alization”.
You will be prompted to confirm that
you really wish to delete it.
�Select “Yes” or “No”.
The individualization data will be delet-
ed or retained on the basis of the selec-
tion. A corresponding message is
displayed.Switching individualization on/off
�Select “System” K “System Settings”
K “Voice Control” K “Individualization
On”.
This switches the individualization on
D or off C.