2007 BMW MOTORRAD K 1200 R Rider's Manual (in English)
-
 1
1 -
 2
2 -
 3
3 -
 4
4 -
 5
5 -
 6
6 -
 7
7 -
 8
8 -
 9
9 -
 10
10 -
 11
11 -
 12
12 -
 13
13 -
 14
14 -
 15
15 -
 16
16 -
 17
17 -
 18
18 -
 19
19 -
 20
20 -
 21
21 -
 22
22 -
 23
23 -
 24
24 -
 25
25 -
 26
26 -
 27
27 -
 28
28 -
 29
29 -
 30
30 -
 31
31 -
 32
32 -
 33
33 -
 34
34 -
 35
35 -
 36
36 -
 37
37 -
 38
38 -
 39
39 -
 40
40 -
 41
41 -
 42
42 -
 43
43 -
 44
44 -
 45
45 -
 46
46 -
 47
47 -
 48
48 -
 49
49 -
 50
50 -
 51
51 -
 52
52 -
 53
53 -
 54
54 -
 55
55 -
 56
56 -
 57
57 -
 58
58 -
 59
59 -
 60
60 -
 61
61 -
 62
62 -
 63
63 -
 64
64 -
 65
65 -
 66
66 -
 67
67 -
 68
68 -
 69
69 -
 70
70 -
 71
71 -
 72
72 -
 73
73 -
 74
74 -
 75
75 -
 76
76 -
 77
77 -
 78
78 -
 79
79 -
 80
80 -
 81
81 -
 82
82 -
 83
83 -
 84
84 -
 85
85 -
 86
86 -
 87
87 -
 88
88 -
 89
89 -
 90
90 -
 91
91 -
 92
92 -
 93
93 -
 94
94 -
 95
95 -
 96
96 -
 97
97 -
 98
98 -
 99
99 -
 100
100 -
 101
101 -
 102
102 -
 103
103 -
 104
104 -
 105
105 -
 106
106 -
 107
107 -
 108
108 -
 109
109 -
 110
110 -
 111
111 -
 112
112 -
 113
113 -
 114
114 -
 115
115 -
 116
116 -
 117
117 -
 118
118 -
 119
119 -
 120
120 -
 121
121 -
 122
122 -
 123
123 -
 124
124 -
 125
125 -
 126
126 -
 127
127 -
 128
128 -
 129
129 -
 130
130 -
 131
131 -
 132
132 -
 133
133 -
 134
134 -
 135
135 -
 136
136 -
 137
137 -
 138
138 -
 139
139 -
 140
140 -
 141
141 -
 142
142 -
 143
143 -
 144
144 -
 145
145 -
 146
146 -
 147
147 -
 148
148 -
 149
149 -
 150
150 -
 151
151 -
 152
152 -
 153
153 -
 154
154 -
 155
155 -
 156
156 -
 157
157 -
 158
158 -
 159
159 -
 160
160 -
 161
161 -
 162
162 -
 163
163 -
 164
164 -
 165
165 -
 166
166 -
 167
167
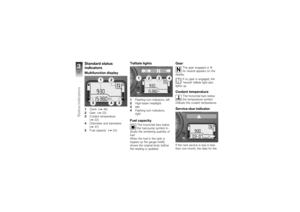
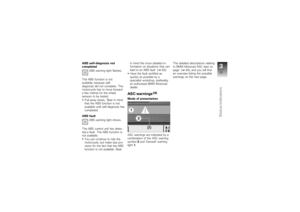
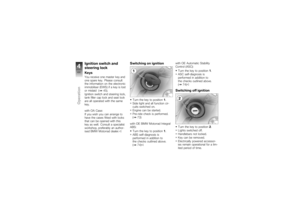
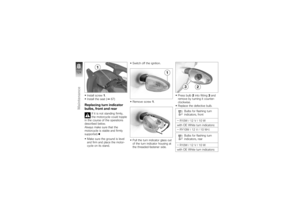
 Switching on parking
lightsSwitch off the ignition.
Immediately after switching
off the ignition, press and hold
down button1for the left turn
indicators.
Parking light switches on.Switching off parki")
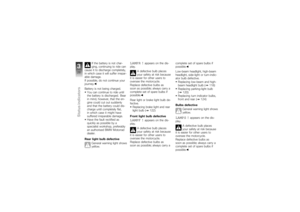
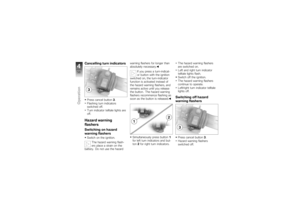
 Cancelling turn indicatorsPress cancel button3.
Flashing turn indicators
switched off.
Turn indicator telltale lights are
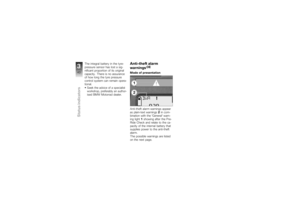
off.Hazard warning
flashersSwitching on hazard
warning flashersSwitch on the i")
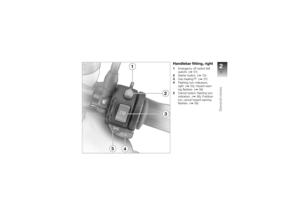
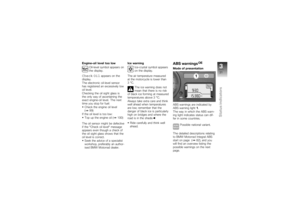
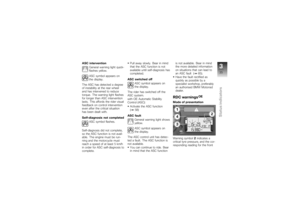
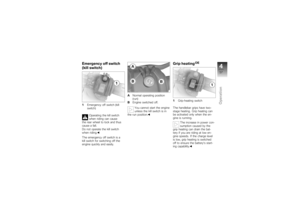
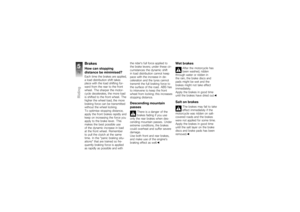
 Emergency off switch
(kill switch)1Emergency off switch (kill
switch)
Operating the kill switch
when riding can cause
the rear wheel to lock and thus
cause a fall.
Do not operate the kill switch
when")
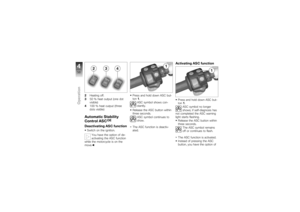
 2Heating off.
3 50 % heat output (one dot
visible)
4 100 % heat output (three
dots visible)Automatic Stability
Control ASC
OE
Deactivating ASC functionSwitch on the ignition.
You have the option of de")
 switching the ignition off and
then on again.An ASC fault has occurred
if the ASC warning light
shows when the motorcycle ac-
celerates to a speed in excess
of 10 km/h after the ignition was
switched")
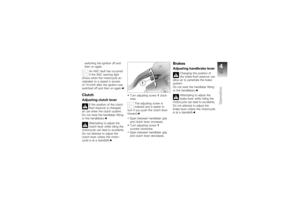
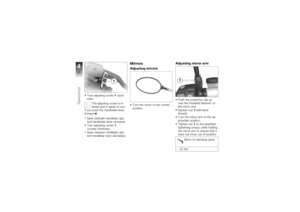
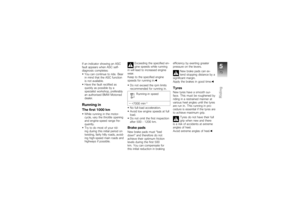
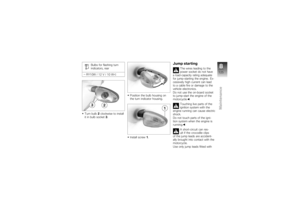
 Turn adjusting screw1clock-
wise.
The adjusting screw is in-
dexed and is easier to turn
if you push the handbrake lever
forward.
Span between handlebar grip
and handbrake lever increases.
Turn adjust")
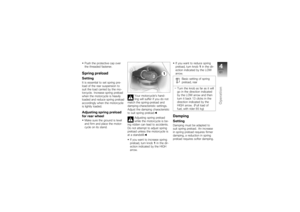
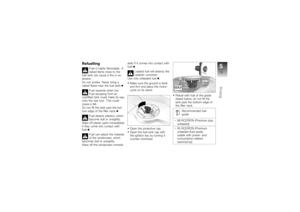
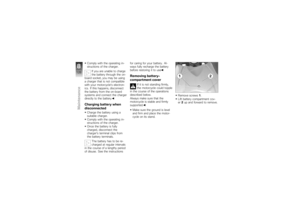
 Push the protective cap over
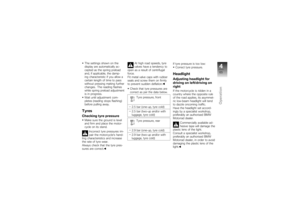
the threaded fastener.Spring preloadSettingIt is essential to set spring pre-
load of the rear suspension to
suit the load carried by the mo-
torcycle. Increase spring pre")
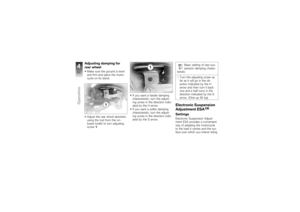
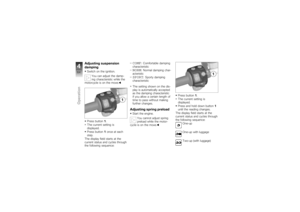
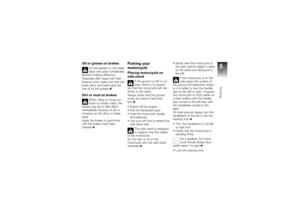
 Adjusting damping for
rear wheelMake sure the ground is level
and firm and place the motor-
cycle on its stand.
Adjust the rear shock absorber,
using the tool from the on-
board toolkit to turn adjust")