Page 97 of 168
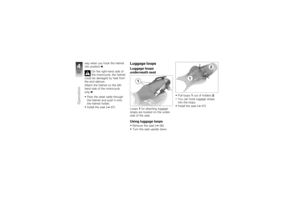
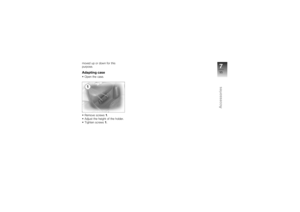
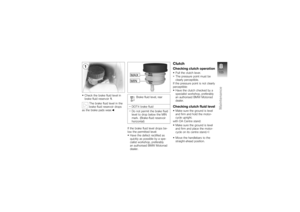
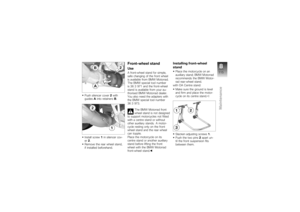
moved up or down for this
purpose.Adapting caseOpen the case.
Remove screws1.
Adjust the height of the holder.
Tighten screws 1.
795zAccessories
Page 98 of 168
Page 99 of 168
Maintenance
Maintenance
General instructions.................. 98
Toolkit ............................... 98
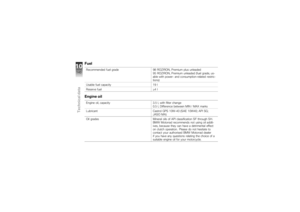
Engine oil ............................ 99
Brake system, general . . . .......... 101
Brake pads . . . ..................... 102
Brake fluid ......................... 103
Clutch ............................. 105
Tyres .............................. 106
Rims ............................... 107
Wheels ............................ 107
Front-wheel stand ................. 115
Rear-wheel stand .................. 116
Bulbs .............................. 118
Jump starting . ..................... 125
Battery ............................. 126
897zMaintenance
Page 100 of 168

General instructionsThe Maintenance chapter de-
scribes straightforward proced-
ures for checking and replacing
certain wear parts.
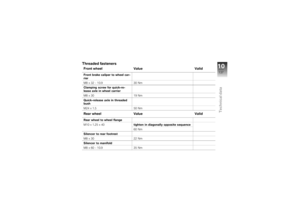
Special tightening torques are lis-
ted as applicable. The tightening
torques for the threaded fasten-
ers on your motorcycle are listed
in the section entitled "Technical
data".
You will find information on more
extensive maintenance and re-
pair work in the Repair Manual
on DVD/CD-ROM (RepROM) for
your motorcycle, which is avail-
able from your authorised BMW
Motorrad dealer.
Some of the work calls for spe-
cial tools and a thorough know-
ledge of motorcycles. If you
are in doubt consult a specialist
workshop, preferably your author-
ised BMW Motorrad dealer.
ToolkitStandard on-board toolkit1 Screwdriver with reversible
bladeRemoving and installing turn
indicator glass
Disconnecting leads from bat-
tery terminals
2 Torx wrench, T25 Removing and installing body
panels
Removing and installing battery
retainer 3 Small screwdriver
Removing and installing turn
indicator glass
4 Open-ended spanner, w/f
14 Adjust the mirror arm
On-board toolkit service
kitYour authorised BMW Motor-
rad dealer can provide the on-
board toolkit service kit that you
will need if you are considering
undertaking more extensive work.
You will find information on un-
dertaking work of this nature in
the Repair Manual on the DVD/
CD-ROM also obtainable from
your authorised BMW Motorrad
dealer.
898zMaintenance
Page 101 of 168

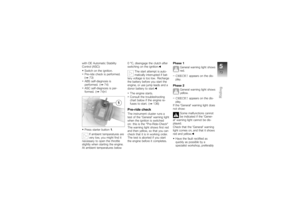
1 Extending tool holderAdapters to accommodate all
tools
Removing and installing spark
plugs
2 1/4" bits 5x Torx, for example for remov-
ing and installing rear wheel
2x cross-head bits
1x plain screwdriver bit
3 3/8" adapter for socket-
head screws, w/f 22 Removing and installing front
axle 4 Electric torch
LED bulb
5 Socket 3x open-ended spanner, for
example for connecting and
disconnecting leads to battery
terminals
6 Adapter Adapter for 1/4" bits
9x12 mm and 3/8" swivel ad-
apters
Engine oilChecking engine oil level
The engine can seize if the
oil level is low, and this can
lead to accidents.
Always make sure that the oil
level is correct.
Oil can collect in the sump
if the motorcycle is out of
use for an extended period of
time; this oil has to be pumped into the oil tank before the level
is read. The engine oil must be
at operating temperature to do
this. Checking the oil level with
the engine cold or after no more
than a short ride will lead to mis-
interpretation; this in turn, means
that the engine will be operated
with the incorrect quantity of oil.
In order to ensure that the en-
gine oil level is read correctly,
check the oil level only after a
lengthy trip.
Make sure the engine is at op-
erating temperature and hold
the motorcycle upright.
with OA Centre stand:
Check that the engine is at op-
erating temperature, make sure
the ground is level and firm
and place the motorcycle on its
centre stand.
Allow the engine to idle for one
minute.
899zMaintenance
Page 102 of 168
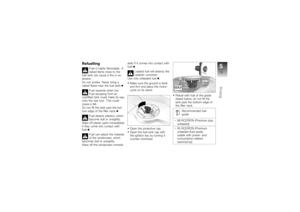
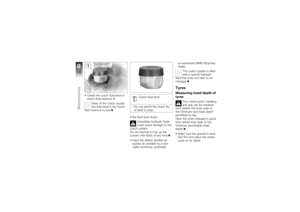
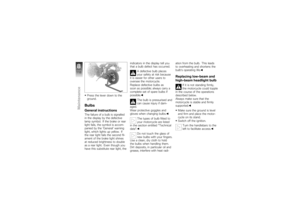
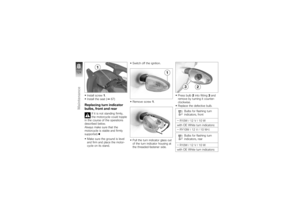
Switch off the ignition.
Check the oil level in oil-level
indicator1. Engine oil, specified level
Between MIN and MAX
marks
If the oil level is below the MIN
mark: Top up the engine oil ( 100)
If the oil level is above the MAX
mark: Drain the engine oil ( 101)
Topping up engine oilRemove the seat ( 66) Damage to the engine
can result if it is operated
without enough oil, but the same
also applies if the oil level is too
high.
Always make sure that the oil
level is correct.
Wipe the area around the filler
neck clean.
Remove cap of oil filler neck 1
by turning it counter-clockwise.
Top up the engine oil to the
specified level.
Check the engine oil level
( 99)
8100zMaintenance
Page 103 of 168

Install cap of oil filler neck1
and turn it clockwise to close.
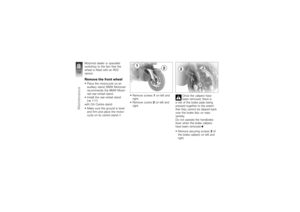
Install the seat ( 67)Draining engine oilRemove the seat ( 66)
Damage to the engine
can result if it is operated
without enough oil, but the same
also applies if the oil level is too
high.
Always make sure that the oil
level is correct.
Squeeze the retainer of trans-
parent tube 2together on left and right and pull the tube up
and out of the oil tank.
Pull the transparent tube down
out of the frame and drain the
engine oil into a suitable con-
tainer until the level is to spe-
cification.
Insert the transparent tube into
the oil tank and engage the
retainer.
Store or dispose of the excess
engine oil in an environmentally
compatible manner.
Install the seat ( 67)
Brake system, generalReliabilityA fully functional brake system is
a basic requirement for the road
safety of your motorcycle.
Do not ride the motorcycle if you
have any doubts about the de-
pendability of the brake system.
Under these circumstances have
the brake system checked by a specialist workshop, preferably
an authorised BMW Motorrad
dealer.
Incorrect working practices
endanger the reliability of
the brakes.
Have all work on the brake sys-
tem performed by a specialist
workshop, preferably an author-
ised BMW Motorrad dealer.
Checking operation of
brakesPull the handbrake lever.
The pressure point must be
clearly perceptible.
Press the footbrake lever.
The pressure point must be
clearly perceptible.
8101zMaintenance
Page 104 of 168
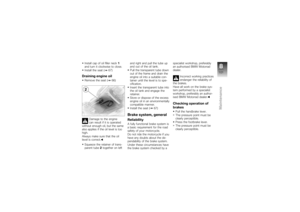
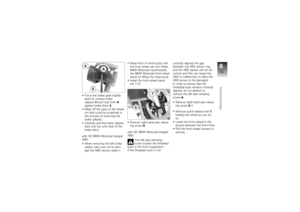
Brake padsChecking front brake pad
thickness
Brake pads worn past
the minimum permissible
brake-pad thickness can cause
a reduction in braking efficiency
and under certain circumstances
they can cause damage to the
brake system.
In order to ensure the dependab-
ility of the brake system, do not
permit the brake pads to wear
past the minimum permissible
brake-pad thickness.
Make sure the ground is level
and firm and place the motor-
cycle on its stand. Visually inspect the left and
right brake pads to ascertain
their thickness.
Brake-pad wear limit,
front
min 1 mm (Friction pad only,
without backing plate)
The wear indicators
(grooves) must be clearly
visible.
If the wear indicating mark is no
longer clearly visible: Have the brake pads replaced
by a specialist workshop,
preferably an authorised BMW
Motorrad dealer.
8102zMaintenance