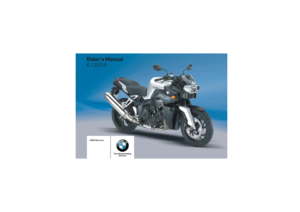
2007 BMW MOTORRAD K 1200 R Rider's Manual (in English)
-
 1
1 -
 2
2 -
 3
3 -
 4
4 -
 5
5 -
 6
6 -
 7
7 -
 8
8 -
 9
9 -
 10
10 -
 11
11 -
 12
12 -
 13
13 -
 14
14 -
 15
15 -
 16
16 -
 17
17 -
 18
18 -
 19
19 -
 20
20 -
 21
21 -
 22
22 -
 23
23 -
 24
24 -
 25
25 -
 26
26 -
 27
27 -
 28
28 -
 29
29 -
 30
30 -
 31
31 -
 32
32 -
 33
33 -
 34
34 -
 35
35 -
 36
36 -
 37
37 -
 38
38 -
 39
39 -
 40
40 -
 41
41 -
 42
42 -
 43
43 -
 44
44 -
 45
45 -
 46
46 -
 47
47 -
 48
48 -
 49
49 -
 50
50 -
 51
51 -
 52
52 -
 53
53 -
 54
54 -
 55
55 -
 56
56 -
 57
57 -
 58
58 -
 59
59 -
 60
60 -
 61
61 -
 62
62 -
 63
63 -
 64
64 -
 65
65 -
 66
66 -
 67
67 -
 68
68 -
 69
69 -
 70
70 -
 71
71 -
 72
72 -
 73
73 -
 74
74 -
 75
75 -
 76
76 -
 77
77 -
 78
78 -
 79
79 -
 80
80 -
 81
81 -
 82
82 -
 83
83 -
 84
84 -
 85
85 -
 86
86 -
 87
87 -
 88
88 -
 89
89 -
 90
90 -
 91
91 -
 92
92 -
 93
93 -
 94
94 -
 95
95 -
 96
96 -
 97
97 -
 98
98 -
 99
99 -
 100
100 -
 101
101 -
 102
102 -
 103
103 -
 104
104 -
 105
105 -
 106
106 -
 107
107 -
 108
108 -
 109
109 -
 110
110 -
 111
111 -
 112
112 -
 113
113 -
 114
114 -
 115
115 -
 116
116 -
 117
117 -
 118
118 -
 119
119 -
 120
120 -
 121
121 -
 122
122 -
 123
123 -
 124
124 -
 125
125 -
 126
126 -
 127
127 -
 128
128 -
 129
129 -
 130
130 -
 131
131 -
 132
132 -
 133
133 -
 134
134 -
 135
135 -
 136
136 -
 137
137 -
 138
138 -
 139
139 -
 140
140 -
 141
141 -
 142
142 -
 143
143 -
 144
144 -
 145
145 -
 146
146 -
 147
147 -
 148
148 -
 149
149 -
 150
150 -
 151
151 -
 152
152 -
 153
153 -
 154
154 -
 155
155 -
 156
156 -
 157
157 -
 158
158 -
 159
159 -
 160
160 -
 161
161 -
 162
162 -
 163
163 -
 164
164 -
 165
165 -
 166
166 -
 167
167
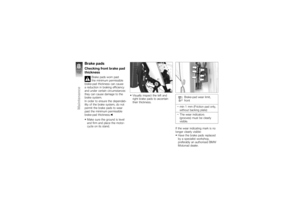
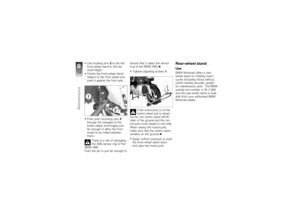
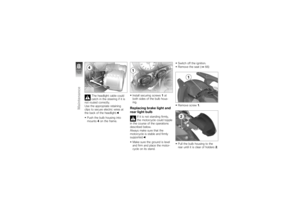
 Checking rear brake pad
thickness
Brake pads worn past
the minimum permissible
brake-pad thickness can cause
a reduction in braking efficiency
and under certain circumstances
they can cause damage to")
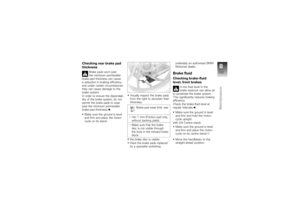
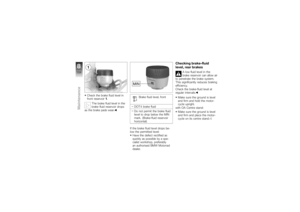
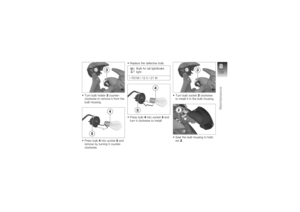
 Check the brake fluid level in
front reservoir1.
The brake fluid level in the
brake fluid reservoir drops
as the brake pads wear. Brake fluid level, front
DOT4 brake fluid
Do not permit the brake flui")
 Check the brake fluid level in
brake fluid reservoir1.
The brake fluid level in the
brake fluid reservoir drops
as the brake pads wear. Brake fluid level, rear
DOT4 brake fluid
Do not permit the brake")
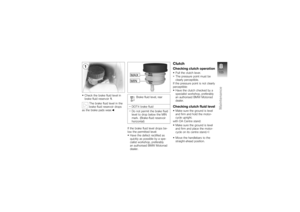
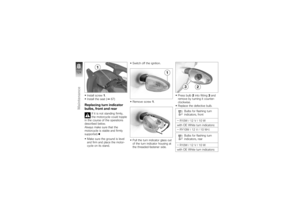
 Check the clutch fluid level in
clutch fluid reservoir1.
Wear of the clutch causes
the fluid level in the clutch
fluid reservoir to rise. Clutch fluid level
Do not permit the clutch flu-
id level to d")
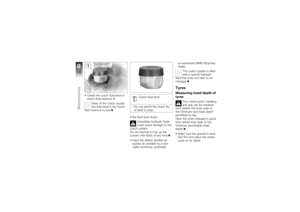
 Measure the tyre tread depth
in the main tread grooves with
wear marks.Tyres have wear indicators
integrated into the main
tread grooves. The tyre is worn
out when the tyre tread has worn
down to the")
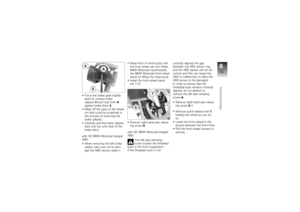
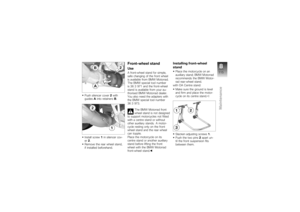
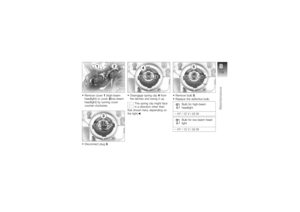
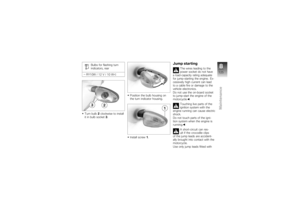
 Motorrad dealer or specialist
workshop to the fact that the
wheel is fitted with an RDC
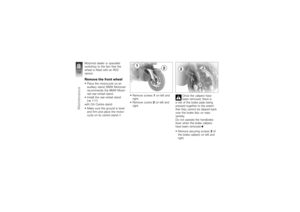
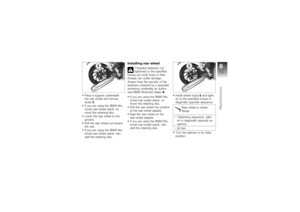
sensor.Remove the front wheelPlace the motorcycle on an
auxiliary stand; BMW Motorrad
recommends the BMW Motor-")
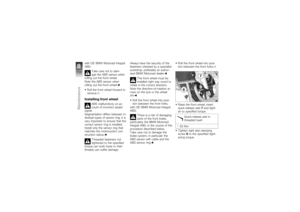
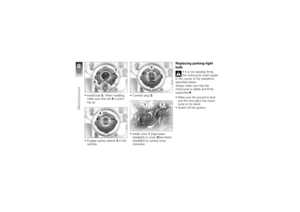
 Force the brake pads slightly
apart by rocking brake
calipers4back and forth A
against brake discs 5.
Mask off the parts of the wheel
rim that could be scratched in
the process of removing the
brake c")
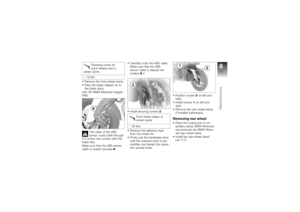
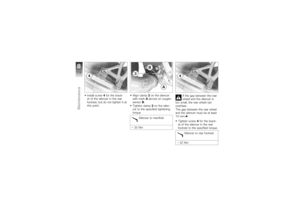
 with OE BMW Motorrad Integral
ABS:Take care not to dam-
age the ABS sensor when
rolling out the front wheel.
Note the ABS sensor when
rolling out the front wheel.
Roll the front wheel forward to
remov")