Page 65 of 173
Limit positionA: high seat pos-
ition.
Limit position B: low seat posi-
tion.
Install the front seat ( 75)WindscreenAdjusting windscreenSwitch on the ignition.
Press the top section of but-
ton 1.
Windscreen higher
Press the bottom section of
button 1.
Windscreen lower
Cruise-control
system
OE
Switching on cruise
controlMove switch 1to ON.
Telltale light 2in the switch
lights up red.
Setting road speedBriefly push button 3in the
SET direction
Cruise control can be used
in the speed range from
50 km/h to 180 km/h.
Telltale light for cruise con-
trol shows.
The motorcycle maintains your
current cruising speed and the
setting is saved.
463zOperation
Page 67 of 173
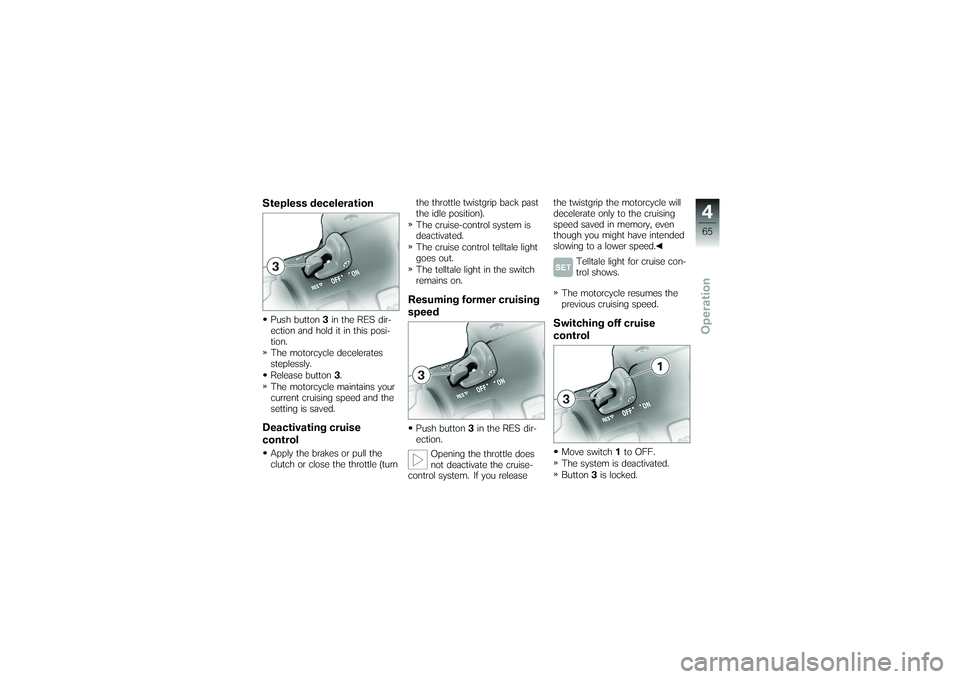
Stepless decelerationPush button3in the RES dir-
ection and hold it in this posi-
tion.
The motorcycle decelerates
steplessly.
Release button 3.
The motorcycle maintains your
current cruising speed and the
setting is saved.Deactivating cruise
controlApply the brakes or pull the
clutch or close the throttle (turn the throttle twistgrip back past
the idle position).
The cruise-control system is
deactivated.
The cruise control telltale light
goes out.
The telltale light in the switch
remains on.
Resuming former cruising
speedPush button
3in the RES dir-
ection.
Opening the throttle does
not deactivate the cruise-
control system. If you release the twistgrip the motorcycle will
decelerate only to the cruising
speed saved in memory, even
though you might have intended
slowing to a lower speed.
Telltale light for cruise con-
trol shows.
The motorcycle resumes the
previous cruising speed.
Switching off cruise
controlMove switch 1to OFF.
The system is deactivated.
Button 3is locked.
465zOperation
Page 70 of 173
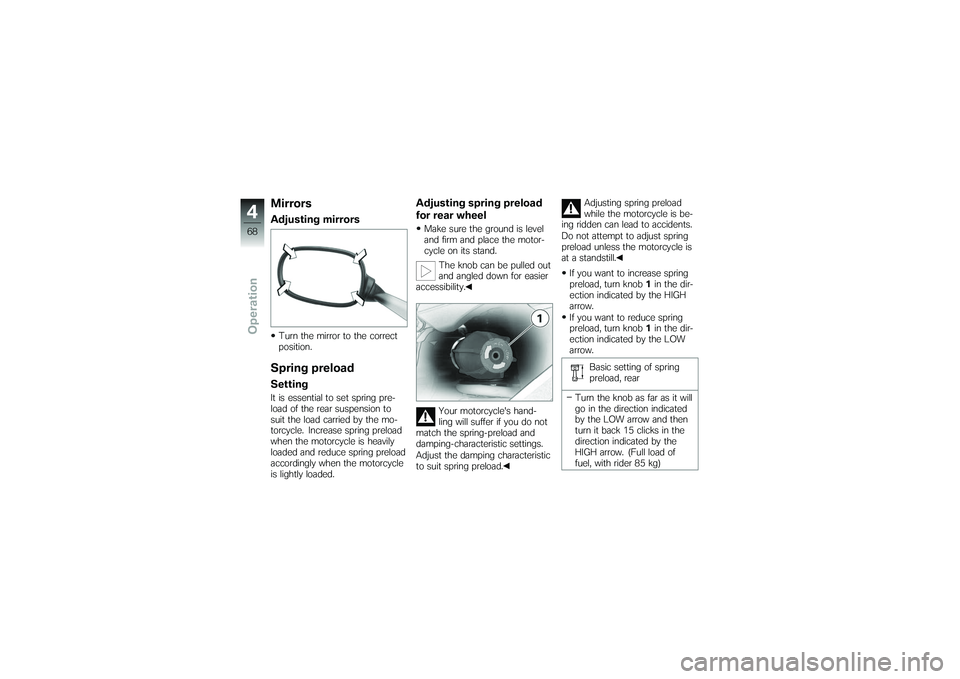
MirrorsAdjusting mirrorsTurn the mirror to the correct
position.Spring preloadSettingIt is essential to set spring pre-
load of the rear suspension to
suit the load carried by the mo-
torcycle. Increase spring preload
when the motorcycle is heavily
loaded and reduce spring preload
accordingly when the motorcycle
is lightly loaded.
Adjusting spring preload
for rear wheelMake sure the ground is level
and firm and place the motor-
cycle on its stand.The knob can be pulled out
and angled down for easier
accessibility.
Your motorcycle's hand-
ling will suffer if you do not
match the spring-preload and
damping-characteristic settings.
Adjust the damping characteristic
to suit spring preload. Adjusting spring preload
while the motorcycle is be-
ing ridden can lead to accidents.
Do not attempt to adjust spring
preload unless the motorcycle is
at a standstill.
If you want to increase spring
preload, turn knob 1in the dir-
ection indicated by the HIGH
arrow.
If you want to reduce spring
preload, turn knob 1in the dir-
ection indicated by the LOW
arrow.
Basic setting of spring
preload, rear
Turn the knob as far as it will
go in the direction indicated
by the LOW arrow and then
turn it back 15 clicks in the
direction indicated by the
HIGH arrow. (Full load of
fuel, with rider 85 kg)
468zOperation
Page 74 of 173
The setting shown on the dis-
play is automatically accepted
as the spring preload if you al-
low a certain length of time to
pass without pressing button1.
The reading flashes while ad-
justment is in progress.TyresChecking tyre pressureMake sure the ground is level
and firm and place the motor-
cycle on its stand.
Incorrect tyre pressures im-
pair the motorcycle's hand-
ling characteristics and increase
the rate of tyre wear.
Always check that the tyre pres-
sures are correct.
At high road speeds, tyre
valves have a tendency to
open as a result of centrifugal
force.
Fit metal valve caps with rubber seals and screw them on firmly
to prevent sudden deflation.
Check that tyre pressures are
correct as per the data below.
Tyre pressure, front
2.5 bar (one-up, tyre cold)
2.5 bar (two-up and/or with
luggage, tyre cold) Tyre pressure, rear
2.9 bar (one-up, tyre cold)
2.9 bar (two-up and/or with
luggage, tyre cold)
If tyre pressure is too low: Correct the tyre pressures.
HeadlightAdjusting headlight for
driving on left/driving on
rightIf the motorcycle is ridden in a
country where the opposite rule
of the road applies, its asymmet-
ric low-beam headlight will tend
to dazzle oncoming traffic.
Have the headlight set accord-
ingly by a specialist workshop,
preferably an authorised BMW
Motorrad dealer.
Commercially available ad-
hesive tape will damage the
plastic lens of the light.
Consult a specialist workshop,
preferably an authorised BMW
Motorrad dealer, in order to avoid
damaging the plastic lens of the
light.
472zOperation
Page 75 of 173
Headlight beam throw and
spring preloadHeadlight beam throw is gener-
ally kept constant when spring
preload is adjusted to suit load.
Spring preload adjustment might
not suffice only if the motorcycle
is very heavily loaded. Under
these circumstances, headlight
beam throw has to be adjusted
to suit the weight carried by the
motorcycle.Consult a specialist work-
shop, preferably an au-
thorised BMW Motorrad deal-
er, if you are unsure whether
the headlight basic setting is
correct.
Headlight beam-throw
adjustment1 Headlight beam-throw ad-
justment
Spring preload adjustment might
not suffice if the motorcycle is
very heavily loaded. Moving
the pivot lever adjusts headlight
beam throw so as not to dazzle
oncoming traffic. A
Neutral position
B Position for heavy load
Front and rear seatsRemoving rear seatMake sure the ground is level
and firm and place the motor-
cycle on its stand.
473zOperation
Page 82 of 173
ChecklistUse the following checklist to
check important functions, set-
tings and wear limits before you
ride off.Brakes
Brake-fluid levels, front and rear
Clutch
Clutch fluid level
Shock absorber setting and
spring preload
Tyre-tread depth and tyre
pressures
Cases correctly installed and
luggage secured
At regular intervals: Engine oil level (every refuelling
stop)
Brake-pad wear (every third
refuelling stop)
StartingSide standYou cannot start the motorcycle
with the side stand extended and
a gear engaged. The engine will
switch itself off if you start it with
the gearbox in neutral and then
engage a gear before retracting
the side stand.GearboxYou can start the engine when
the gearbox is in neutral or if you
pull the clutch with a gear en-
gaged. Do not pull the clutch un-
til after you have switched on the
ignition, as otherwise the engine
will refuse to start. When the
gearbox is in neutral, the green
neutral telltale light is on and the
gear indicator in the multifunction
display shows N.
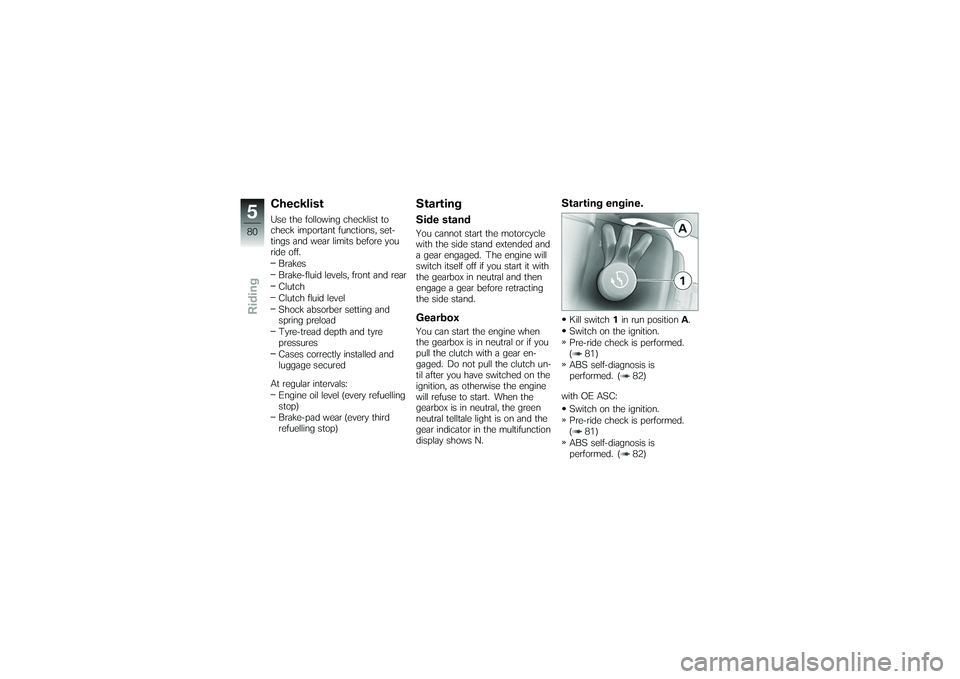
Starting engine.Kill switch 1in run position A.
Switch on the ignition.
Pre-ride check is performed.
( 81)
ABS self-diagnosis is
performed. ( 82)
with OE ASC: Switch on the ignition.
Pre-ride check is performed.
( 81)
ABS self-diagnosis is
performed. ( 82)
580zRiding
Page 83 of 173

ASC self-diagnosis is per-
formed. ( 82)
Press starter button1.
If ambient temperatures are
very low, you might find it
necessary to open the throttle
slightly when starting the engine.
At ambient temperatures below
0 °C, disengage the clutch after
switching on the ignition.
The start attempt is auto-
matically interrupted if bat-
tery voltage is too low. Recharge
the battery before you start the engine, or use jump leads and a
donor battery to start.
The engine starts.
Consult the troubleshooting
chart below if the engine re-
fuses to start. ( 142)
Pre-ride checkThe instrument cluster runs a
test of the 'General' warning light
when the ignition is switched
on: this is the "Pre-Ride-Check"
The warning light shows first red
and then yellow, so that you can
check that it is in working order.
The test is aborted if you start
the engine before it completes.
Phase 1 General warning light shows
red.CHECK!
appears on the dis-
play. Phase 2
General warning light shows
yellow.
CHECK!
appears on the dis-
play.
If the motorcycle is
equipped with cruise
control, SET lights up.
If the 'General' warning light does
not show:
Some malfunctions cannot
be indicated if the 'Gener-
al' warning light cannot be dis-
played.
Check that the 'General' warning
light comes on, and that it shows
red and yellow.
Have the fault rectified as
quickly as possible by a
specialist workshop, preferably
an authorised BMW Motorrad
dealer.
581zRiding
Page 84 of 173
ABS self-diagnosisBMW Motorrad Integral ABS per-
forms self-diagnosis to ensure
its operability. Self-diagnosis is
performed automatically when
you switch on the ignition. The
motorcycle has to move forward
at a speed above 5 km/h for the
wheel sensors to be tested.
Phase 1Test of the diagnosis-compat-
ible system components with
the motorcycle at a standstill. ABS warning light flashes.
Possible national variant of
the ABS warning light.
Phase 2 Test of the wheel sensors as
the motorcycle pulls away from
rest. ABS warning light flashes.
Possible national variant of
the ABS warning light.
ABS self-diagnosis
completed The ABS warning light goes
out.
If an indicator showing an ABS
fault appears when ABS self-dia-
gnosis completes:
You can continue to ride. Bear
in mind that neither the ABS
function nor the integral brak-
ing function is available.
Have the fault rectified as
quickly as possible by a
specialist workshop, preferably
an authorised BMW Motorrad
dealer.
ASC self-diagnosis
OE
BMW Motorrad ASC performs
self-diagnosis to ensure its op- erability. Self-diagnosis is per-
formed automatically when you
switch on the ignition. The en-
gine must be running and the
motorcycle must reach a speed
of at least 5 km/h in order for
ASC self-diagnosis to complete.
Phase 1
Test of the diagnosis-compat-
ible system components with
the motorcycle at a standstill. ASC warning light slow-
flashes.
Phase 2 Test of the diagnosis-compat-
ible system components while
the motorcycle is on the move. ASC warning light slow-
flashes.
ASC self-diagnosis
completed The ASC warning light goes
out.
582zRiding