Page 1180 of 2000
AX–202U151F AUTOMATIC TRANSAXLE – AUTOMATIC TRANSAXLE UNIT
AX
49. REMOVE BRAKE APPLY TUBE
(a) Remove the bolt, clamp and brake apply tube.
(b) Remove the clutch apply tube.
(c) Remove the brake apply tube from the clamp.
NOTICE:
Do not bend the tubes.
50. REMOVE DIRECT CLUTCH ASSEMBLY
(a) Remove the thrust bearing and the direct clutch
from the transaxle case.
51. REMOVE OVERDRIVE DIRECT CLUTCH HUB SUB-
ASSEMBLY
(a) Remove the thrust bearing race, thrust bearing and
overdrive direct clutch hub from the planetary gear.
52. INSPECT OVERDRIVE DIRECT CLUTCH DRUM SUB-
ASSEMBLY (See page AX-210)
53. REMOVE REAR PLANETARY SUN GEAR ASSEMBLY
(a) Remove the rear planetary sun gear from the
transaxle case.
(b) Remove the thrust needle roller bearing and thrust
bearing race from the rear planetary sun gear.
D026391E05
D026403E06
D026392E09
D026714E05
D026404E07
Page 1188 of 2000

AX–210U151F AUTOMATIC TRANSAXLE – AUTOMATIC TRANSAXLE UNIT
AX
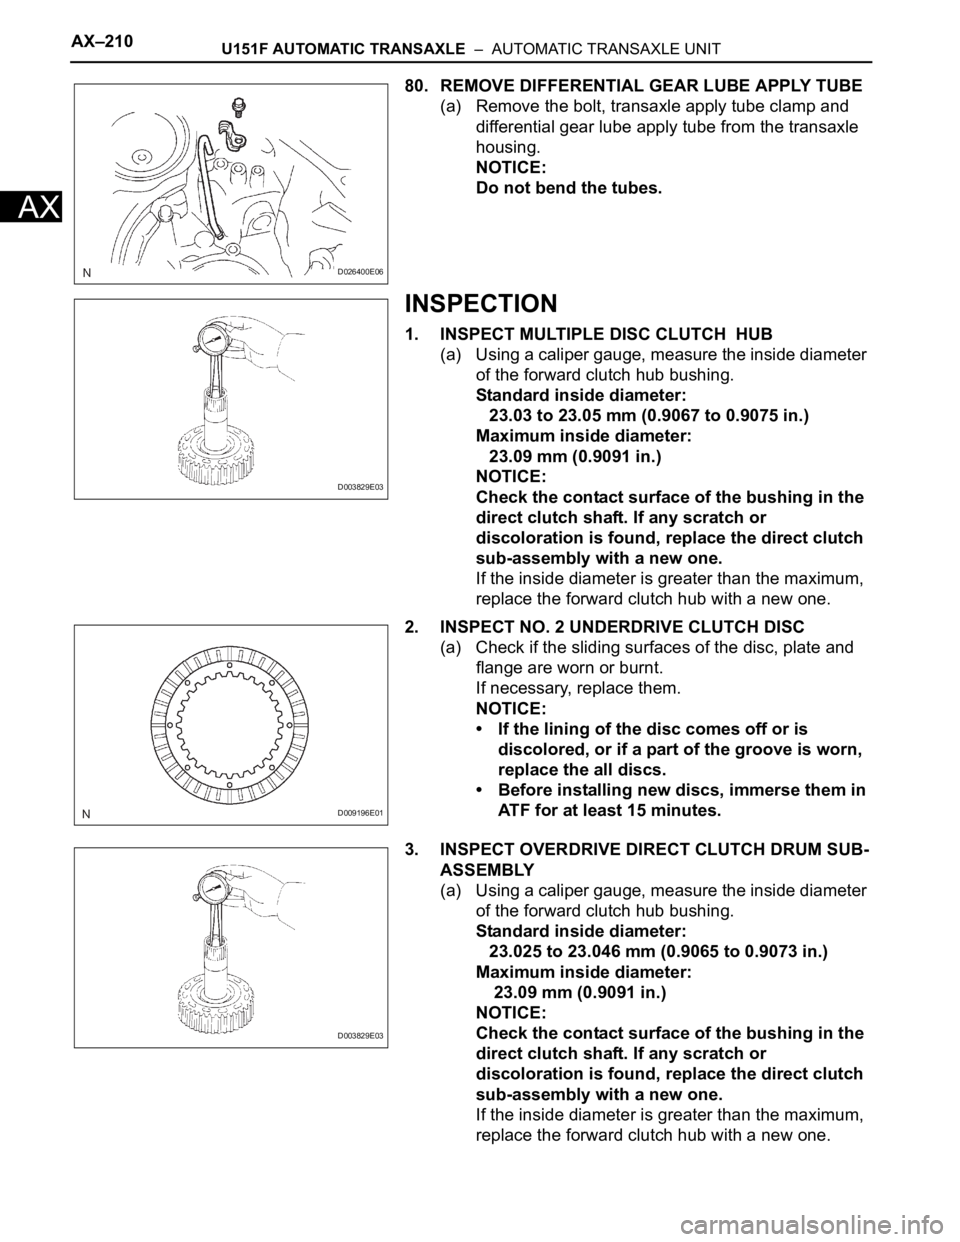
80. REMOVE DIFFERENTIAL GEAR LUBE APPLY TUBE
(a) Remove the bolt, transaxle apply tube clamp and
differential gear lube apply tube from the transaxle
housing.
NOTICE:
Do not bend the tubes.
INSPECTION
1. INSPECT MULTIPLE DISC CLUTCH HUB
(a) Using a caliper gauge, measure the inside diameter
of the forward clutch hub bushing.
Standard inside diameter:
23.03 to 23.05 mm (0.9067 to 0.9075 in.)
Maximum inside diameter:
23.09 mm (0.9091 in.)
NOTICE:
Check the contact surface of the bushing in the
direct clutch shaft. If any scratch or
discoloration is found, replace the direct clutch
sub-assembly with a new one.
If the inside diameter is greater than the maximum,
replace the forward clutch hub with a new one.
2. INSPECT NO. 2 UNDERDRIVE CLUTCH DISC
(a) Check if the sliding surfaces of the disc, plate and
flange are worn or burnt.
If necessary, replace them.
NOTICE:
• If the lining of the disc comes off or is
discolored, or if a part of the groove is worn,
replace the all discs.
• Before installing new discs, immerse them in
ATF for at least 15 minutes.
3. INSPECT OVERDRIVE DIRECT CLUTCH DRUM SUB-
ASSEMBLY
(a) Using a caliper gauge, measure the inside diameter
of the forward clutch hub bushing.
Standard inside diameter:
23.025 to 23.046 mm (0.9065 to 0.9073 in.)
Maximum inside diameter:
23.09 mm (0.9091 in.)
NOTICE:
Check the contact surface of the bushing in the
direct clutch shaft. If any scratch or
discoloration is found, replace the direct clutch
sub-assembly with a new one.
If the inside diameter is greater than the maximum,
replace the forward clutch hub with a new one.
D026400E06
D003829E03
D009196E01
D003829E03
Page 1204 of 2000

AX–226U151F AUTOMATIC TRANSAXLE – AUTOMATIC TRANSAXLE UNIT
AX
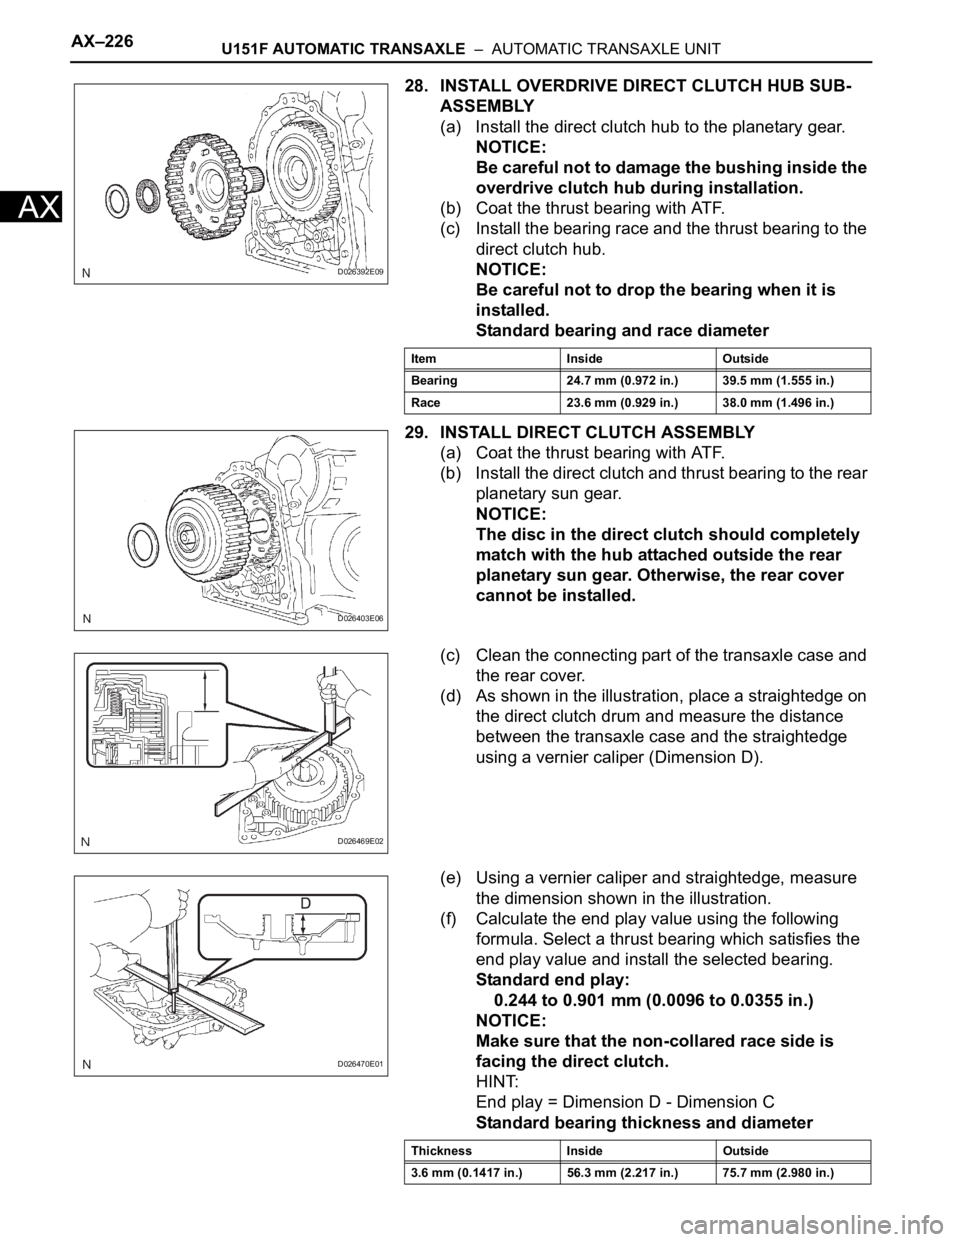
28. INSTALL OVERDRIVE DIRECT CLUTCH HUB SUB-
ASSEMBLY
(a) Install the direct clutch hub to the planetary gear.
NOTICE:
Be careful not to damage the bushing inside the
overdrive clutch hub during installation.
(b) Coat the thrust bearing with ATF.
(c) Install the bearing race and the thrust bearing to the
direct clutch hub.
NOTICE:
Be careful not to drop the bearing when it is
installed.
Standard bearing and race diameter
29. INSTALL DIRECT CLUTCH ASSEMBLY
(a) Coat the thrust bearing with ATF.
(b) Install the direct clutch and thrust bearing to the rear
planetary sun gear.
NOTICE:
The disc in the direct clutch should completely
match with the hub attached outside the rear
planetary sun gear. Otherwise, the rear cover
cannot be installed.
(c) Clean the connecting part of the transaxle case and
the rear cover.
(d) As shown in the illustration, place a straightedge on
the direct clutch drum and measure the distance
between the transaxle case and the straightedge
using a vernier caliper (Dimension D).
(e) Using a vernier caliper and straightedge, measure
the dimension shown in the illustration.
(f) Calculate the end play value using the following
formula. Select a thrust bearing which satisfies the
end play value and install the selected bearing.
Standard end play:
0.244 to 0.901 mm (0.0096 to 0.0355 in.)
NOTICE:
Make sure that the non-collared race side is
facing the direct clutch.
HINT:
End play = Dimension D - Dimension C
Standard bearing thickness and diameter
D026392E09
Item Inside Outside
Bearing 24.7 mm (0.972 in.) 39.5 mm (1.555 in.)
Race 23.6 mm (0.929 in.) 38.0 mm (1.496 in.)
D026403E06
D026469E02
D026470E01
Thickness Inside Outside
3.6 mm (0.1417 in.) 56.3 mm (2.217 in.) 75.7 mm (2.980 in.)
Page 1211 of 2000
U151F AUTOMATIC TRANSAXLE – AUTOMATIC TRANSAXLE UNITAX–233
AX
NOTICE:
Install the thrust bearing properly so that the
non-collared race or blue ink jet race will be
visible.
(c) Install the forward clutch to the transaxle case.
NOTICE:
• Align the splines of all discs in the forward
clutch with those of multiple clutch hub to
install them securely.
• Be careful not to damage the bushing inside
of the forward clutch hub during installation.
45. INSTALL OVERDRIVE BRAKE GASKET
(a) Install 2 new overdrive brake gaskets.
46. INSTALL DIFFERENTIAL GEAR ASSEMBLY
(a) Install the differential gear to the transaxle case.
NOTICE:
Check the position and number of the grooves
on each end face of the differential ring gear.
47. INSTALL NO. 2 THRUST BEARING UNDERDRIVE
RACE
(a) Install the thrust bearing underdrive race to the
underdrive planetary gear.
D003574E03
D003573E01
C140284
D025506E04
Page 1277 of 2000
U241E AUTOMATIC TRANSAXLE – AUTOMATIC TRANSAXLE UNITAX–173
AX
33. REMOVE THRUST NEEDLE ROLLER BEARING
(a) Remove thrust needle roller bearing from the
underdrive planetary gear.
34. REMOVE NO. 2 THRUST BEARING UNDERDRIVE
RACE
(a) Remove the thrust bearing race from the underdrive
planetary gear.
35. REMOVE FRONT DIFFERENTIAL ASSEMBLY
(a) Remove the front differential from the transaxle.
36. REMOVE OVERDRIVE BRAKE GASKET
(a) Remove the 2 overdrive brake gaskets from the
transaxle.
37. REMOVE FORWARD CLUTCH ASSEMBLY
(a) Remove the forward clutch from the transaxle.
D025505E03
D025506E04
D003577E01
D003573E01
D003574E03
Page 1310 of 2000

AX–206U241E AUTOMATIC TRANSAXLE – AUTOMATIC TRANSAXLE UNIT
AX
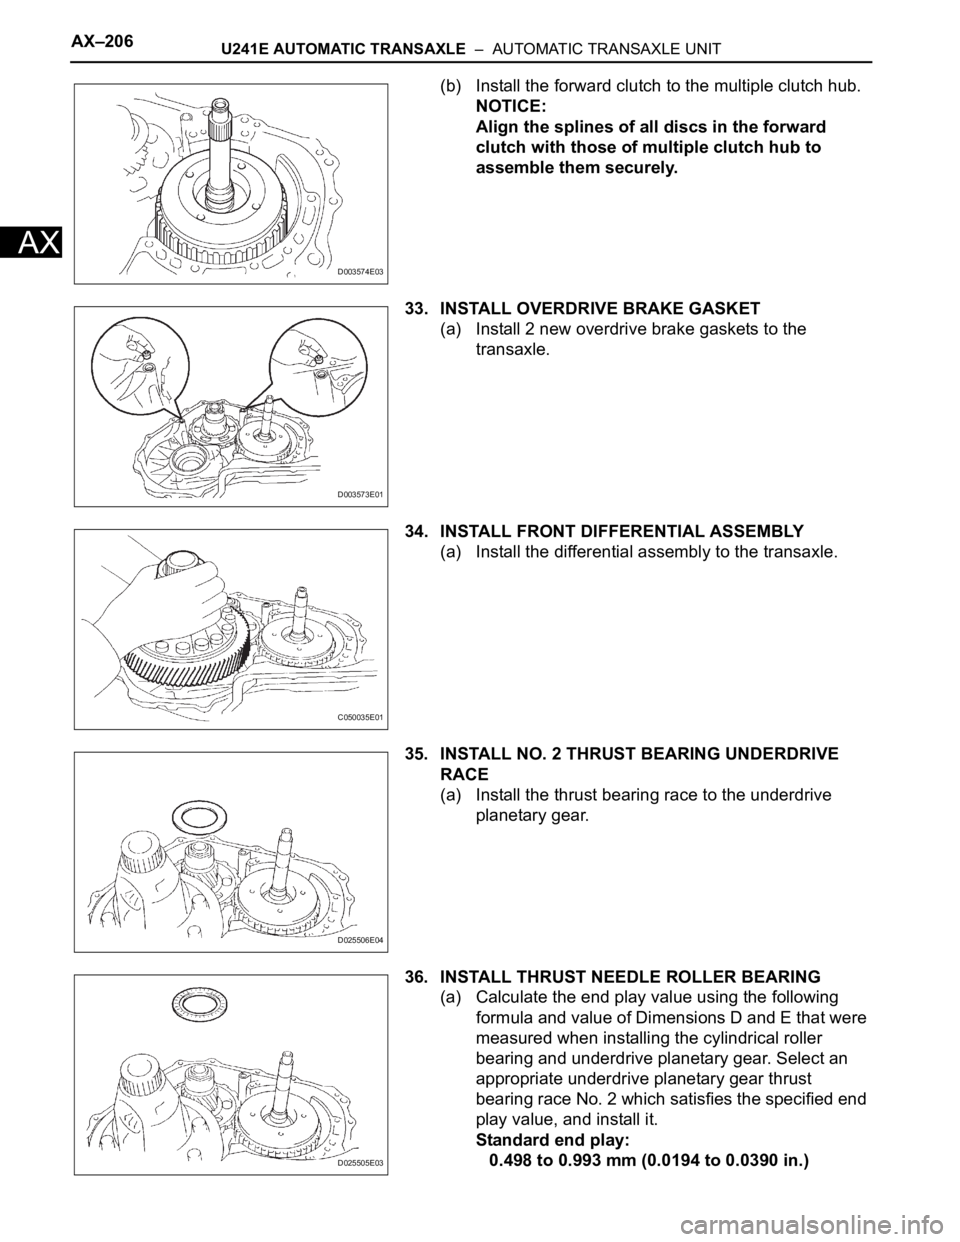
(b) Install the forward clutch to the multiple clutch hub.
NOTICE:
Align the splines of all discs in the forward
clutch with those of multiple clutch hub to
assemble them securely.
33. INSTALL OVERDRIVE BRAKE GASKET
(a) Install 2 new overdrive brake gaskets to the
transaxle.
34. INSTALL FRONT DIFFERENTIAL ASSEMBLY
(a) Install the differential assembly to the transaxle.
35. INSTALL NO. 2 THRUST BEARING UNDERDRIVE
RACE
(a) Install the thrust bearing race to the underdrive
planetary gear.
36. INSTALL THRUST NEEDLE ROLLER BEARING
(a) Calculate the end play value using the following
formula and value of Dimensions D and E that were
measured when installing the cylindrical roller
bearing and underdrive planetary gear. Select an
appropriate underdrive planetary gear thrust
bearing race No. 2 which satisfies the specified end
play value, and install it.
Standard end play:
0.498 to 0.993 mm (0.0194 to 0.0390 in.)
D003574E03
D003573E01
C050035E01
D025506E04
D025505E03