Page 1116 of 5267
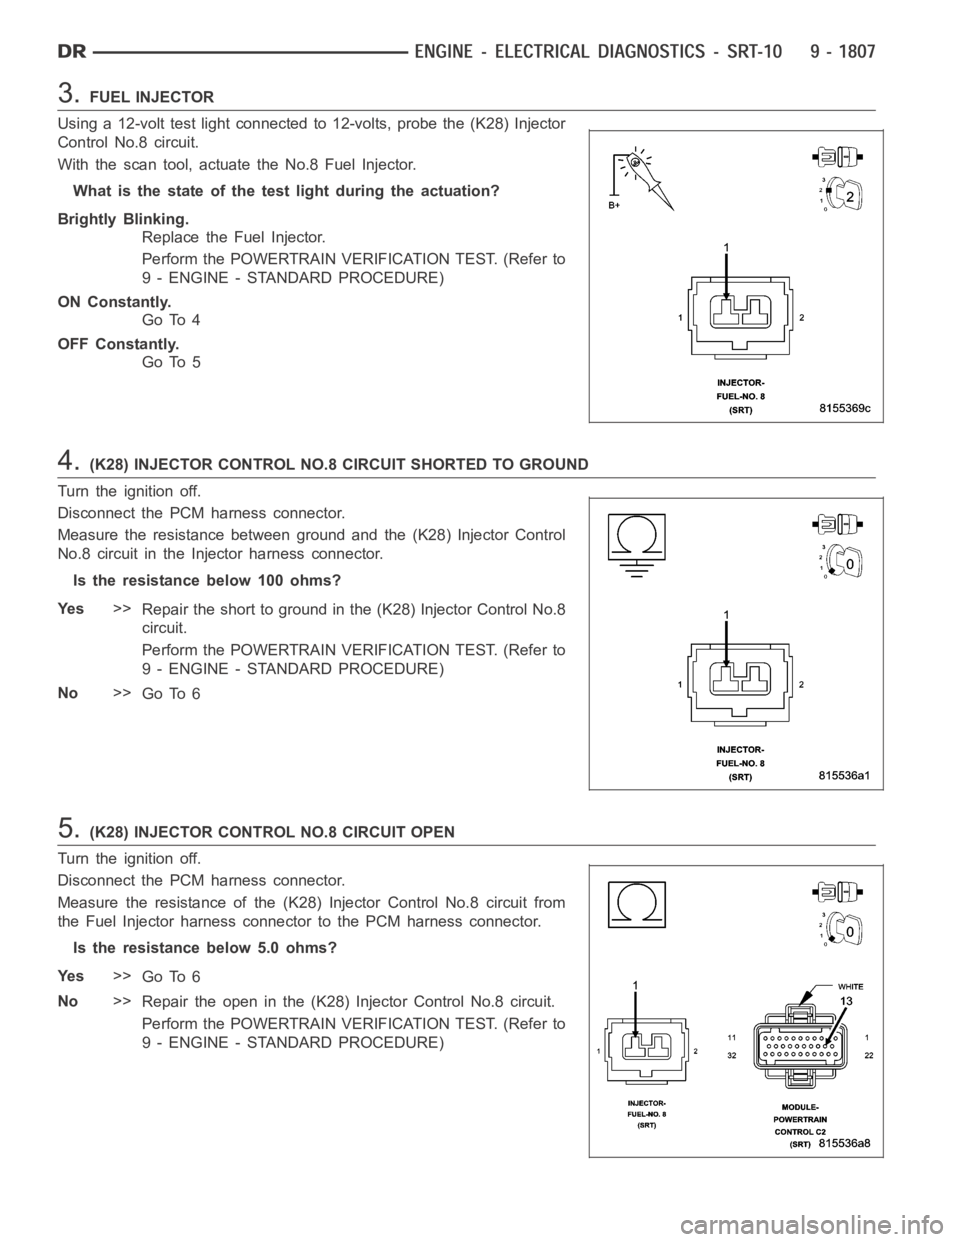
3.FUEL INJECTOR
Using a 12-volt test light connected to 12-volts, probe the (K28) Injector
Control No.8 circuit.
With the scan tool, actuate the No.8 Fuel Injector.
What is the state of the test light during the actuation?
Brightly Blinking.
Replace the Fuel Injector.
Perform the POWERTRAIN VERIFICATION TEST. (Refer to
9 - ENGINE - STANDARD PROCEDURE)
ON Constantly.
Go To 4
OFF Constantly.
Go To 5
4.(K28) INJECTOR CONTROL NO.8 CIRCUIT SHORTED TO GROUND
Turn the ignition off.
Disconnect the PCM harness connector.
Measure the resistance between ground and the (K28) Injector Control
No.8 circuit in the Injector harness connector.
Istheresistancebelow100ohms?
Ye s>>
Repair the short to ground in the (K28) Injector Control No.8
circuit.
Perform the POWERTRAIN VERIFICATION TEST. (Refer to
9 - ENGINE - STANDARD PROCEDURE)
No>>
Go To 6
5.(K28) INJECTOR CONTROL NO.8 CIRCUIT OPEN
Turn the ignition off.
Disconnect the PCM harness connector.
Measure the resistance of the (K28) Injector Control No.8 circuit from
the Fuel Injector harness connector to the PCM harness connector.
Is the resistance below 5.0 ohms?
Ye s>>
Go To 6
No>>
Repair the open in the (K28) Injector Control No.8 circuit.
Perform the POWERTRAIN VERIFICATION TEST. (Refer to
9 - ENGINE - STANDARD PROCEDURE)
Page 1117 of 5267
6.PCM
NOTE: Before continuing, check the PCM harness connector terminals for corrosion, damage, or terminal
push out. Repair as necessary.
Using the schematics as a guide, inspect the wire harness and connectors. Pay particular attention to all Power and
Ground circuits.
Were there any problems found?
Ye s>>
Repair as necessary.
Perform the POWERTRAIN VERIFICATION TEST. (Refer to 9 - ENGINE - STANDARD PROCEDURE)
No>>
Replace and program the Powertrain Control Module per Service Information.
Perform the POWERTRAIN VERIFICATION TEST. (Refer to 9 - ENGINE - STANDARD PROCEDURE)
Page 1119 of 5267
When Monitored:
With battery voltage greater than 10.4 volts, the auto shutdown relay energized, injector pulse width less than
10ms, and engine speed less than 3000 rpm.
Set Condition:
This trouble code takes .64 to 10.0 seconds to set when no inductive kick is sensed .18ms after injector turn
off, and with no other injectors on.
Possible Causes
(K342) ASD RELAY OUTPUT CIRCUIT
(K115) INJECTOR CONTROL NO.9 CIRCUIT OPEN
(K115) INJECTOR CONTROL NO.9 CIRCUIT SHORTED TO GROUND
FUEL INJECTOR
PCM
Always perform the Pre-Diagnostic Troubleshooting procedure before proceeding. (Refer to 9 - ENGINE -
DIAGNOSIS AND TESTING).
Diagnostic Test
1.ACTIVE DTC
Ignition on, engine not running.
With a scan tool, read DTC.
Is the DTC active at this time?
Ye s>>
Go To 2
No>>
Refer to the INTERMITTENT CONDITION Diagnostic Procedure.
Perform the POWERTRAIN VERIFICATION TEST. (Refer to 9 - ENGINE - STANDARD PROCEDURE)
2.(K342) ASD RELAY OUTPUT CIRCUIT
Turn the ignition off.
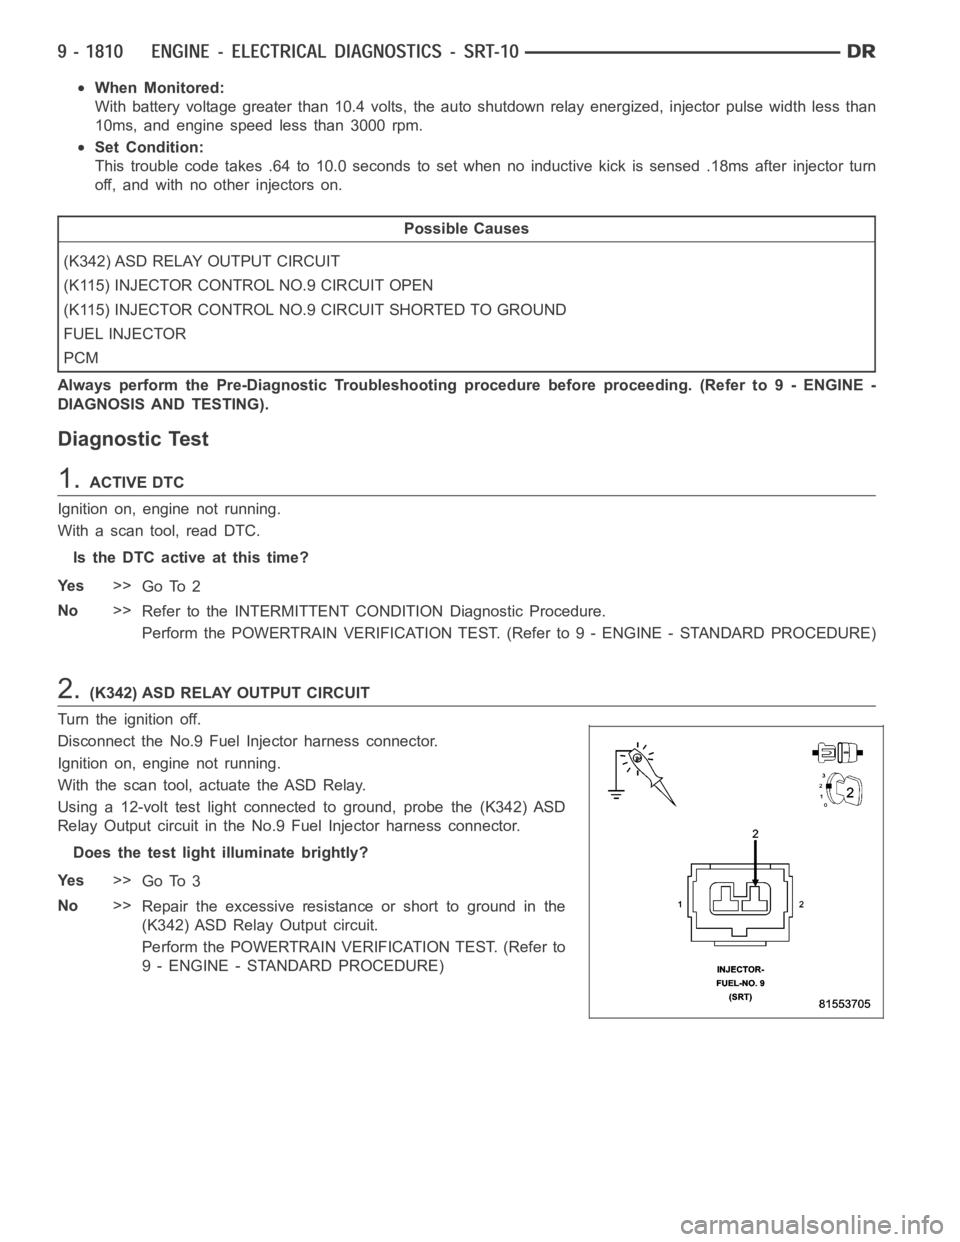
Disconnect the No.9 Fuel Injector harness connector.
Ignition on, engine not running.
With the scan tool, actuate the ASD Relay.
Using a 12-volt test light connected to ground, probe the (K342) ASD
Relay Output circuit in the No.9 Fuel Injector harness connector.
Does the test light illuminate brightly?
Ye s>>
Go To 3
No>>
Repair the excessive resistanceorshorttogroundinthe
(K342) ASD Relay Output circuit.
Perform the POWERTRAIN VERIFICATION TEST. (Refer to
9 - ENGINE - STANDARD PROCEDURE)
Page 1120 of 5267
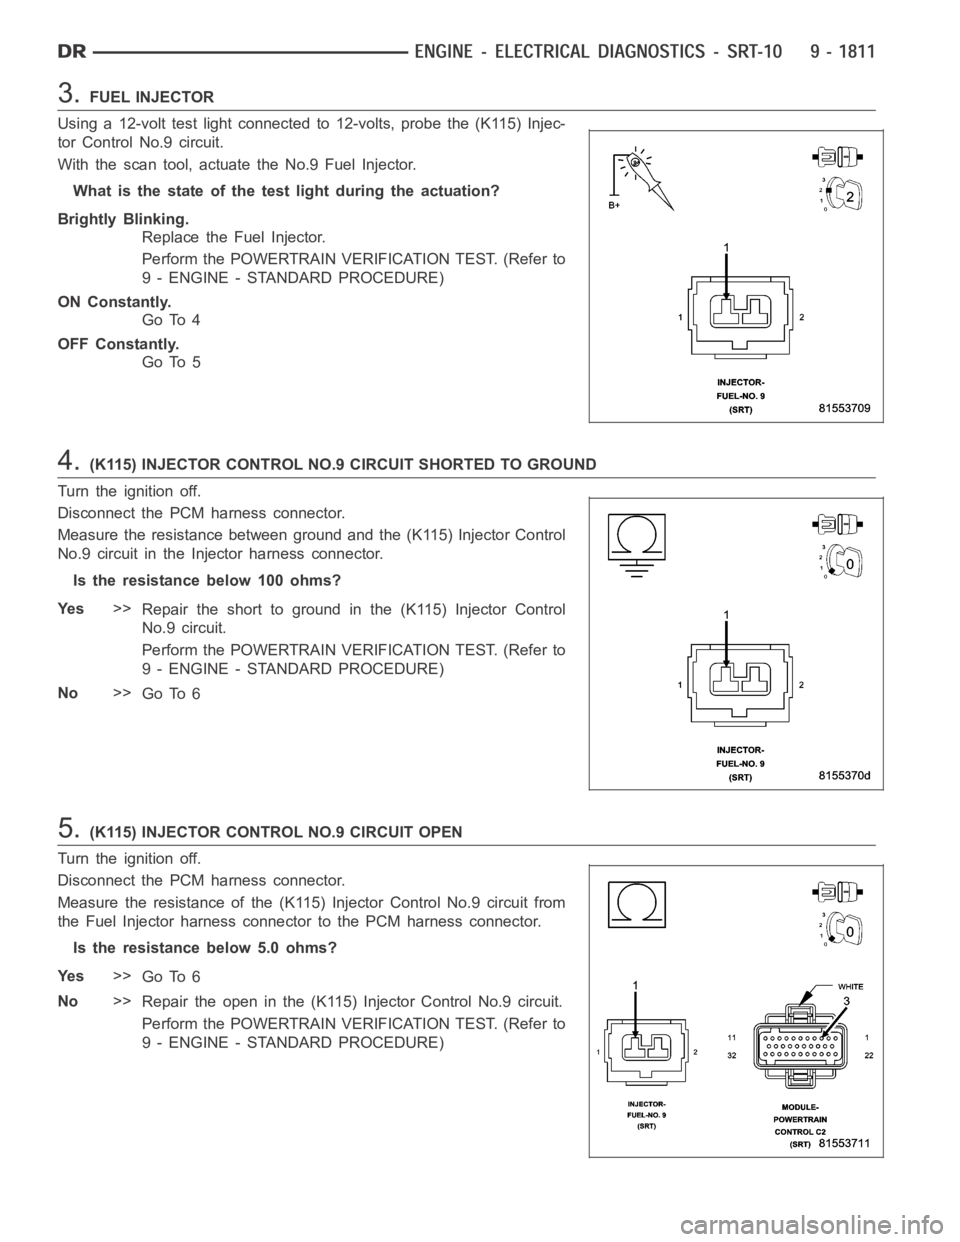
3.FUEL INJECTOR
Using a 12-volt test light connected to 12-volts, probe the (K115) Injec-
tor Control No.9 circuit.
With the scan tool, actuate the No.9 Fuel Injector.
What is the state of the test light during the actuation?
Brightly Blinking.
Replace the Fuel Injector.
Perform the POWERTRAIN VERIFICATION TEST. (Refer to
9 - ENGINE - STANDARD PROCEDURE)
ON Constantly.
Go To 4
OFF Constantly.
Go To 5
4.(K115) INJECTOR CONTROL NO.9 CIRCUIT SHORTED TO GROUND
Turn the ignition off.
Disconnect the PCM harness connector.
Measure the resistance between ground and the (K115) Injector Control
No.9 circuit in the Injector harness connector.
Istheresistancebelow100ohms?
Ye s>>
Repair the short to ground in the (K115) Injector Control
No.9 circuit.
Perform the POWERTRAIN VERIFICATION TEST. (Refer to
9 - ENGINE - STANDARD PROCEDURE)
No>>
Go To 6
5.(K115) INJECTOR CONTROL NO.9 CIRCUIT OPEN
Turn the ignition off.
Disconnect the PCM harness connector.
Measure the resistance of the (K115) Injector Control No.9 circuit from
the Fuel Injector harness connector to the PCM harness connector.
Is the resistance below 5.0 ohms?
Ye s>>
Go To 6
No>>
Repair the open in the (K115) Injector Control No.9 circuit.
Perform the POWERTRAIN VERIFICATION TEST. (Refer to
9 - ENGINE - STANDARD PROCEDURE)
Page 1121 of 5267
6.PCM
NOTE: Before continuing, check the PCM harness connector terminals for corrosion, damage, or terminal
push out. Repair as necessary.
Using the schematics as a guide, inspect the wire harness and connectors. Pay particular attention to all Power and
Ground circuits.
Were there any problems found?
Ye s>>
Repair as necessary.
Perform the POWERTRAIN VERIFICATION TEST. (Refer to 9 - ENGINE - STANDARD PROCEDURE)
No>>
Replace and program the Powertrain Control Module per Service Information.
Perform the POWERTRAIN VERIFICATION TEST. (Refer to 9 - ENGINE - STANDARD PROCEDURE)
Page 1123 of 5267
When Monitored:
With battery voltage greater than 10.4 volts, the auto shutdown relay energized, injector pulse width less than
10ms, and engine speed less than 3000 rpm.
Set Condition:
This trouble code takes .64 to 10.0 seconds to set when no inductive kick is sensed .18ms after injector turn
off, and with no other injectors on.
Possible Causes
(K342) ASD RELAY OUTPUT CIRCUIT
(K116) INJECTOR CONTROL NO.10 CIRCUIT OPEN
(K116) INJECTOR CONTROL NO.10 CIRCUIT SHORTED TO GROUND
FUEL INJECTOR
PCM
Always perform the Pre-Diagnostic Troubleshooting procedure before proceeding. (Refer to 9 - ENGINE -
DIAGNOSIS AND TESTING).
Diagnostic Test
1.ACTIVE DTC
Ignition on, engine not running.
With a scan tool, read DTC.
Is the DTC active at this time?
Ye s>>
Go To 2
No>>
Refer to the INTERMITTENT CONDITION Diagnostic Procedure.
Perform the POWERTRAIN VERIFICATION TEST. (Refer to 9 - ENGINE - STANDARD PROCEDURE)
2.(K342) ASD RELAY OUTPUT CIRCUIT
Turn the ignition off.
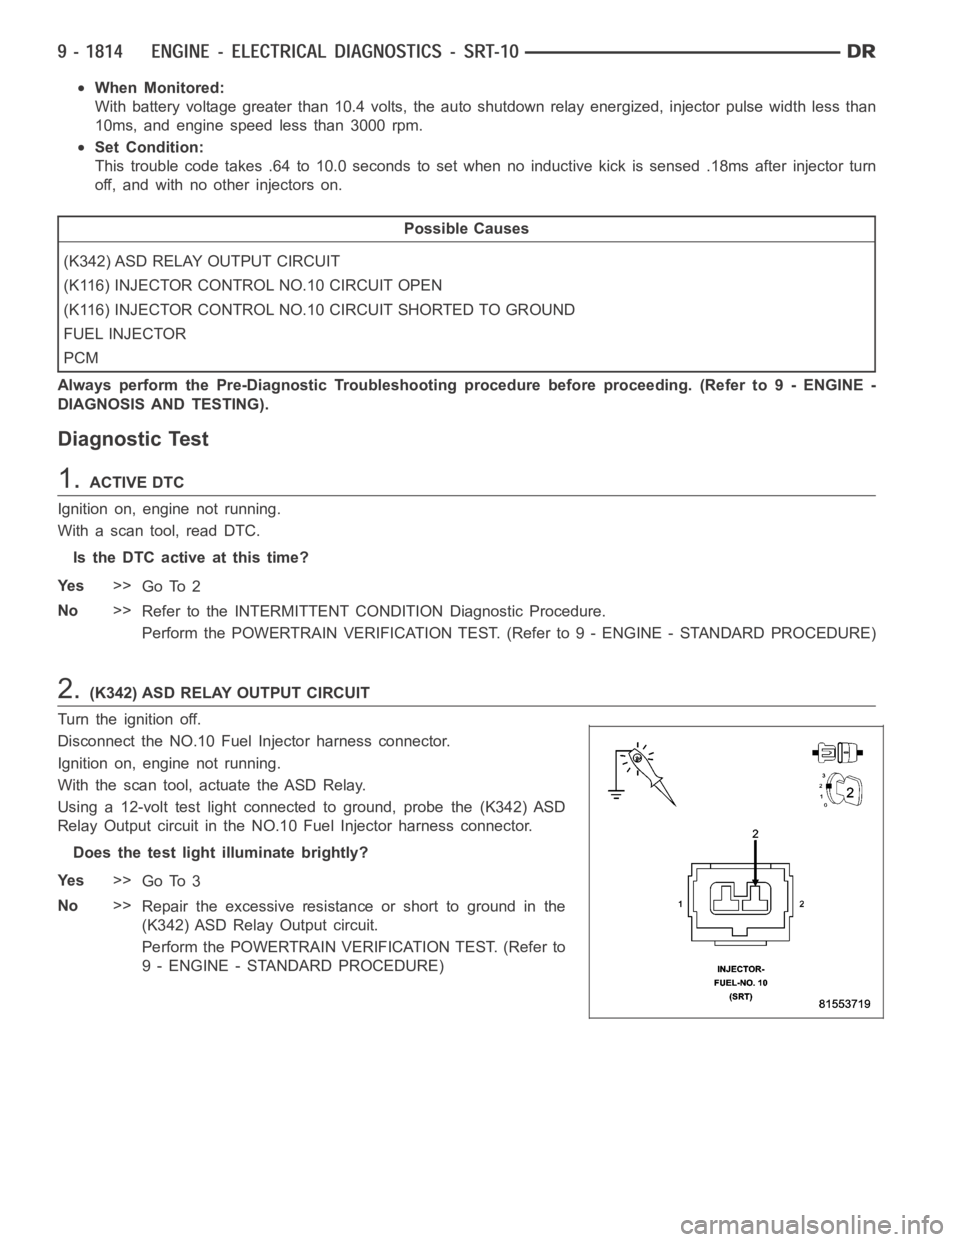
Disconnect the NO.10 Fuel Injector harness connector.
Ignition on, engine not running.
With the scan tool, actuate the ASD Relay.
Using a 12-volt test light connected to ground, probe the (K342) ASD
Relay Output circuit in the NO.10 Fuel Injector harness connector.
Does the test light illuminate brightly?
Ye s>>
Go To 3
No>>
Repair the excessive resistanceorshorttogroundinthe
(K342) ASD Relay Output circuit.
Perform the POWERTRAIN VERIFICATION TEST. (Refer to
9 - ENGINE - STANDARD PROCEDURE)
Page 1124 of 5267
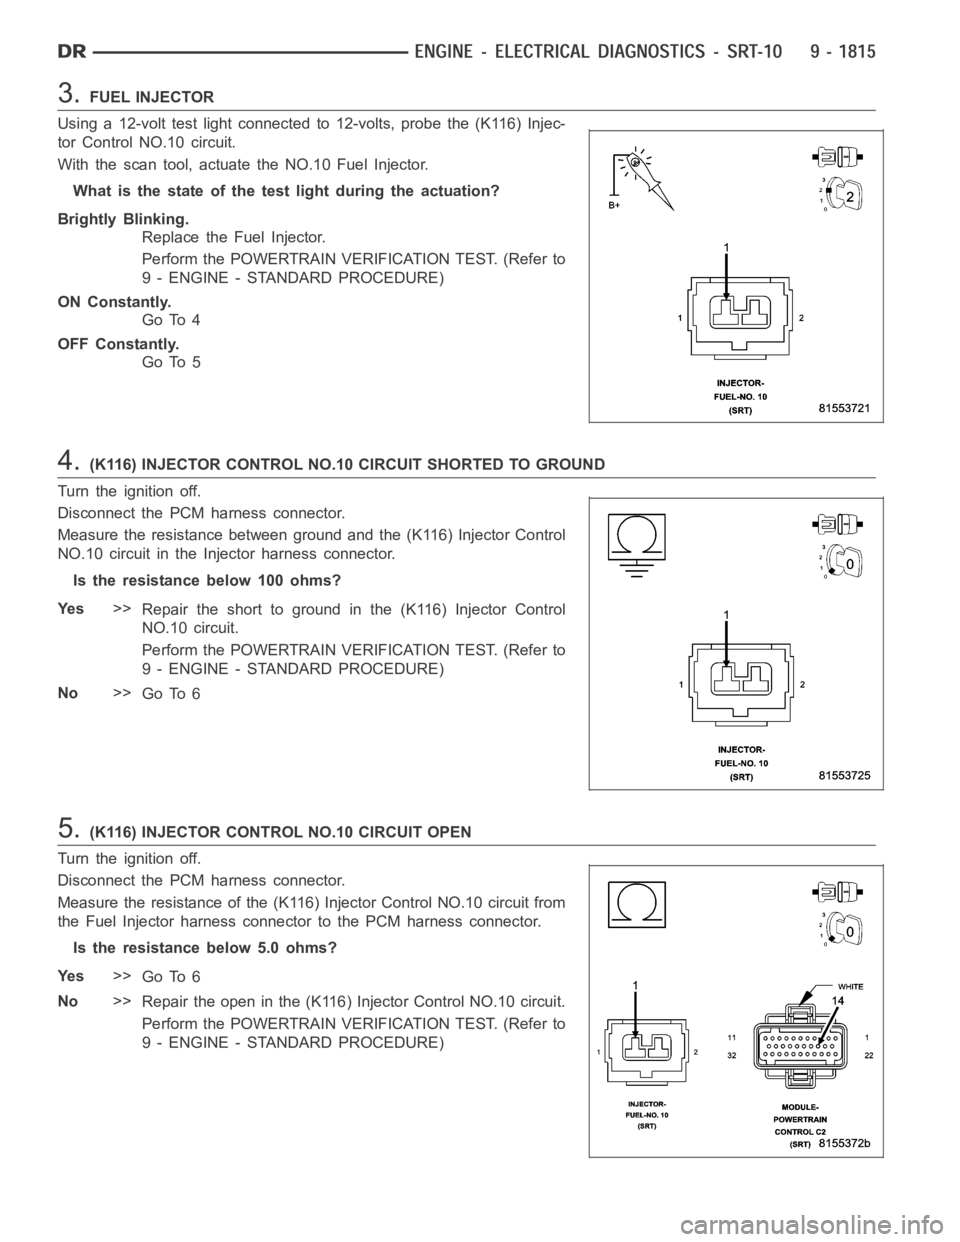
3.FUEL INJECTOR
Using a 12-volt test light connected to 12-volts, probe the (K116) Injec-
tor Control NO.10 circuit.
With the scan tool, actuate the NO.10 Fuel Injector.
What is the state of the test light during the actuation?
Brightly Blinking.
Replace the Fuel Injector.
Perform the POWERTRAIN VERIFICATION TEST. (Refer to
9 - ENGINE - STANDARD PROCEDURE)
ON Constantly.
Go To 4
OFF Constantly.
Go To 5
4.(K116) INJECTOR CONTROL NO.10 CIRCUIT SHORTED TO GROUND
Turn the ignition off.
Disconnect the PCM harness connector.
Measure the resistance between ground and the (K116) Injector Control
NO.10 circuit in the Injector harness connector.
Istheresistancebelow100ohms?
Ye s>>
Repair the short to ground in the (K116) Injector Control
NO.10 circuit.
Perform the POWERTRAIN VERIFICATION TEST. (Refer to
9 - ENGINE - STANDARD PROCEDURE)
No>>
Go To 6
5.(K116) INJECTOR CONTROL NO.10 CIRCUIT OPEN
Turn the ignition off.
Disconnect the PCM harness connector.
Measure the resistance of the (K116) Injector Control NO.10 circuit from
the Fuel Injector harness connector to the PCM harness connector.
Is the resistance below 5.0 ohms?
Ye s>>
Go To 6
No>>
Repair the open in the (K116) Injector Control NO.10 circuit.
Perform the POWERTRAIN VERIFICATION TEST. (Refer to
9 - ENGINE - STANDARD PROCEDURE)
Page 1125 of 5267
6.PCM
NOTE: Before continuing, check the PCM harness connector terminals for corrosion, damage, or terminal
push out. Repair as necessary.
Using the schematics as a guide, inspect the wire harness and connectors. Pay particular attention to all Power and
Ground circuits.
Were there any problems found?
Ye s>>
Repair as necessary.
Perform the POWERTRAIN VERIFICATION TEST. (Refer to 9 - ENGINE - STANDARD PROCEDURE)
No>>
Replace and program the Powertrain Control Module per Service Information.
Perform the POWERTRAIN VERIFICATION TEST. (Refer to 9 - ENGINE - STANDARD PROCEDURE)