Page 4 of 163

Table of ContentsYou can also consult the in-
dex at the end of this Rider's
Manual if you want to find a
particular topic or item of in-
formation.
1 General instructions . . . 5
Overview . ................ 6
Abbreviations and
symbols . . . ............... 6
Equipment ............... 7
Technical data ........... 7
Currency . . ............... 7
2 General views . . . . . .... 9
General view, left side . . . 11
General view, right
side ..................... 13
Underneath the seat . . . . . 14
Handlebar fitting, left . . . . . 15
Handlebar fitting, right . . . 16
Instrument cluster . . . . . . . 17
Headlight . .............. 18 3 Status indicators . . . . . 19
Multifunction display . . . . . 20
Warning and telltale
lights . . . . .
.............. 20
ABS warning light . . . . . . . 20
Function indicators . . . . . . 20
Warnings, general . . . . . . . 21
Warnings issued by the
tyre pressure monitoring
system (RDC)
OE
......... 29
ABS warnings . .......... 33
4 Operation . . . .......... 37
Ignition switch and
steering lock . . .......... 38
Electronic immobiliser . . . 39
Hazard warning
flashers . . . .............. 40
Odometer and
tripmeters . .............. 41
Clock . . . . . .............. 42
Tyre pressure control
RDC
OE
.................. 44
On-board computer
OE
... 44 Emergency off switch (kill
switch) . . . .
.............. 48
Grip heating
OE
........... 48
Clutch . . . . .............. 49
Brakes . . . . .............. 49
Lights . . . . . .............. 50
Headlight . .............. 51
Turn indicators .......... 52
Seat . . . . . . .............. 53
Helmet holder . .......... 55
Luggage loops .......... 56
Mirrors . . . . .............. 56
Spring preload .......... 56
Shock absorbers . . . . . . . . 57
Electronic Suspension
Adjustment ESAOE
....... 59
Tyres . . . . . .............. 60
5 Riding . . .............. 63
Safety instructions . . . . . . . 64
Checklist . . .............. 66
Starting . . . .............. 66
Running in .............. 68
Page 9 of 163

ESA Electronic SuspensionAdjustment
Electronic Suspension
Adjustment.
DWA Anti-theft alarm (Diebs-
tahlwarnanlage)
ABS Anti-lock brake system
RDC Tyre pressure control
(ReifenDruck-Control)EquipmentWhen you ordered your BMW
motorcycle, you chose vari-
ous items of custom equip-
ment. This Rider's Manual
describes optional extras (OE)
offered by BMW and selec-
ted optional accessories (OA).
This explains why the manual
may also contain descriptions
of equipment which you have
not ordered. Please note, too,
that your motorcycle might not be exactly as illustrated
in this manual on account of
country-specific differences.
If your BMW was supplied
with equipment not described
in this Rider's Manual, you will
find these features described
in separate manuals.
Technical dataAll dimensions, weights and
power ratings stated in the
Rider's Manual are quoted
to the standards and comply
with the tolerance require-
ments of the Deutsche Institut
für Normung e.V. (DIN). Ver-
sions for individual countries
may differ.CurrencyThe high safety and quality
standards of BMW motor-
cycles are maintained by con-
stant development work on
designs, equipment and ac-cessories. Because of this,
your motorcycle may differ
from the information supplied
in the Rider's Manual. Nor
can errors and omissions be
entirely ruled out. We hope
you will appreciate that no
claims can be entertained on
the basis of the data, illustra-
tions or descriptions in this
manual.
17zGeneral instructions
Page 13 of 163
General view, left side1Adjuster for headlight
beam throw ( 52)
2 Clutch-fluid reservoir
( 96)
3 Adjuster, spring preload,
rear ( 57)
4 Seat lock beneath rear
light ( 53)
5 Adjuster, rear shock ab-
sorber ( 58)
6 Power socket ( 80)
211zGeneral views
Page 22 of 163
Multifunction display1Clock ( 42), Panel for
RDC status indicators
OE
( 44), Panel for oil-level
information
OE
( 47)
2 Panel for warnings
( 21)
3 Panel for the on-board
computer's status indic-
ators
OE
( 44)
4 Gear indicator ( 20)
5 Coolant temperature
readout ( 21)
6 Panel for ESA status in-
dicatorsOE
( 59) 7
Odometer reading
( 41)
8 Fuel gauge ( 20)
Warning and telltale
lights1Telltale light, left turn in-
dicator
2 Telltale light, high-beam
headlight
3 Warning light, general
4 Telltale light, neutral
5 ABS warning light
6 Telltale light, right turn
indicator
ABS warning lightThe way in which the ABS
warning light indicates status
can differ in some countries.
Possible national variant.Function indicatorsFuel capacity
The horizontal bars be-
low the fuel-pump sym-
bol indicate the remaining
quantity of fuel.
Gear
Shows which gear is en-
gaged.
If no gear is engaged, the
gear indicator shows N and
the 'neutral' telltale light also
lights up.
320zStatus indicators
Page 31 of 163
Warnings issued by
the tyre pressure
monitoring system
(RDC)
OE
Display mode for RDC
warnings
The tyre pressure for the front
wheel 1and the tyre pres-
sure for the rear wheel 2ap-
pear in the panel for the clock
or the on-board computer,
accompanied by the letters
RDC
. The critical tyre pres-
sure flashes. If the critical value is close to
the limit of the permissible tol-
erance range, the reading is
accompanied by the 'Gen-
eral' warning light showing
yellow. If the tyre pressure re-
gistered by the sensor is out-
side the permissible tolerance
range, the 'General' warning
light flashes red.
329zStatus indicators
Page 39 of 163

Operation
Ignition switch and steering
lock . . . . . . . . . . . . . . . . . . . . . . . . . . . 38
Electronic immobiliser . . . . . . . . . 39
Hazard warning flashers . . . . . . . 40
Odometer and tripmeters . . . . . . 41
Clock . . . . . . . . . . . . . . . . . . . . . . . . . 42
Tyre pressure control RDC
OE
.. 44
On-board computer
OE
......... 44
Emergency off switch (kill
switch) . . . . . . . . . . . . . . . . . . . . . . . . 48
Grip heating
OE
................ 48
Clutch . . . . . . . . . . . . . . . . . . . . . . . . 49
Brakes . . . . . . . . . . . . . . . . . . . . . . . . 49
Lights . . . . . . . . . . . . . . . . . . . . . . . . . 50
Headlight . . . . . . . . . . . . . . . . . . . . . 51
Turn indicators . . . . . . . . . . . . . . . . 52 Seat . . . . . . . . . . . . . . . . . . . . . . . . . . 53
Helmet holder . . . . . . . . . . . . . . . . . 55
Luggage loops . . . . . . . . . . . . . . . . 56
Mirrors . . . . . . . . . . . . . . . . . . . . . . . . 56
Spring preload . . . . . . . . . . . . . . . . 56
Shock absorbers . . . . . . . . . . . . . . 57
Electronic Suspension
Adjustment ESA
OE
............ 59
Tyres . . . . . . . . . . . . . . . . . . . . . . . . . 60
437zOperation
Page 40 of 163
Ignition switch and
steering lockKeysYou receive one master key
and one spare key. Please
consult the information on
the electronic immobiliser
(EWS) if a key is lost or mis-
laid ( 39).Ignition switch and steer-
ing lock, tank filler cap
lock and seat lock are all op-
erated with the same key. If
you wish you can arrange to
have the cases available as
optional accessories fitted
with locks that can be opened
with this key as well.
Switch on the ignitionTurn the key to position 1.
Side lights and all function
circuits switched on.
Engine can be started.
Pre-ride check is
performed. ( 67)
ABS self-diagnosis is per-
formed. ( 67)
Switch off the ignitionTurn the key to position 2.
Lights switched off.
Handlebars not locked.
Key can be removed.
Electrically powered ac-
cessories remain opera-
tional for a limited period
of time.
The battery can be
recharged via the on-board
socket.
438zOperation
Page 41 of 163

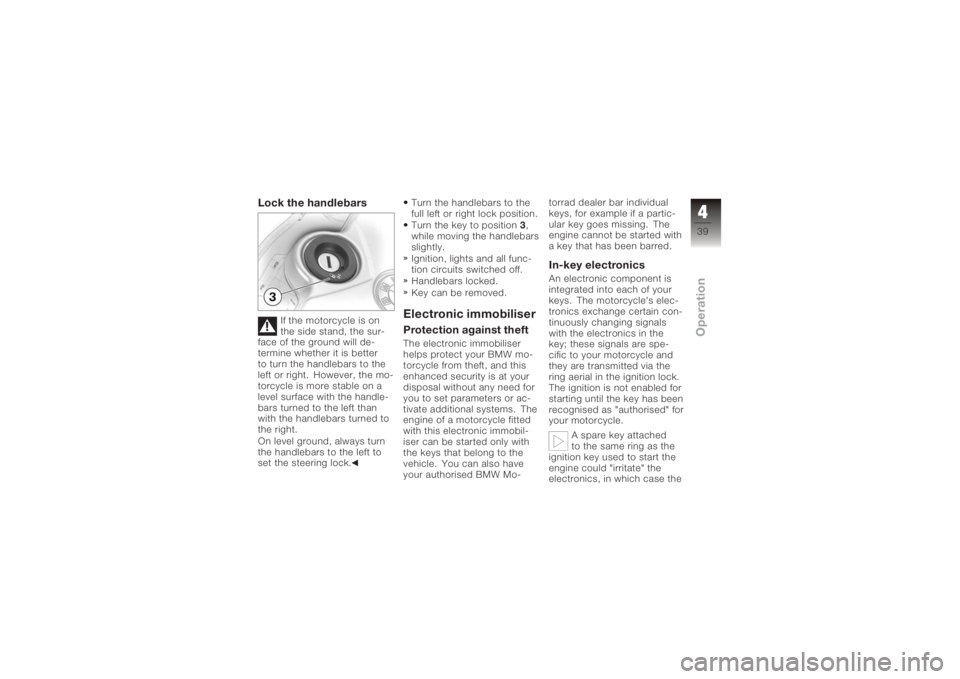
Lock the handlebars
If the motorcycle is on
the side stand, the sur-
face of the ground will de-
termine whether it is better
to turn the handlebars to the
left or right. However, the mo-
torcycle is more stable on a
level surface with the handle-
bars turned to the left than
with the handlebars turned to
the right.
On level ground, always turn
the handlebars to the left to
set the steering lock. Turn the handlebars to the
full left or right lock position.
Turn the key to position
3,
while moving the handlebars
slightly.
Ignition, lights and all func-
tion circuits switched off.
Handlebars locked.
Key can be removed.
Electronic immobiliserProtection against theftThe electronic immobiliser
helps protect your BMW mo-
torcycle from theft, and this
enhanced security is at your
disposal without any need for
you to set parameters or ac-
tivate additional systems. The
engine of a motorcycle fitted
with this electronic immobil-
iser can be started only with
the keys that belong to the
vehicle. You can also have
your authorised BMW Mo- torrad dealer bar individual
keys, for example if a partic-
ular key goes missing. The
engine cannot be started with
a key that has been barred.
In-key electronicsAn electronic component is
integrated into each of your
keys. The motorcycle's elec-
tronics exchange certain con-
tinuously changing signals
with the electronics in the
key; these signals are spe-
cific to your motorcycle and
they are transmitted via the
ring aerial in the ignition lock.
The ignition is not enabled for
starting until the key has been
recognised as "authorised" for
your motorcycle.
A spare key attached
to the same ring as the
ignition key used to start the
engine could "irritate" the
electronics, in which case the
439zOperation