Page 86 of 163
Install the caseTurn the lock barrel in the
RELEASE direction.
Hook the case into bottom
holder2. Pull the black release lever
(RELEASE) up.
Press the case into top
holder
3.
Push the black release lever
(RELEASE) down.
The case is locked into
place.
Lock the case.
Check that it is correctly en-
gaged.
Secure attachmentIf a case wobbles or is difficult
to fit, it has to be adapted to
the gap between the top and
bottom holders. The bottom bracket on the case can be
moved up or down for this
purpose.
Adapt the caseOpen the case.
Remove screws
1.
Adjust the height of the
holder.
Tighten screws 1.
684zAccessories
Page 93 of 163

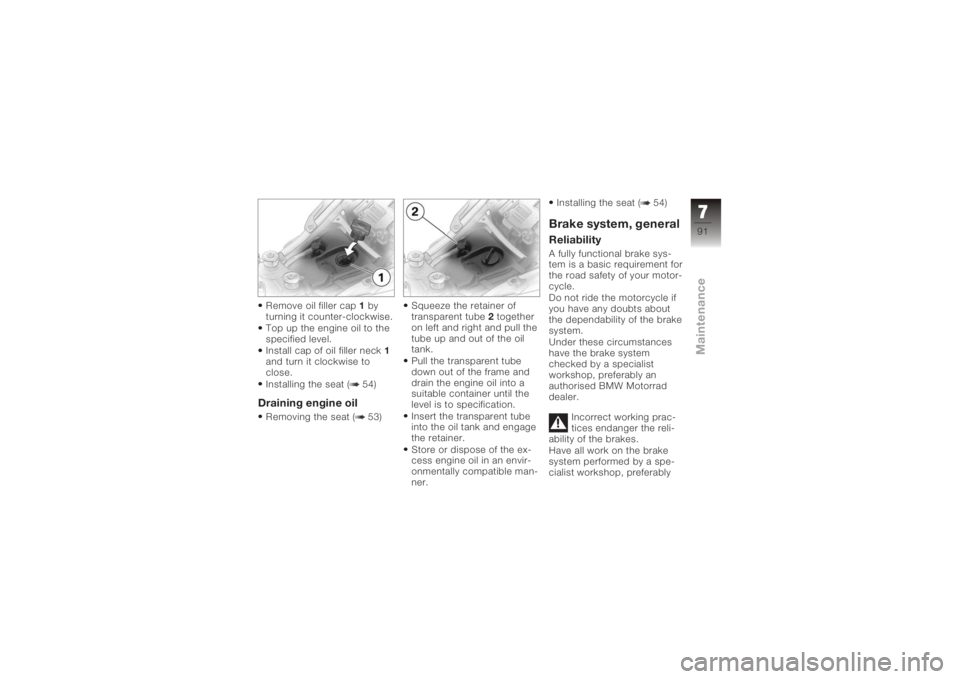
Remove oil filler cap1by
turning it counter-clockwise.
Top up the engine oil to the
specified level.
Install cap of oil filler neck 1
and turn it clockwise to
close.
Installing the seat ( 54)Draining engine oilRemoving the seat ( 53) Squeeze the retainer of
transparent tube
2together
on left and right and pull the
tube up and out of the oil
tank.
Pull the transparent tube
down out of the frame and
drain the engine oil into a
suitable container until the
level is to specification.
Insert the transparent tube
into the oil tank and engage
the retainer.
Store or dispose of the ex-
cess engine oil in an envir-
onmentally compatible man-
ner. Installing the seat ( 54)
Brake system, generalReliabilityA fully functional brake sys-
tem is a basic requirement for
the road safety of your motor-
cycle.
Do not ride the motorcycle if
you have any doubts about
the dependability of the brake
system.
Under these circumstances
have the brake system
checked by a specialist
workshop, preferably an
authorised BMW Motorrad
dealer.
Incorrect working prac-
tices endanger the reli-
ability of the brakes.
Have all work on the brake
system performed by a spe-
cialist workshop, preferably
791zMaintenance
Page 95 of 163
Checking brake pad
thickness, rear brakes
Brake pads worn past
the minimum permissible
thickness can cause a reduc-
tion in braking efficiency and
under certain circumstances
they can cause damage to
the brake system.
In order to ensure the de-
pendability of the brake sys-
tem, do not permit the brake
pads to wear past the minim-
um permissible thickness.
Make sure the ground is
level and firm and place the
motorcycle on its stand. Visually inspect the brake
pads from the right to as-
certain their thickness.
Rear brake pads, ma-
terial thickness
Wear limit
1 mm (Friction pad only,
without backing plate)
Make sure that the brake
disc is not visible through
the bore in the inboard
brake block.
If the brake disc is visible: Have the brake pads re-
placed by a specialist work-
shop, preferably an author-
ised BMW Motorrad dealer.
793zMaintenance
Page 110 of 163
Push the rear wheel stand
from the left into the rear
axle.
Install the retaining disc
from the right; to do so,
press the unlock button.
Place your left hand on the
left grab handle of the mo-
torcycle4, and your right
hand on the lever of the rear
wheel stand 5. Lift the motorcycle upright,
simultaneously pressing the
lever down until the stand
supports the motorcycle in
the upright position.
Press the lever down to the
ground.
BulbsGeneral instructionsThe 'bulb defect' symbol ap-
pears in the display if a bulb
is defective. If the brake or
rear light fails, the symbol is
accompanied by the general
warning light, which lights up
yellow. If the rear light fails
the second filament of the
brake light shines at reduced
brightness to double as a rear
light. Even though you have
7108zMaintenance
Page 111 of 163

this substitute rear light, the
indicators in the display tell
you that a bulb defect has oc-
curred.A defective bulb places
your safety at risk be-
cause it is easier for other
users to oversee you and
your motorcycle.
Replace defective bulbs as
soon as possible; always
carry a complete set of spare
bulbs if possible.
The bulb is pressurised
and can cause injury if
damaged.
Wear protective goggles
and gloves when changing
bulbs.
The types of bulb fitted
to your motorcycle are
listed in the section entitled
"Technical data". Do not touch the glass
of new bulbs with your
fingers. Use a clean, dry cloth
to hold the bulbs when hand-
ling them. Dirt deposits, in
particular oil and grease, in-
terfere with heat radiation
from the bulb. This leads to
overheating and shortens the
bulb's operating life.
Replacing low-beam
headlight bulb
If it is not standing firmly,
the motorcycle could
topple in the course of the
operations described below.
Always make sure that the
motorcycle is stable and
firmly supported.
Turn the handlebars
to the left to facilitate
access. Make sure the ground is
level and firm and place the
motorcycle on its stand.
Switch off the ignition.
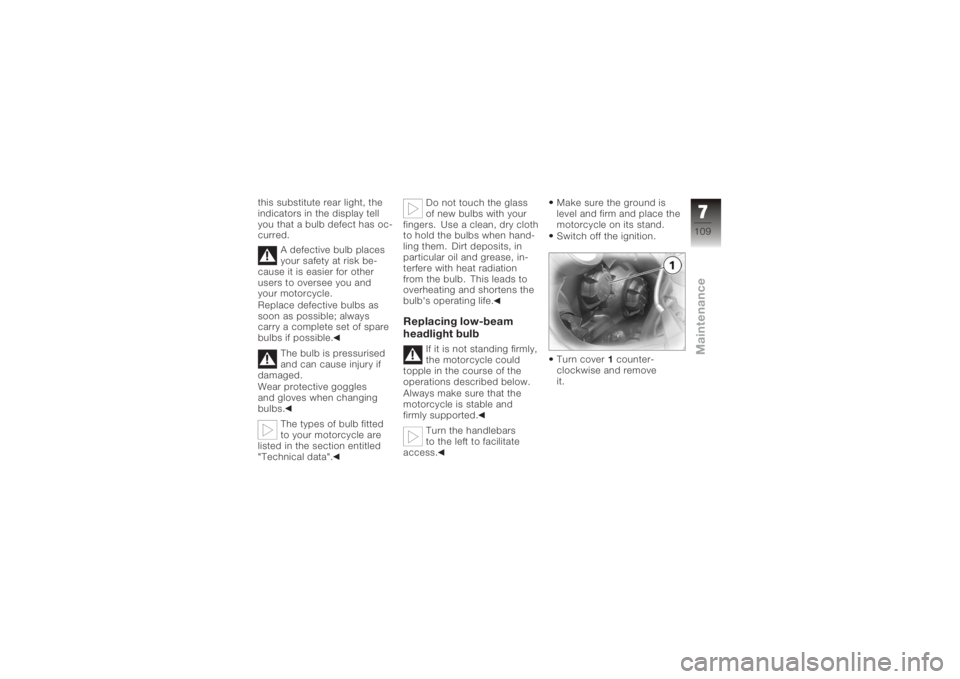
Turn cover
1counter-
clockwise and remove
it.
7109zMaintenance
Page 113 of 163
Connect plug2.
Turn cover 1clockwise to
install.
Replacing high-beam
headlight bulb
If it is not standing firmly,
the motorcycle could
topple in the course of the
operations described below.
Always make sure that the
motorcycle is stable and
firmly supported.
Turn the handlebars
to the left to facilitate
access.
Make sure the ground is
level and firm and place the
motorcycle on its stand.
Switch off the ignition. Turn cover
1counter-
clockwise and remove
it.
Disconnect plug 2.
7111zMaintenance
Page 115 of 163
Turn cover1clockwise to
install.Replacing parking-light
bulb
If it is not standing firmly,
the motorcycle could
topple in the course of the
operations described below.
Always make sure that the
motorcycle is stable and
firmly supported.
Make sure the ground is
level and firm and place the
motorcycle on its stand. Switch off the ignition.
Pull off the connector
1be-
neath the headlight.
Remove bulb holder 2from
the headlight housing by
turning it counter-clockwise.
Remove bulb 3from the
bulb holder.
Replace the defective bulb.
Parking-light bulb
W5W / 12 V / 5 W Install bulb
3in bulb sock-
et 2.
Turn the bulb socket clock-
wise to install it in the head-
light housing.
Connect plug 1beneath the
headlight.
Replacing brake light
and rear light bulb
If it is not standing firmly,
the motorcycle could
topple in the course of the
operations described below.
Always make sure that the
7113zMaintenance
Page 116 of 163
motorcycle is stable and
firmly supported.Make sure the ground is
level and firm and place the
motorcycle on its stand.
Switch off the ignition.
Removing the seat ( 53)
Remove screw 1. Pull the bulb housing to the
rear until it is clear of hold-
ers
2.
Turn bulb holder 3counter-
clockwise to remove it from
the bulb housing. Press bulb
4into socket 5
and remove by turning it
counter-clockwise.
Replace the defective bulb.
Bulb of tail light/brake
light
P21W / 12 V / 21 W
7114zMaintenance