Page 1292 of 3171
EC-312
TC BOOST CONTROL SOLENOID VALVE
Diagnostic Procedure
EBS01KM2
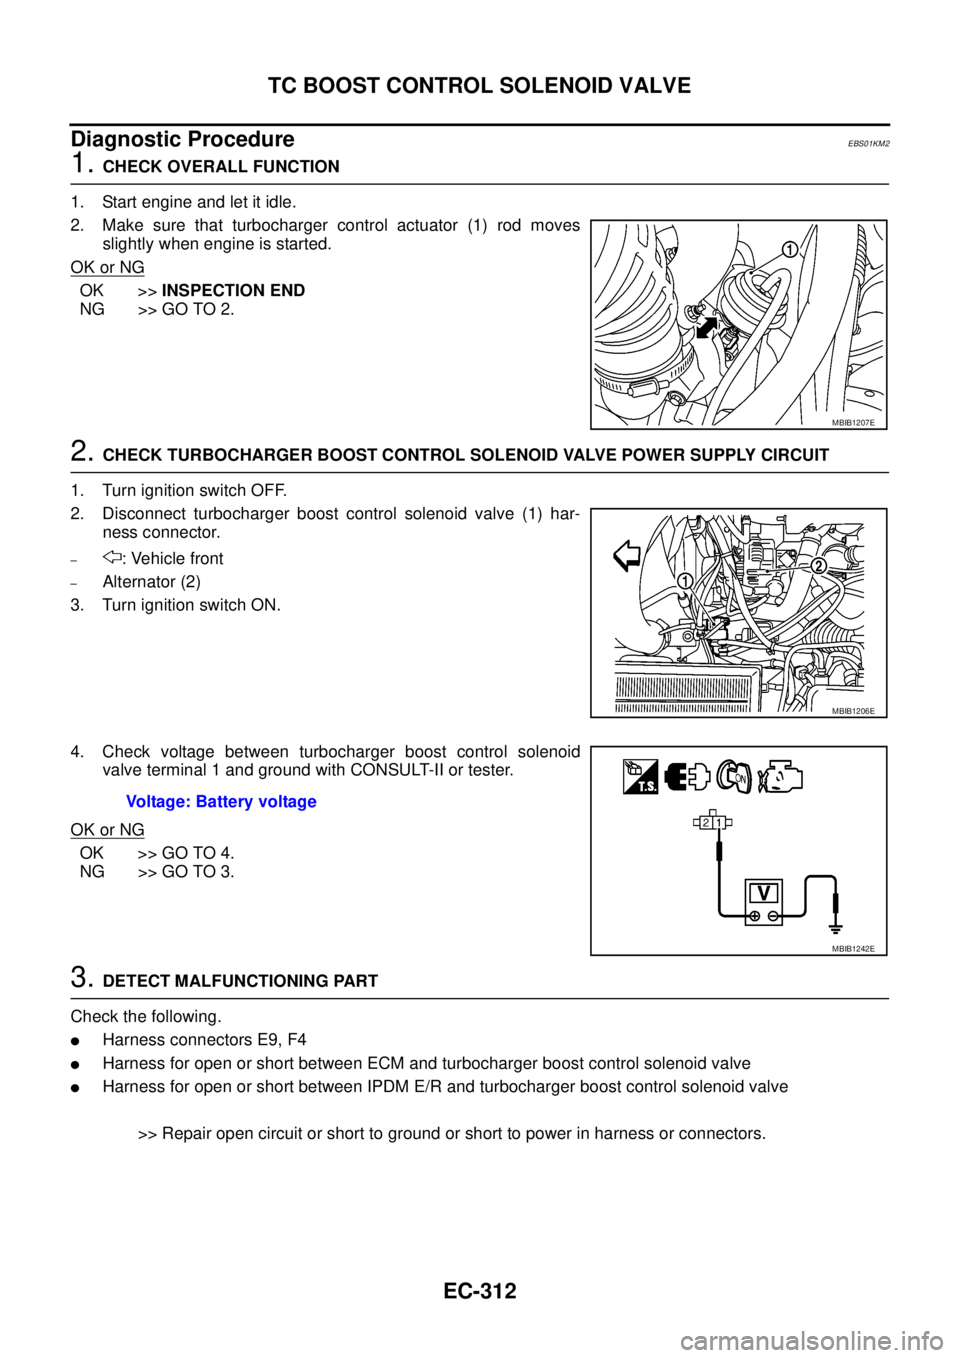
1.CHECK OVERALL FUNCTION
1. Start engine and let it idle.
2. Make sure that turbocharger control actuator (1) rod moves
slightly when engine is started.
OK or NG
OK >>INSPECTION END
NG >> GO TO 2.
2.CHECK TURBOCHARGER BOOST CONTROL SOLENOID VALVE POWER SUPPLY CIRCUIT
1. Turn ignition switch OFF.
2. Disconnect turbocharger boost control solenoid valve (1) har-
ness connector.
–: Vehicle front
–Alternator (2)
3. Turn ignition switch ON.
4. Check voltage between turbocharger boost control solenoid
valve terminal 1 and ground with CONSULT-II or tester.
OK or NG
OK >> GO TO 4.
NG >> GO TO 3.
3.DETECT MALFUNCTIONING PART
Check the following.
lHarness connectors E9, F4
lHarness for open or short between ECM and turbocharger boost control solenoid valve
lHarness for open or short between IPDM E/R and turbocharger boost control solenoid valve
>> Repair open circuit or short to ground or short to power in harness or connectors.
MBIB1207E
MBIB1206E
Voltage: Battery voltage
MBIB1242E
Page 1293 of 3171
TC BOOST CONTROL SOLENOID VALVE
EC-313
C
D
E
F
G
H
I
J
K
L
MA
EC
4.CHECK TURBOCHARGER BOOST CONTROL SOLENOID VALVE OUTPUT SIGNAL CIRCUIT FOR
OPEN AND SHORT
1. Turn ignition switch OFF.
2. Disconnect ECM harness connector.
3. Check harness continuity between ECM terminal 6 and turbocharger boost control solenoid valve terminal
2. Refer to Wiring Diagram.
4. Also check harness for short to ground and short to power.
OK or NG
OK >> GO TO 5.
NG >> Repair open circuit or short to ground or short to power in harness or connectors.
5.CHECK TURBOCHARGER BOOST CONTROL SOLENOID VALVE
Refer toEC-313, "
Component Inspection".
OK or NG
OK >> GO TO 6.
NG >> Replace turbocharger boost control solenoid valve.
6.CHECK INTERMITTENT INCIDENT
Refer toEC-70, "
TROUBLE DIAGNOSIS FOR INTERMITTENT INCIDENT".
>>INSPECTION END
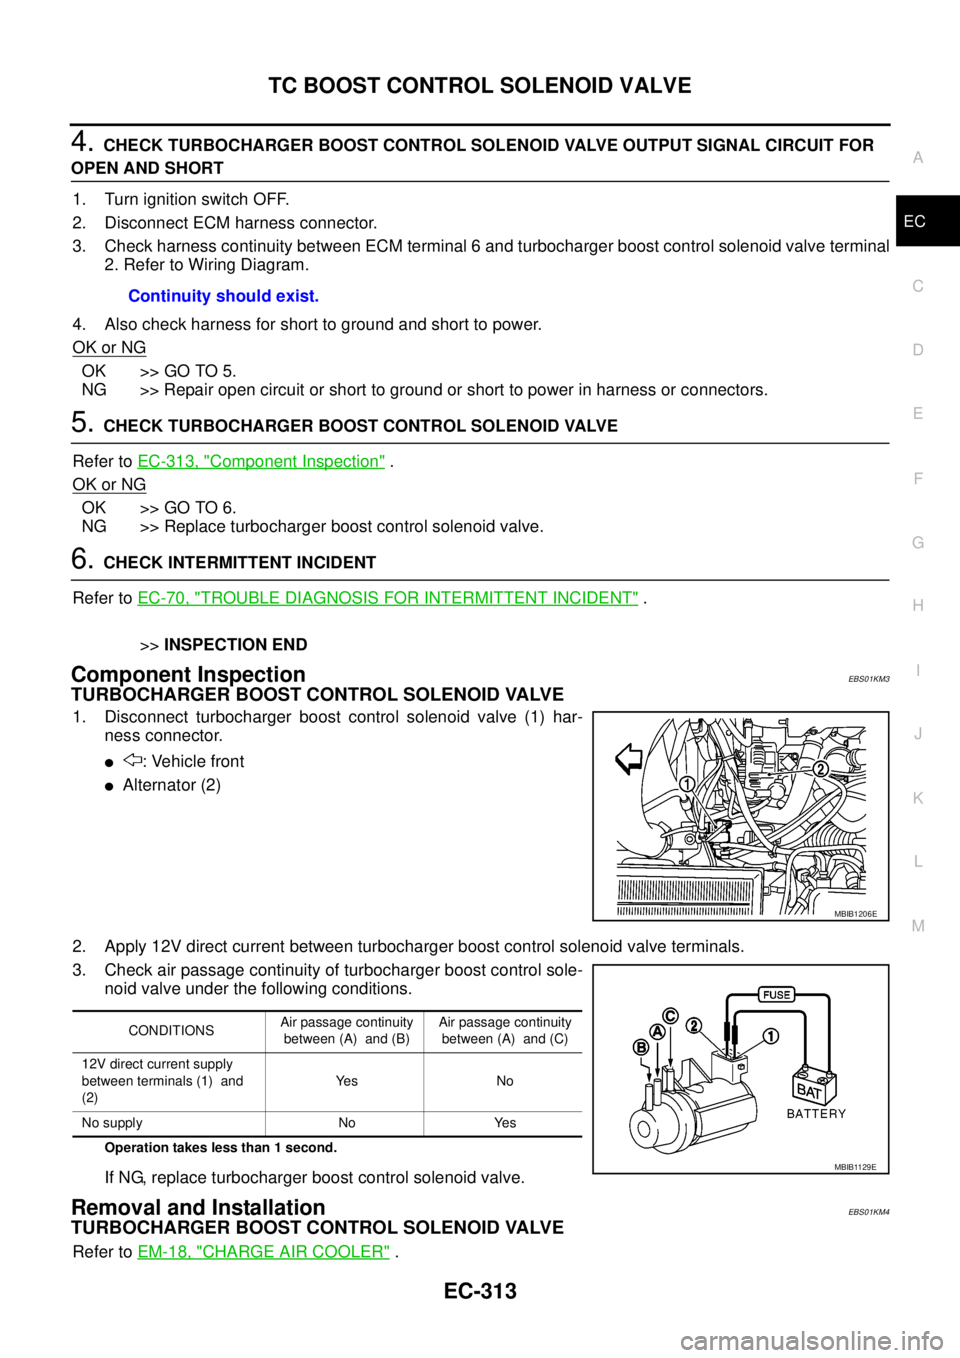
Component InspectionEBS01KM3
TURBOCHARGER BOOST CONTROL SOLENOID VALVE
1. Disconnect turbocharger boost control solenoid valve (1) har-
ness connector.
l: Vehicle front
lAlternator (2)
2. Apply 12V direct current between turbocharger boost control solenoid valve terminals.
3. Check air passage continuity of turbocharger boost control sole-
noid valve under the following conditions.
Operation takes less than 1 second.
If NG, replace turbocharger boost control solenoid valve.
Removal and InstallationEBS01KM4
TURBOCHARGER BOOST CONTROL SOLENOID VALVE
Refer toEM-18, "CHARGE AIR COOLER". Continuity should exist.
MBIB1206E
CONDITIONSAir passage continuity
between (A) and (B)Air passage continuity
between (A) and (C)
12V direct current supply
between terminals (1) and
(2)Ye s N o
No supply No Yes
MBIB1129E
Page 1294 of 3171

EC-314
INTAKE AIR CONTROL VALVE CONTROL SOLENOID VALVE
INTAKE AIR CONTROL VALVE CONTROL SOLENOID VALVE
PFP:16188
DescriptionEBS01KM5
Vibration when stopping the engine can be controlled by cutting
intake air right before the fuel is cut. The intake air control valve con-
trol solenoid valve (1) controls the ON-OFF load of the intake air
control valve actuator. As a result, the intake air control valve control
solenoid valve will be turned ON when the ignition switch is turned
OFF with the engine running and when the engine stalls. After the
engine has stopped, the intake air control valve control solenoid
valve will return to fully open.
l: Vehicle front
lElectronic controlled engine mount control solenoid valve (2)
lOil filter (3)
ECM Terminals and Reference ValueEBS01KM6
Specification data are reference valves, and are measured between each terminal and ground.
CAUTION:
Do not use ECM ground terminals when measuring input/output voltage. Doing so may damage the
ECM's transistor. Use a ground other than ECM terminals, such as the ground.
MBIB1226E
TERMI-
NAL
NO.WIRE
COLORITEM CONDITIONDATA
(DC Voltage and Pulse Signal)
15 GRIntake air control valve
control solenoid valve[Engine is running]BATTERY VOLTAGE
(11 - 14V)
[Engine is running]
[Ignition switch OFF]
lFor a few seconds after turning ignition
switch OFFApproximately 0.3V
105
11 3BR
BRECM relay (self shut-off)[Ignition switch OFF]
lFor a few seconds after turning ignition
switch OFFApproximately 1.0V
[Ignition switch OFF]
lMore than a few seconds after turning igni-
tion switch OFFBATTERY VOLTAGE
(11 - 14V)
11 9
120R
GPower supply for ECM[Ignition switch ON]BATTERY VOLTAGE
(11 - 14V)
Page 1296 of 3171
EC-316
INTAKE AIR CONTROL VALVE CONTROL SOLENOID VALVE
Diagnostic Procedure
EBS01KM8
1.CHECK OVERALL FUNCTION
1. Start engine and let it idle.
2. Make sure that intake air control valve actuator (1) rod moves
when turning ignition switch OFF.
OK or NG
OK >>INSPECTION END
NG >> GO TO 2.
2.CHECK VACUUM SOURCE
1. Turn ignition switch OFF.
2. Disconnect vacuum hose connected to intake air control valve
actuator (1).
3. Start engine and let it idle.
4. Check vacuum hose for vacuum existence under the following
conditions.
OK or NG
OK >> GO TO 9.
NG >> GO TO 3.
3.CHECK VACUUM HOSE
1. Turn ignition switch OFF.
2. Check vacuum hoses and vacuum gallery for clogging, cracks
or improper connection.
Refer toEC-16, "
Vacuum Hose Drawing".
OK or NG
OK >> GO TO 4.
NG >> Repair or replace vacuum hoses and vacuum gallery.
MBIB1228E
CONDITIONS vacuum
For a few seconds after turning ignition switch OFF should exist
Except above should not exist
MBIB1238E
SEF109L
Page 1297 of 3171
INTAKE AIR CONTROL VALVE CONTROL SOLENOID VALVE
EC-317
C
D
E
F
G
H
I
J
K
L
MA
EC
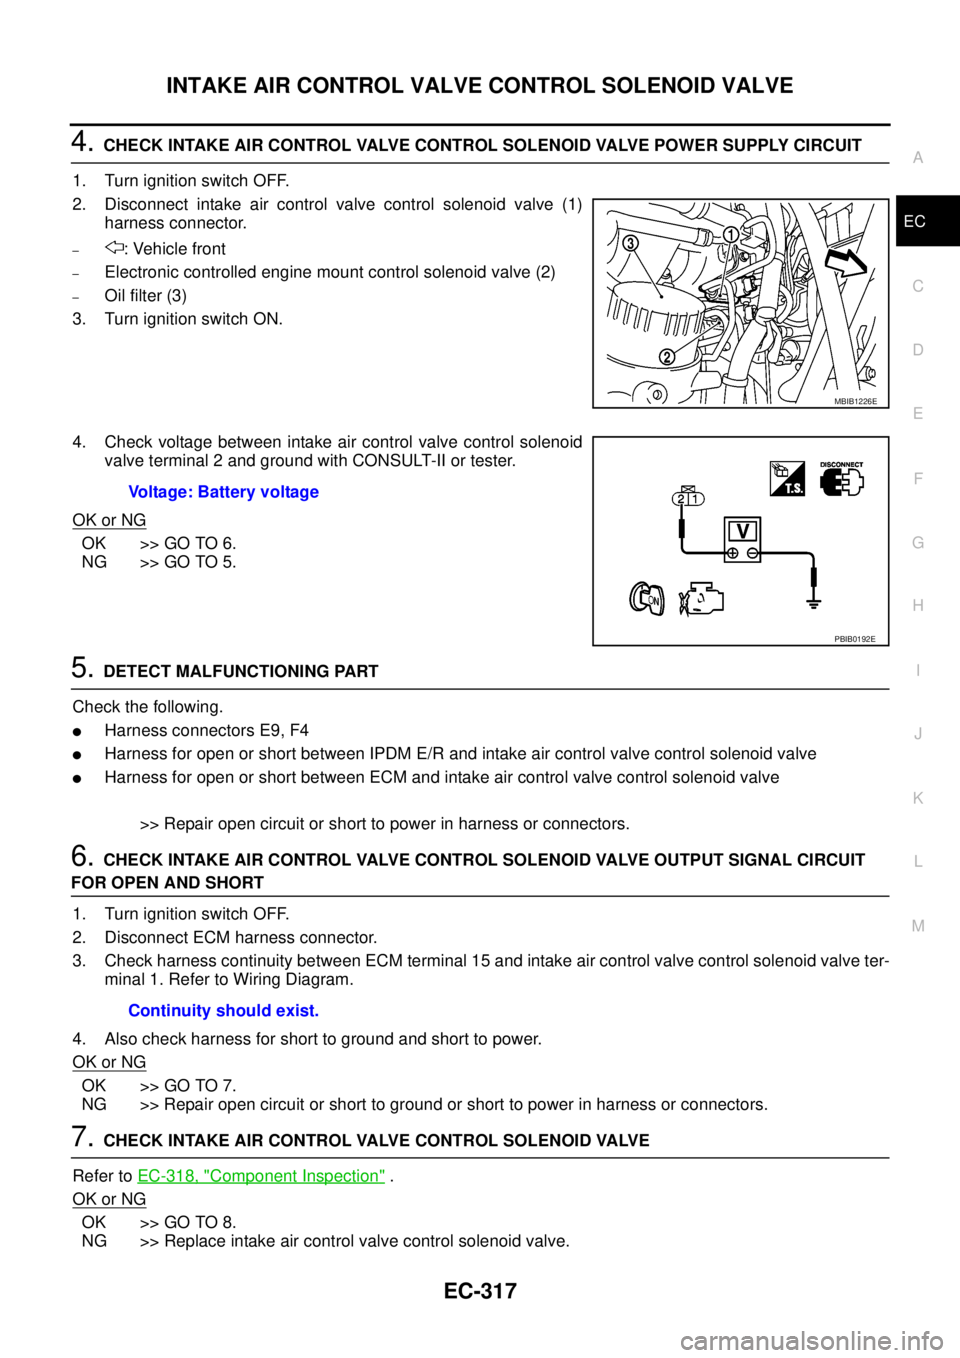
4.CHECK INTAKE AIR CONTROL VALVE CONTROL SOLENOID VALVE POWER SUPPLY CIRCUIT
1. Turn ignition switch OFF.
2. Disconnect intake air control valve control solenoid valve (1)
harness connector.
–: Vehicle front
–Electronic controlled engine mount control solenoid valve (2)
–Oil filter (3)
3. Turn ignition switch ON.
4. Check voltage between intake air control valve control solenoid
valve terminal 2 and ground with CONSULT-II or tester.
OK or NG
OK >> GO TO 6.
NG >> GO TO 5.
5.DETECT MALFUNCTIONING PART
Check the following.
lHarness connectors E9, F4
lHarness for open or short between IPDM E/R and intake air control valve control solenoid valve
lHarness for open or short between ECM and intake air control valve control solenoid valve
>> Repair open circuit or short to power in harness or connectors.
6.CHECK INTAKE AIR CONTROL VALVE CONTROL SOLENOID VALVE OUTPUT SIGNAL CIRCUIT
FOR OPEN AND SHORT
1. Turn ignition switch OFF.
2. Disconnect ECM harness connector.
3. Check harness continuity between ECM terminal 15 and intake air control valve control solenoid valve ter-
minal 1. Refer to Wiring Diagram.
4. Also check harness for short to ground and short to power.
OK or NG
OK >> GO TO 7.
NG >> Repair open circuit or short to ground or short to power in harness or connectors.
7.CHECK INTAKE AIR CONTROL VALVE CONTROL SOLENOID VALVE
Refer toEC-318, "
Component Inspection".
OK or NG
OK >> GO TO 8.
NG >> Replace intake air control valve control solenoid valve.
MBIB1226E
Voltage: Battery voltage
PBIB0192E
Continuity should exist.
Page 1298 of 3171
EC-318
INTAKE AIR CONTROL VALVE CONTROL SOLENOID VALVE
8.CHECK VACUUM PUMP
Refer toEM-42, "
VACUUM PUMP".
OK or NG
OK >> GO TO 9.
NG >> Replace vacuum pump assembly.
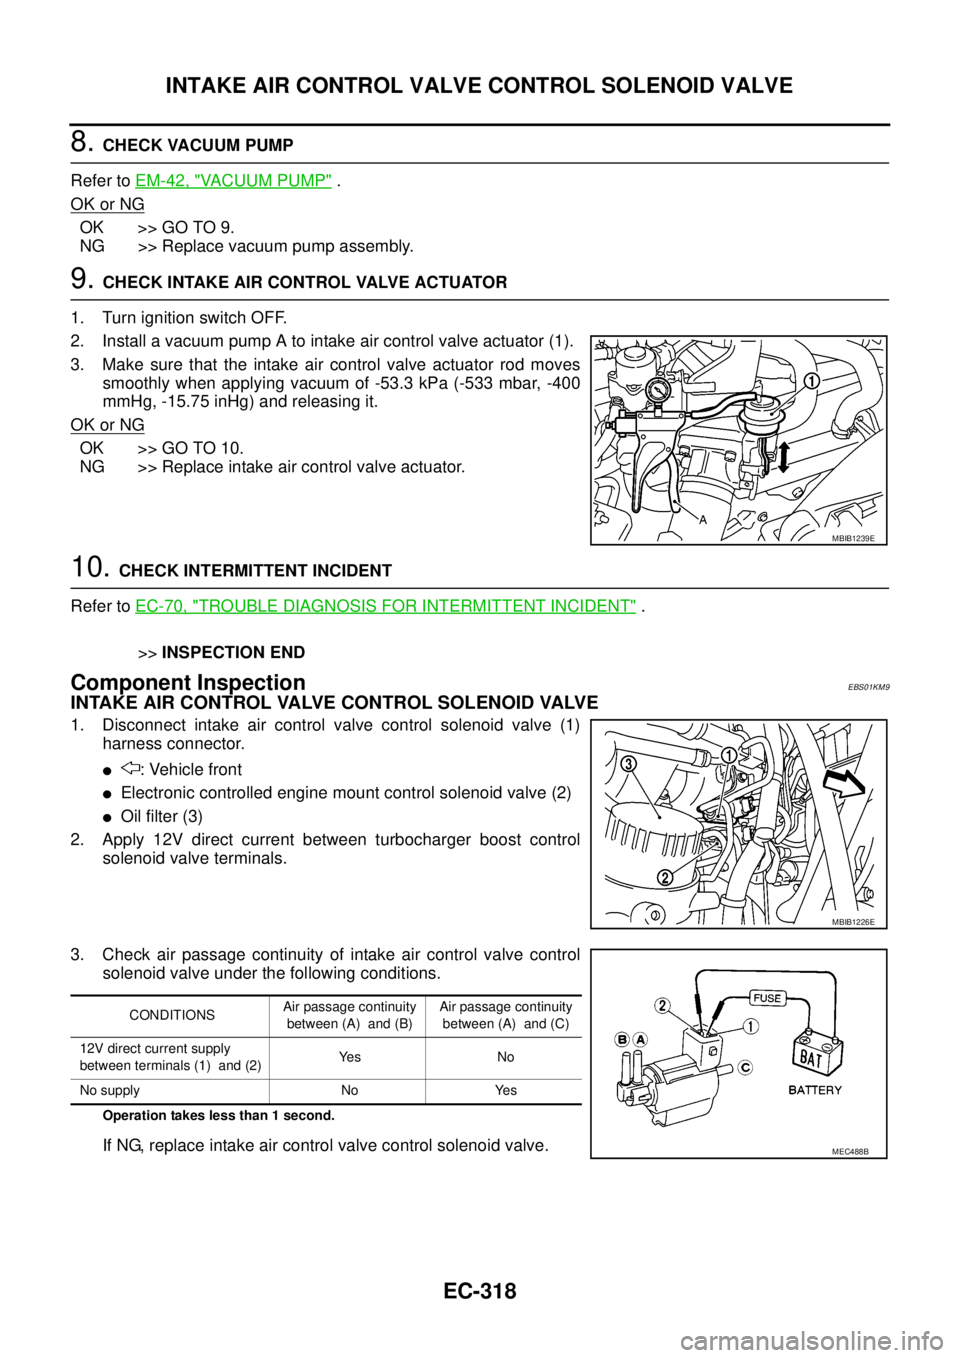
9.CHECK INTAKE AIR CONTROL VALVE ACTUATOR
1. Turn ignition switch OFF.
2. Install a vacuum pump A to intake air control valve actuator (1).
3. Make sure that the intake air control valve actuator rod moves
smoothly when applying vacuum of -53.3 kPa (-533 mbar, -400
mmHg, -15.75 inHg) and releasing it.
OK or NG
OK >> GO TO 10.
NG >> Replace intake air control valve actuator.
10.CHECK INTERMITTENT INCIDENT
Refer toEC-70, "
TROUBLE DIAGNOSIS FOR INTERMITTENT INCIDENT".
>>INSPECTION END
Component InspectionEBS01KM9
INTAKE AIR CONTROL VALVE CONTROL SOLENOID VALVE
1. Disconnect intake air control valve control solenoid valve (1)
harness connector.
l: Vehicle front
lElectronic controlled engine mount control solenoid valve (2)
lOil filter (3)
2. Apply 12V direct current between turbocharger boost control
solenoid valve terminals.
3. Check air passage continuity of intake air control valve control
solenoid valve under the following conditions.
Operation takes less than 1 second.
If NG, replace intake air control valve control solenoid valve.
MBIB1239E
MBIB1226E
CONDITIONSAir passage continuity
between (A) and (B)Air passage continuity
between (A) and (C)
12V direct current supply
between terminals (1) and (2)Ye s N o
No supply No Yes
MEC488B
Page 1299 of 3171
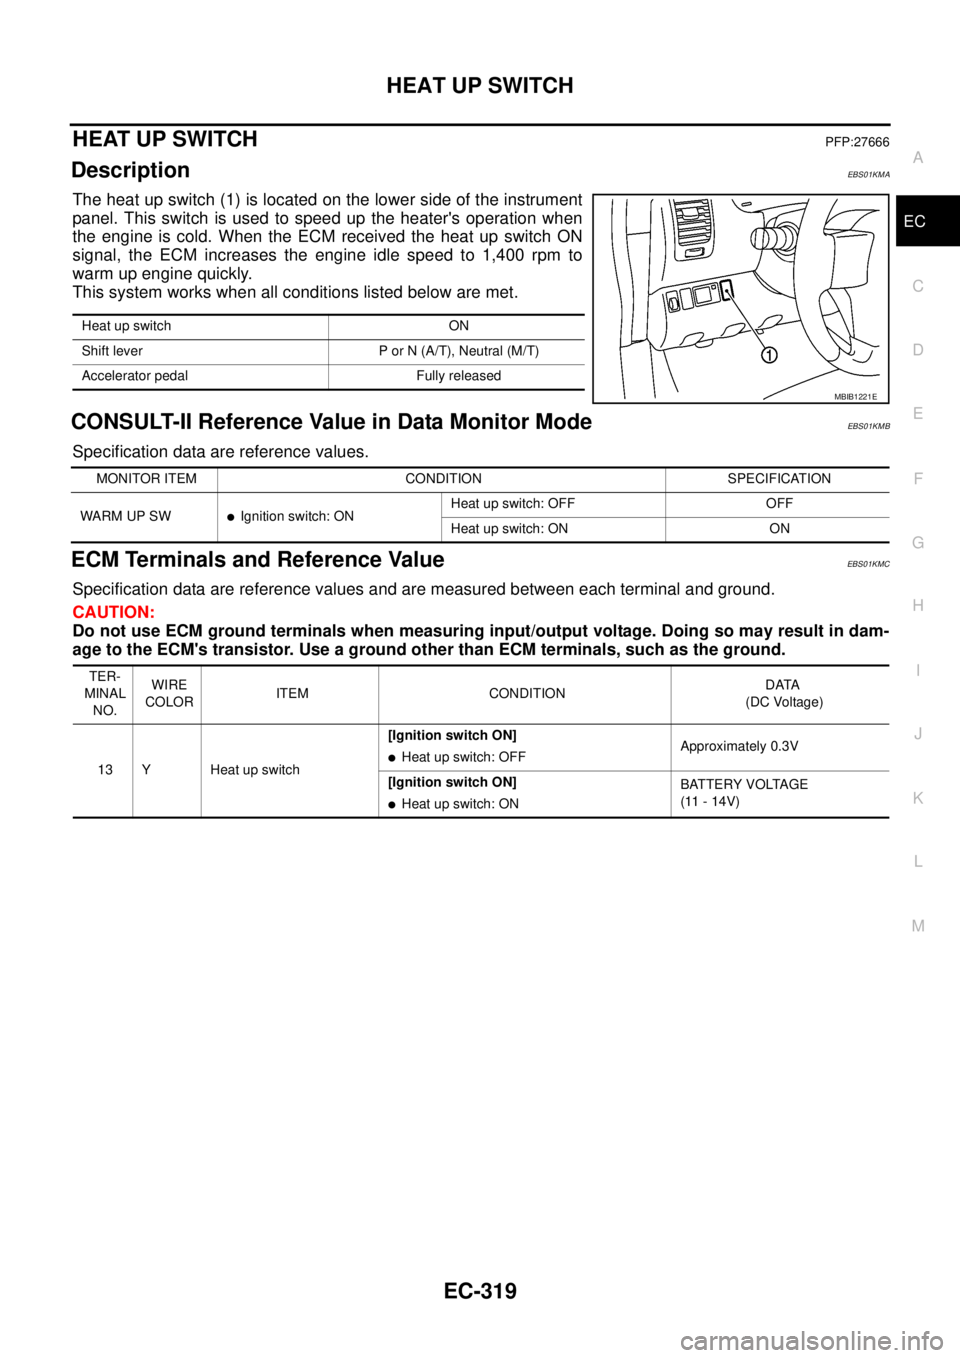
HEAT UP SWITCH
EC-319
C
D
E
F
G
H
I
J
K
L
MA
EC
HEAT UP SWITCHPFP:27666
DescriptionEBS01KMA
The heat up switch (1) is located on the lower side of the instrument
panel. This switch is used to speed up the heater's operation when
the engine is cold. When the ECM received the heat up switch ON
signal, the ECM increases the engine idle speed to 1,400 rpm to
warm up engine quickly.
This system works when all conditions listed below are met.
CONSULT-II Reference Value in Data Monitor ModeEBS01KMB
Specification data are reference values.
ECM Terminals and Reference ValueEBS01KMC
Specification data are reference values and are measured between each terminal and ground.
CAUTION:
Do not use ECM ground terminals when measuring input/output voltage. Doing so may result in dam-
age to the ECM's transistor. Use a ground other than ECM terminals, such as the ground.
Heat up switch ON
Shift lever P or N (A/T), Neutral (M/T)
Accelerator pedal Fully released
MBIB1221E
MONITOR ITEM CONDITION SPECIFICATION
WARM UP SW
lIgnition switch: ONHeat up switch: OFF OFF
Heat up switch: ON ON
TER-
MINAL
NO.WIRE
COLORITEM CONDITIONDATA
(DC Voltage)
13 Y Heat up switch[Ignition switch ON]
lHeat up switch: OFFApproximately 0.3V
[Ignition switch ON]
lHeat up switch: ONBATTERY VOLTAGE
(11 - 14V)
Page 1301 of 3171
HEAT UP SWITCH
EC-321
C
D
E
F
G
H
I
J
K
L
MA
EC
Diagnostic ProcedureEBS01KME
1.CHECK OVERALL FUNCTION-I
With CONSULT-II
1. Turn ignition switch ON.
2. Check “WARM UP SW” in “DATA MONITOR” mode with CONSULT-II under the following conditions.
Without CONSULT-II
1. Turn ignition switch ON.
2. Check voltage between ECM terminal 13 and ground under the following conditions.
OK or NG
OK >> GO TO 2.
NG >> GO TO 3.
2.CHECK OVERALL FUNCTION-II
Check indicator in the heat up switch under the following condition.
OK or NG
OK >>INSPECTION END
NG >> GO TO 7.
CONDITION WARM UP SW
Heat up switch: OFF OFF
Heat up switch: ON ON
PBIB0584E
CONDITION VOLTAGE
Heat up switch: OFF Approximately 0V
Heat up switch: ON Battery voltage
MBIB1247E
CONDITION INDICATION
Heat up switch: OFF OFF
Heat up switch: ON ON