Page 1265 of 3870
Fig. 61: Installing Engine Coolant Temperature Sensor
Courtesy of MITSUBISHI MOTOR SALES OF AMERICA.
> >C<< RADIATOR UPPER HOSE CONNECTION 1. Insert each hose as far as the projection of the water outlet fitting.
2. Align the mating marks on the radiator hose and hose clamp, and then connect
the radiator hose.
2004 Mitsubishi Endeavor Limited 2004 ENGINE Engine Cooling - Endeavor
Page 1266 of 3870
Fig. 62: Connecting Radiator Upper Hose
Courtesy of MITSUBISHI MOTOR SALES OF AMERICA.
INSPECTION Water Pipe and Hose Check Check the water pipe and hose for cracks, damage and clogs. Replace them if
necessary. SPECIFICATIONS FASTENER TIGHTENING SPECIFICATION
2004 Mitsubishi Endeavor Limited 2004 ENGINE Engine Cooling - Endeavor
Page 1267 of 3870
Fig. 63: Fastener Tightening Specification Table
Courtesy of MITSUBISHI MOTOR SALES OF AMERICA.
SERVICE SPECIFICATION Fig. 64: Service Specification Table
Courtesy of MITSUBISHI MOTOR SALES OF AMERICA.
CAPACITIES
2004 Mitsubishi Endeavor Limited 2004 ENGINE Engine Cooling - Endeavor
Page 1268 of 3870
Fig. 65: Capacities Table
Courtesy of MITSUBISHI MOTOR SALES OF AMERICA.
SEALANT Fig. 66: Sealant Table
Courtes
y of MITSUBISHI MOTOR SALES OF AMERICA
.
2004 Mitsubishi Endeavor Limited 2004 ENGINE Engine Cooling - Endeavor
Page 1997 of 3870

2004 HVAC
Heater Air Conditioning, Ventilation - Endeavor
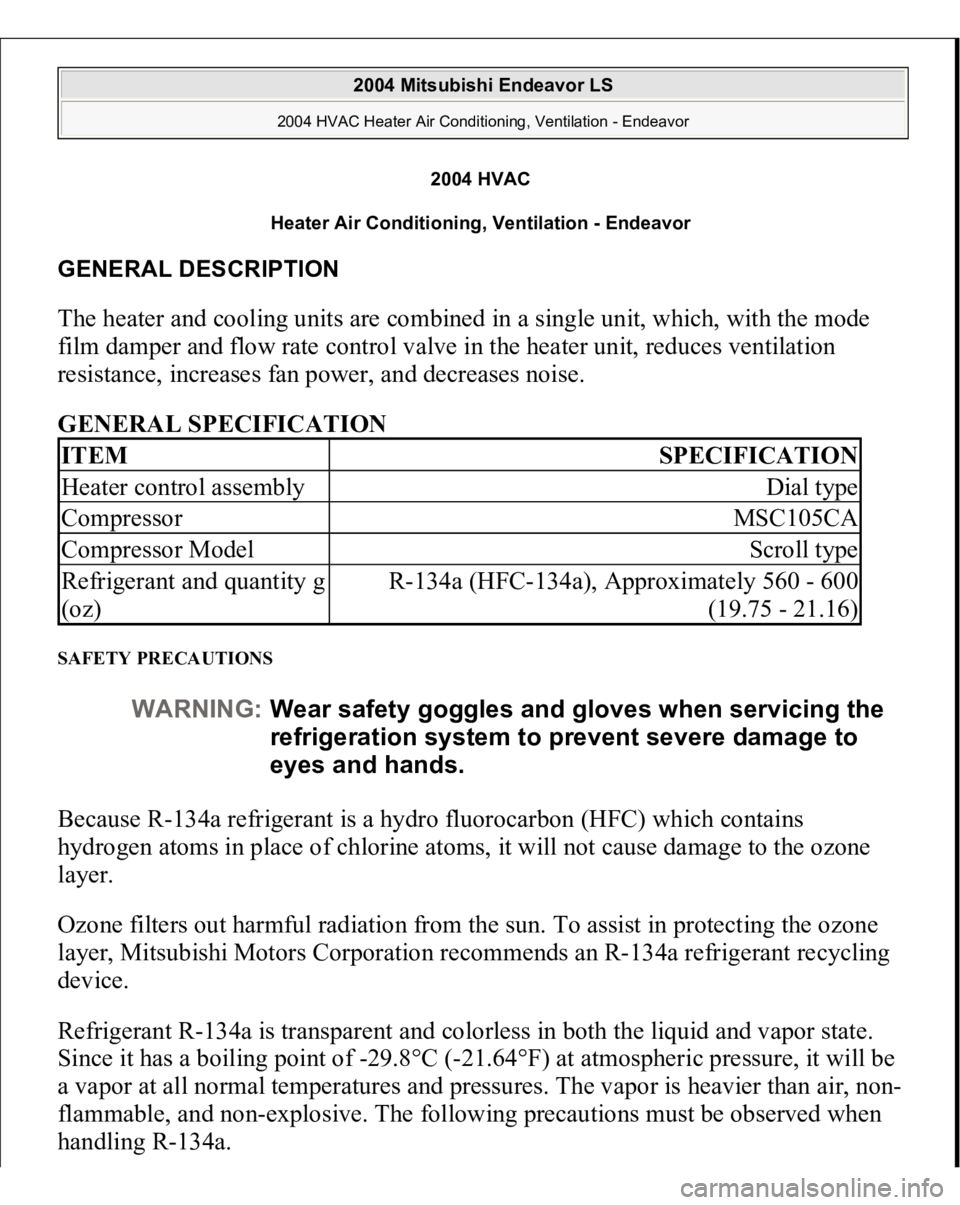
GENERAL DESCRIPTION The heater and cooling units are combined in a single unit, which, with the mode
film damper and flow rate control valve in the heater unit, reduces ventilation
resistance, increases fan power, and decreases noise.
GENERAL SPECIFICATION SAFETY PRECAUTIONS Because R-134a refrigerant is a hydro fluorocarbon (HFC) which contains
hydrogen atoms in place of chlorine atoms, it will not cause damage to the ozone
layer.
Ozone filters out harmful radiation from the sun. To assist in protecting the ozone
layer, Mitsubishi Motors Corporation recommends an R-134a refrigerant recycling
device.
Refrigerant R-134a is transparent and colorless in both the liquid and vapor state.
Since it has a boiling point of -29.8°C (-21.64°F) at atmospheric pressure, it will be
a vapor at all normal temperatures and pressures. The vapor is heavier than air, non-
flammable, and non-explosive. The following precautions must be observed when
handlin
g R-134a.
ITEM
SPECIFICATION
Heater control assembly
Dial type
Compressor
MSC105CA
Compressor Model
Scroll type
Refrigerant and quantity g
(oz)
R-134a (HFC-134a), Approximately 560 - 600
(19.75 - 21.16)
WARNING:Wear safety goggles and gloves when servicing the
refrigeration system to prevent severe damage to
eyes and hands.
2004 Mitsubishi Endeavor LS
2004 HVAC Heater Air Conditioning, Ventilation - Endeavor
2004 Mitsubishi Endeavor LS
2004 HVAC Heater Air Conditioning, Ventilation - Endeavor
Page 2002 of 3870

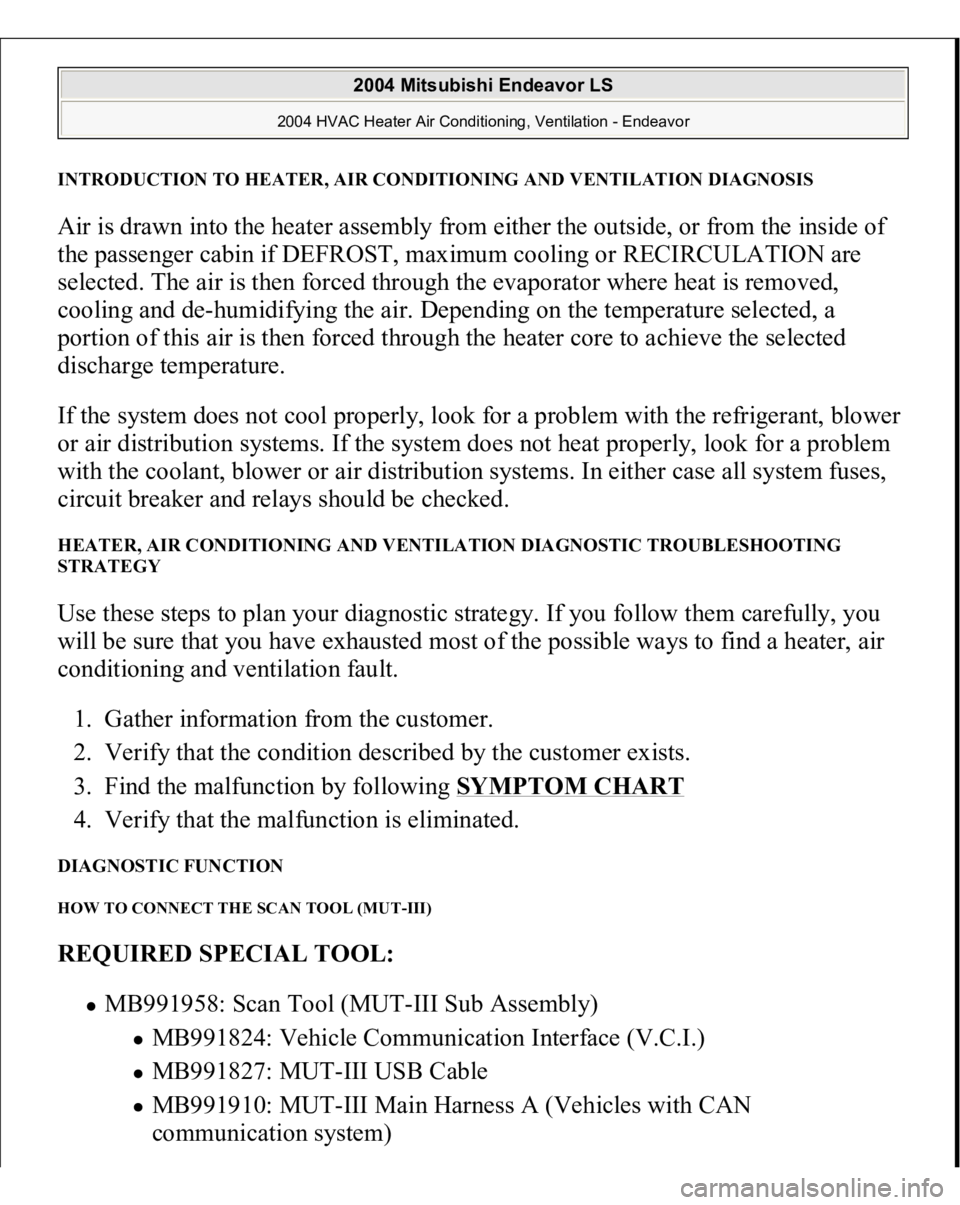
INTRODUCTION TO HEATER, AIR CONDITIONING AND VENTILATION DIAGNOSISAir is drawn into the heater assembly from either the outside, or from the inside of
the passenger cabin if DEFROST, maximum cooling or RECIRCULATION are
selected. The air is then forced through the evaporator where heat is removed,
cooling and de-humidifying the air. Depending on the temperature selected, a
portion of this air is then forced through the heater core to achieve the selected
discharge temperature.
If the system does not cool properly, look for a problem with the refrigerant, blower
or air distribution systems. If the system does not heat properly, look for a problem
with the coolant, blower or air distribution systems. In either case all system fuses,
circuit breaker and relays should be checked. HEATER, AIR CONDITIONING AND VENTILATION DIAGNOSTIC TROUBLESHOOTING
STRATEGY Use these steps to plan your diagnostic strategy. If you follow them carefully, you
will be sure that you have exhausted most of the possible ways to find a heater, air
conditioning and ventilation fault.
1. Gather information from the customer.
2. Verify that the condition described by the customer exists.
3. Find the malfunction by following
SYMPTOM CHART
4. Verify that the malfunction is eliminated.
DIAGNOSTIC FUNCTION HOW TO CONNECT THE SCAN TOOL (MUT-III) REQUIRED SPECIAL TOOL:
MB991958: Scan Tool (MUT-III Sub Assembly)
MB991824: Vehicle Communication Interface (V.C.I.) MB991827: MUT-III USB Cable MB991910: MUT-III Main Harness A (Vehicles with CAN
communication system)
2004 Mitsubishi Endeavor LS
2004 HVAC Heater Air Conditioning, Ventilation - Endeavor
Page 2232 of 3870
Fig. 163: Locating Connector C
-24
Courtesy of MITSUBISHI MOTOR SALES OF AMERICA.
STEP 18. Check the refrigerant temperature switch.
1. Dip the metal part of the cooling temperature switch into engine oil and
increase the oil temperature using a gas burner or similar.
CAUTION: Do not heat more than necessary.
2004 Mitsubishi Endeavor LS
2004 HVAC Heater Air Conditioning, Ventilation - Endeavor
Page 2368 of 3870

Courtesy of MITSUBISHI MOTOR SALES OF AMERICA
.
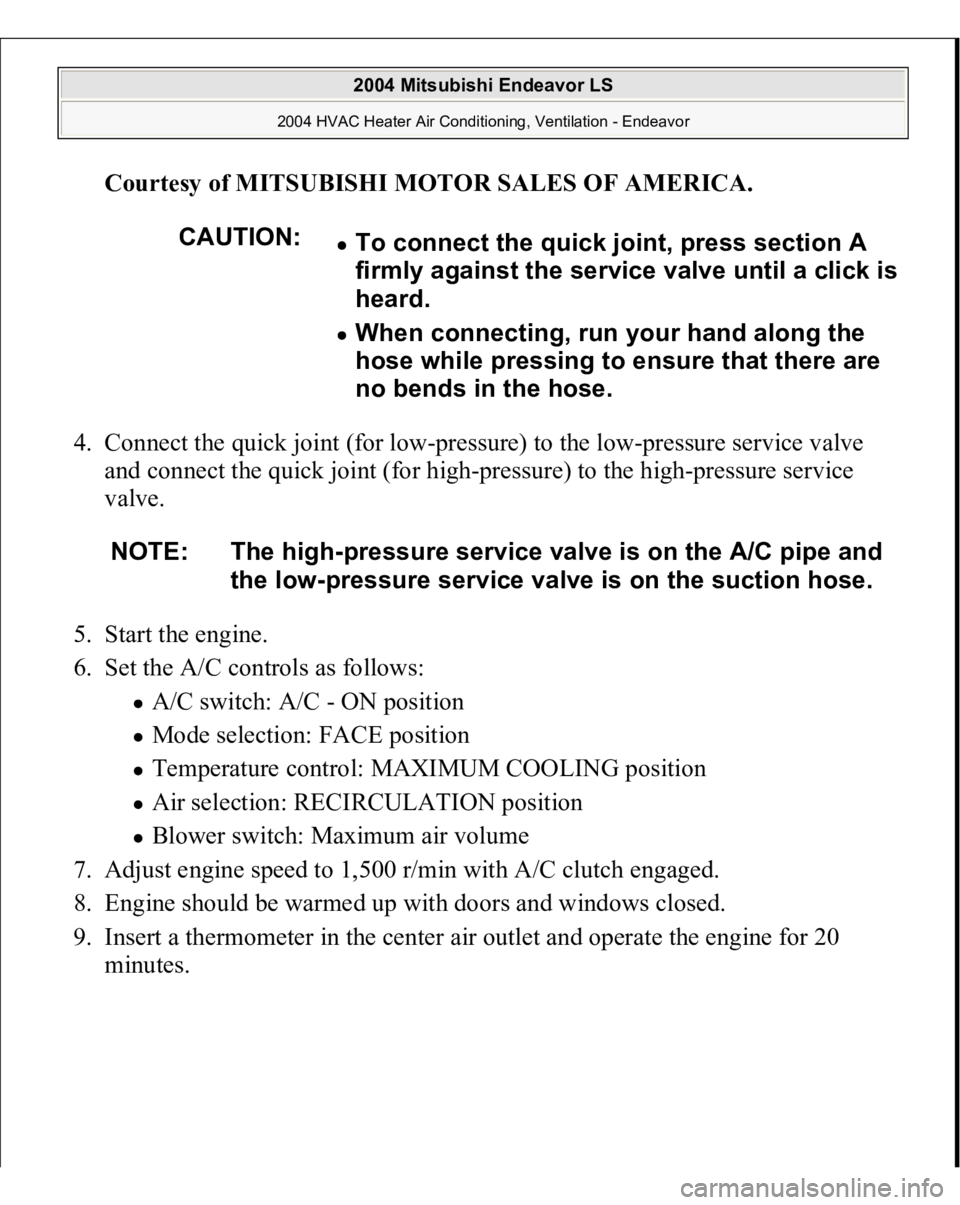
4. Connect the quick joint (for low-pressure) to the low-pressure service valve
and connect the quick joint (for high-pressure) to the high-pressure service
valve.
5. Start the engine.
6. Set the A/C controls as follows:
A/C switch: A/C - ON position Mode selection: FACE position Temperature control: MAXIMUM COOLING position Air selection: RECIRCULATION position Blower switch: Maximum air volume
7. Adjust engine speed to 1,500 r/min with A/C clutch engaged.
8. Engine should be warmed up with doors and windows closed.
9. Insert a thermometer in the center air outlet and operate the engine for 20
minutes.
CAUTION:
To connect the quick joint, press section A
firmly against the service valve until a click is
heard. When connecting, run your hand along the
hose while pressing to ensure that there are
no bends in the hose.
NOTE: The high-pressure service valve is on the A/C pipe and
the low-pressure service valve is on the suction hose.
2004 Mitsubishi Endeavor LS
2004 HVAC Heater Air Conditioning, Ventilation - Endeavor