Page 510 of 4264
10-2 CAB
WINDSHIELD
REMOVAL
RTW4A0LF000901
Removal Steps
1. Interior trim panels (Front side)
/Headlining/Instrument panel assembly
2. Wiper arm assembly
� 3. Room mirror
4. Side moulding
5. Vent cowl cover
6. Windshield stopper
7. Upper moulding
� 8. Windshield glass
9. Engine hood rear seal
Page 512 of 4264
10-4 CAB
INSTALLATION
RTW4A0LF001201
Installation Steps
�
1. Engine hood rear seal
2. Upper moulding
� 3. Windshield glass
4. Windshield stopper
5. Vent cowl cover
6. Side moulding
7. Room mirror
� 8. Wiper arm assembly
9. Interior trim panels (Front side)
/Headlining/Instrument panel assembly
Page 513 of 4264

CAB 10-5
Important Operations - Installation
1. Engine Hood Rear Seal
Install the engine hood rear seal as shown in the illustration.
1 : Seal
2 : Clip
3 : Rear (windshield glass side)
4 : Front
RTW3A0SH000201
3. Windshield Glass
1) Clean the windshield glass bonding surface.
2) Use a soft rag and unleaded gasoline to wipe off an
y
adhesive remaining on the body.
3) Mount the body window glass as shown in the illustration.
Attach spacers at five locations.
�
Always use new spacer.
4) Install the windshield upper molding.
�
Peel off the tear-away paper from the windshield uppe
r
molding, and start applying it with one end of the glass
and cut away the surplus at the other end of the glass
for length adjustment.
�
Always use new upper molding.
5) Temporary install the windshield support.
6) Apply primer
1 Sunstar #435-98 or equivalent to the body
side bonding surface. The primer should extend at least 25
mm (1 in).
Apply primer Sunstar #435-40 or equivalent to the
windshield glass side bonding surface.
The primer should extend 16.5 mm (0.6 in) and 25 mm (1.0
in) from end of the glass.
Page 537 of 4264
CAB 10-29
Important Operations
1. Front Console Assembly
�
Refer to Floor Consol in this section.
2. Glove Box
�
Remove 2 fixing screws and pulling the handle.
3. Instrument Panel Driver Lower Cover Assembly
1) Remove the engine hood opener 2 fixing screws.
2) Remove the lower cover one fixing screw.
3) Pull out the cover (Stick type parking brake only).
4) Pull out the lower cover assembly.
4. Driver Knee Bolster Assembly
�
Remove 4 fixing bolts.
Caution:
For precaution on installation or removal of SRS-air bag
system, refer to section 9 “Supplemental Restraint System
(SRS) - AIR BAG”
5. Driver Air Bag
6. Steering Wheel/Steering Cowl
�
Refer to Section 3B “STEERING COLUMN” for steering
lock assembly removal steps.
7. Meter Cluster Assembly
�
Pull out the 4 clip positions.
Page 604 of 4264
7C-2 CLUTCH
MAIN DATA AND SPECIFICATIONS
ENGINE 6VE1
4JA1-T(L) 4JA1-TC
4JH1-TC C24SE
Clutch type Dry single plate with diaphragm
Size mm (in)260 (10.24) 225 (8.86) 250 (9.84) 240 (9.45)
Clamping force kg(lb)735 (1621) 500 (1103) 640 (1411) 560 (1235)
(N)(7200) (4900) (6300) (5500)
Pressure plate
Outside diameter mm(in)260 (10.24) 225 (8.86) 250 (9.84) 240 (9.45)
Inside diameter mm(in)170 (6.69) 150 (5.906) 160 (6.299) 160 (6.299)
Driven plate
Thickness mm(in)
at free 8.8 (0.346) 8.4 (0.331) 8.3 (0.327) 8.7 (0.342)
at compressed 8.2 (0.323) 7.8 (0.307) 7.8 (0.307) 8.0 (0.315)
Clutch Cont. type Hydraulic
Pedal free play mm(in)5.0-15.0 (0.2-0.6)
Master cylinder
Bore�
Stroke mm(in)15.87 �
35 (0.625 �
1.38)
Slave cylinder
Bore �
Stroke mm(in)22.22 �
18.9
(0.875 �
0.744) 19.05 �
23
(0.749 �
0.906) 20.64 �
23
(0.813 �
0.906) 19.05 �
23
(0.749 �
0.906)
Page 606 of 4264
7C-4 CLUTCH
The clutch assembly consists of the pressure plate, the clutch cover, the diaphragm spring pivot pin and the driven
plate assembly.
The clutch pedal is connected to the release bearing through the shift fork.
The driven plate assembly is installed between the flywheel and the pressure plate.
For 4J series engine and HEC engine models, the push-type clutch is used.
Diaphragm spring pressure holds the driven plate against flywheel and the pressure plate to provide the friction
necessary to engage the clutch.
Depressing the clutch pedal moves the shift fork against the release bearing.
The release bearing forces the diaphragm to overcome the force of the diaphragm spring and separate the driven
plate from the flywheel and pressure plate to disengage the clutch.
For 6VE1 engine model, the pull-type clutch is used. The pull-type clutch is disengaged by pulling the release lever
(release bearing) to disengage the pressure plate.
Page 660 of 4264

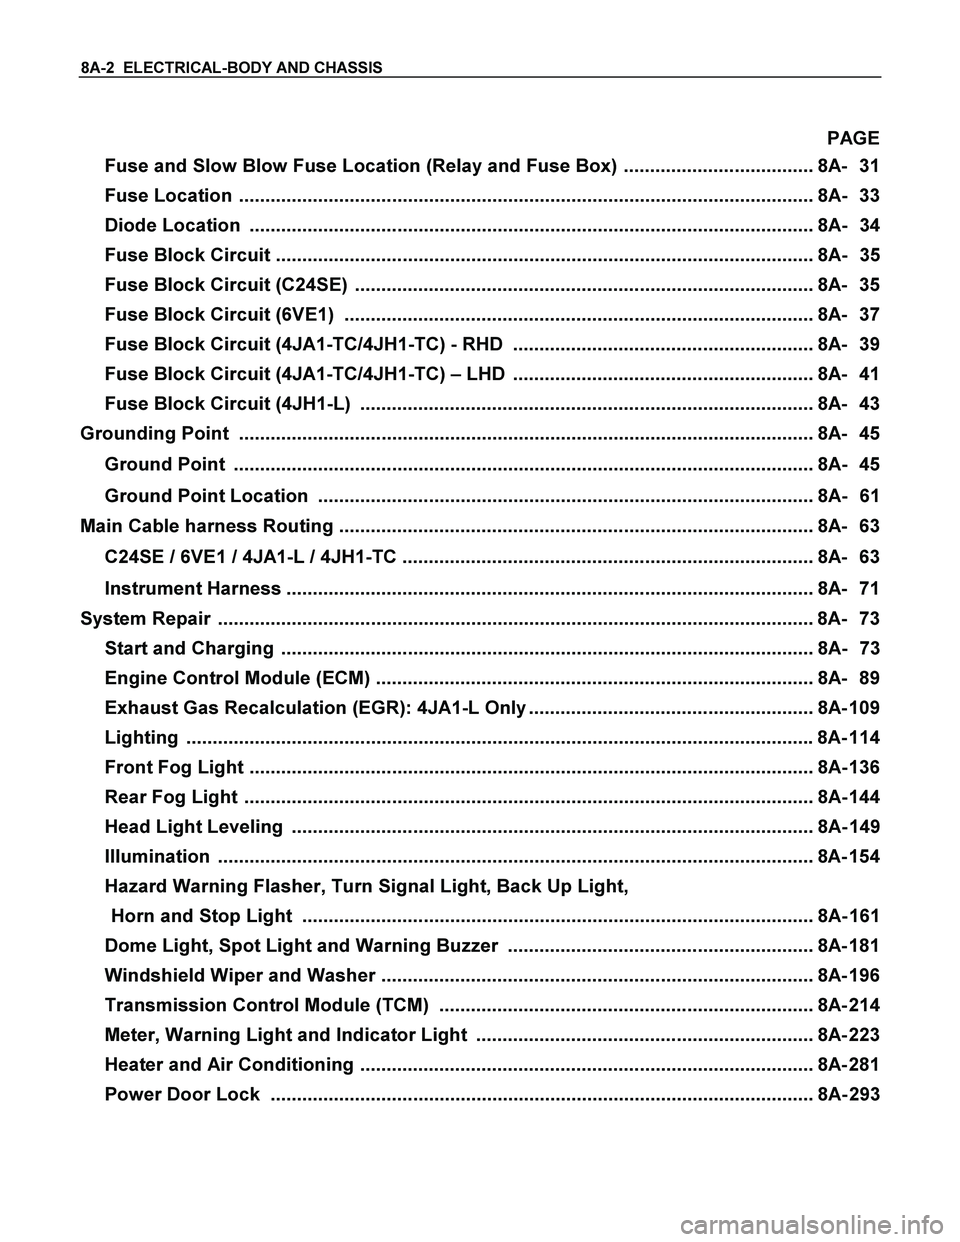
8A-2 ELECTRICAL-BODY AND CHASSIS
PAGE
Fuse and Slow Blow Fuse Location (Relay and Fuse Box) .................................... 8A- 31
Fuse Location ............................................................................................................. 8A- 33
Diode Location ........................................................................................................... 8A- 34
Fuse Block Circuit ...................................................................................................... 8A- 35
Fuse Block Circuit (C24SE) ....................................................................................... 8A- 35
Fuse Block Circuit (6VE1) ......................................................................................... 8A- 37
Fuse Block Circuit (4JA1-TC/4JH1-TC) - RHD ......................................................... 8A- 39
Fuse Block Circuit (4JA1-TC/4JH1-TC) – LHD ......................................................... 8A- 41
Fuse Block Circuit (4JH1-L) ...................................................................................... 8A- 43
Grounding Point ............................................................................................................. 8A- 45
Ground Point .............................................................................................................. 8A- 45
Ground Point Location .............................................................................................. 8A- 61
Main Cable harness Routing .......................................................................................... 8A- 63
C24SE / 6VE1 / 4JA1-L / 4JH1-TC .............................................................................. 8A- 63
Instrument Harness .................................................................................................... 8A- 71
System Repair .................................................................................................................8A- 73
Start and Charging ..................................................................................................... 8A- 73
Engine Control Module (ECM) ................................................................................... 8A- 89
Exhaust Gas Recalculation (EGR): 4JA1-L Only ...................................................... 8A- 109
Lighting ....................................................................................................................... 8A- 114
Front Fog Light ........................................................................................................... 8A- 136
Rear Fog Light ............................................................................................................ 8A- 144
Head Light Leveling ................................................................................................... 8A- 149
Illumination ................................................................................................................. 8A- 154
Hazard Warning Flasher, Turn Signal Light, Back Up Light,
Horn and Stop Light ................................................................................................. 8A- 161
Dome Light, Spot Light and Warning Buzzer .......................................................... 8A- 181
Windshield Wiper and Washer .................................................................................. 8A- 196
Transmission Control Module (TCM) ....................................................................... 8A- 214
Meter, Warning Light and Indicator Light ................................................................ 8A- 223
Heater and Air Conditioning ...................................................................................... 8A- 281
Power Door Lock ....................................................................................................... 8A- 293
Page 662 of 4264

8A-4 ELECTRICAL-BODY AND CHASSIS
GENERAL INFORMATION
The body and chassis electrical system operates on a twelve volt power supply with negative ground polarity.
The main harness consists of the engine harness, the instrument harness, the body harness, and the chassis
harness.
The harnesses use a split corrugated tube to protect the wires from the elements.
Wire size is determined by current flow, circuit length, and voltage drop.
All wires have color-coded insulation.
Wire color-codes are shown in the circuit diagrams.
This makes it easier to trace circuits and to make the proper connections.
Each circuit consists of the following:
1. Power source - The battery and the alternator
2. Wires - To carry electrical current through the circuit
3. Fuses - To protect the circuit against current overload
4. Relays - To protect voltage drop between the battery and the circuit parts and to protect the switch points against
burning
5. Switches - To open and close the circuit
6. Load - Any device, such as a light or motor, which converts the electrical current into useful work
7. Ground - To allow the current to flow back to the power source