Page 3491 of 4264
POWER-ASSISTED STEERING SYSTEM 3B-61
System Inspection (with SRS air bag)
Turn the ignition switch to "ON" while watching warning
light.
The light should flash 7 times and then go off. If lamp
does not operate correctly, refer to Restraints section.
Page 3493 of 4264

FRONT SUSPENSION 3C-1
SECTION 3C
FRONT SUSPENSION
TABLE OF CONTENTS
PAGE
Main Data and Specifications ........................................................................................... 3C- 2
Torque Specifications ....................................................................................................... 3C- 3
Special Parts Fixing Nuts and Bolts ............................................................................ 3C- 3
Front Suspension .............................................................................................................. 3C- 6
General Description ...................................................................................................... 3C- 6
Front Suspension (4�
�� �2 Except High Ride Suspension)............................................. 3C- 8
Front Suspension (4
�
�� �2 High Ride Suspension, 4
�
�� �4) ................................................. 3C- 30
Troubleshooting ............................................................................................................ 3C- 54
Page 3501 of 4264
FRONT SUSPENSION 3C-9
Shock Absorber
Shock Absorber and Associated Parts
RTW440LF001201
Legend
(1)
Shock Absorber ASM with coil
(2)
Nut
(3)
Nut
(4)
Nut
(5)
Lower ball joint Nut and cot ter pin
(6)
Nut
(7)
Bolt
(8)
Cam bolt
Removal
1. Raise the vehicle and support it with suitable
safety stands.
2. Remove wheel and tire assembly. Refer to Wheel
Replacement in this section.
3. Remove nut (6).
CAUTION: Be careful not o break the ball joint boot.
Page 3503 of 4264

FRONT SUSPENSION 3C-11
NOTE: Paint mark to be outer side of after assembly to
vehicle.
2. Install nut (2), then tighten it to the specified
torque.
Torque: 55N
�
�� �m (5.6kg
�
�� �m/41lb ft)
3. Install bolt (7) and nut (4), then tighten to the
specified torque.
Buffer clearance: 25.9 mm (1.02 in)
Torque: 137N�
�� �m (14.0kg�
�� �m/101 lb ft)
NOTE: Apply oil to the thread.
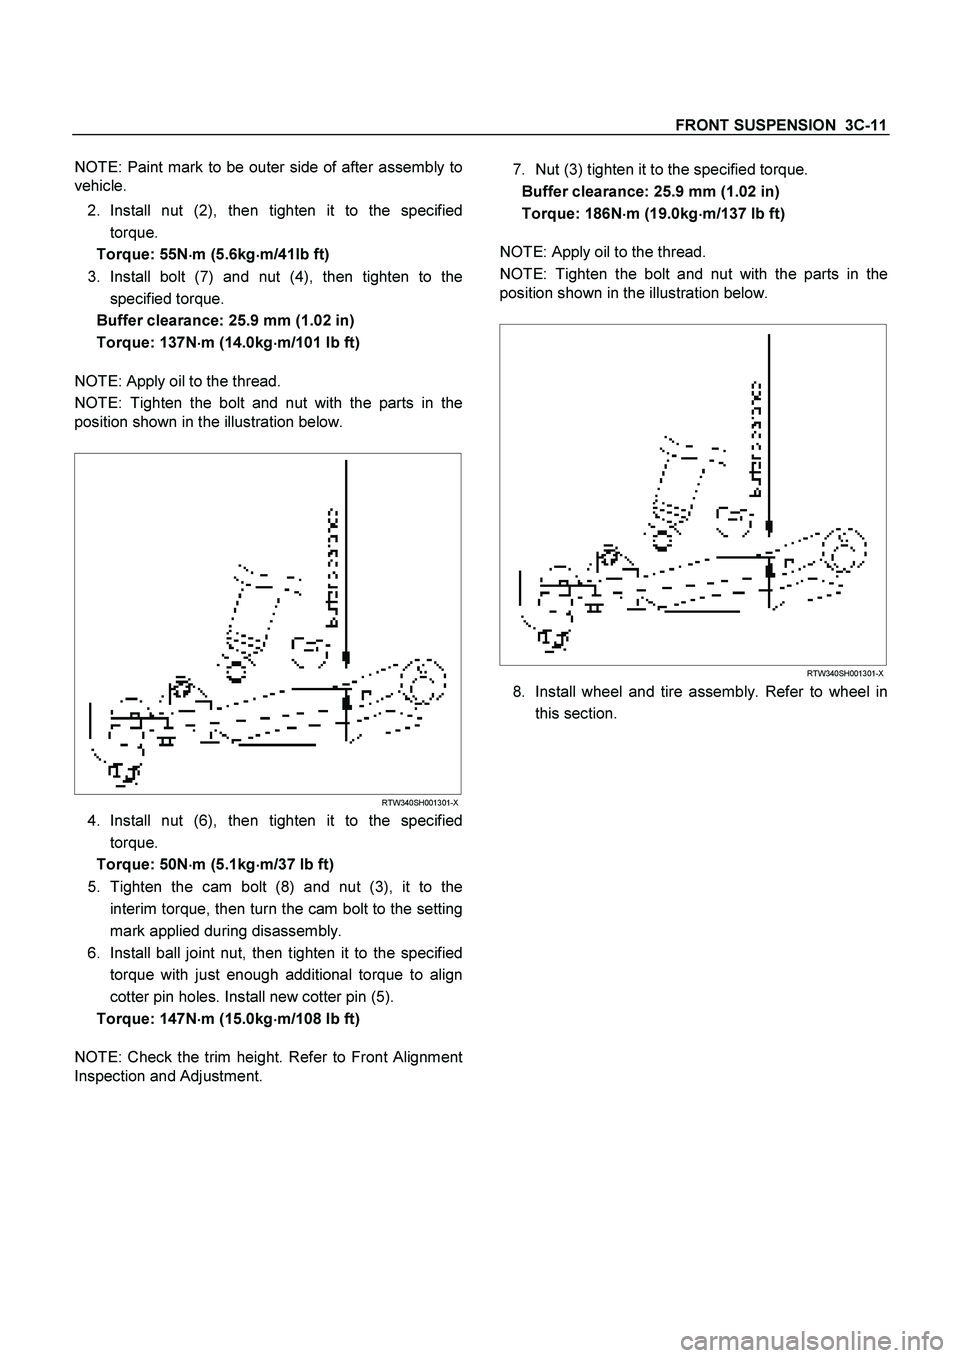
NOTE: Tighten the bolt and nut with the parts in the
position shown in the illustration below.
RTW340SH001301-X
4. Install nut (6), then tighten it to the specified
torque.
Torque: 50N�
�� �m (5.1kg�
�� �m/37 lb ft)
5. Tighten the cam bolt (8) and nut (3), it to the
interim torque, then turn the cam bolt to the setting
mark applied during disassembly.
6. Install ball joint nut, then tighten it to the specified
torque with just enough additional torque to align
cotter pin holes. Install new cotter pin (5).
Torque: 147N�
�� �m (15.0kg�
�� �m/108 lb ft)
NOTE: Check the trim height. Refer to Front Alignment
Inspection and Adjustment.
7. Nut (3) tighten it to the specified torque.
Buffer clearance: 25.9 mm (1.02 in)
Torque: 186N�
�� �m (19.0kg�
�� �m/137 lb ft)
NOTE: Apply oil to the thread.
NOTE: Tighten the bolt and nut with the parts in the
position shown in the illustration below.
RTW340SH001301-X
8. Install wheel and tire assembly. Refer to wheel in
this section.
Page 3507 of 4264
FRONT SUSPENSION 3C-15
Stabilizer Bar
Stabilizer Bar and Associated Parts
RTW340LF000901
Legend
(1)
Stabilizer Bar
(2)
Link
(3)
Nut
(4)
Nut
(5)
Bracket and Bolt
(6)
Rubber Bushing
Removal
1. Raise the vehicle and support the frame with
suitable safety stands.
2. Remove wheel and tire assembly. Refer to Wheel
Replacement in this section.
3. Remove nut (3) and (4).
CAUTION: Be careful not to break the ball joint
boot.
4. Remove link.
5. Remove bracket and bolt.
6. Remove stabilizer bar.
7. Remove rubber bushing.
Page 3509 of 4264
FRONT SUSPENSION 3C-17
Knuckle
Knuckle and Associated Parts
450R300037
Legend
(1)
Nut and Cotter Pin
(2)
Back Plate
(3)
Nut and Cotter Pin
(4)
Nut and Cotter Pin
(5)
Knuckle
(6)
Bolt
Removal
1. Raise the vehicle and support the frame with
suitable safety stands.
2. Remove wheel and tire assembly. Refer to Wheel
in this section.
3. Remove the brake caliper. Refer to Disc Brakes in
Brake section.
4. Remove the hub assembly. Refer to Front Hub
and Disk in this section.
5. Remove tie-rod end from the knuckle. Refer to
Power Steering Unit in Steering section.
Page 3511 of 4264
FRONT SUSPENSION 3C-19
Upper Control Arm
Upper Control Arm and Associated Parts
450R300038
Legend
(1)
Bolt
(2)
Bushing
(3)
Nut
(4)
Upper Control Arm Assembly
(5)
Upper Ball Joint
(6)
Nut and Cotter Pin
(7)
Knuckle
(8)
Nut
(9)
Nut
(10)
Bolt
(11)
Nut
(12)
Nut
Removal
1. Raise the vehicle and support the frame with
suitable safety stands.
2. Remove wheel and tire assembly. Refer to Wheel
in this section.
3. Remove nut (11).
4. Remove nut (12).
Page 3513 of 4264
FRONT SUSPENSION 3C-21
Lower Control Arm
Lower Control Arm and Associated Parts
RTW340LF002301
Legend
(1)
Cam bolt
(2)
Bush
(3)
Cam plate
(4)
Nut
(5)
Nut
(6)
Bolt
(7)
Lower Ball Joint
(8)
Nut and cotter pin
(9)
Nut
(10) Nut
(11) Bolt
Removal
1. Raise the vehicle and support the frame with
suitable safety stands.
2. Remove wheel and tire assembly. Refer to Wheel
in this section.
3. Remove the tie-rod end from the knuckle. Refer to
Power Steering Unit in Steering section.