2004 CHEVROLET EPICA clock
[x] Cancel search: clockPage 100 of 338
Secondary Information Center (SIC).................3-46
Clock..........................................................3-46
Door Ajar Light.............................................3-47
Trunk Ajar Light............................................3-47
Audio System(s).............................................3-48
Radio with CD..............................................3-48
Trunk-Mounted CD Changer...........................3-55Theft-Deterrent Feature..................................3-58
Audio Steering Wheel Controls.......................3-59
Radio Reception...........................................3-59
Care of Your CDs.........................................3-59
Care of Your CD Player................................3-60
Backglass Antenna.......................................3-60
Section 3 Instrument Panel
3-2
Page 103 of 338
The main components of your instrument panel are
the following:
A. Air Outlet. SeeOutlet Adjustment on page 3-28.
B. Instrument Panel Cluster. SeeInstrument Panel
Cluster on page 3-31.
C. Digital Clock and Secondary Information Center.
SeeClock on page 3-46andSecondary
Information Center (SIC) on page 3-46.
D. Hazard Warning Flashers Button. SeeHazard
Warning Flashers on page 3-6.
E. Climate Control System. SeeClimate Control
System on page 3-18.
F. Outside Power Mirror Control. SeeOutside
Power Mirrors on page 2-32.G. Instrument Panel Brightness Thumbwheel.
See “Instrument Panel Brightness” underInterior
Lamps on page 3-15.
H. Hood Release. SeeHood Release on page 5-11.
I. Coinholder. SeeCoinholder(s) on page 2-33.
J. Horn. SeeHorn on page 3-6.
K. Audio System. SeeAudio System(s) on page 3-48.
L. Cigarette Lighter and Ashtray. SeeAshtrays and
Cigarette Lighter on page 3-18.
M. Glove Box. SeeGlove Box on page 2-33.
3-5
Page 116 of 338
Ashtrays and Cigarette Lighter
The front ashtray and cigarette lighter are located at
the lower part of the center instrument panel, behind a
cover. Press in the cover and it will automatically open.
To remove the front ashtray for cleaning, pull the bin
out. To replace, press the bin back into place.
The rear ashtray is located at the rear of the center
console. To remove the rear ashtray, press in the
retaining spring and pull the bin out. To replace the rear
ashtray, insert the bottom tabs first and then press in
the retaining spring and push the ashtray closed.
Notice:If you put papers or other �ammable items
in the ashtray, hot cigarettes or other smoking
materials could ignite them and possibly damage
your vehicle. Never put �ammable items in the
ashtray.
The cigarette lighter is located to the right of the front
ashtray. To use it, turn the ignition to ACC or ON, push
the cigarette lighter in all the way and let go. When it
is ready, it will pop back out by itself.
Notice:Holding a cigarette lighter in while it is
heating will not allow the lighter to back away from
the heating element when it is hot. Damage from
overheating may occur to the lighter or heating
element. Do not hold a cigarette lighter in while it
is heating.
Climate Controls
Climate Control System
Your vehicle may have a manual climate control system.
With this system you can control the heating, cooling and
ventilation for your vehicle.
9(Fan):Turn the left knob clockwise or
counterclockwise to increase or decrease the fan speed.
In any setting other than off, the fan will run continuously
with the ignition on. The fan must be on in order for
the air conditioning compressor to run.
0 (Off):To turn the fan off, turn the knob all the way
counterclockwise to the off position.
3-18
Page 117 of 338
TEMP (Temperature):Turn the middle knob clockwise
or counterclockwise to manually increase or decrease
the temperature inside your vehicle. Turn the knob to the
blue area to get cool air and to the red area to get
warm air.
To change the current mode, select one of the following
from the right knob:
E(Vent):This mode directs air to the instrument
panel outlets.
((Bi-Level):This mode directs about half of the air
to the instrument panel outlets, and then directs the
remaining air to the floor outlets.
5(Floor):This mode directs most of the air to the
floor outlets. If your vehicle has rear outlets, some of the
air will also be directed to them. Be sure to keep the
area under the front seats clear to allow the flow of air to
the rear compartment.
The right knob can also be used to select the defog and
defrost modes. Information on defogging and defrosting
can be found later in this section.
?(Recirculation):This mode keeps outside air from
coming in the vehicle. It can be used to prevent outside
air and odors from entering your vehicle or to help
heat or cool the air inside your vehicle more quickly.
Press this button to turn the recirculation mode on or off.
When the button is pressed, an indicator light in the
button will come on. Using the recirculation mode for
extended periods may cause your windows to fog.
If this happens, select the defrost mode.
A/C (Air Conditioning):Press this button to turn the
air conditioning compressor on and off. When A/C
is pressed, an indicator light in the button will come on
to let you know that air conditioning is activated.
On hot days, open the windows to let hot inside air
escape; then close them. This helps to reduce the time
it takes for your vehicle to cool down. It also helps
the system to operate more efficiently.
For quick cool down on hot days, do the following:
1. Select the vent mode.
2. Select the highest fan speed.
3. Press the A/C button.
4. Select the recirculation mode.
5. Select the coolest temperature.
3-19
Page 121 of 338

OFF:Press this button to turn the system off.
To set the desired temperature, do the following:
Press the AUTO button.
Turn the temperature control knob until the desired
temperature is displayed. You can set the desired
temperature between 64°F (18°C) and 90°F (32°C).
Turn the knob clockwise to increase the desired
temperature by 1°F (0.5°C). Turn the knob
counterclockwise to decrease the desired temperature
by 1°F (0.5°C).
Do not cover the solar sensor located in the center of
the instrument panel, near the windshield. For more
information on the solar sensor, see “Sensors” later
in this section.
Manual Operation
w9x
(Fan):Press the up arrow to increase the
fan speed and the down arrow to decrease the fan
speed. AUTO mode is cancelled when this button is
pressed.MODE:Press this button repeatedly to cycle through
and choose the mode of air delivery into the vehicle.
The system will stay in the selected mode until MODE is
pressed again or until the AUTO button is pressed.
Whenever MODE is pressed, the display will show
the current system settings for five seconds before
returning the display to the exterior temperature.
E(Vent):This mode directs air to the instrument panel
outlets.
((Bi-level):This mode directs about half of the air to
the instrument panel outlets, and then directs the
remaining air to the floor outlets.
5(Floor):This mode directs most of the air to the
floor outlets. If your vehicle has rear outlets, some of the
air will also be directed to them. Be sure to keep the
area under the front seats clear to allow the flow of air to
the rear compartment.
The mode button can also be used to select the defog
mode. Information on defogging and defrosting can
be found later in this section.
3-23
Page 144 of 338
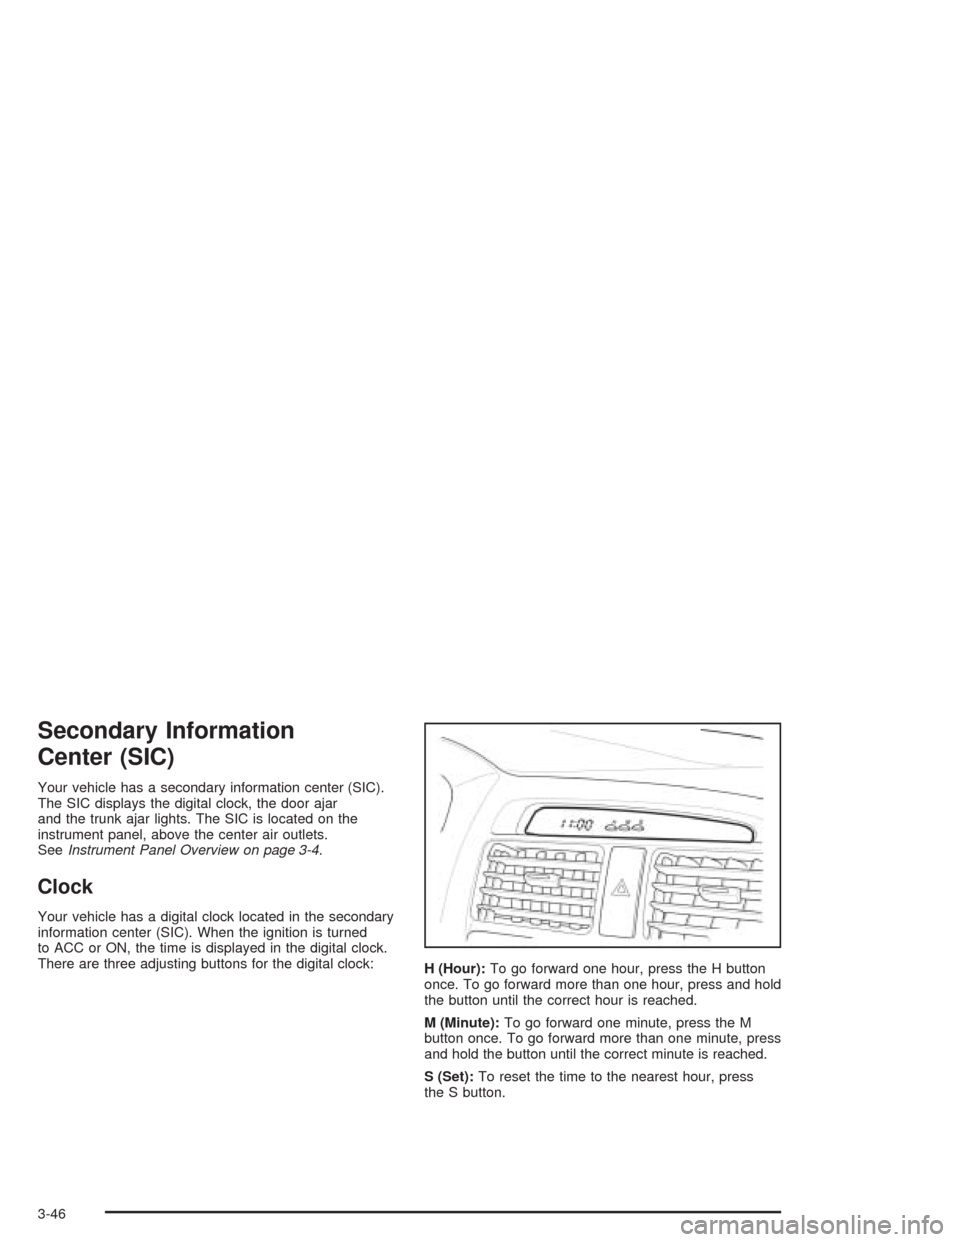
Secondary Information
Center (SIC)
Your vehicle has a secondary information center (SIC).
The SIC displays the digital clock, the door ajar
and the trunk ajar lights. The SIC is located on the
instrument panel, above the center air outlets.
SeeInstrument Panel Overview on page 3-4.
Clock
Your vehicle has a digital clock located in the secondary
information center (SIC). When the ignition is turned
to ACC or ON, the time is displayed in the digital clock.
There are three adjusting buttons for the digital clock:
H (Hour):To go forward one hour, press the H button
once. To go forward more than one hour, press and hold
the button until the correct hour is reached.
M (Minute):To go forward one minute, press the M
button once. To go forward more than one minute, press
and hold the button until the correct minute is reached.
S (Set):To reset the time to the nearest hour, press
the S button.
3-46
Page 145 of 338
For example, if the Set button is pressed while the time
is between 8:00 and 8:29, the display is set to 8:00.
If this button is pressed while the time is between 8:30
and 8:59, the display is set to 9:00.
After disconnecting the battery or replacing the fuse,
reset the clock.
Door Ajar Light
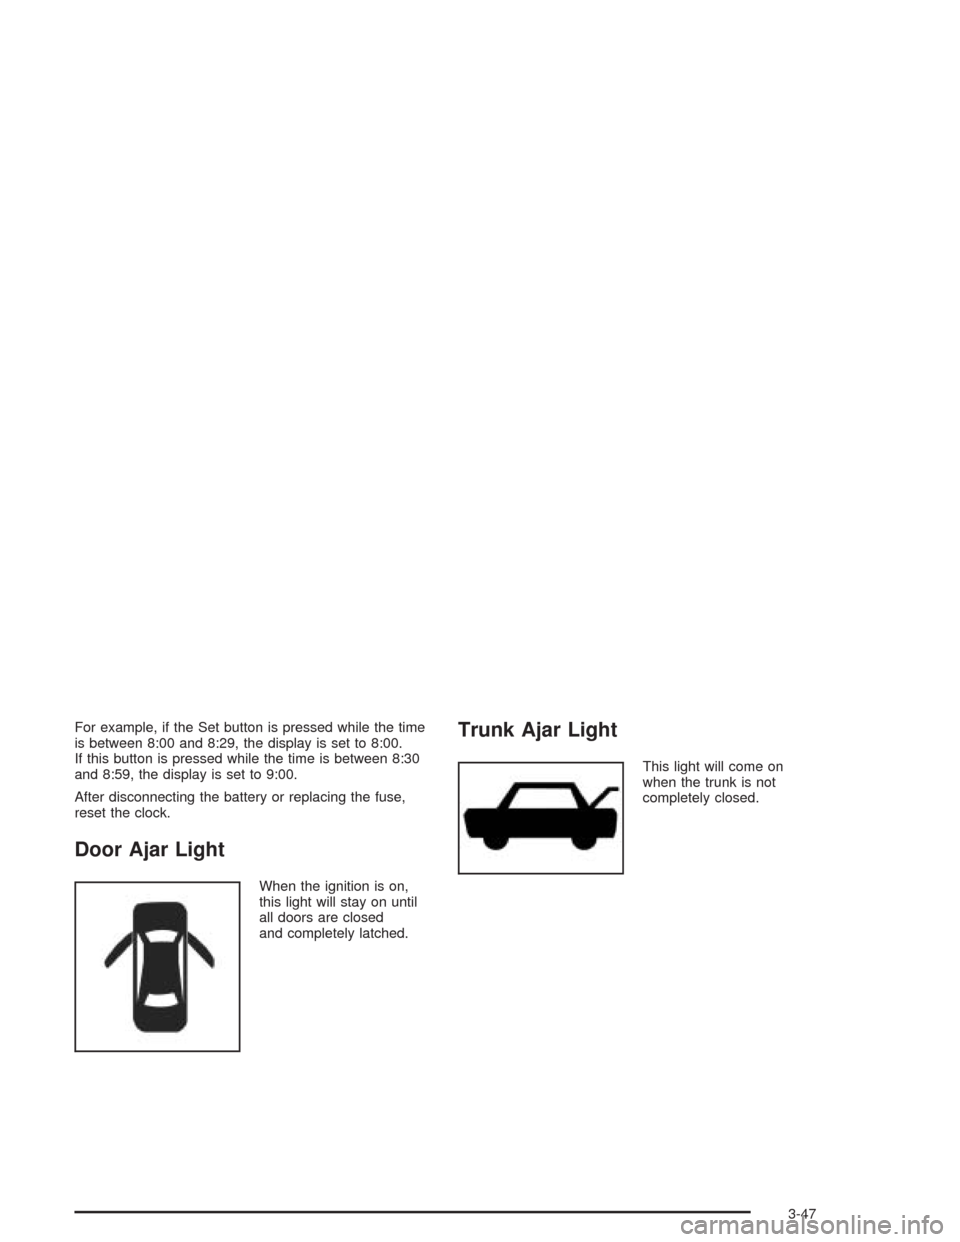
When the ignition is on,
this light will stay on until
all doors are closed
and completely latched.
Trunk Ajar Light
This light will come on
when the trunk is not
completely closed.
3-47
Page 155 of 338
Whenever a CD magazine with CDs is loaded in the
changer and the door is closed, the CD symbol will
appear on the radio display. If the CD changer is
checking the magazine for CDs, the CD symbol will flash
on the display until the changer is ready to play. If CD
changer mode is entered during initialization, LOADING
will appear on the display. When a CD begins playing,
a CD and track number will appear on the radio display.
The CD numbers are listed on the front of the magazine.
All of the CD functions are controlled by the radio
pushbuttons except for ejecting the magazine.
Playing a CD
If an error appears on the display, see “CD Messages”
later in this section.
The following buttons are used for the trunk-mounted
CD changer.
TRACK (Reverse/Fast Forward):Turn this knob
counterclockwise or clockwise to select the previous or
next track on the current CD.
Push and hold this knob counterclockwise to quickly
reverse or clockwise to quickly advance within a track.
As the CD advances, the elapsed time of the track
will appear on the display.
5 DN (Previous):Press and hold this pushbutton to
select the previous CD in the magazine.6 UP (Next):Press and hold this pushbutton to select
the next CD in the magazine.
2 RPT (Repeat):Press this pushbutton to repeat the
current track RPT will appear on the display. Press this
pushbutton again to turn off repeat play.
3 INT (Scan):To scan the tracks on the current CD,
press this pushbutton until INTRO appears on the
display. You will hear the first ten seconds of each track
on the CD. To stop scanning, press this pushbutton
again.
4 RDM (Random):Press this pushbutton to listen to
the tracks on the current CD in random, rather than
sequential, order. RDM will appear on the display.
Press this pushbutton again to turn off random play.
While in random, you can turn the tune knob to select
another track.
AM/FM:Press this button to listen to the radio when
playing a CD.
CD:Press this button to play a CD when listening to
the radio. CDC will appear on the display when the CD
changer has been selected.
Press this button while a CD is playing to pause the
CD. Press this button again to resume play.
3-57