Page 169 of 338

Steering in Emergencies
There are times when steering can be more effective than
braking. For example, you come over a hill and find a
truck stopped in your lane, or a car suddenly pulls out
from nowhere, or a child darts out from between parked
cars and stops right in front of you. You can avoid these
problems by braking — if you can stop in time. But
sometimes you can not; there is not room. That is the
time for evasive action — steering around the problem.
Your vehicle can perform very well in emergencies like
these. First apply your brakes. SeeBraking on page 4-6.
It is better to remove as much speed as you can from a
possible collision. Then steer around the problem, to the
left or right depending on the space available.
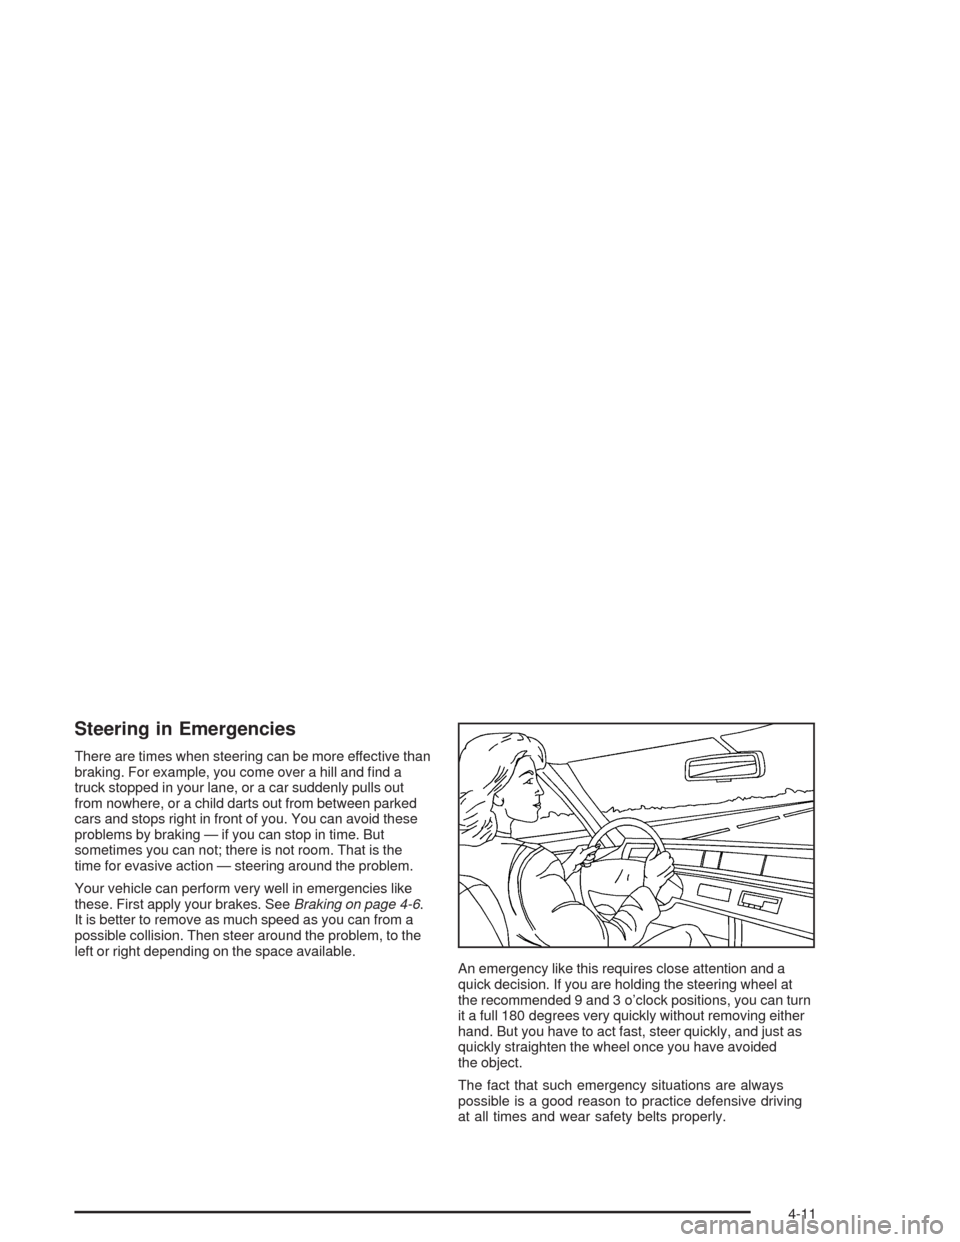
An emergency like this requires close attention and a
quick decision. If you are holding the steering wheel at
the recommended 9 and 3 o’clock positions, you can turn
it a full 180 degrees very quickly without removing either
hand. But you have to act fast, steer quickly, and just as
quickly straighten the wheel once you have avoided
the object.
The fact that such emergency situations are always
possible is a good reason to practice defensive driving
at all times and wear safety belts properly.
4-11
Page 201 of 338

Fuels in Foreign Countries
If you plan on driving in another country outside the
United States or Canada, the proper fuel may be hard
to find. Never use leaded gasoline or any other fuel
not recommended in the previous text on fuel. Costly
repairs caused by use of improper fuel would not
be covered by your warranty.
To check the fuel availability, ask an auto club, or contact
a major oil company that does business in the country
where you will be driving.
Filling Your Tank
{CAUTION:
Fuel vapor burns violently and a fuel �re can
cause bad injuries. To help avoid injuries to you
and others, read and follow all the instructions
on the pump island. Turn off your engine when
you are refueling. Do not smoke if you are near
fuel or refueling your vehicle. Keep sparks,
�ames and smoking materials away from fuel.
CAUTION: (Continued)
CAUTION: (Continued)
Do not leave the fuel pump unattended when
refueling your vehicle — this is against the law
in some places. Keep children away from the
fuel pump; never let children pump fuel.
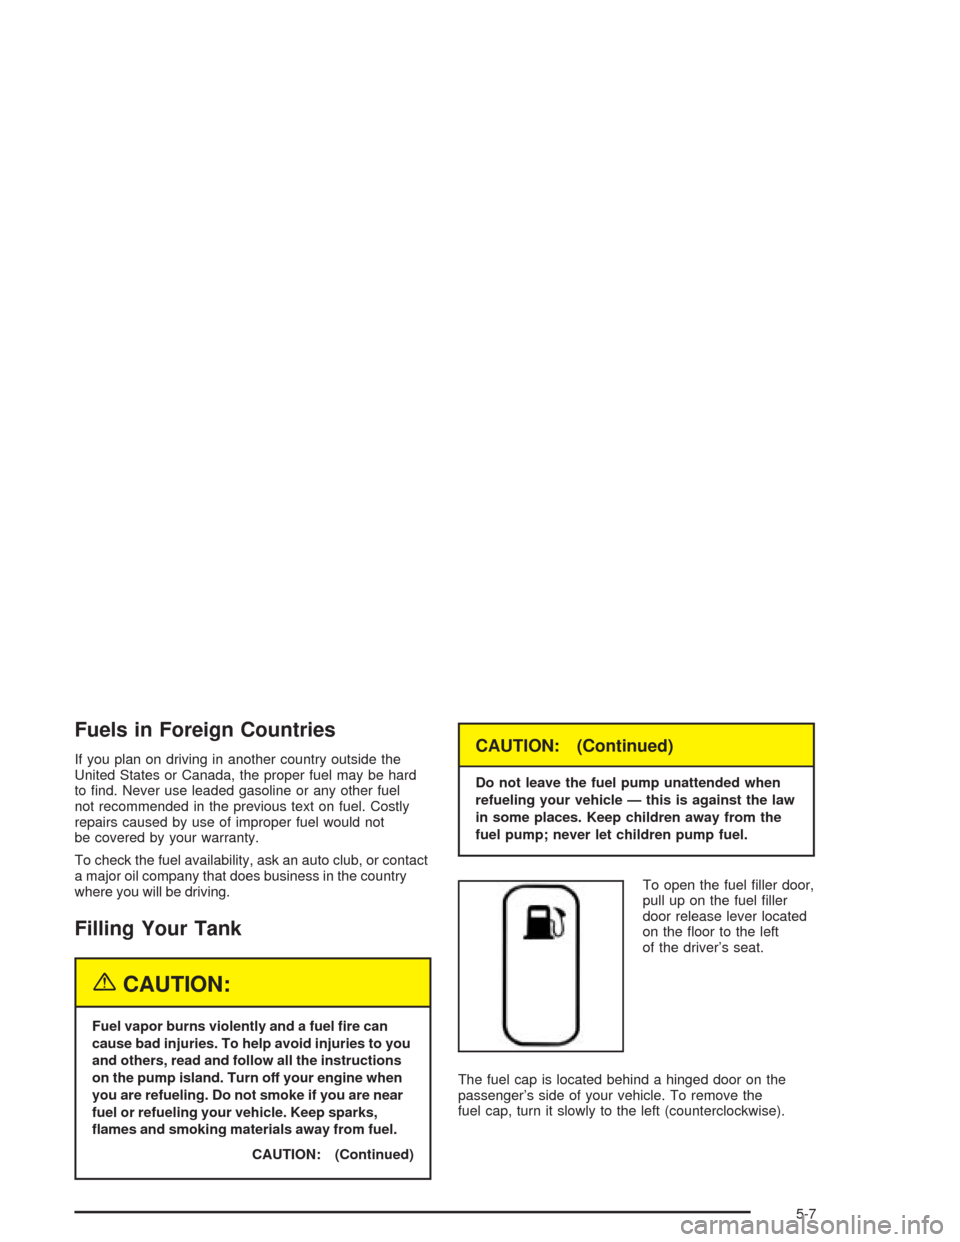
To open the fuel filler door,
pull up on the fuel filler
door release lever located
on the floor to the left
of the driver’s seat.
The fuel cap is located behind a hinged door on the
passenger’s side of your vehicle. To remove the
fuel cap, turn it slowly to the left (counterclockwise).
5-7
Page 203 of 338
When you put the fuel cap back on, turn it to the right
(clockwise) until you hear a clicking sound. Make
sure you fully install the cap. The diagnostic system can
determine if the fuel cap has been left off or improperly
installed. This would allow fuel to evaporate into the
atmosphere. SeeMalfunction Indicator Lamp on
page 3-39.
{CAUTION:
If a �re starts while you are refueling, do not
remove the nozzle. Shut off the �ow of fuel by
shutting off the pump or by notifying the
station attendant. Leave the area immediately.Notice:If you need a new fuel cap, be sure to get
the right type. Your dealer can get one for you.
If you get the wrong type, it may not �t properly.
This may cause your malfunction indicator lamp to
light and may damage your fuel tank and emissions
system. SeeMalfunction Indicator Lamp on
page 3-39.
5-9
Page 222 of 338
1. Park the vehicle on a level surface.
You can remove the coolant surge tank pressure
cap when the cooling system, including the coolant
surge tank pressure cap and upper radiator
hose, is no longer hot. Turn the pressure cap slowly
counterclockwise (left) about two or two and
one-half turns. If you hear a hiss, wait for that to
stop. This will allow any pressure still left to be
vented out the discharge hose.
2. Then keep turning the
pressure cap slowly,
and remove it.
3. Fill the coolant surge tank with the proper mixture
to the MAX (A) mark on the coolant surge tank.
Wait about five minutes, then check to see if
the level is below the MAX (A) mark. If the level is
below the MAX (A) mark, add additional coolant
to bring the level up to the MAX (A) mark. Repeat
this procedure until the level remains constant
at the MAX (A) mark for at least five minutes.
5-28
Page 236 of 338
5. Remove the headlamp cap.
6. Disconnect the wiring harness connector from
the rear of the bulb.7. Remove the old bulb.
•To remove the high-beam headlamp bulb,
release the spring that retains the bulb.
•To remove the low-beam headlamp bulb,
turn the bulb counterclockwise.
8. Install the new bulb.
•To replace the high-beam headlamp bulb,
install the bulb retaining spring.
•To replace the low-beam headlamp bulb,
turn the bulb clockwise.
9. Connect the wiring harness connector to the bulb
and replace the headlamp cap.
10. Reverse Steps 1 through 3 to install the headlamp
assembly. Then, check the lamps.
5-42
Page 237 of 338
Front Turn Signal Lamps
A. Front Turn Signal Lamp
1. Open the hood.
2. Remove the three bolts from the headlamp
assembly.
3. Remove the headlamp assembly.
4. Disconnect the wiring harness connector from the
bulb socket.5. Turn the front turn signal bulb socket
counterclockwise.
Pull the front turn signal bulb socket out of the lamp
housing.
6. Press the bulb inward and turn it counterclockwise
to remove it from the bulb socket.
7. Install the new bulb into the holder by pressing it in
and turning it clockwise.
8. Install the socket into the lamp housing by turning
it clockwise.
9. Connect the wiring harness connector to the bulb
socket.
10. Reverse Steps 1 through 3 to install the headlamp
assembly. Then, check the lamps.
5-43
Page 239 of 338
Parking Lamps
1. Reach in the
underside of the
front bumper and
turn the bulb socket
counterclockwise.
2. Pull the bulb socket out of the front bumper.
3. Pull the old bulb straight out of the socket.
4. Install the new bulb.
5. Reverse Steps 1 through 3 to install the bulb
socket.
5-45
Page 240 of 338
Taillamps, Turn Signal, Stoplamps
and Back-up Lamps
A. Taillamp and Stoplamp
B. Rear Turn Signal LampC. Back-up Lamp1. Open the trunk.
2. Open the trim cover.
3. Remove the bulb socket by turning it
counterclockwise.
4. Remove the bulb from the socket by pressing
the bulb and turning it counterclockwise.
5. Install the appropriate bulb into the socket.
6. Replace the bulb socket into the lamp housing.
Twist the bulb socket clockwise to secure.
7. Replace the trim cover.
8. Close the trunk.
5-46