2004 BMW 645CI COUPE&CONVERTIBLE light
[x] Cancel search: lightPage 98 of 216
Practical interior accessories
96 Be sure that the flashlight is switched
off when it is inserted into its holder.
Failure to comply with this precaution
could lead to overcharging and damage.<
Center armrest
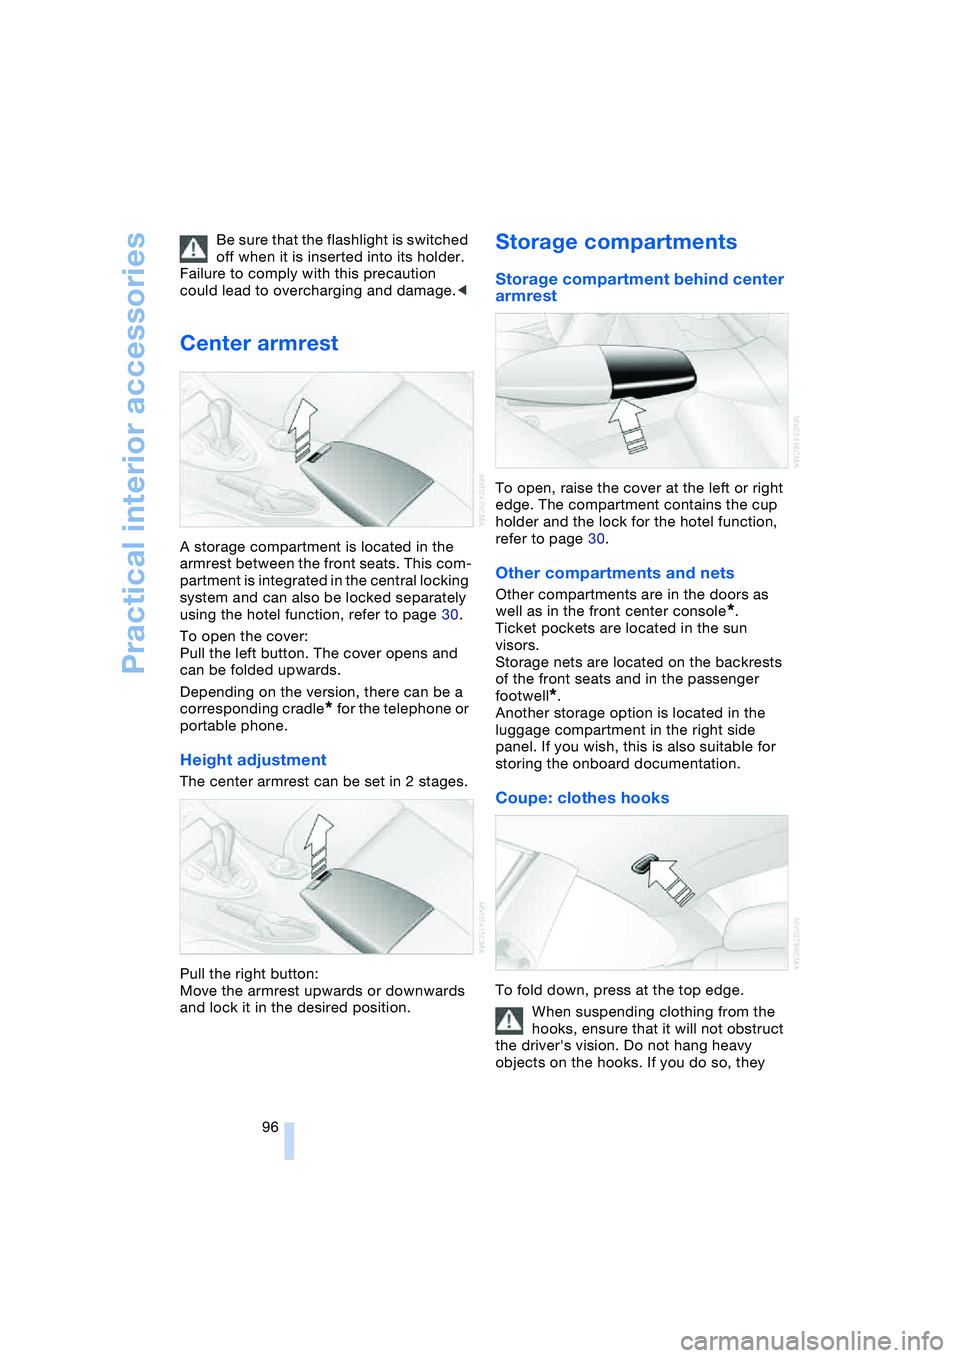
A storage compartment is located in the
armrest between the front seats. This com-
partment is integrated in the central locking
system and can also be locked separately
using the hotel function, refer to page 30.
To open the cover:
Pull the left button. The cover opens and
can be folded upwards.
Depending on the version, there can be a
corresponding cradle
* for the telephone or
portable phone.
Height adjustment
The center armrest can be set in 2 stages.
Pull the right button:
Move the armrest upwards or downwards
and lock it in the desired position.
Storage compartments
Storage compartment behind center
armrest
To open, raise the cover at the left or right
edge. The compartment contains the cup
holder and the lock for the hotel function,
refer to page 30.
Other compartments and nets
Other compartments are in the doors as
well as in the front center console
*.
Ticket pockets are located in the sun
visors.
Storage nets are located on the backrests
of the front seats and in the passenger
footwell
*.
Another storage option is located in the
luggage compartment in the right side
panel. If you wish, this is also suitable for
storing the onboard documentation.
Coupe: clothes hooks
To fold down, press at the top edge.
When suspending clothing from the
hooks, ensure that it will not obstruct
the driver's vision. Do not hang heavy
objects on the hooks. If you do so, they
Page 99 of 216
Controls
97Reference
At a glance
Driving tips
Communications
Navigation
Entertainment
Mobility
could cause personal injury to occupants
during braking or evasive maneuvers.<
Cup holders
The compartment of the rear center con-
sole contains a built-in and removable cup
holder.
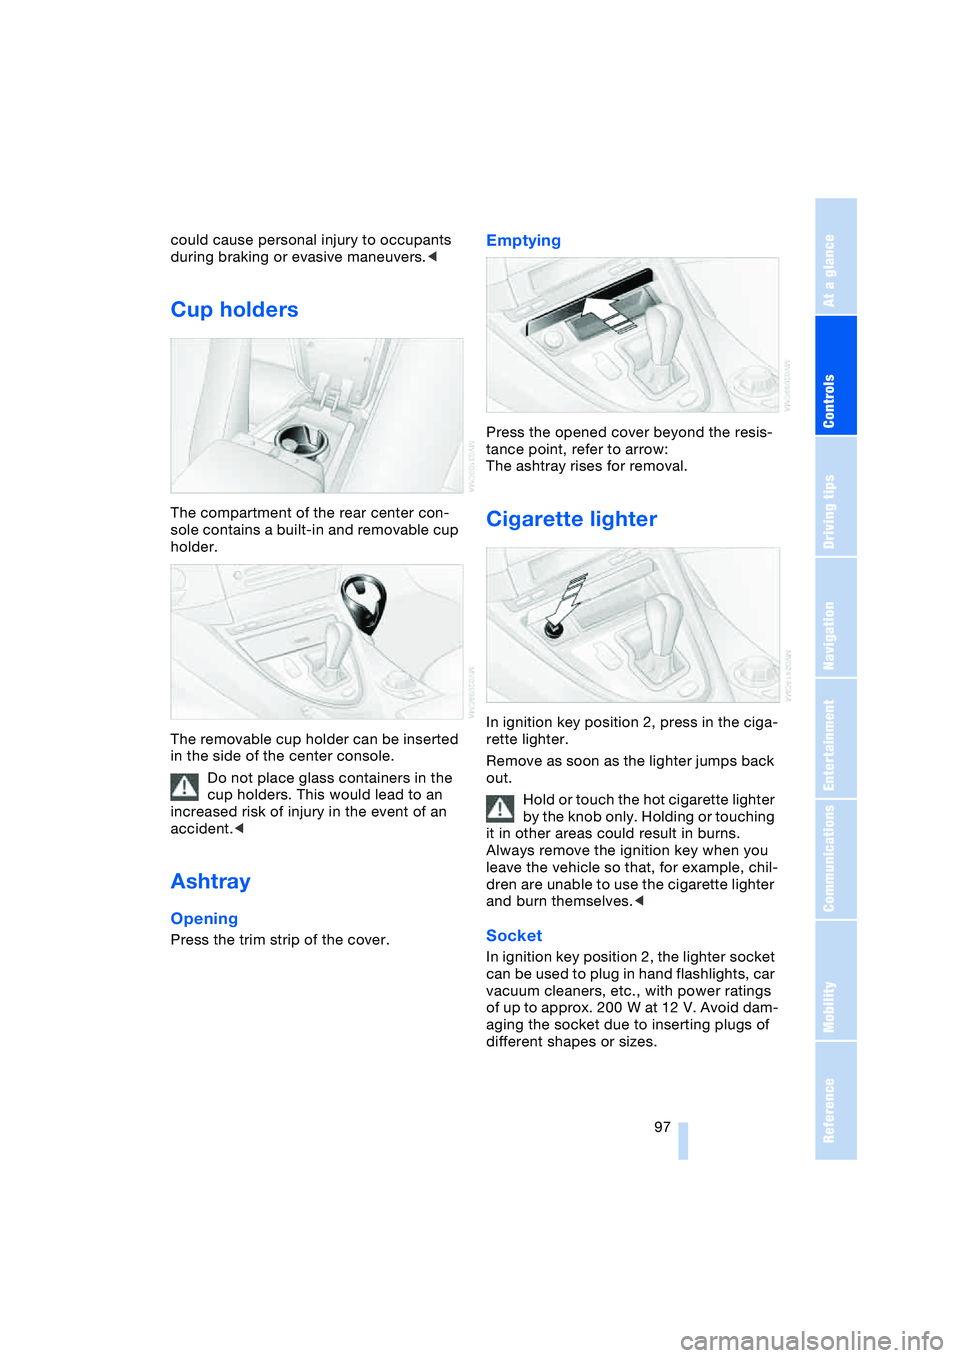
The removable cup holder can be inserted
in the side of the center console.
Do not place glass containers in the
cup holders. This would lead to an
increased risk of injury in the event of an
accident.<
Ashtray
Opening
Press the trim strip of the cover.
Emptying
Press the opened cover beyond the resis-
tance point, refer to arrow:
The ashtray rises for removal.
Cigarette lighter
In ignition key position 2, press in the ciga-
rette lighter.
Remove as soon as the lighter jumps back
out.
Hold or touch the hot cigarette lighter
by the knob only. Holding or touching
it in other areas could result in burns.
Always remove the ignition key when you
leave the vehicle so that, for example, chil-
dren are unable to use the cigarette lighter
and burn themselves.<
Socket
In ignition key position 2, the lighter socket
can be used to plug in hand flashlights, car
vacuum cleaners, etc., with power ratings
of up to approx. 200 W at 12 V. Avoid dam-
aging the socket due to inserting plugs of
different shapes or sizes.
Page 105 of 216
Driving tips
103Reference
At a glance
Controls
Communications
Navigation
Entertainment
Mobility
road surface. This phenomenon is referred
to as hydroplaning, and is characterized
by a partial or complete loss of contact
between the tires and the road surface, ulti-
mately undermining your ability to steer
and brake the vehicle.<
The risk of hydroplaning increases as the
tread depth of the tires decreases, also
refer to Tire tread on page 167.
Driving through water
Do not drive through water on the
road if it is deeper than 1 ft/30 cm,
and then only at walking speed at the most.
Otherwise, the vehicle's engine, the electri-
cal systems and the transmission may be
damaged.<
Braking safely
Your BMW is equipped with ABS as stan-
dard. The best way to achieve optimized
braking response from the ABS is to apply
maximum pressure to the brake pedal in
situations where this is required: panic
stops. Since the vehicle maintains steering
responsiveness, you can nevertheless
avoid possible obstacles with a minimum
of steering effort.
Pulsation at the brake pedal combines with
sounds from the hydraulic circuits to indi-
cate to the driver that ABS is in its active
mode.
Do not drive with your foot resting on
the brake pedal. Even light but con-
sistent pedal pressure can lead to high
temperatures, brake wear and possibly
even brake failure.<
Driving in wet conditions
While driving in wet conditions and in
heavy rain, it is a good idea to apply light
pressure to the brake pedal every few
miles. Monitor traffic conditions to ensure
that this maneuver does not endanger
other road users. The heat generated in this
process helps dry the pads and rotors to
ensure that full braking efficiency will then
be available when you need it.
Hills
To prevent overheating and thus
reduced efficiency of the brake sys-
tem, downshift to a gear in which only min-
imal brake applications are needed when
descending long or steep downhill
stretches. Even light but consistent pedal
pressure can lead to high temperatures,
brake wear and possibly even brake fail-
ure.<
You can further enhance the engine's brak-
ing effect by selecting a lower gear in the
automatic transmission's manual mode,
downshifting as far as first gear on
extremely steep stretches, refer to
page 59. This strategy helps you avoid
placing excessive loads on the brake sys-
tem.
Never drive with the clutch pressed
or allow the vehicle to coast with the
transmission in Neutral – or with the engine
switched off – there is no engine braking
when the transmission is in Neutral, and no
power assist for brakes and steering when
the engine is not running.
Never allow floor mats, carpets or any other
objects to protrude into the area around the
accelerator and brake pedals and obstruct
their movement.<
Corrosion on brake rotors
When the vehicle is driven only occasion-
ally, during extended periods when the
vehicle is not used at all, and in operating
conditions where brake applications are
less frequent, there is an increased ten-
dency for corrosion to form on rotors, while
contaminants accumulate on the brake
pads. This occurs because the minimum
pressure which must be exerted by the
pads during brake applications to clean the
rotors is not reached.
Should corrosion form on the brake rotors,
the brakes will tend to respond with a pul-
sating effect that even extended applica-
tion will fail to cure.
Page 107 of 216
Driving tips
105Reference
At a glance
Controls
Communications
Navigation
Entertainment
Mobility
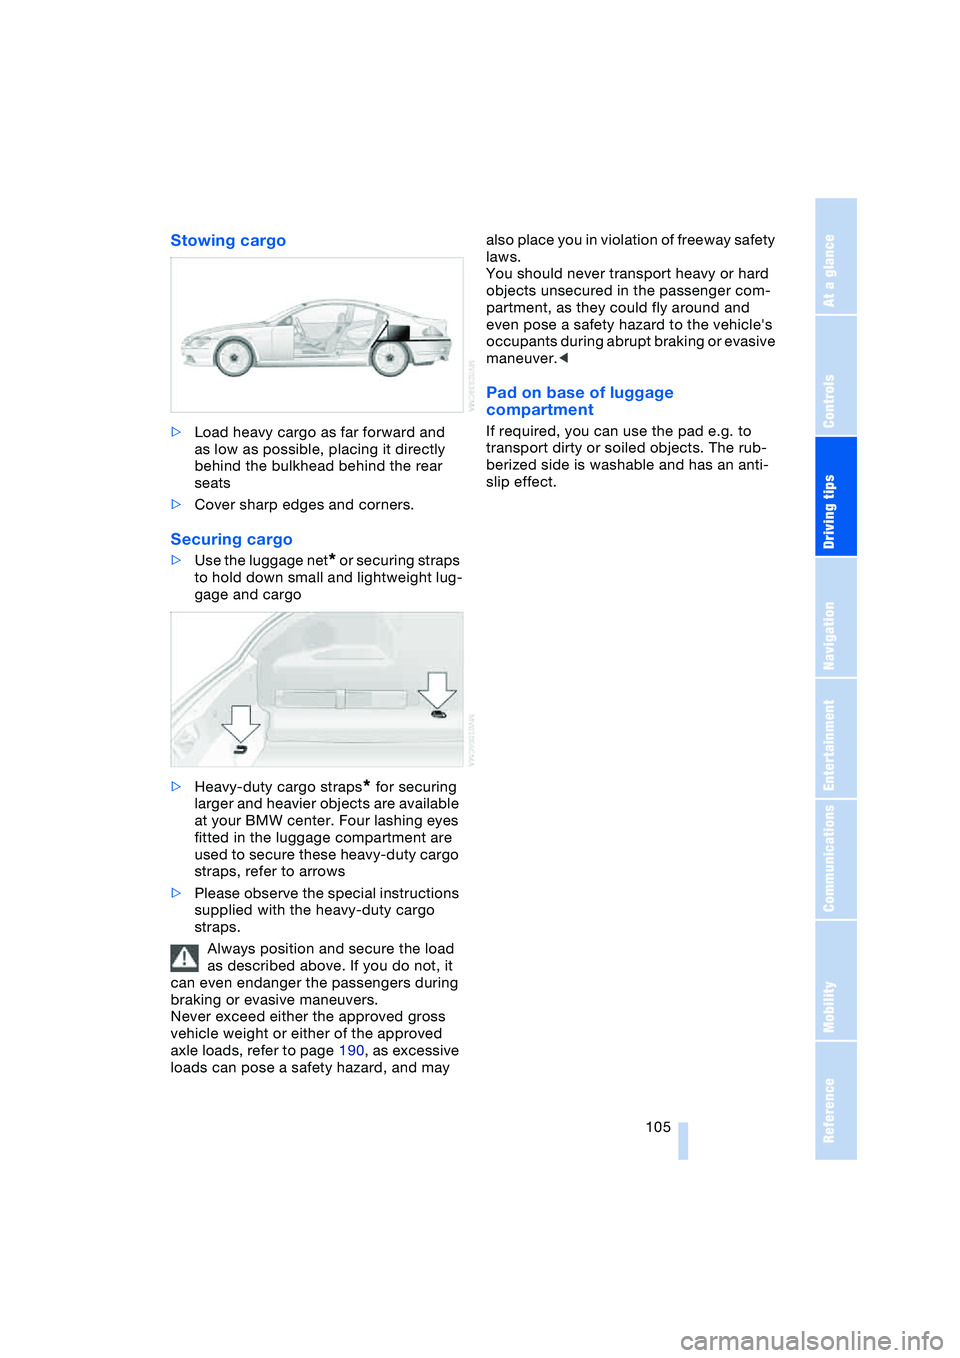
Stowing cargo
>Load heavy cargo as far forward and
as low as possible, placing it directly
behind the bulkhead behind the rear
seats
>Cover sharp edges and corners.
Securing cargo
>Use the luggage net* or securing straps
to hold down small and lightweight lug-
gage and cargo
>Heavy-duty cargo straps
* for securing
larger and heavier objects are available
at your BMW center. Four lashing eyes
fitted in the luggage compartment are
used to secure these heavy-duty cargo
straps, refer to arrows
>Please observe the special instructions
supplied with the heavy-duty cargo
straps.
Always position and secure the load
as described above. If you do not, it
can even endanger the passengers during
braking or evasive maneuvers.
Never exceed either the approved gross
vehicle weight or either of the approved
axle loads, refer to page 190, as excessive
loads can pose a safety hazard, and may also place you in violation of freeway safety
laws.
You should never transport heavy or hard
objects unsecured in the passenger com-
partment, as they could fly around and
even pose a safety hazard to the vehicle's
occupants during abrupt braking or evasive
maneuver.<
Pad on base of luggage
compartment
If required, you can use the pad e.g. to
transport dirty or soiled objects. The rub-
berized side is washable and has an anti-
slip effect.
Page 115 of 216
Navigation
Driving tips
113Reference
At a glance
Controls
Communications
Entertainment
Mobility
Selecting destination using
information
You can obtain a display of selected desti-
nations for towns/cities and apply them
into the destination guidance, e. g. hotels,
sights or hospitals.
Control Center, for principle details, refer to
page 16:
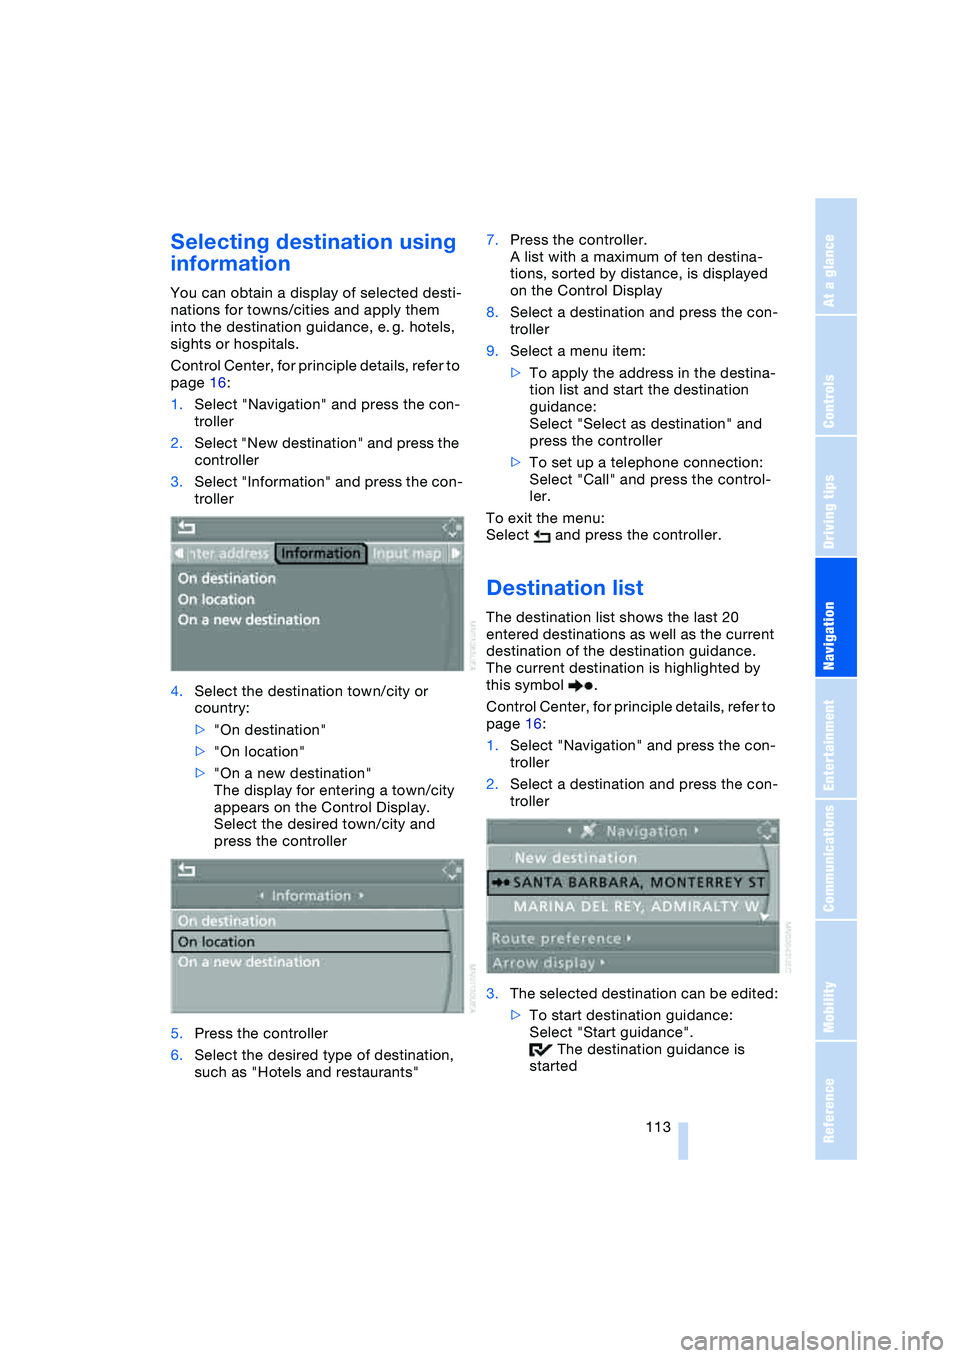
1.Select "Navigation" and press the con-
troller
2.Select "New destination" and press the
controller
3.Select "Information" and press the con-
troller
4.Select the destination town/city or
country:
>"On destination"
>"On location"
>"On a new destination"
The display for entering a town/city
appears on the Control Display.
Select the desired town/city and
press the controller
5.Press the controller
6.Select the desired type of destination,
such as "Hotels and restaurants"7.Press the controller.
A list with a maximum of ten destina-
tions, sorted by distance, is displayed
on the Control Display
8.Select a destination and press the con-
troller
9.Select a menu item:
>To apply the address in the destina-
tion list and start the destination
guidance:
Select "Select as destination" and
press the controller
>To set up a telephone connection:
Select "Call" and press the control-
ler.
To exit the menu:
Select and press the controller.
Destination list
The destination list shows the last 20
entered destinations as well as the current
destination of the destination guidance.
The current destination is highlighted by
this symbol .
Control Center, for principle details, refer to
page 16:
1.Select "Navigation" and press the con-
troller
2.Select a destination and press the con-
troller
3.The selected destination can be edited:
>To start destination guidance:
Select "Start guidance".
The destination guidance is
started
Page 118 of 216
Destination entry
116
Deleting all destinations from
address book
Control Center, for principle details, refer to
page 16:
1.Open the start menu
2.Press the controller to open the menu
3.Select "Vehicle settings" and press the
controller
4.Select "Delete data" and press the con-
troller
5.Select "Delete address book" and press
the controller
6.Select "Yes" and press the controller.
Route selection
You can influence the calculated route by
choosing certain route criteria.
Changing route criteria
Control Center, for principle details, refer to
page 16:
1.Select "Navigation" and press the con-
troller
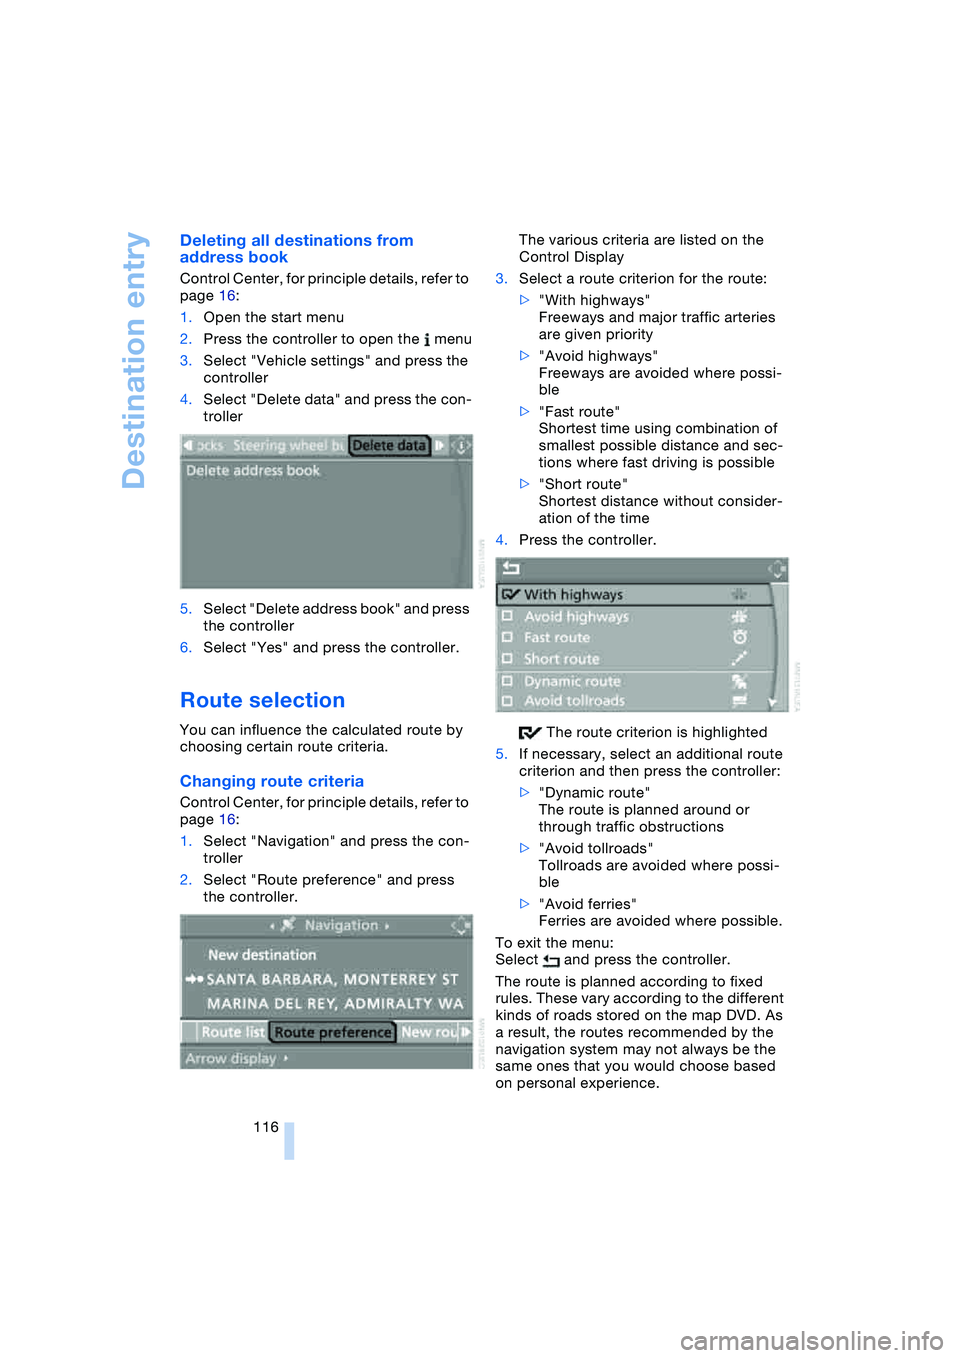
2.Select "Route preference" and press
the controller.The various criteria are listed on the
Control Display
3.Select a route criterion for the route:
>"With highways"
Freeways and major traffic arteries
are given priority
>"Avoid highways"
Freeways are avoided where possi-
ble
>"Fast route"
Shortest time using combination of
smallest possible distance and sec-
tions where fast driving is possible
>"Short route"
Shortest distance without consider-
ation of the time
4.Press the controller.
The route criterion is highlighted
5.If necessary, select an additional route
criterion and then press the controller:
>"Dynamic route"
The route is planned around or
through traffic obstructions
>"Avoid tollroads"
Tollroads are avoided where possi-
ble
>"Avoid ferries"
Ferries are avoided where possible.
To exit the menu:
Select and press the controller.
The route is planned according to fixed
rules. These vary according to the different
kinds of roads stored on the map DVD. As
a result, the routes recommended by the
navigation system may not always be the
same ones that you would choose based
on personal experience.
Page 139 of 216
Navigation
Entertainment
Driving tips
137Reference
At a glance
Controls
Communications
Mobility
CD player and CD changer
Listening to CDs
Starting CD player
Equipment with two drives:
The upper drive is for audio CDs.
Insert the CD with the labeled side facing
upwards.
Playback starts automatically if the sound
output is on.
Currently not available:
The CD player can also play CDs with an
MP3 content. Depending on the directory
and file structure, it may take up to 50 sec-
onds to read in the data.
To start playback when there is already a
CD in the drive:
Control Center, for principle details, refer to
page 16:
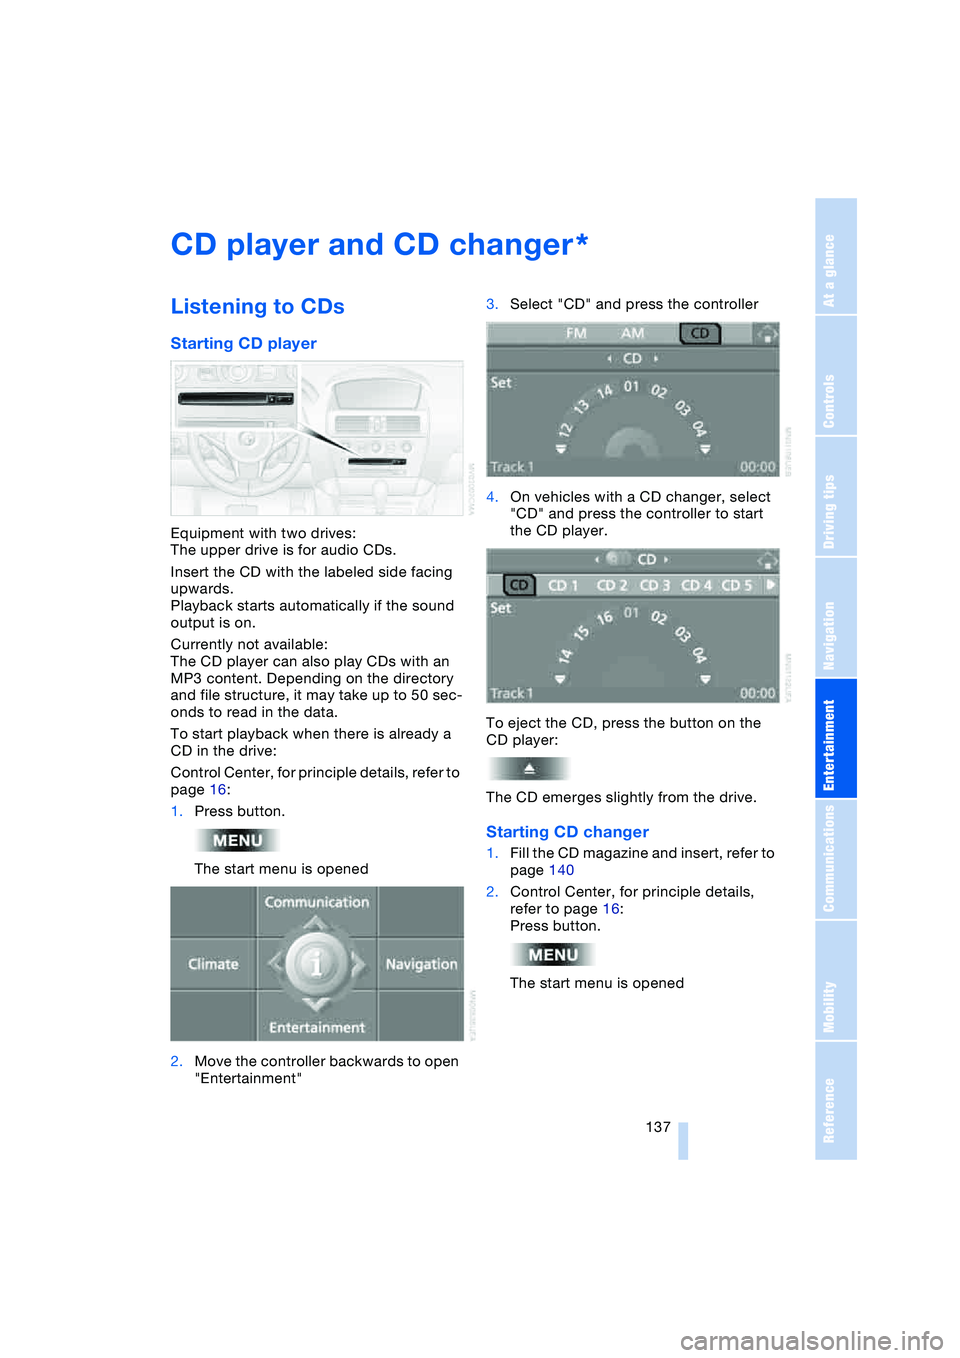
1.Press button.
The start menu is opened
2.Move the controller backwards to open
"Entertainment"3.Select "CD" and press the controller
4.On vehicles with a CD changer, select
"CD" and press the controller to start
the CD player.
To eject the CD, press the button on the
CD player:
The CD emerges slightly from the drive.
Starting CD changer
1.Fill the CD magazine and insert, refer to
page 140
2.Control Center, for principle details,
refer to page 16:
Press button.
The start menu is opened
*
Page 165 of 216
Mobility
163Reference
At a glance
Controls
Driving tips
Communications
Navigation
Entertainment
Warning lamp* lights up.
Fuel filler cap is not properly closed
or is missing. Check whether the
fuel filler cap is properly closed.
Fuel specifications
The engine uses lead-free gasoline only.
Required fuel
Premium Unleaded Gasoline,
Minimum Octane Rating: 91.
Minimum Octane Rating corresponds to
the Anti Knock Index AKI and is deter-
mined according to the so-called (R+M)/
2 method.
Do not use leaded gasoline, as other-
wise the lambda probe and catalytic
converter will be permanently damaged.<
Use high-quality brands
Field experience has indicated significant
differences in fuel quality: volatility, compo-
sition, additives, etc., among gasolines
offered for sale in the United States and
Canada. Fuels containing up to and includ-
ing 10 % ethanol or other oxygenates with
up to 2.8 % oxygen by weight, that is,
15 % MTBE or 3 % methanol plus an equiv-
alent amount of co-solvent, will not void
the applicable warranties with respect to
defects in materials or workmanship.
The use of poor-quality fuels may
result in drivability, starting and stall-
ing problems, especially under certain
environmental conditions such as high
ambient temperature and high altitude.
Should you encounter drivability problems
which you suspect could be related to the
fuel you are using, we recommend that you
respond by switching to a recognized high-
quality brand.
Failure to comply with these recommenda-
tions may also result in unscheduled main-
tenance.<